There’s a particular kind of stubbornness that sends landscape photographers up mountains in terrible weather. I’ve done it more times than I can count, standing on some exposed ridgeline in the pre-dawn dark, hat pulled low, wondering what exactly I thought was going to happen. Most of the time, nothing magical does. You get what the day gives you, and if you’re smart, you work with it instead of against it. That’s the real skill, and it’s one that doesn’t get talked about enough against the backdrop of golden-hour highlight reels.
That’s why I want to dig into this First Man Photography tutorial, where Adam takes a genuinely rough shooting day in the Lake District and walks through every image he brought home from it. Watch the full tutorial on YouTube. What makes this breakdown valuable isn’t the technical settings, though those are useful. It’s the honesty. He tells you which images he’s happy with, which ones he isn’t, and why he kept them anyway. That kind of transparency is rare, and it maps directly onto problems I encounter in my own work.
The practical problem this tutorial solves is one I see constantly in workshop students: the belief that a bad weather day means a wasted day. Adam went up a mountain in wind so severe it pushed him around on the trail, fog that refused to lift, and wet conditions throughout. He came home with five images. Not fifty. Five. And he walks through each one with the same analytical eye he’d bring to a perfect sunrise shoot. That discipline is worth more than any lens or filter.
Step 1: Shoot the Opportunistic Frame, Even If It’s Imperfect
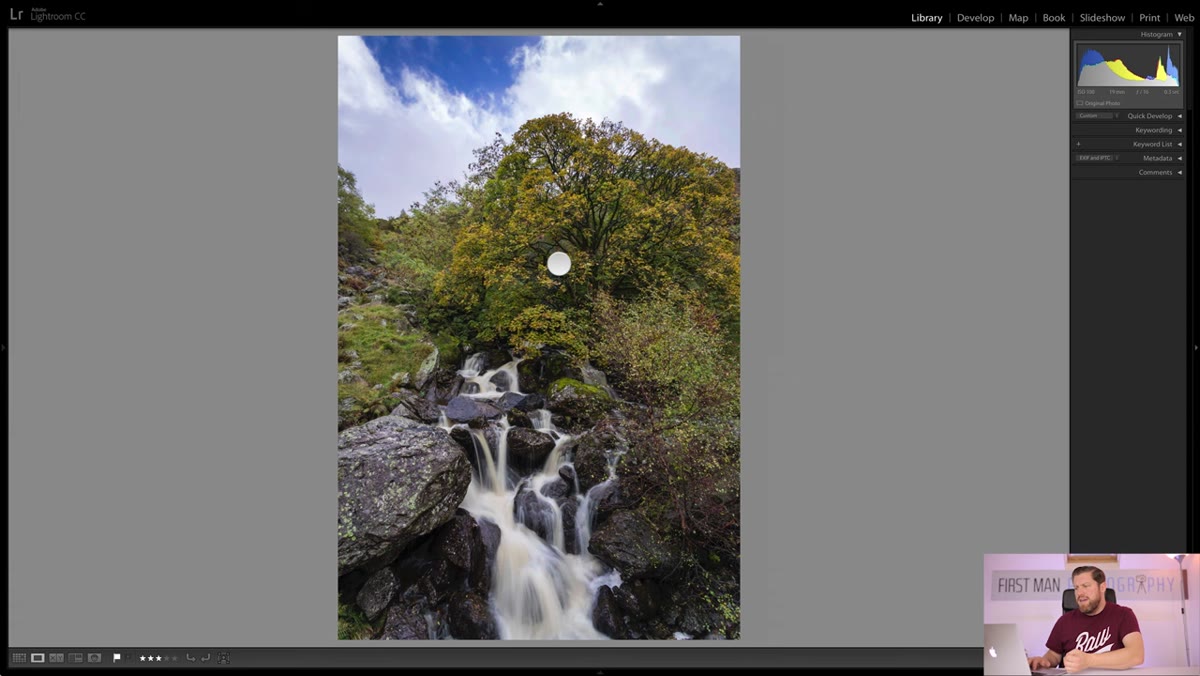
 Camera positioned over roadside wall to capture waterfall
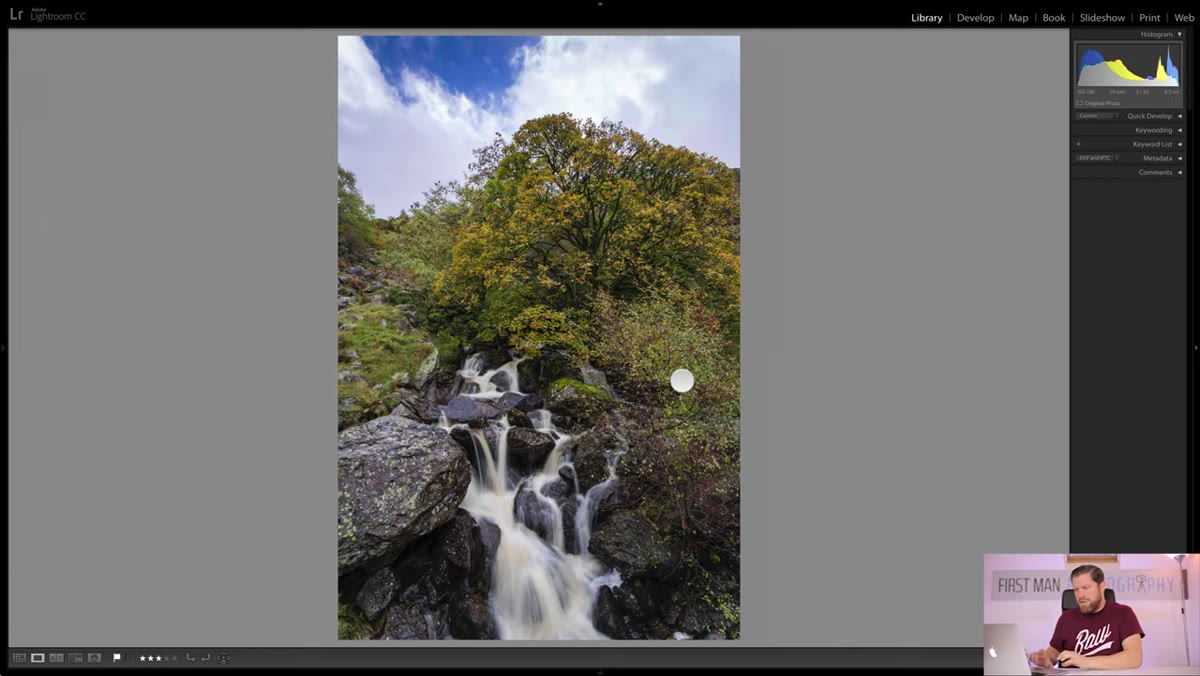
When conditions or terrain limit your options, take the shot you can get, not the one you wish you could get. Adam stopped at a roadside waterfall and couldn’t achieve the horizontal composition he wanted because the hillside cut off any sky. So he shot vertical. Simple decision, made fast. This is field problem-solving in its most basic form. The frame you pass on because it isn’t ideal is the frame you never have. The one you take, even reluctantly, at least exists.
Camera positioned over roadside wall to capture waterfall
When conditions or terrain limit your options, take the shot you can get, not the one you wish you could get. Adam stopped at a roadside waterfall and couldn’t achieve the horizontal composition he wanted because the hillside cut off any sky. So he shot vertical. Simple decision, made fast. This is field problem-solving in its most basic form. The frame you pass on because it isn’t ideal is the frame you never have. The one you take, even reluctantly, at least exists.
His settings here were ISO 100 to keep noise as low as possible, f/16 for deep depth of field across both the close foreground rocks and the more distant trees, and a shutter speed of 1/3 of a second to introduce motion blur in the water. That combination of small aperture and slow shutter is a reliable foundation for waterfall work. If you’re in similar conditions, start there and adjust based on how much movement you want in the water.
Step 2: Use Leading Lines to Anchor a Bleak Scene
 Curved stone wall leading toward lone tree and reservoir
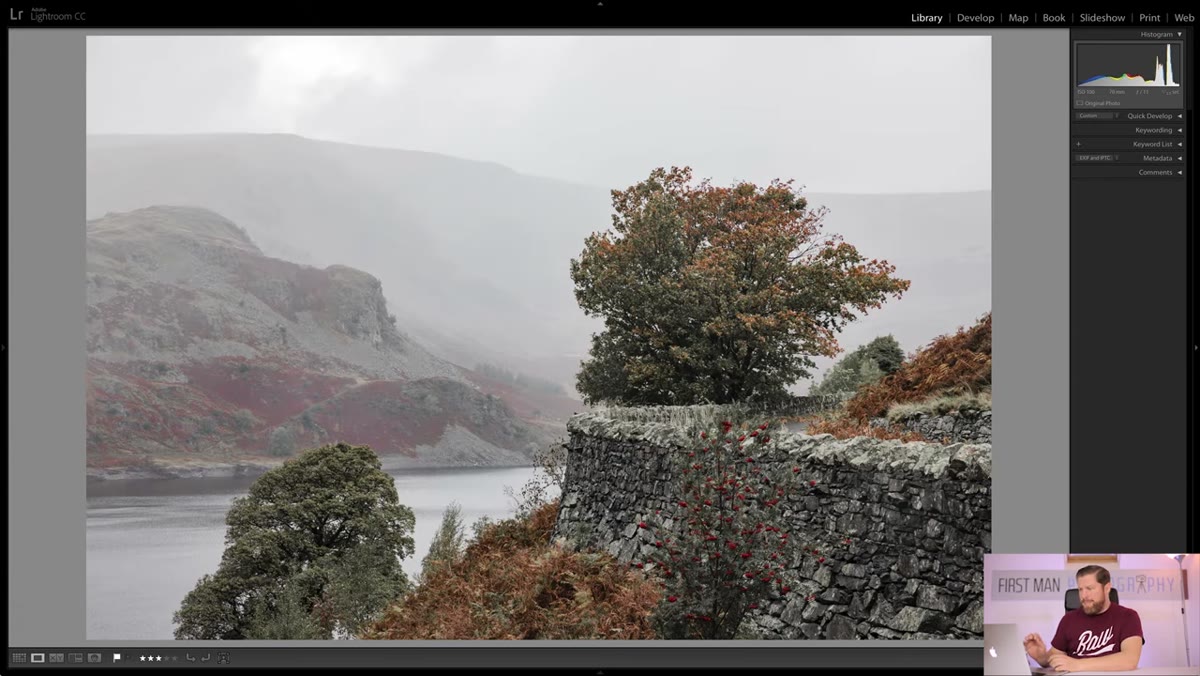
The second image in the sequence uses the curve of a stone wall as a compositional device to pull the eye toward a single tree with autumn color and a reservoir in the background. The wall doesn’t dominate the frame. It acts as a guide. In flat, overcast light, strong structural lines become more important because you can’t rely on dramatic shadows or color contrast to create depth. The wall does that work here.
Curved stone wall leading toward lone tree and reservoir
The second image in the sequence uses the curve of a stone wall as a compositional device to pull the eye toward a single tree with autumn color and a reservoir in the background. The wall doesn’t dominate the frame. It acts as a guide. In flat, overcast light, strong structural lines become more important because you can’t rely on dramatic shadows or color contrast to create depth. The wall does that work here.
Notice that Adam isn’t apologizing for the grey sky or the muted tones. He’s framing the bleakness as part of the image’s mood. A foggy, windswept reservoir scene should feel exposed and cold. When your conditions are harsh, lean into them rather than trying to compensate. The image tells the truth about the day, and that honesty is what gives documentary landscape photography its staying power.
Step 3: Isolate Your Subject Above the Horizon Line
 Rowan tree with red berries on hillside, horizon placement discussion
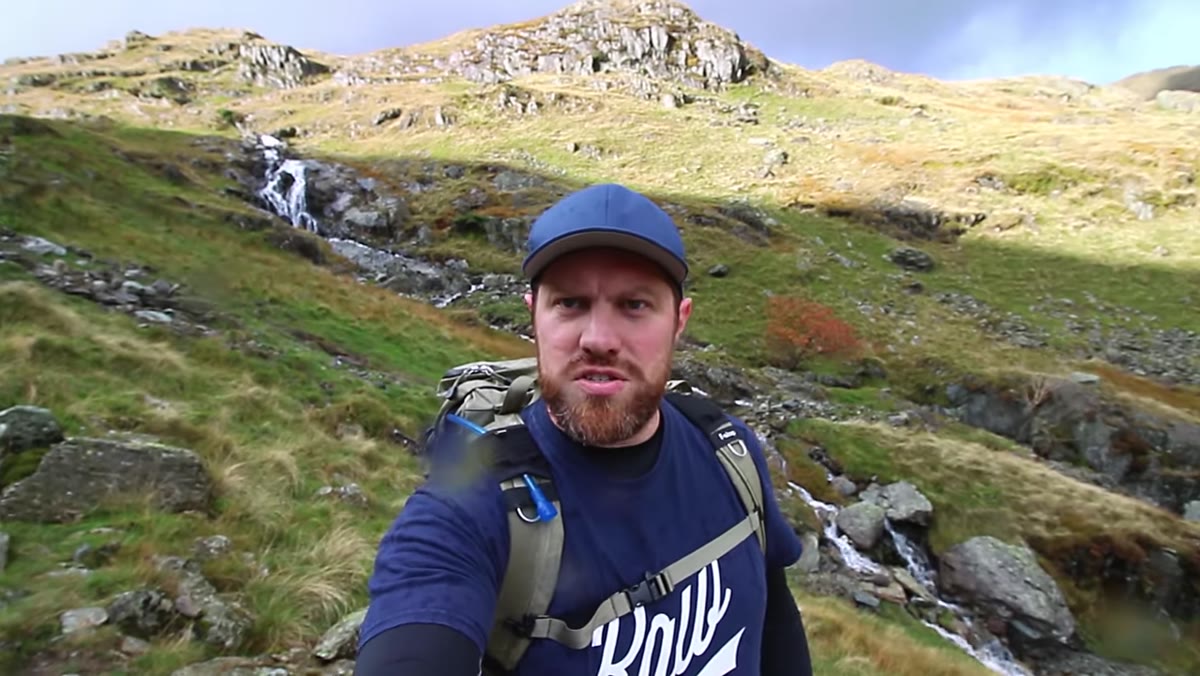
One of the most instructive moments in the tutorial is when Adam talks about what he was trying to achieve with a rowan tree covered in red berries, and then admits he couldn’t quite pull it off. His intent was to get low enough that the tree would sit above the horizon line, isolated against the sky, with nothing competing behind it. The terrain was too steep to allow that position.
Rowan tree with red berries on hillside, horizon placement discussion
One of the most instructive moments in the tutorial is when Adam talks about what he was trying to achieve with a rowan tree covered in red berries, and then admits he couldn’t quite pull it off. His intent was to get low enough that the tree would sit above the horizon line, isolated against the sky, with nothing competing behind it. The terrain was too steep to allow that position.
The lesson here is double-edged. First, understand the technique: placing a subject above the horizon cleanly separates it from a busy background and gives it visual weight. It’s one of the most effective tools for featuring a single element in a wide landscape. Second, recognize when terrain or conditions physically prevent you from executing the composition you want. Adam didn’t force a bad frame. He acknowledged the limitation and moved on. Knowing when not to press the shutter is a skill in itself.
Step 4: Build a Story Across Multiple Frames, Not Just One Hero Shot
 Series of images reviewed together on screen
Adam returns several times during the tutorial to the idea of images “adding to the story of the day.” This is a different way of thinking about a shoot than hunting for a single portfolio image. Each frame he captured, including ones he acknowledges aren’t technically strong, contributes to a visual record of that specific day on that specific mountain. The waterfall at the roadside. The tree against the reservoir. The rowan with the berries.
Series of images reviewed together on screen
Adam returns several times during the tutorial to the idea of images “adding to the story of the day.” This is a different way of thinking about a shoot than hunting for a single portfolio image. Each frame he captured, including ones he acknowledges aren’t technically strong, contributes to a visual record of that specific day on that specific mountain. The waterfall at the roadside. The tree against the reservoir. The rowan with the berries.
When I’m shooting in difficult conditions, I think about this deliberately. Not every frame needs to be a print-seller. Some frames are connective tissue. They give context to the stronger images and document the reality of what field photography actually looks like, which is mostly gray mornings, mud on your boots, and compositions that almost worked. Embrace that. It makes the images that do land feel more earned.
What I’d Add From My Own Experience
Adam shot five images on a hard day and walked away with two he’s genuinely pleased with. That ratio might sound discouraging until you realize that two strong, honest images from a difficult day is a legitimate success. I’ve driven six hours to a location, sat in fog for two full days, and come home with a single usable frame, which happened to become my best-selling print. The day felt like a failure while I was in it. In hindsight, the constraints forced a patience and a clarity of eye that fair-weather shoots rarely demand.
The thing I want to add to Adam’s framework is this: keep the images you’re not fully satisfied with. Don’t delete them in the field. The ones you’re embarrassed by now sometimes reveal something months later when you’re looking at them with fresh eyes. And practically speaking, your honest failures teach you more than your accidental successes. Study the rowan tree shot that didn’t work. Understand exactly why the positioning was wrong. That analysis is what stops you from making the same compositional mistake next time.
The single most important idea in this tutorial is one Adam states simply but doesn’t oversell: two strong images is better than none. On a hard day, that’s not a consolation prize. That’s the goal. Set your expectation accordingly before you leave the car park, and you’ll shoot with more clarity, more patience, and considerably less frustration.
Watch the full tutorial on YouTube to follow Adam’s image-by-image breakdown and hear him walk through each composition and setting decision in his own words.
Comments
Leave a Comment