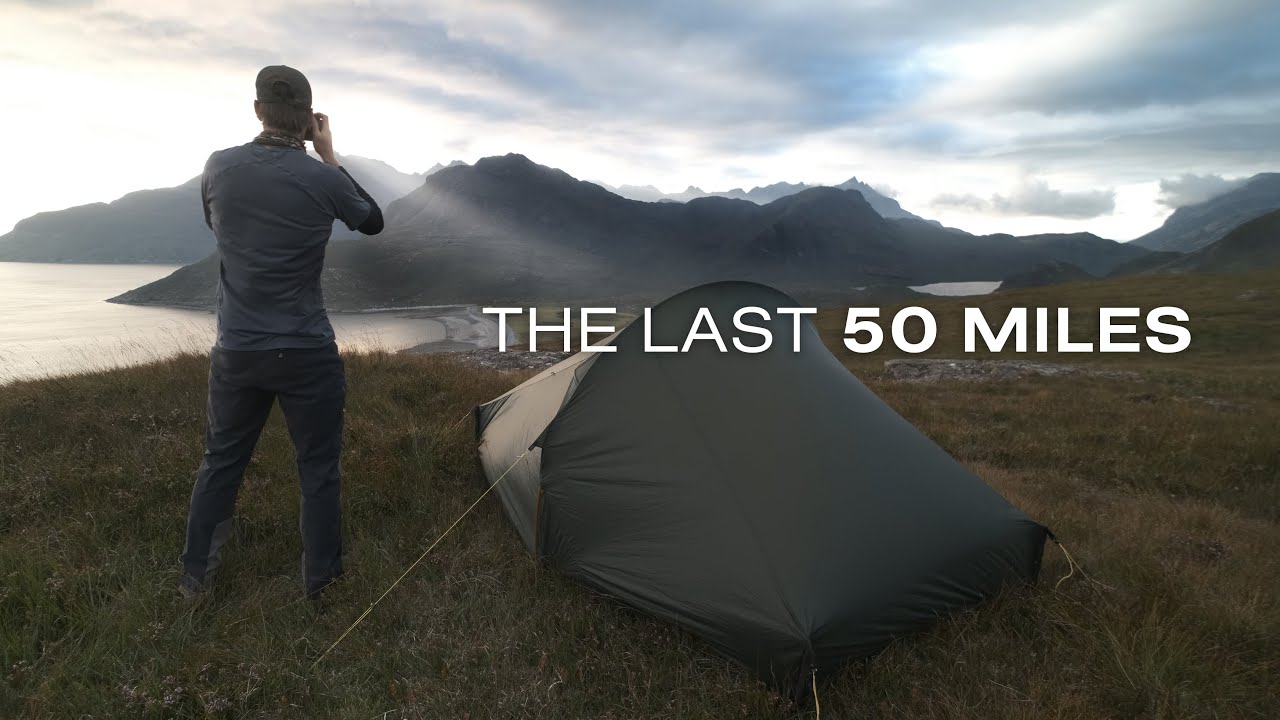
There’s a kind of photography that happens at a desk, and there’s the kind that happens at mile forty-seven when your feet are wet and the light is doing something extraordinary three hundred meters up a ridge you weren’t planning to climb. The second kind is the only kind I’ve ever cared about. After twenty years of dragging cameras into places that require real effort to reach, I’ve learned that the gap between a good shot and a great one is almost always a gear or decision made before you left the trailhead. That’s why I keep returning to videos from photographers who actually go out and do the hard thing, not just talk about it.
In this Thomas Heaton tutorial covering the second half of his 100-mile traverse of the Isle of Skye, there’s a lot packed between the scenic shots and the camp stove moments. Watch the full tutorial on YouTube. Heaton and his companion Murray are on day four of an off-trail extension of the Skye Trail, pushing from Glen Sligachan south through serious mountain terrain toward the famous “Bad Step” on the Coruisk approach. What looks like a walking video is actually a masterclass in field craft: how to make smart equipment choices mid-trip, how to read terrain before committing, and how to stay present enough to actually photograph when the landscape earns it. Here’s what I pulled out of it.
Step 1: Reassess Your Footwear Based on Terrain Ahead, Not Terrain Behind
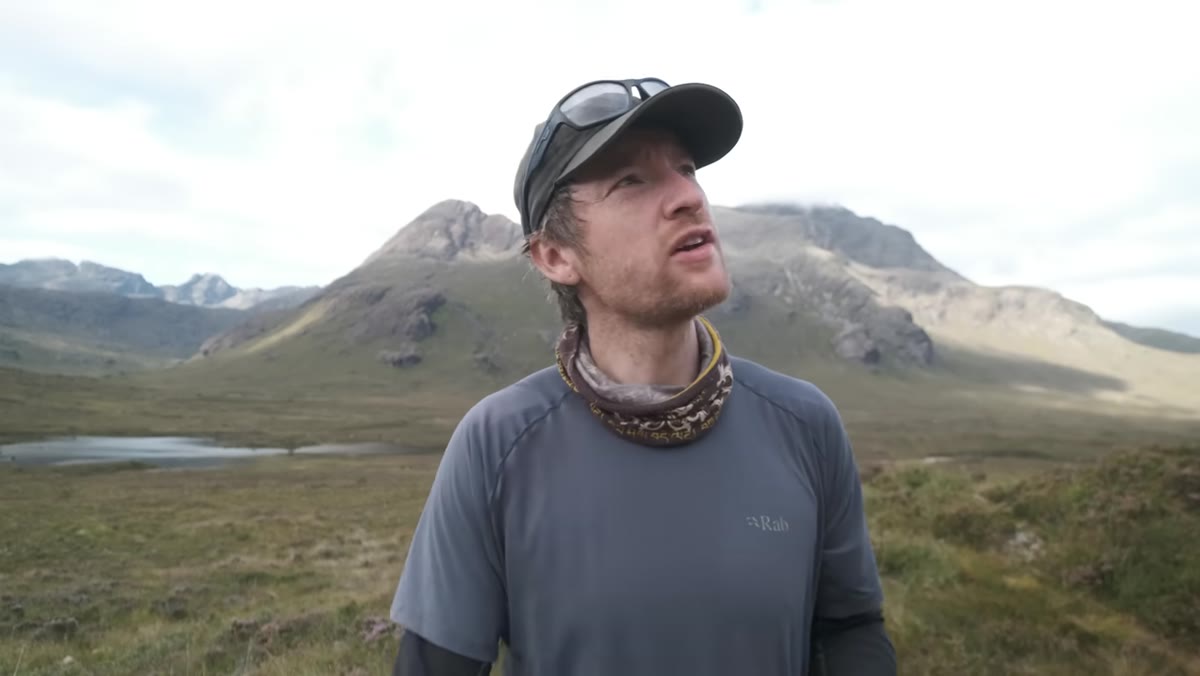 Heaton adjusting boots at start of day four
Most hikers pick their footwear before a multi-day trip and stick with it. Heaton makes a deliberate mid-trip switch, moving from trail runners to hiking boots specifically because the final section of the route is entirely off-trail with unknown ground. This matters for photographers more than most walkers because we stop frequently, sometimes on wet rock or uneven bog, often with our eyes on a viewfinder rather than our feet. Ankle support isn’t a comfort preference at that point, it’s injury prevention. If you’re planning a multi-day photography trek, build in a footwear reassessment at the halfway point. Pack accordingly or plan a gear swap.
Step 2: Keep a Lightweight Drying Tool in Your Kit That Isn’t a Towel
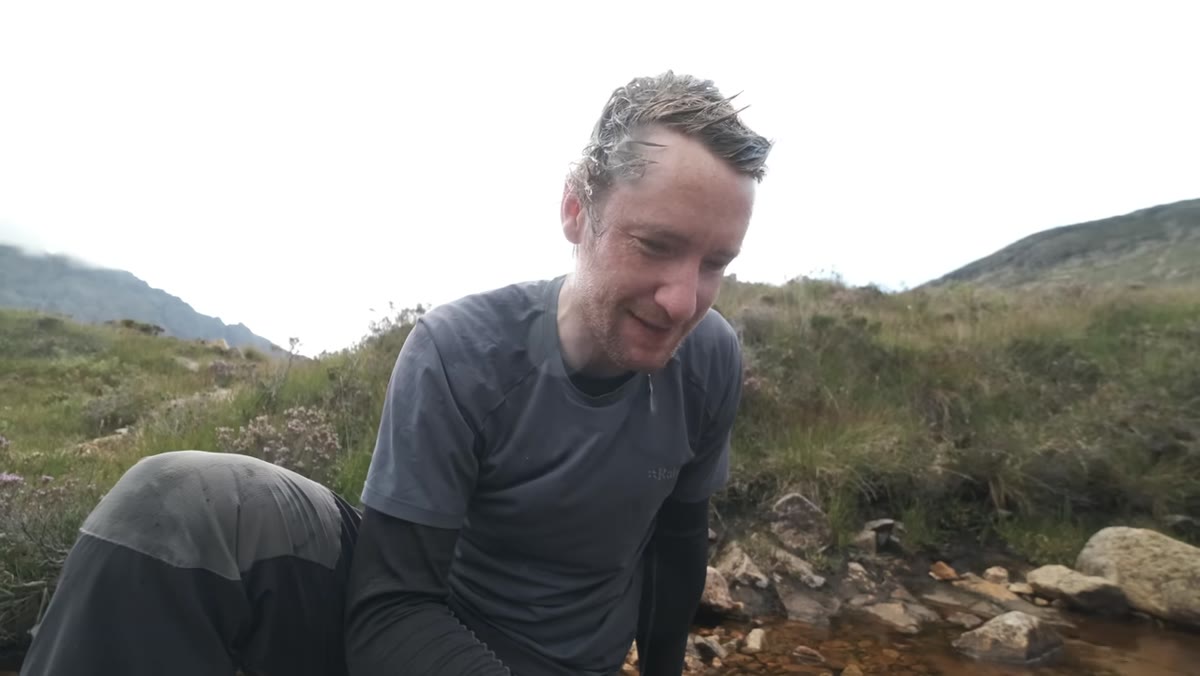 Heaton using a compact sponge to dry his hair streamside
This one is small but I’ve made the towel mistake more times than I want to admit. Heaton uses a highly absorbent synthetic sponge, the kind you’d find at a discount household store, to handle everything from drying tent condensation to washing up after four days in the field. A standard camp towel adds weight and bulk and never fully dries between uses in wet climates like the Scottish Highlands. A compact synthetic sponge weighs almost nothing, packs flat, and does the job well enough. For photographers specifically, keeping condensation out of tent seams also protects gear stored inside. The less moisture you’re managing, the more mental space you have for the actual work.
Step 3: Use Ridge High Points as Scouting Platforms, Not Just Rest Stops
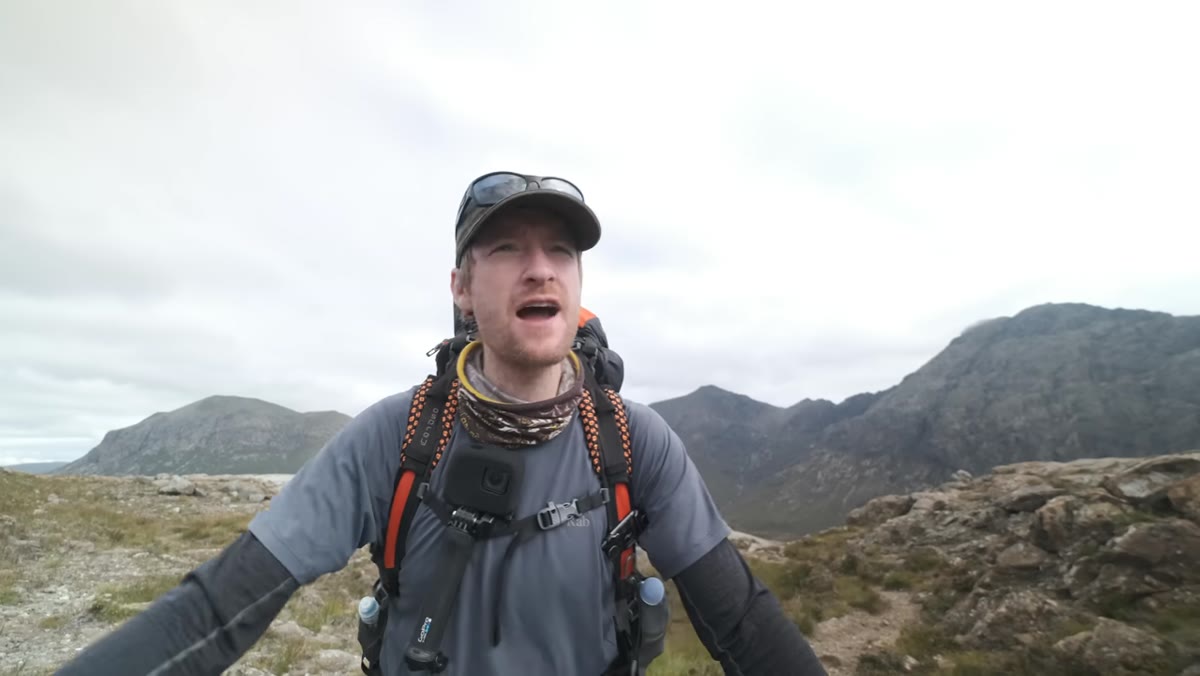 Heaton reaching the ridge, panoramic view over Loch Coruisk and the Cuillin
Reaching the high point of a day’s walk is an obvious moment to rest, but Heaton uses it as a deliberate orientation exercise. From the ridge above Loch Coruisk, he identifies the Black Cuillin ridge, tracks the line of the two lochs below, spots the moored boats that mark the sea loch, and plots the approach toward the Bad Step, all while eating lunch. For landscape photographers, this kind of visual reconnaissance is essential. You’re not just catching your breath, you’re pre-visualizing where the light will fall, identifying compositions you’ll want to return to, and reading the terrain between here and your next camp. I do this every time I gain elevation. The mentor who first took me into the Oregon Cascades told me the mountain doesn’t care about your schedule. That stuck. What it means in practice is that you use every vantage point, because the mountain is showing you something whether or not you’re ready to look.
Step 4: Plan Around Known Technical Obstacles Before You’re Standing in Front of Them
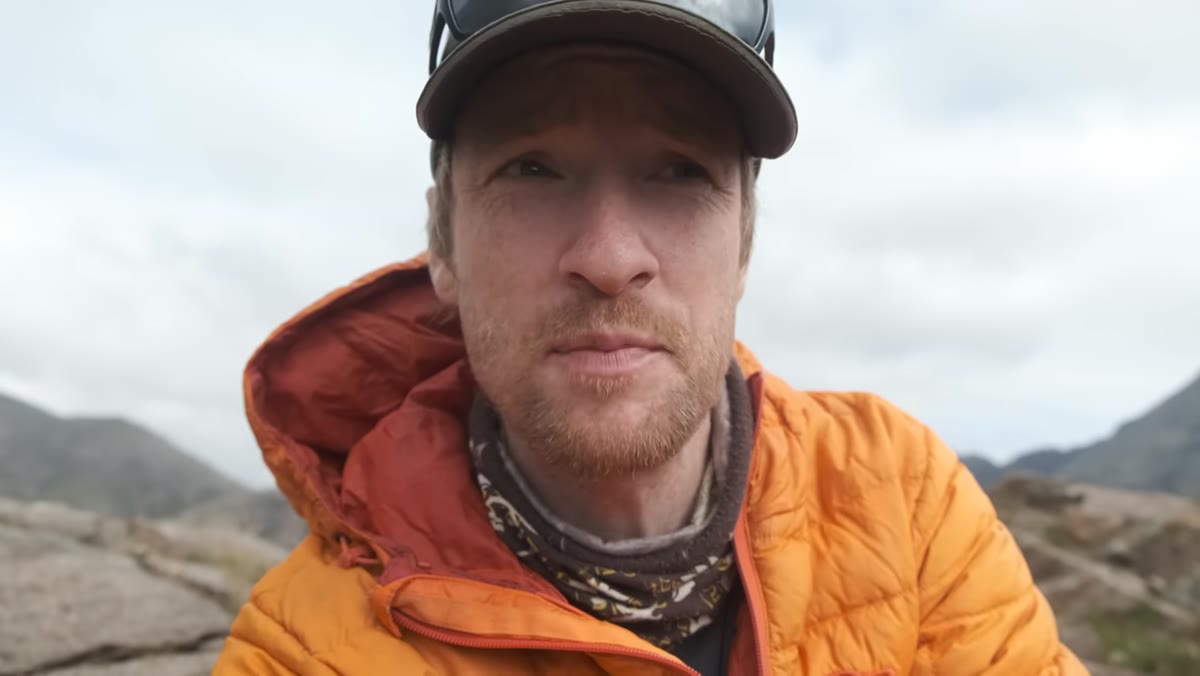 Heaton describing the Bad Step route while still above it on the ridge
The Bad Step is a well-known scrambling obstacle on the Skye coastal path, a sloping rock slab above the sea that requires careful foot placement. Heaton acknowledges from the ridge that he hasn’t done much research on it and hasn’t seen it in person. He frames this casually, but there’s an honest lesson underneath it: even experienced photographers and hikers sometimes underestimate technical sections. If you’re planning a route with known obstacles, read accounts from people who’ve done it recently, check conditions, and know your own scrambling ability honestly. A camera bag shifts your center of gravity. A tripod strapped to a pack catches wind. The calculus changes when you’re carrying photography gear.
Step 5: Use a Waist Pack for Accessible Camera Carry on Long Days
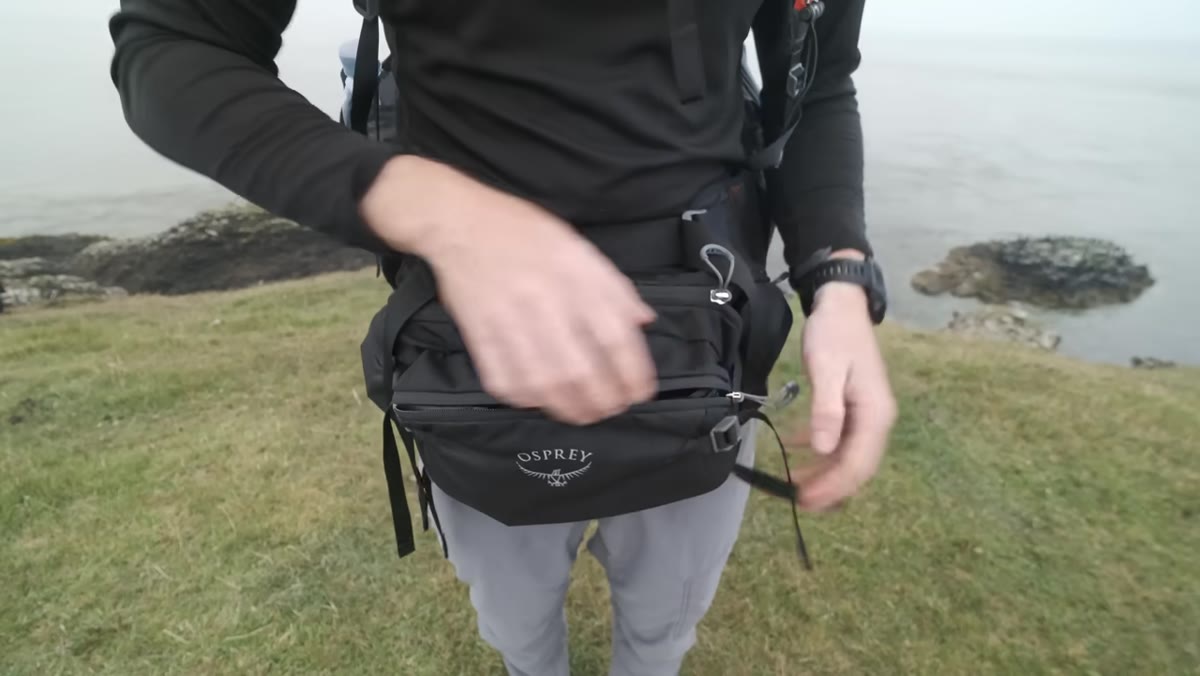 Heaton showing bum bag contents including camera, lenses, and snacks
Heaton gives a genuine, unscripted endorsement of carrying a waist pack (what he calls a bum bag) for hiking days where you need fast access to gear without constantly swinging a shoulder bag out of the way. His setup holds a camera body, two lenses, snacks, and his phone. The key advantage he names is speed of access, which for photographers translates directly into captured shots. I’ve been using a similar system for years on workshop days when I’m moving between students and locations. The moments that matter on a long mountain day rarely give you time to unclip a bag from a pack, unzip it, and mount a camera. If your camera isn’t accessible in under ten seconds, you’re making a creative compromise every time the light shifts.
A Word from My Own Experience: The Gear You Carry Shapes the Shots You Get
There’s a version of landscape photography that treats kit decisions as a separate conversation from the creative one. I’ve never believed that. The 6-hour drive I once made to a coastal location in central Oregon, arriving to two days of fog and leaving with a single frame that became my best-selling print, taught me that the shots you get are shaped by your willingness to stay uncomfortable and prepared at the same time. Heaton’s walk across Skye is a good reminder that the photographers who consistently bring back strong work aren’t necessarily the most technically gifted. They’re the ones who thought carefully about their boots before mile forty-seven, who can pull a camera out in four seconds when a shaft of light breaks over a ridge, and who stop at every high point to actually look.
The single most important thing I took from this video is deceptively simple: the decisions you make between photographs matter as much as the decisions you make during them. Gear management, terrain reading, rest and nutrition, knowing what’s coming, all of it feeds the work. Watch the full tutorial on YouTube and pay attention to the moments between the shots. That’s where the real education is.
Comments (1)
Love how you break down complex stuff into manageable steps.
Leave a Comment