There’s a particular kind of clarity that comes from watching someone else’s work get reviewed. Your defenses drop. You’re not protecting anything. And suddenly the feedback lands differently than it ever does when it’s your own image on the screen. I’ve been shooting landscape and nature work for two decades, and I still find these critique sessions more instructive than most technical tutorials, because the problems that show up in other people’s photographs are almost always problems I’ve made myself, sometimes last week.
In this Mark Denney tutorial, he works through nearly 30 viewer-submitted landscape photographs, keeping his feedback tight and practical, around 30 seconds per image. Watch the full tutorial on YouTube before or after reading this, but what I want to do here is pull out the recurring lessons, slow them down, and give you the kind of field-applicable explanation that a quick-cut review video doesn’t always have room for.
What struck me watching this wasn’t any single image. It was the pattern. The same three or four issues kept surfacing across wildly different locations, lighting conditions, and skill levels. That’s useful information. It means these aren’t random mistakes. They’re structural habits, and habits can be fixed.
Step 1: Check Your Horizon Before You Do Anything Else
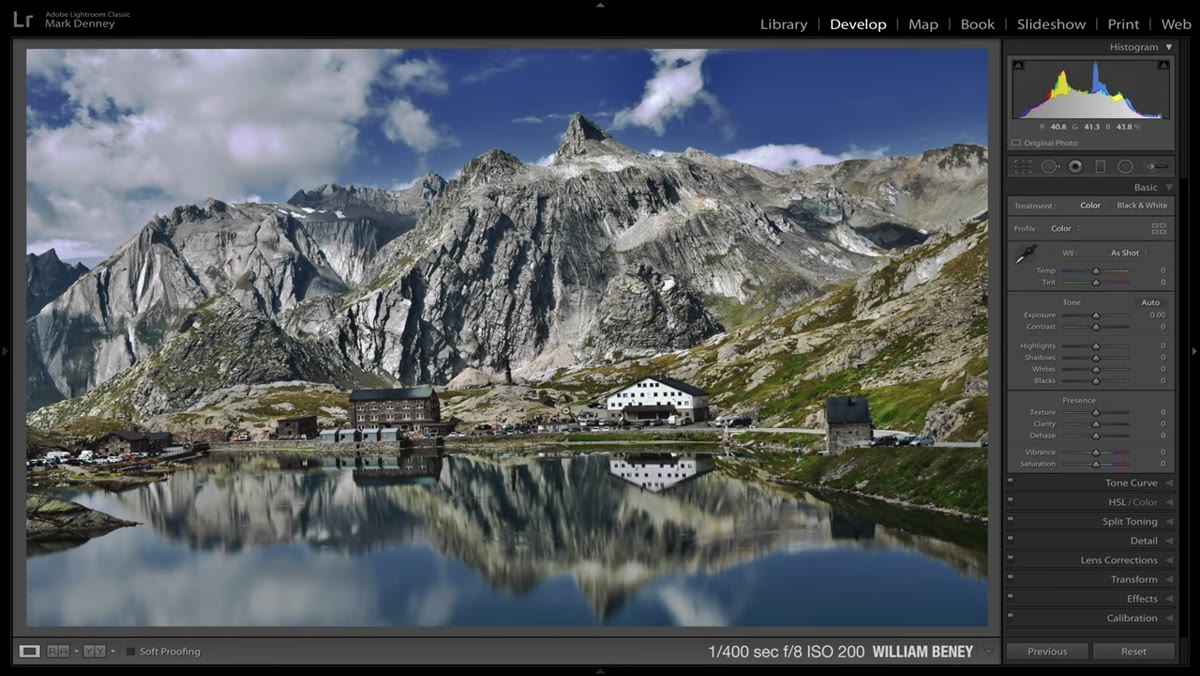 Auto-straighten tool correcting a tilted mountain reflection image
Mark’s first image was a strong mountain reflection shot, well exposed, great subject, genuinely beautiful light. His first correction was also the quickest: the frame was tilting left. He hit the auto-straighten function in his editing software and the image snapped into place immediately.
Auto-straighten tool correcting a tilted mountain reflection image
Mark’s first image was a strong mountain reflection shot, well exposed, great subject, genuinely beautiful light. His first correction was also the quickest: the frame was tilting left. He hit the auto-straighten function in his editing software and the image snapped into place immediately.
I’ve started treating horizon checks the way I treat lens caps. It’s the first thing before I look at anything else. In the field, I use a small bubble level mounted to my hot shoe, especially when I’m shooting near water. Reflections punish a crooked horizon more than almost any other subject because the reflected line doubles the visual distortion. In post, use the angle tool in Lightroom or Camera Raw, or just hit Auto under the Transform panel and see what it suggests. It’s not always right, but it’s a fast gut check.
Step 2: Protect the Edges of Your Reflections
 Mountain peak reflection nearly clipped by bottom of frame
The same mountain image raised a second issue that I think is genuinely underappreciated. The reflection of the mountain peak was either being cut off by the bottom of the frame or just barely touching it. Mark’s suggestion was to either zoom out slightly, take a few steps back, or tilt the camera down to give that reflection room to breathe.
Mountain peak reflection nearly clipped by bottom of frame
The same mountain image raised a second issue that I think is genuinely underappreciated. The reflection of the mountain peak was either being cut off by the bottom of the frame or just barely touching it. Mark’s suggestion was to either zoom out slightly, take a few steps back, or tilt the camera down to give that reflection room to breathe.
Reflections need containment on all sides to read as complete. When a reflected peak touches the frame edge, the viewer’s eye exits the image rather than settling into it. In the field, my habit is to frame tighter than I want and then physically step back or zoom out by one stop. You can always crop in later. You almost never recover what you cut off.
Step 3: Recover Shadows With a Lighter Touch
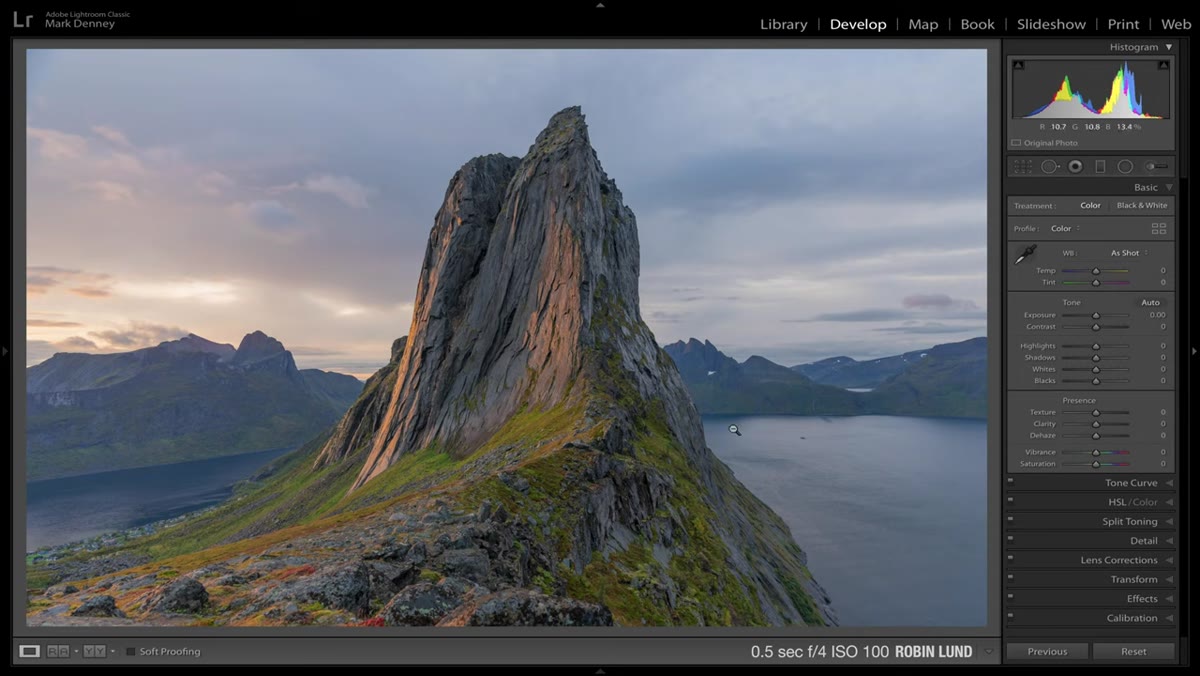 Editing panel showing shadows pulled too high on mountain scene
The second image in Mark’s review was another mountain scene, darker original file, clearly shot in challenging light. Whoever edited it had done solid work, but Mark noted that the shadows had been lifted too aggressively. The recovered shadow detail was technically present but it flattened the image and made it look like a different kind of light than what was actually there.
Editing panel showing shadows pulled too high on mountain scene
The second image in Mark’s review was another mountain scene, darker original file, clearly shot in challenging light. Whoever edited it had done solid work, but Mark noted that the shadows had been lifted too aggressively. The recovered shadow detail was technically present but it flattened the image and made it look like a different kind of light than what was actually there.
His fix was direct: reduce overall exposure a small amount, then bring the shadows slider back down rather than up. The goal isn’t to show everything in the frame. It’s to show the right things. When I’m editing files from early morning or golden hour, I remind myself that the darkness is part of the story. My mentor used to say that the mountain doesn’t care about your schedule, and the same is true in the edit. Don’t fight what the light was actually doing. Let some shadows stay dark. That contrast is what creates the sense of depth and atmosphere that makes landscape work feel three-dimensional rather than flat.
Step 4: Crop to Eliminate, Not Just to Reduce
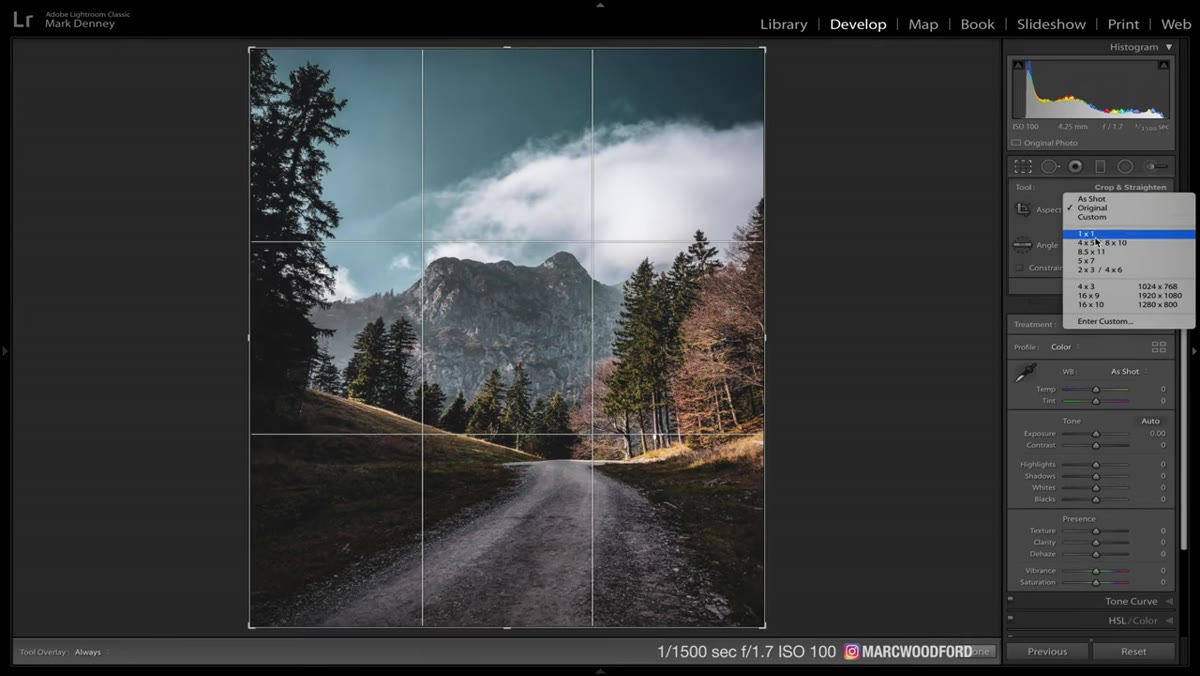 Crop overlay tightening a vertical 4x5 landscape image
One image in the review was already in a 4x5 vertical aspect ratio, which is a strong choice for social-oriented landscape work. Mark’s suggestion was still to crop it tighter, specifically to remove visual weight from the bottom of the frame that wasn’t contributing anything to the image.
Crop overlay tightening a vertical 4x5 landscape image
One image in the review was already in a 4x5 vertical aspect ratio, which is a strong choice for social-oriented landscape work. Mark’s suggestion was still to crop it tighter, specifically to remove visual weight from the bottom of the frame that wasn’t contributing anything to the image.
This is a distinction worth sitting with. Cropping to reduce size is mechanical. Cropping to eliminate distraction is editorial. When I’m reviewing my own work, I’ll often throw a tight crop on an image just to see what survives. If the tighter version is clearly stronger, I ask myself why I left that extra space in the original. Usually the answer is that I was afraid to commit to a point of view. A tighter crop is a more decisive statement about what the photograph is actually about.
Step 5: Treat Each Editing Adjustment as a Question, Not an Answer
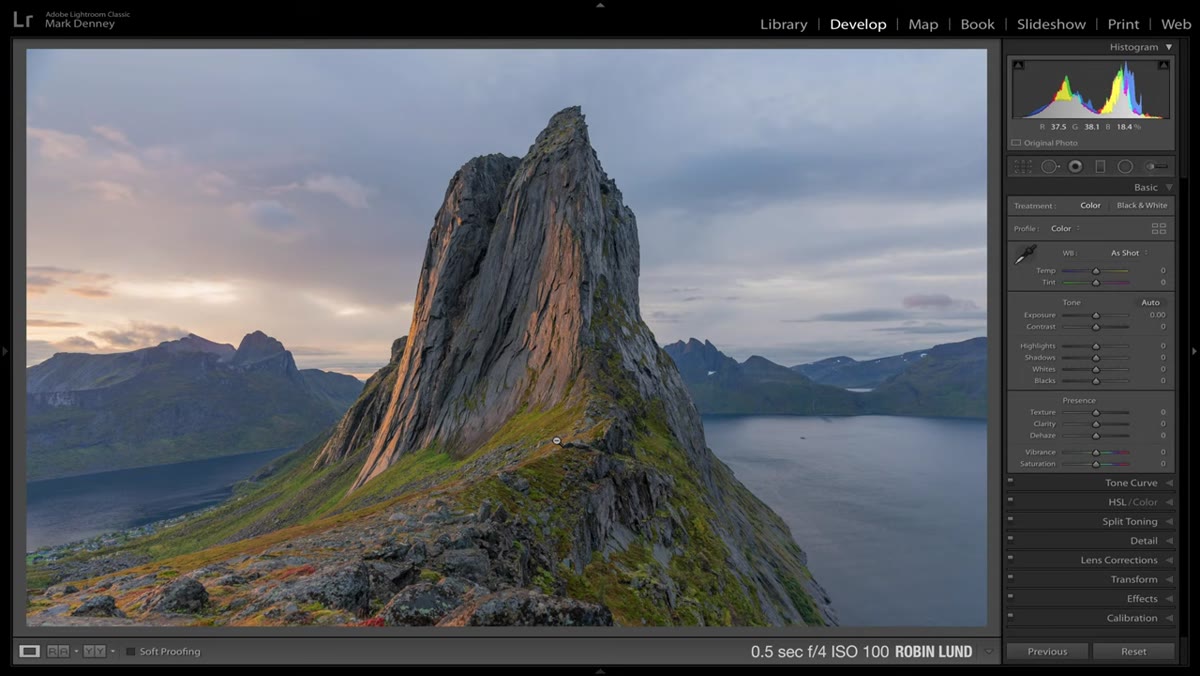 Before-and-after comparison of raw file versus edited version
Across multiple images, Mark showed raw files alongside edited versions. The pattern in the weaker edits was that sliders had been moved toward their logical maximums: clarity all the way up, shadows lifted as far as they’d go, highlights pulled to zero. Each individual decision made a kind of local sense but the combination produced images that looked processed rather than seen.
Before-and-after comparison of raw file versus edited version
Across multiple images, Mark showed raw files alongside edited versions. The pattern in the weaker edits was that sliders had been moved toward their logical maximums: clarity all the way up, shadows lifted as far as they’d go, highlights pulled to zero. Each individual decision made a kind of local sense but the combination produced images that looked processed rather than seen.
Strong editing asks a question with each adjustment: does this make the image feel more like what I experienced at that location, or does it just make the file look more technically correct? Those are different goals. When I’m editing, I work in a single direction at a time, usually luminosity first, then color, then local adjustments. And I try to stop well before I think I’m done. Fresh eyes the next morning catch a lot of over-editing that I would have exported at midnight.
What I’d Add From My Own Experience
The through-line in almost every critique Mark offered comes down to restraint, compositional restraint, editing restraint, the restraint to step back two feet and check your horizon before you shoot. I still shoot film occasionally for exactly this reason. When you have 36 frames and you’re paying for each one, you look longer before you press the shutter. The discipline transfers back to digital work.
If you take one thing from Mark’s review session, let it be this: the strongest images in a batch are almost never the most heavily processed or the most obviously dramatic compositions. They’re the ones where the photographer made clear decisions and then left the image alone. Simplicity is a choice, and in landscape work, it’s usually the harder one.
Watch the full session for all 30 critiques, including several waterfall and long-exposure shots that raise their own set of useful questions:
Watch the full tutorial on YouTube
Comments
Leave a Comment