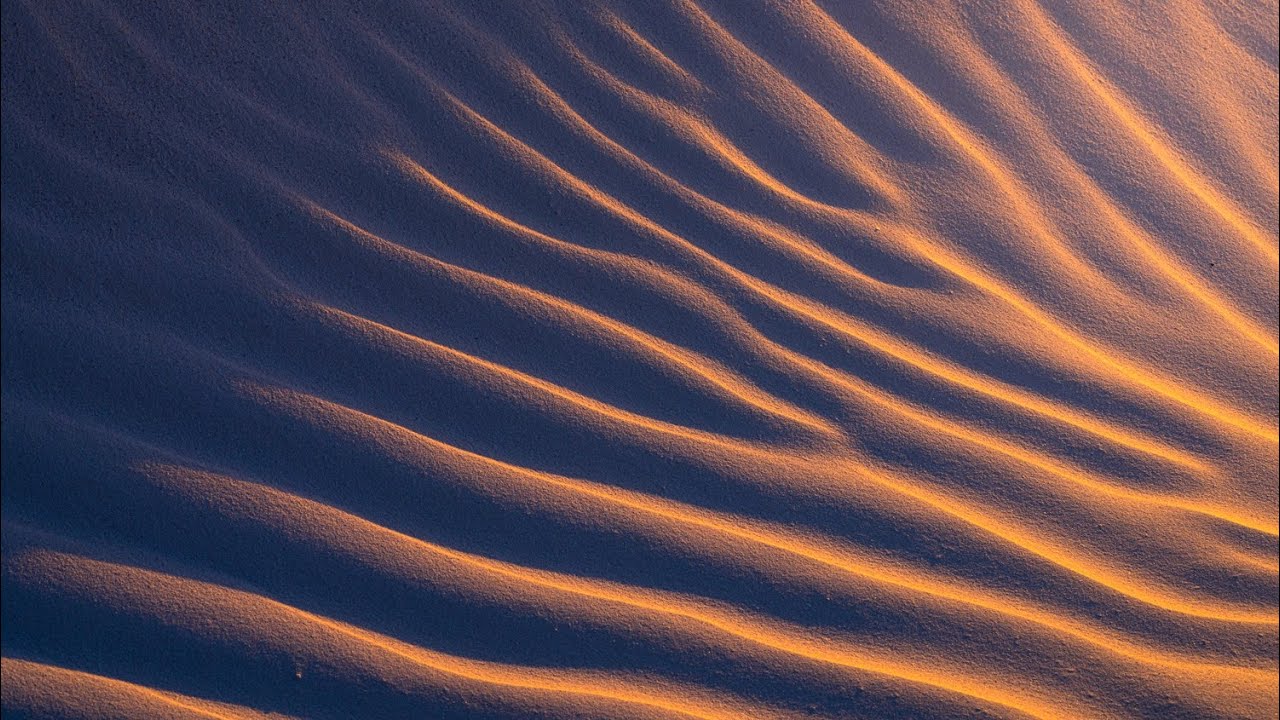
There are landscapes that genuinely resist you. Not because the light is wrong or the season is off, but because the sheer scale and strangeness of the place makes your usual toolkit feel inadequate. I’ve stood in the Columbia River Gorge at first light thinking I had everything figured out, only to realize the scene demanded something I hadn’t practiced. That’s the feeling I got watching William Patino’s aerial photography session over the Western Australian desert. Not intimidation exactly, but a useful humility.
Watch the full tutorial on YouTube
In this William Patino tutorial, he flies over the salt lakes outside Perth and attempts to capture one of the most abstract, color-saturated landscapes on the planet from a small plane during genuinely turbulent conditions. What I found valuable wasn’t the exotic location. It was watching a skilled photographer solve real problems in real time, with no do-overs and a camera bouncing around at altitude. Every decision he makes has a direct parallel to ground-level shooting situations where you’re also working fast, working rough, and working against conditions that don’t care about your schedule.
Step 1: Choose Your Aircraft and Understand Your Window Situation
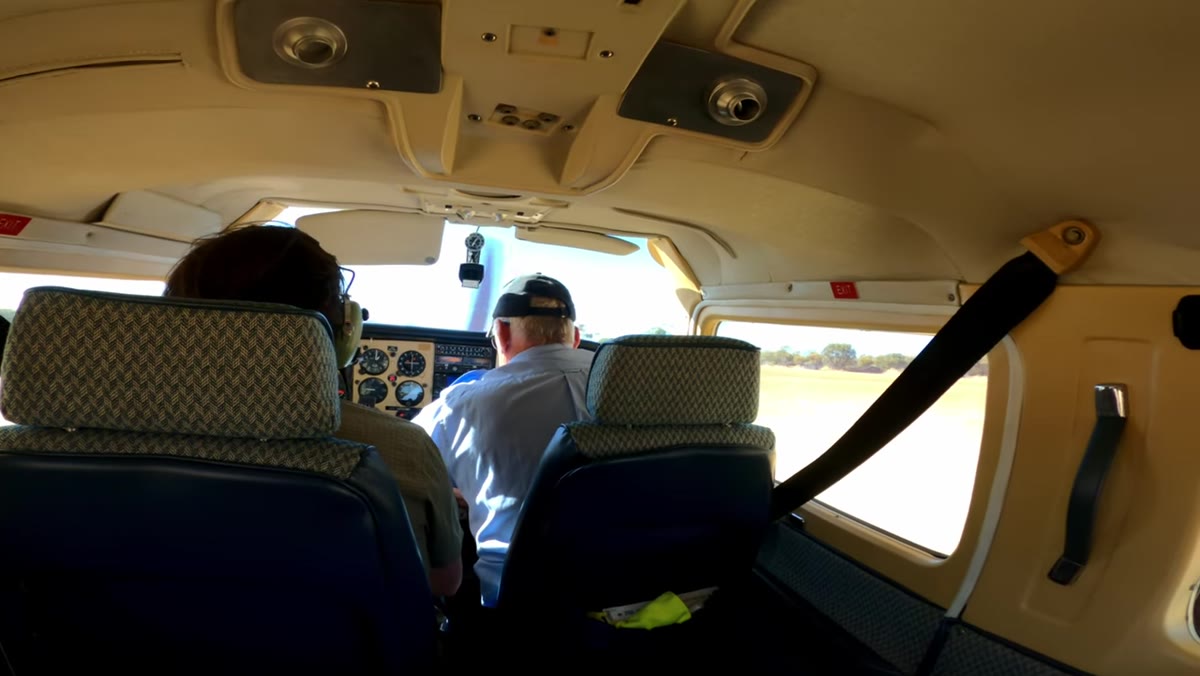 Plane window system with no strut visible, open view
Before you fire a single frame, the aircraft itself determines your ceiling for image quality. Patino specifically calls out the window configuration on his plane, noting that the removable or open window design eliminates both reflection interference and the structural struts that typically cut across your field of view in light aircraft. This is worth researching before you book a flight. Ask the operator directly whether windows open or remove, whether struts obstruct the forward or side view from the passenger seat, and whether the door configuration allows for any open-door shooting if regulations permit.
Plane window system with no strut visible, open view
Before you fire a single frame, the aircraft itself determines your ceiling for image quality. Patino specifically calls out the window configuration on his plane, noting that the removable or open window design eliminates both reflection interference and the structural struts that typically cut across your field of view in light aircraft. This is worth researching before you book a flight. Ask the operator directly whether windows open or remove, whether struts obstruct the forward or side view from the passenger seat, and whether the door configuration allows for any open-door shooting if regulations permit.
If you’re working with a fixed, sealed window, shoot at a slight angle to avoid your own reflection and place the lens as close to the glass as possible without touching it. Contact vibration from the airframe transfers directly into the glass and into your image. A lens hood pressed gently against the window is a common workaround, but a properly configured aircraft eliminates the problem entirely.
Step 2: Accept That Focal Length Is a Double-Edged Tool at Altitude
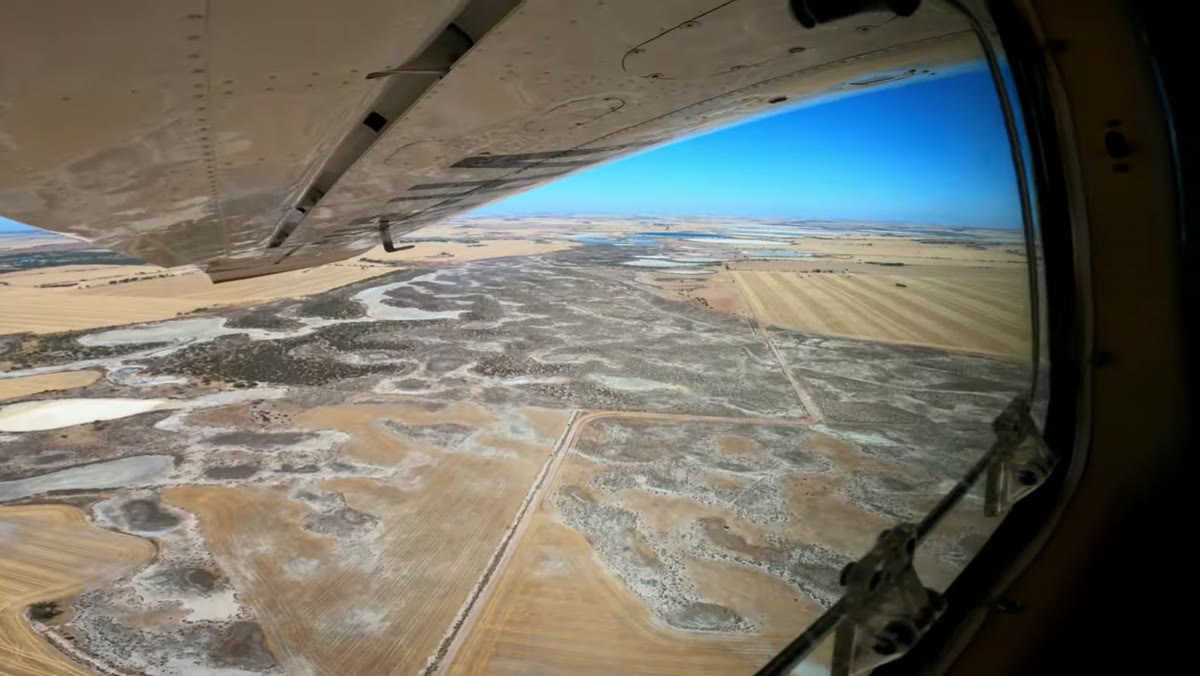 Camera at 200-400mm range, turbulent horizon visible
Patino shoots in the 200 to 400mm range to compress the abstract geometry of the salt lakes below. Those focal lengths are extraordinary for isolating patterns, pulling distant color fields together, and creating images that look nothing like a wide-angle aerial snapshot. But the tradeoff is brutal: every bit of turbulence is magnified proportionally. At 400mm, a small jolt becomes a massive compositional shift in the frame.
Camera at 200-400mm range, turbulent horizon visible
Patino shoots in the 200 to 400mm range to compress the abstract geometry of the salt lakes below. Those focal lengths are extraordinary for isolating patterns, pulling distant color fields together, and creating images that look nothing like a wide-angle aerial snapshot. But the tradeoff is brutal: every bit of turbulence is magnified proportionally. At 400mm, a small jolt becomes a massive compositional shift in the frame.
The practical lesson here is to start shorter than you think you need to. Get a few frames locked in at 100mm or 135mm to establish your scene, then push longer as you get a feel for the aircraft’s rhythm. I treat it the same way I approach shooting from a moving vehicle on a dirt road. You have to learn the bounce pattern before you can predict the stable moments.
Step 3: Shutter Speed Is Your First and Most Important Setting
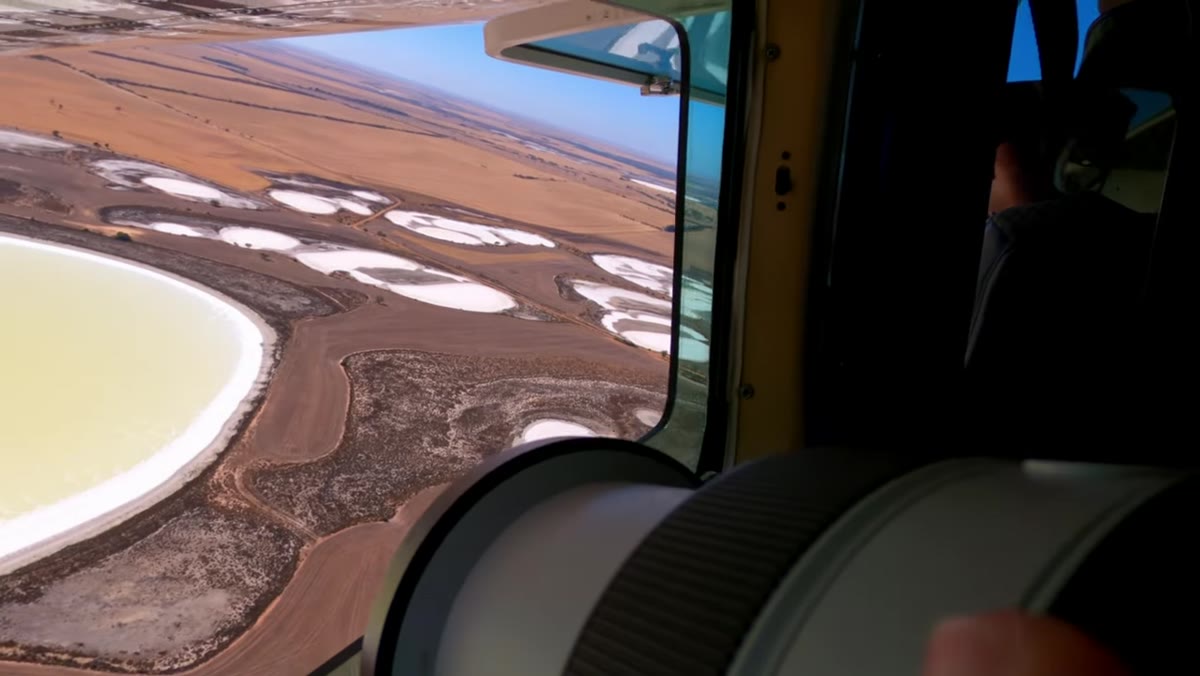 Bright white salt lake surface, high ambient light conditions
Bright desert environments from altitude mean light is rarely the limiting factor. Patino notes this clearly: getting a fast enough shutter speed isn’t the challenge. The sky above and the reflective salt below create a flood of light that lets you push shutter speeds high without penalty. Start at 1/2000s as your floor and work upward from there. In bright midday desert conditions, 1/4000s is entirely achievable and worth using.
Bright white salt lake surface, high ambient light conditions
Bright desert environments from altitude mean light is rarely the limiting factor. Patino notes this clearly: getting a fast enough shutter speed isn’t the challenge. The sky above and the reflective salt below create a flood of light that lets you push shutter speeds high without penalty. Start at 1/2000s as your floor and work upward from there. In bright midday desert conditions, 1/4000s is entirely achievable and worth using.
I refuse to use auto mode on anything, so my instinct here is to work in manual and set the shutter first, then adjust ISO and aperture around it. In a plane, you don’t have time to second-guess an exposure matrix. Lock the shutter speed high, keep ISO at whatever the scene demands, and let your aperture float if you need to. Sharp and slightly underexposed is recoverable. Motion blur from a slow shutter at 300mm is not.
Step 4: Read the Landscape’s Color Logic Before You Frame
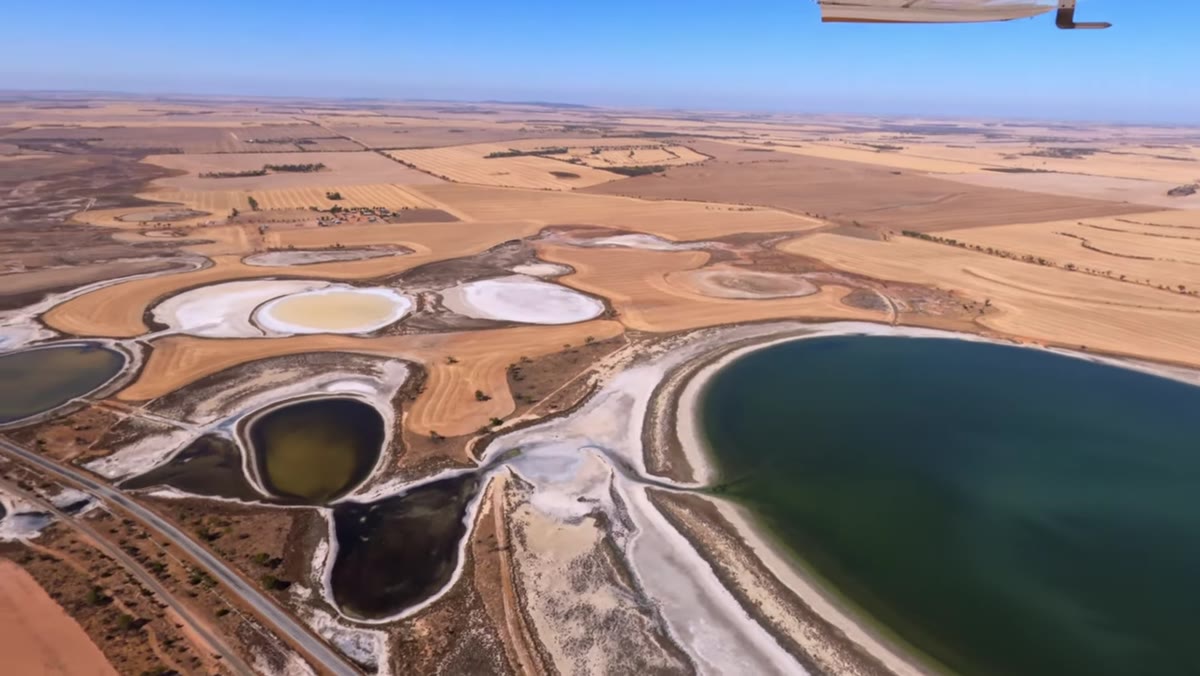 Salt lake with white evaporated areas and pink-blue water layer
The color in the Western Australian salt lakes comes from a specific physical condition: a thin layer of brine still covering the lake bed creates vivid pinks and blues, while the fully evaporated sections appear bleached white. Understanding why the colors exist tells you how to frame them. Patino is deliberately composing to contrast the white voids against the saturated color zones. That contrast is the photograph.
Salt lake with white evaporated areas and pink-blue water layer
The color in the Western Australian salt lakes comes from a specific physical condition: a thin layer of brine still covering the lake bed creates vivid pinks and blues, while the fully evaporated sections appear bleached white. Understanding why the colors exist tells you how to frame them. Patino is deliberately composing to contrast the white voids against the saturated color zones. That contrast is the photograph.
This applies anywhere you’re shooting an unfamiliar landscape from the air. Spend the first few minutes of your flight just observing without shooting. What is producing the color? Where is it most concentrated? Where does it transition? Shooting before you understand what you’re looking at produces technically competent frames of nothing in particular.
Step 5: Work With Turbulence Rhythmically, Not Against It
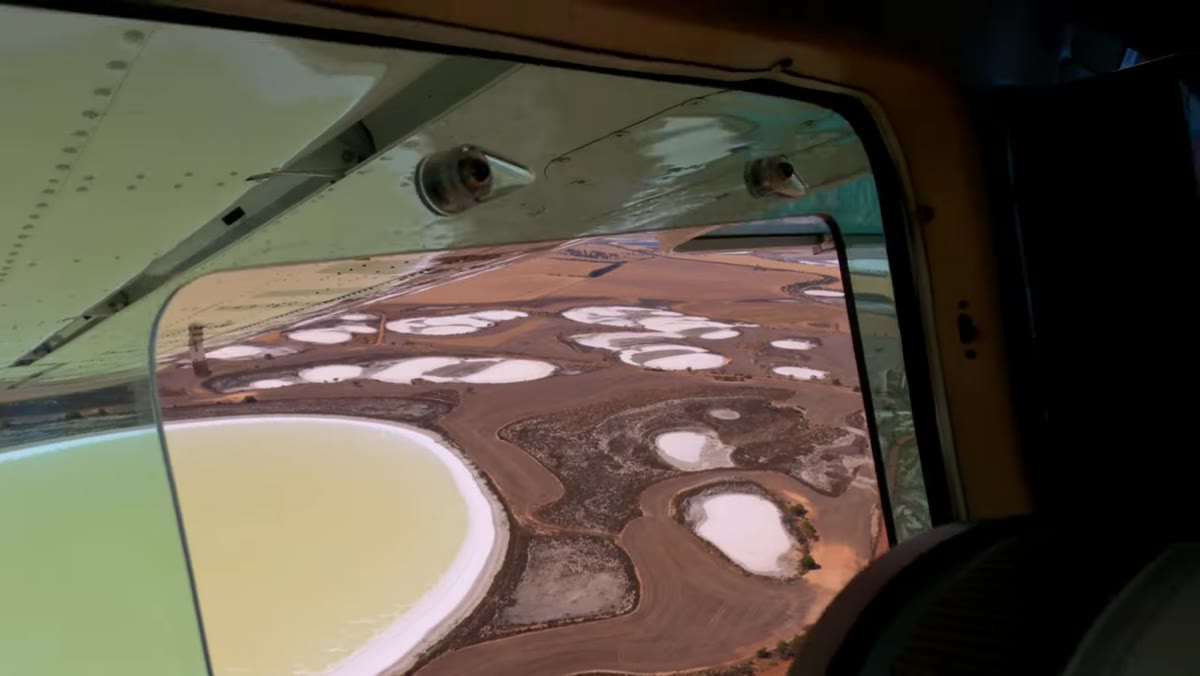 Visible camera movement, horizon shifting during turbulent pass
Patino is candid about the physical discomfort and photographic difficulty of turbulence, and he’s right that it’s simply part of aerial work. But there’s a technique buried inside the honesty. Turbulence in small aircraft rarely runs completely random. There are predictable beats, especially in thermal conditions over flat desert terrain. Your job is to find the momentary compressions between bumps where the plane briefly stabilizes.
Visible camera movement, horizon shifting during turbulent pass
Patino is candid about the physical discomfort and photographic difficulty of turbulence, and he’s right that it’s simply part of aerial work. But there’s a technique buried inside the honesty. Turbulence in small aircraft rarely runs completely random. There are predictable beats, especially in thermal conditions over flat desert terrain. Your job is to find the momentary compressions between bumps where the plane briefly stabilizes.
Watch your horizon line through the viewfinder and shoot on the settling, not on the bounce. Burst mode helps, but only if you’re triggering it at the right moment. Spraying frames during a full jolt gives you twelve variations of the same blurred image. A three-frame burst fired at the stillest point in a cycle gives you something to work with. Treat it like catching a wave rather than fighting the water.
A Note From Ground Level: Patience Transfers Upward
I’ve spent twenty years waking up before the alarm goes off, driving dark roads, standing in cold rivers waiting for light that may or may not arrive. A mentor told me once that the mountain doesn’t care about your schedule, and I’ve carried that ever since. What I find interesting about Patino’s aerial work is that the same patience applies at altitude, just compressed into seconds instead of hours. You can’t move the plane to a better position on command. You wait, you watch the landscape rotate beneath you, and you press the shutter when the geometry lines up.
The chaos of aerial shooting strips away the perfectionism that sometimes strangles ground-level work. You get what you get, and then you land and find out what was actually there. There’s a freedom in that which I think every landscape photographer benefits from experiencing at least once.
The single most important thing Patino demonstrates here is that compositional thinking doesn’t stop being your primary job just because the platform is moving and the conditions are rough. Settings matter, gear matters, but the photographer who understands why the landscape looks the way it does will always outshoot the one who is only managing their equipment.
Watch the full tutorial on YouTube to see the salt lake sequences and the real-time turbulence challenges in motion. The footage of the landscape alone is worth your time.
Comments
Leave a Comment