Autumn is the season that exposes every weakness in your field process. The light shifts fast, the color window is brutally short, and if you show up on the wrong day with the wrong instincts, you come home with a memory card full of blown-out, washed-out, reflective mush. I’ve been chasing fall color for two decades and I still catch myself making the same fundamental mistake: treating autumn like summer, assuming bright sun equals better photographs. It almost never does.
That’s why this tutorial from Mark Denney landed so cleanly for me. Watch the full tutorial on YouTube - he breaks the on-location fall process into practical, repeatable steps that address the actual physics of why fall foliage behaves the way it does under different light conditions. These aren’t stylistic preferences. They’re field decisions rooted in how leaves reflect light, and once you understand that, everything else starts to make sense.
What follows is my walkthrough of the on-location techniques Denney covers, written from the perspective of someone who’s tested these approaches across the Blue Ridge, the Cascades, and the high desert country around my home in Bend. These are tools you can apply immediately, regardless of where you’re shooting fall color this season.
Step 1: Reframe What “Good Weather” Means for Fall Shooting
 Overcast woodland scene with rich, saturated autumn foliage
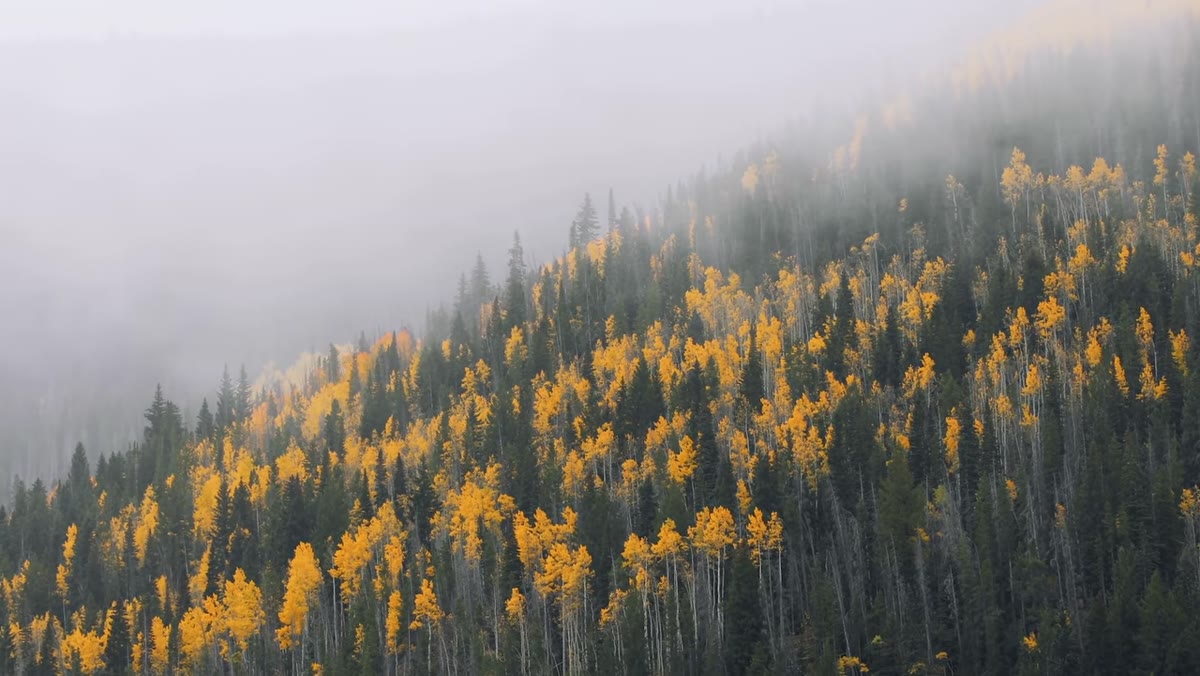
Most photographers I know will cancel a shoot when they check the forecast and see clouds. I used to do the same thing. The shift in thinking that transformed my fall work was understanding that leaves are reflective surfaces. On a clear, sunny day, the canopy overhead acts almost like a mirror, bouncing hard light off every leaf face and washing out the very saturation you drove three hours to capture. The color is still there, but the light is destroying your ability to see it.
Overcast woodland scene with rich, saturated autumn foliage
Most photographers I know will cancel a shoot when they check the forecast and see clouds. I used to do the same thing. The shift in thinking that transformed my fall work was understanding that leaves are reflective surfaces. On a clear, sunny day, the canopy overhead acts almost like a mirror, bouncing hard light off every leaf face and washing out the very saturation you drove three hours to capture. The color is still there, but the light is destroying your ability to see it.
Overcast conditions eliminate that problem entirely. The clouds diffuse the light and spread it evenly across the landscape, which means every leaf reads its actual color rather than a blown highlight. Denney makes the point that the best case scenario is shooting right after rain, when the moisture on the leaves amplifies that saturation even further. If your forecast shows clouds and a recent rain event during your local peak color window, that is your shooting day. Clear skies can wait.
Step 2: Slow Down and Work the Scene When the Pressure Is Off
 Photographer moving through a forest on a flat-light day
One of the underrated benefits of overcast fall shooting is psychological. When you’re working golden hour on a sunny morning, you have maybe 20 minutes before the quality of light changes and everything you carefully composed falls apart. You’re running. You’re making fast decisions. You’re skipping compositions because there isn’t time.
Photographer moving through a forest on a flat-light day
One of the underrated benefits of overcast fall shooting is psychological. When you’re working golden hour on a sunny morning, you have maybe 20 minutes before the quality of light changes and everything you carefully composed falls apart. You’re running. You’re making fast decisions. You’re skipping compositions because there isn’t time.
A soft, overcast day removes that pressure entirely. The clouds act as a continuous, even light source that doesn’t shift dramatically over an hour. That gives you room to slow down, walk the location properly, study your foreground options, and make deliberate choices about framing. Some of my most thoughtful woodland compositions came from overcast mornings where I had two hours of consistent light and nowhere to rush. Use that time to find the shot that a sunny-day photographer had to skip.
Step 3: Experiment With White Balance to Visualize the Scene
 Camera white balance settings menu on a DSLR screen
If you shoot RAW - and if you’re serious about this work, you should be - white balance is technically adjustable after the fact in post. But Denney raises a practical point about using in-camera white balance as a visualization tool while you’re still on location. Dialing your white balance toward the “Cloudy” setting adds a warm shift to your preview image, which can help you see whether the warm-cool balance in a scene is working compositionally before you ever open Lightroom.
Camera white balance settings menu on a DSLR screen
If you shoot RAW - and if you’re serious about this work, you should be - white balance is technically adjustable after the fact in post. But Denney raises a practical point about using in-camera white balance as a visualization tool while you’re still on location. Dialing your white balance toward the “Cloudy” setting adds a warm shift to your preview image, which can help you see whether the warm-cool balance in a scene is working compositionally before you ever open Lightroom.
I’ve started doing this deliberately on overcast shoots specifically because the flat light can sometimes make a forest scene read as cool and a little lifeless in the camera preview. Shifting to Cloudy white balance while I’m scouting gives me a better sense of how the finished image might feel after processing. Think of it as a creative preview tool rather than a technical setting you have to commit to. The RAW file holds all the original information. You’re just helping your eye make decisions in the field.
Step 4: Time Your Arrival Around the Peak Color Window
 Wide landscape view of a Blue Ridge mountainside in peak fall color
Denney is direct about this: the window for peak fall color is roughly two to three weeks, and it varies by elevation, latitude, and year. Chasing that window is as much logistics as photography. You can have every field technique dialed in and still come home with nothing if you arrived two weeks late and the leaves are on the ground.
Wide landscape view of a Blue Ridge mountainside in peak fall color
Denney is direct about this: the window for peak fall color is roughly two to three weeks, and it varies by elevation, latitude, and year. Chasing that window is as much logistics as photography. You can have every field technique dialed in and still come home with nothing if you arrived two weeks late and the leaves are on the ground.
My own approach is to track multiple locations at different elevations simultaneously so I always have a backup. Higher elevations peak earlier. If my primary location at 5,000 feet has passed, I can drop down to 2,500 feet and buy myself another week. Combine that timing with the overcast and post-rain conditions from Step 1 and you’ve stacked the variables in your favor as much as the season allows.
Step 5: Prioritize Wet Conditions Over Dry Ones for Foliage Shots
 Wet woodland trail with saturated leaf color post-rain
This deserves its own step because it changed how I schedule shoots. Shooting immediately after rain is not just slightly better than shooting in dry overcast conditions - it is categorically different. Wet leaves behave like they’ve been painted. The moisture seals the surface just enough to reduce the scattering of ambient light, and the colors become richer and deeper than you can achieve in any other natural light condition.
Wet woodland trail with saturated leaf color post-rain
This deserves its own step because it changed how I schedule shoots. Shooting immediately after rain is not just slightly better than shooting in dry overcast conditions - it is categorically different. Wet leaves behave like they’ve been painted. The moisture seals the surface just enough to reduce the scattering of ambient light, and the colors become richer and deeper than you can achieve in any other natural light condition.
The practical challenge is timing. You need to arrive quickly enough after rain that the leaves are still wet, but late enough that any heavy mist has cleared from the air. For woodland scenes, that window is usually one to three hours after rain stops. I set a weather alert for the locations I’m actively watching during peak season so I can mobilize fast when a rain event clears.
A Note From My Own Experience: Don’t Underestimate Composition on Flat Days
Overcast conditions are generous with light but they don’t do your compositional work for you. In fact, because you lose the dramatic shadows and directional light that can make a composition read even when the framing is lazy, flat days demand more disciplined composition. Strong foreground elements become more important, not less. The relationship between near and far subjects carries the image when light alone isn’t doing it.
I learned this the hard way one October morning in the Columbia River Gorge, standing in front of a gorgeous maple, with perfect soft light and a completely uninteresting foreground. The shot had nothing to anchor it. The conditions were right but the framing was wrong. Now I spend the first fifteen minutes of any overcast shoot just walking and looking at the ground.
The single most important shift you can make for fall photography this season is to stop waiting for the perfect sunny morning and start planning specifically for overcast, post-rain conditions. The light you think you want is often the light that’s working against you.
Watch the full tutorial on YouTube to see Denney walk through both the on-location process and the post-processing side of his fall workflow. The section on editing fall color is worth the full watch on its own.
Comments (1)
This is the kind of content that keeps me coming back.
Leave a Comment