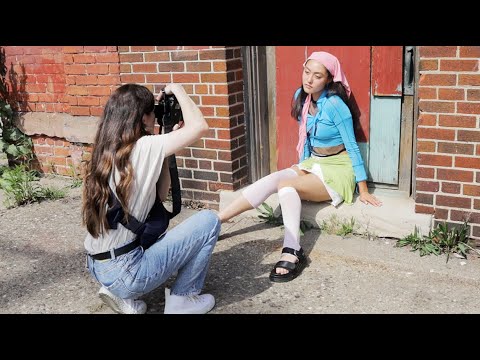
Most of my work involves waiting. Waiting for light, waiting for clouds to shift, waiting for the river to settle after a gust. I’ve stood in freezing water at dawn more times than I can count, and my kids think I’ve lost my mind for it. But a few months back I found myself watching portrait tutorials at midnight, not because I photograph people, but because portrait photographers work with natural light in real time, under pressure, with a subject who can’t be asked to hold still for two hours while the sun moves. That constraint forces a kind of practical decision-making that landscape shooters can learn from.
In this Jessica Kobeissi tutorial on outdoor portrait photography, Watch the full tutorial on YouTube, Kobeissi takes a professional model through a real shoot in what looks like an urban outdoor setting, making adjustments on the fly with a Canon 5D Mark IV and a 50mm f/1.4 lens. What strikes me watching it is how quickly she reads a location and moves. No tripod, no hesitation. Just observation, adjustment, and commitment. That workflow translates directly to the field.
What follows is my breakdown of her process, with notes on how I’ve applied similar thinking to landscape and nature work. If you shoot people outdoors too, this is even more directly useful.
Step 1: Start With a Test Shot to Read the Scene
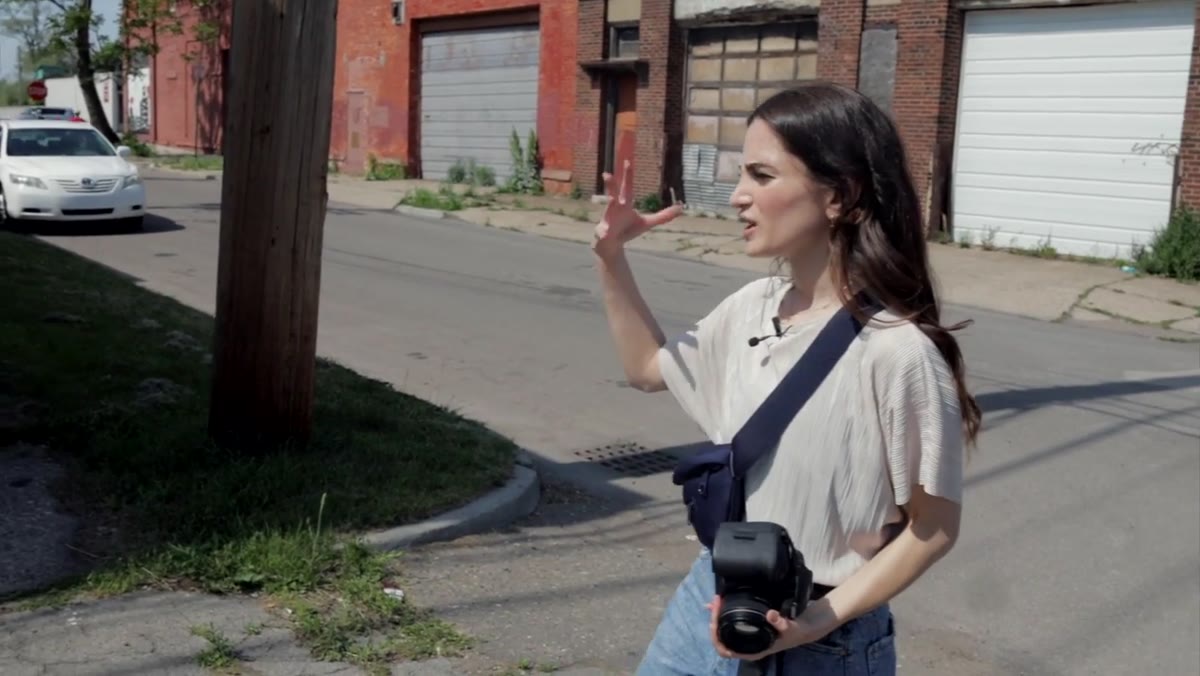
 Photographer taking first test shot in outdoor location
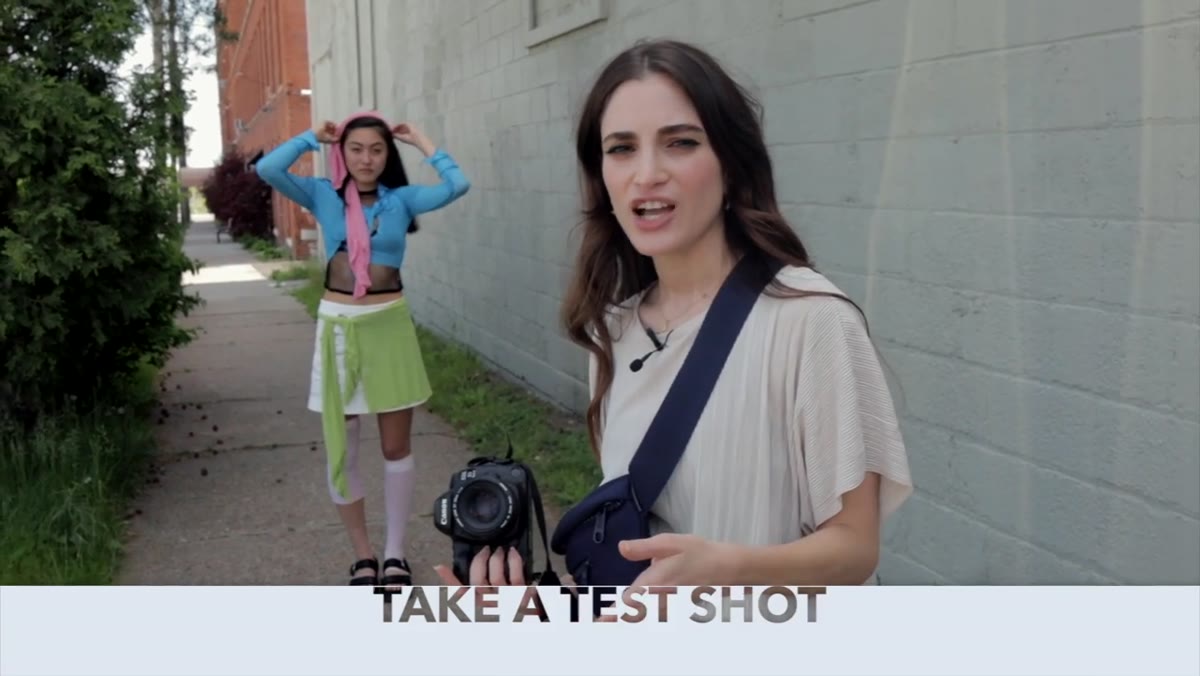
Before you commit to a location within a location, you take a picture. Not the picture. A picture. Kobeissi’s first move is a test shot at the first position she tries, and she’s explicit that the point is to evaluate, not to deliver. She’s checking light quality, how the environment interacts with her subject, and whether the spot is even worth staying in.
Photographer taking first test shot in outdoor location
Before you commit to a location within a location, you take a picture. Not the picture. A picture. Kobeissi’s first move is a test shot at the first position she tries, and she’s explicit that the point is to evaluate, not to deliver. She’s checking light quality, how the environment interacts with her subject, and whether the spot is even worth staying in.
I do the same thing on landscape shoots, though I call it a scout frame. I arrive somewhere new, pull out the camera, and shoot one image at a neutral exposure just to see what I’m working with. The histogram tells me about the light. The composition tells me whether I need to move left or right, higher or lower. You’re not wasting a shot. You’re gathering information before you invest time setting up.
Step 2: Test Distance From Your Background
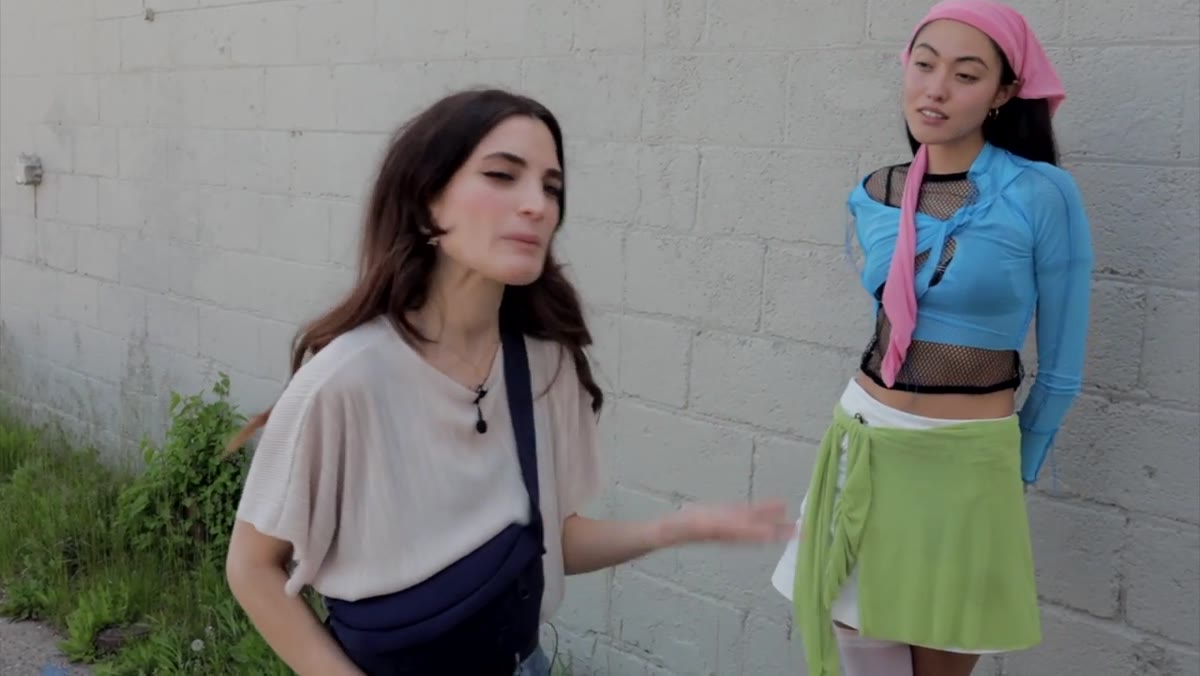
 Model standing at two different distances from a textured wall
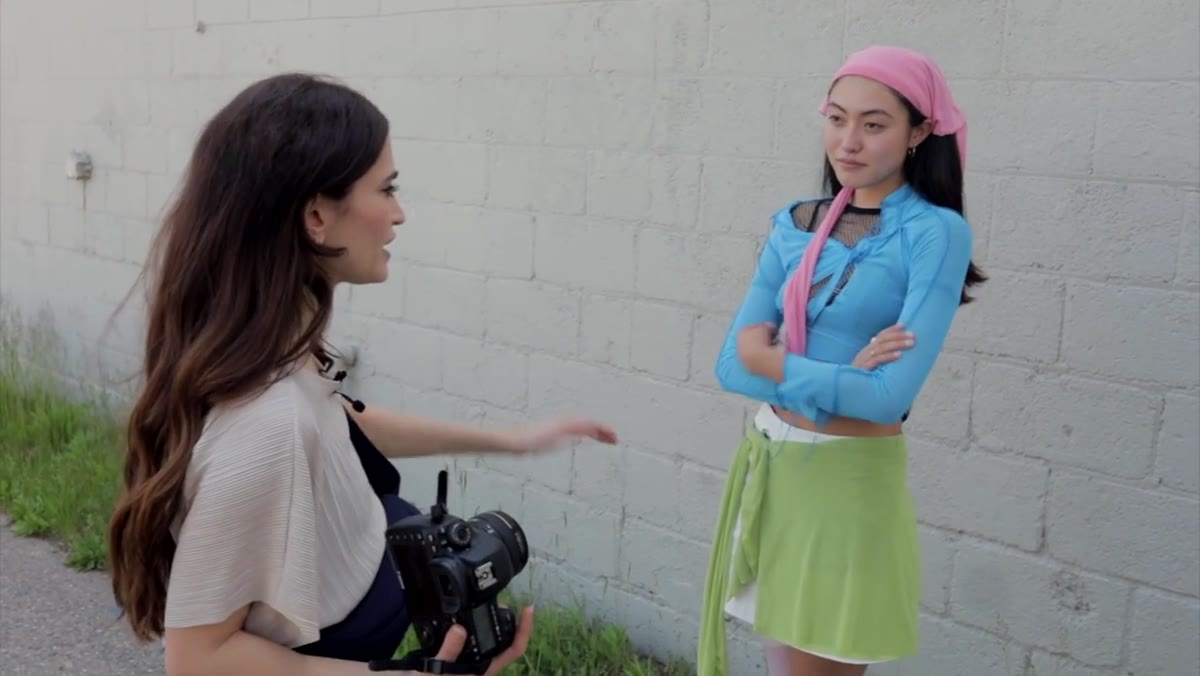
This is the step that made me pause the video and think. Kobeissi places her subject at two different distances from a textured wall and shoots both. When the subject stands close, the wall’s texture reads clearly in the frame. When there’s more space between subject and wall, the background blurs out. She chooses the closer position because the texture adds to the image rather than disappearing into bokeh.
Model standing at two different distances from a textured wall
This is the step that made me pause the video and think. Kobeissi places her subject at two different distances from a textured wall and shoots both. When the subject stands close, the wall’s texture reads clearly in the frame. When there’s more space between subject and wall, the background blurs out. She chooses the closer position because the texture adds to the image rather than disappearing into bokeh.
At f/1.4, depth of field is razor thin, and background blur is easy to get. The more interesting question is when you don’t want it. In landscape work I’m almost always chasing front-to-back sharpness, but when I’m shooting something in the foreground against a distant cliff face or a canyon wall, the same principle applies in reverse. Sometimes I want to compress that distance, not eliminate it. Thinking about subject-to-background distance as a creative dial rather than an afterthought changes how you position yourself in the field.
Step 3: Use Texture as a Compositional Anchor
 Model posed against brick wall showing texture detail
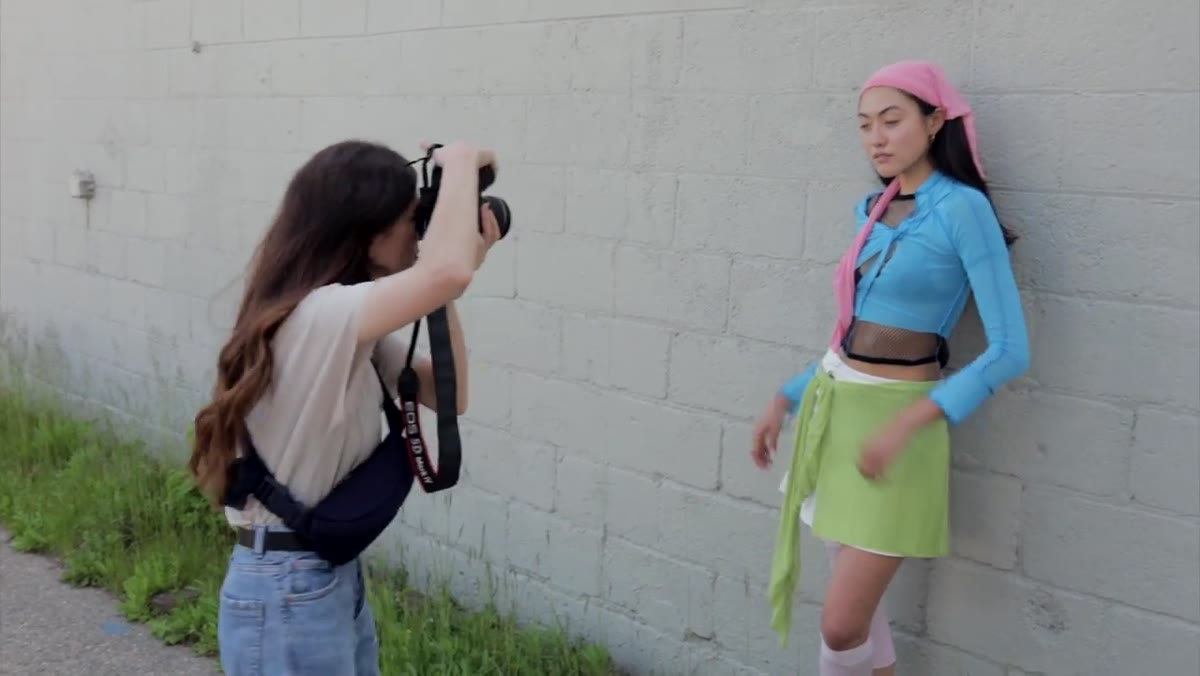
Once Kobeissi settles on the wall position, she uses the texture of the brick as a deliberate element, not just a backdrop. The wall is doing work in the image. It gives the eye somewhere to travel when it’s not on the subject. She frames tight enough that the texture is legible but the subject remains primary.
Model posed against brick wall showing texture detail
Once Kobeissi settles on the wall position, she uses the texture of the brick as a deliberate element, not just a backdrop. The wall is doing work in the image. It gives the eye somewhere to travel when it’s not on the subject. She frames tight enough that the texture is legible but the subject remains primary.
For landscape photographers this is basic grammar, but it’s worth naming explicitly. A field of grass, a rocky shoreline, a stand of old-growth bark. These textures are the walls in your frame. The question is always whether you’re close enough to make them count, or whether you’ve stepped back so far that everything becomes generalized and soft. Texture requires proximity, either physical or optical. If your wide-angle shot is losing the interesting surface detail in your foreground, move closer.
Step 4: Don’t Fear Harsh Midday Sun
 Model positioned in direct afternoon sunlight around 3pm
Around the three o’clock mark in the shoot, Kobeissi deliberately moves her subject into the sun rather than away from it. She acknowledges that most photographers avoid this kind of harsh direct light, especially mid-afternoon. Then she shows you why they’re wrong to be so rigid about it.
Model positioned in direct afternoon sunlight around 3pm
Around the three o’clock mark in the shoot, Kobeissi deliberately moves her subject into the sun rather than away from it. She acknowledges that most photographers avoid this kind of harsh direct light, especially mid-afternoon. Then she shows you why they’re wrong to be so rigid about it.
The key is finding a position where a little shade modifies the harshest angles while directional light still creates dimension. She’s not fighting the sun. She’s negotiating with it. I’ve carried this thinking back to my own work in a direct way. I used to pack up around 10am and not shoot again until late afternoon. Now I look for canyon walls, tree canopies, and rock faces that break up midday light into something useful. The light at noon isn’t bad. It’s just unforgiving of bad positioning.
Step 5: Work With Backlit Scenes Intentionally
 Model backlit by sun with brick texture visible behind her
Once Kobeissi has her subject facing away from the direct sun, she’s working with backlighting. This creates a rim of light around the edges of her subject that separates them from the background. The brick behind her still reads. The image has depth.
Model backlit by sun with brick texture visible behind her
Once Kobeissi has her subject facing away from the direct sun, she’s working with backlighting. This creates a rim of light around the edges of her subject that separates them from the background. The brick behind her still reads. The image has depth.
Backlighting in landscape photography creates the same separation. A stand of tall grasses backlit at dawn. A lone tree with the sun just behind the ridgeline. The technique is identical. You’re exposing for the shadow side of your subject and letting the highlights do their work around the edges. Metering matters here. Expose too hot and you blow the rim light out entirely. Expose too dark and you lose shadow detail. Bracket if you’re unsure, and shoot with the sun lower than you think you need it.
A Note From 20 Years in the Field
The thing about watching another photographer work in real time is that you catch the decisions they don’t narrate. Kobeissi moves fast. She doesn’t agonize. She makes a call, shoots it, evaluates, adjusts. I spent years believing that slower and more deliberate was always better. And for certain kinds of work, it is. But I had a mentor once who told me that hesitation in the field is just fear wearing a thoughtful face. The shot you didn’t take because the light wasn’t quite right yet is still a shot you didn’t take.
The discipline I’d add for landscape work is this: bring the same willingness to move that portrait photographers have. We get attached to a composition because we hiked three miles to reach it. Portrait photographers don’t have that sunk cost. They walk ten feet left and try again. So should we.
The single most important thing I took from this tutorial is the test shot used as information, not output. Before you lock in on any composition or lighting setup, make one frame and actually look at it. Let it tell you what needs to change. That habit alone will save you hours of second-guessing in the field.
Watch the full tutorial on YouTube and watch how quickly Kobeissi reads and responds to the environment. That speed is a skill, and it’s one worth practicing regardless of what you point your camera at.
Comments (3)
Clear and practical. No fluff. Appreciate that.
Clear and practical. No fluff. Appreciate that.
Been doing this wrong for years apparently. Thanks for the wake-up call.
Leave a Comment