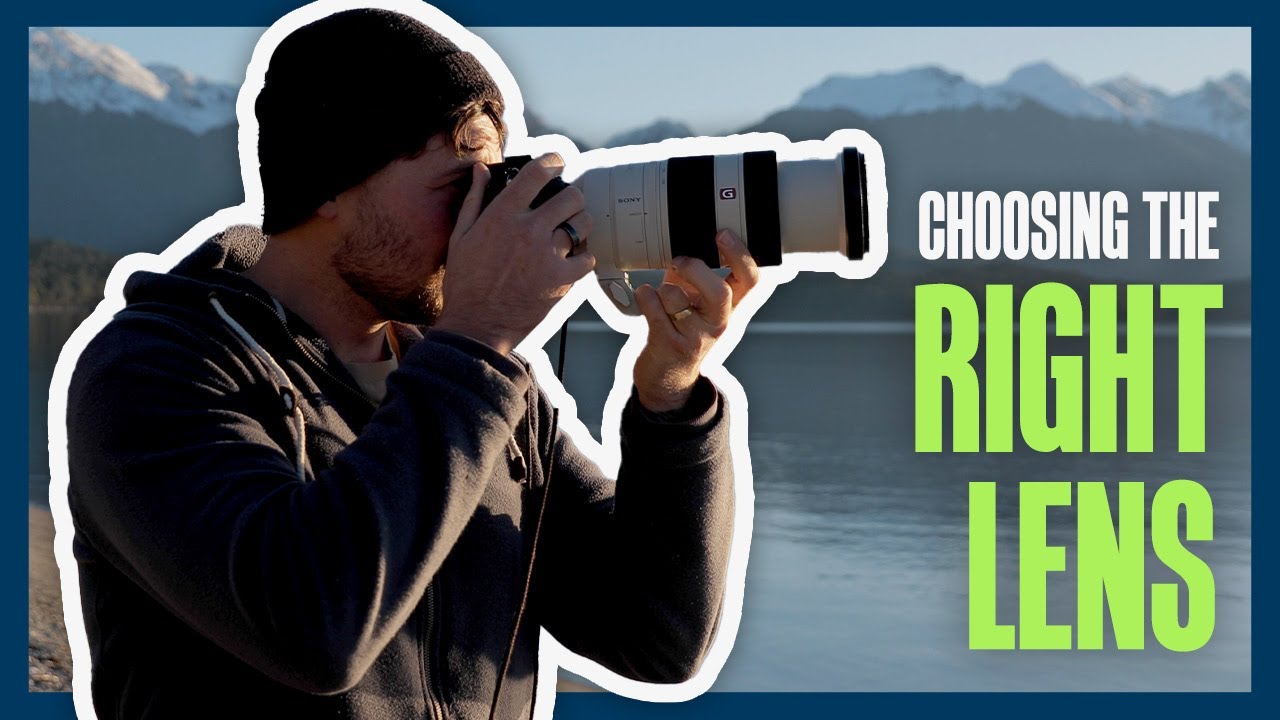
There’s a question I hear at every workshop I run out of Bend, and I’d bet it’s the same question landing in every landscape photographer’s inbox right now: what lens should I be shooting with? I used to give a short answer. After twenty years of early mornings and hard miles with a pack on my back, I’ve learned that the short answer is almost always wrong. The better question is whether your lens kit is limiting the images you can see before you even raise the camera.
That’s exactly what William Patino addresses head-on in his tutorial on lenses for landscape photography. Watch the full tutorial on YouTube before or after reading this, because seeing his compositions form in real time adds a layer that words can’t fully replace. What I want to do here is pull the framework out of that video, run it through my own field experience, and give you something concrete to act on.
The core problem Patino is solving is one I recognize immediately. Creative restriction caused by carrying the wrong range of glass. If the image you can see in the landscape doesn’t match what you can compose through your viewfinder, you either force a compromise or you walk away with nothing. Neither option is acceptable when you’ve driven two hours to catch the light.
Step 1: Decide How Wide Your Range Needs to Be
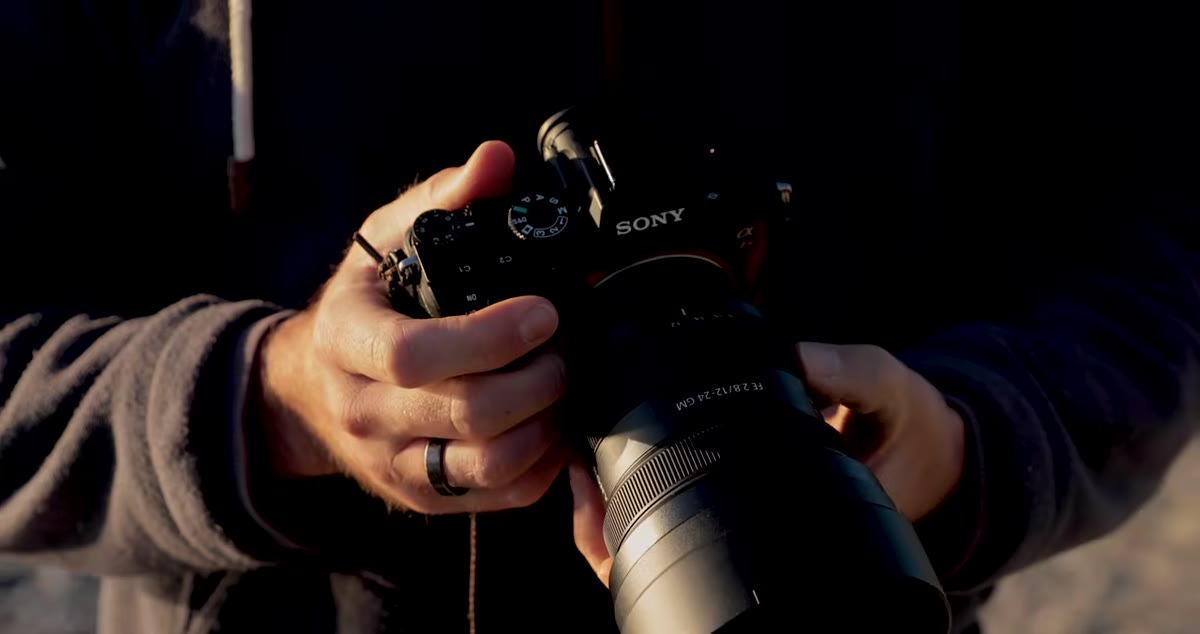 William showing three lenses covering 12mm to 400mm range
Before you obsess over any single lens, map your focal length range as a system. Patino carries a 12-24mm wide zoom, a 28-75mm mid-range zoom, and a 100-400mm telephoto, which means he can reach anything from an expansive wide foreground to a distant compressed peak without swapping systems. The logic isn’t about having more gear. It’s about having no gap where a scene falls through.
William showing three lenses covering 12mm to 400mm range
Before you obsess over any single lens, map your focal length range as a system. Patino carries a 12-24mm wide zoom, a 28-75mm mid-range zoom, and a 100-400mm telephoto, which means he can reach anything from an expansive wide foreground to a distant compressed peak without swapping systems. The logic isn’t about having more gear. It’s about having no gap where a scene falls through.
Think about the landscapes you shoot most often and identify where you’ve had to walk away from an image. If it was because the background felt small and flat, you needed more reach. If it was because you couldn’t get enough foreground interest, you needed to go wider. Build your kit around the gaps, not around what looks impressive on a spec sheet.
Step 2: Understand Why Zoom Lenses Make Sense in the Field
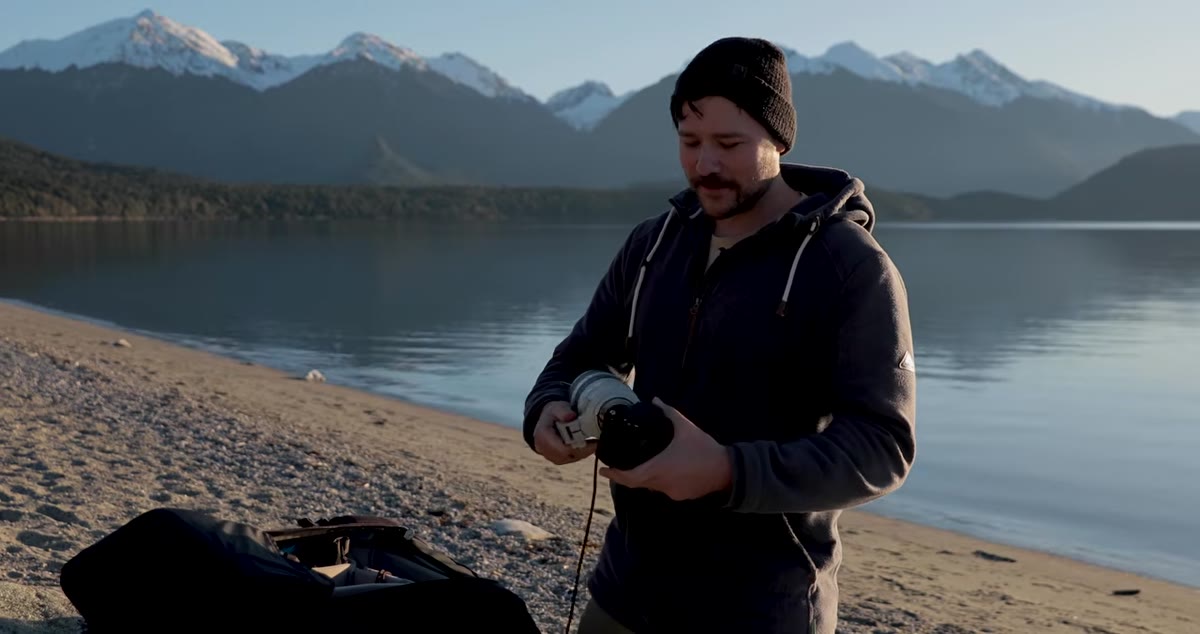 Patino explaining weight and versatility tradeoffs for field use
Prime lenses are sharper in controlled comparisons. That’s often true. But Patino makes a practical point that resonates with anyone who has done multi-day backcountry shoots: weight compounds over miles, and versatility matters more when you can’t predict what the landscape will give you. Modern zoom lenses from Sony, Tamron, and similar manufacturers have closed the sharpness gap significantly, especially at mid-apertures where most landscape work happens.
Patino explaining weight and versatility tradeoffs for field use
Prime lenses are sharper in controlled comparisons. That’s often true. But Patino makes a practical point that resonates with anyone who has done multi-day backcountry shoots: weight compounds over miles, and versatility matters more when you can’t predict what the landscape will give you. Modern zoom lenses from Sony, Tamron, and similar manufacturers have closed the sharpness gap significantly, especially at mid-apertures where most landscape work happens.
If you’re shooting from a fixed tripod position at golden hour, the difference between a prime and a quality zoom at f/8 or f/11 will be nearly invisible in print. What won’t be invisible is the shot you missed because you were carrying the wrong focal length for what the light actually did.
Step 3: Learn What the Telephoto Lens Is Really For
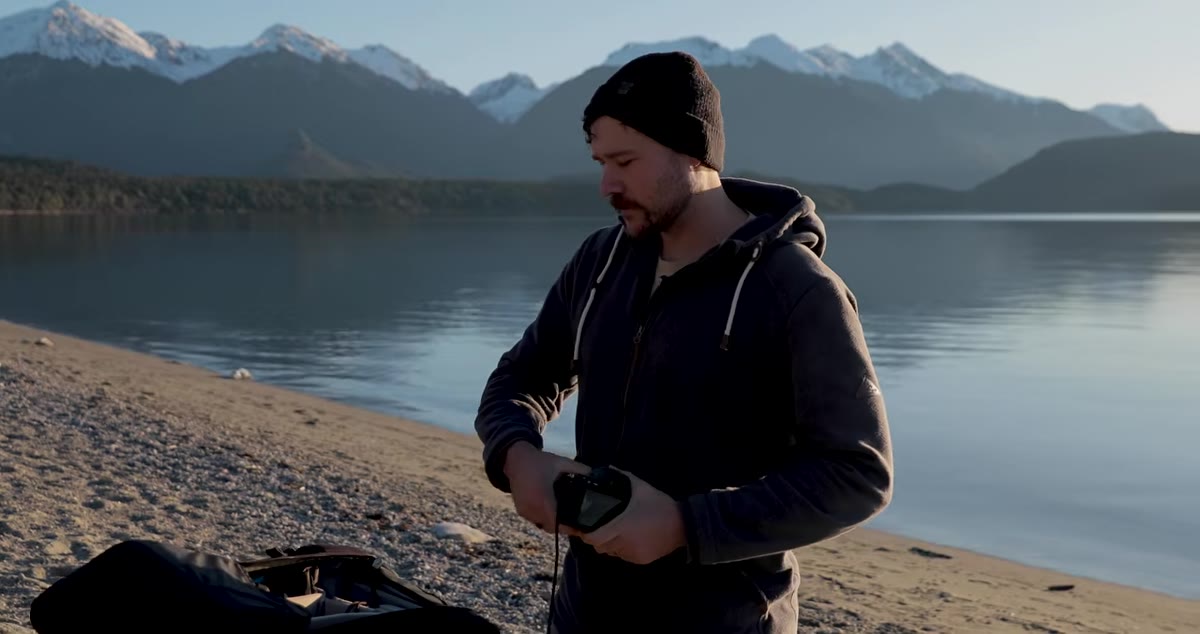 Patino framing distant mountain peaks with the 100-400mm lens
Most photographers think of a telephoto as a wildlife lens that occasionally gets borrowed for landscapes. Patino reframes it entirely. His 100-400mm is specifically the lens he reaches for when mountains, atmosphere, and distant light are the subject. The compression a long lens produces doesn’t just bring things closer. It stacks layers of the landscape together in a way that creates a sense of depth and drama that a wide lens physically cannot replicate.
Patino framing distant mountain peaks with the 100-400mm lens
Most photographers think of a telephoto as a wildlife lens that occasionally gets borrowed for landscapes. Patino reframes it entirely. His 100-400mm is specifically the lens he reaches for when mountains, atmosphere, and distant light are the subject. The compression a long lens produces doesn’t just bring things closer. It stacks layers of the landscape together in a way that creates a sense of depth and drama that a wide lens physically cannot replicate.
On a clear morning in the Cascades, I’ll often set up my wide angle first and then spend twenty minutes working the telephoto before I ever touch the other lenses. That compressed rendering of ridgelines disappearing into cloud is a different photograph than anything a 24mm can make, even pointed at the same mountain. Learn to see the scene within the scene, as Patino describes it, and the telephoto becomes one of your most creative tools rather than an afterthought.
Step 4: Use the Telephoto to Simplify Rather Than Magnify
 Telephoto framing isolating peak shape with minimal sky and foreground
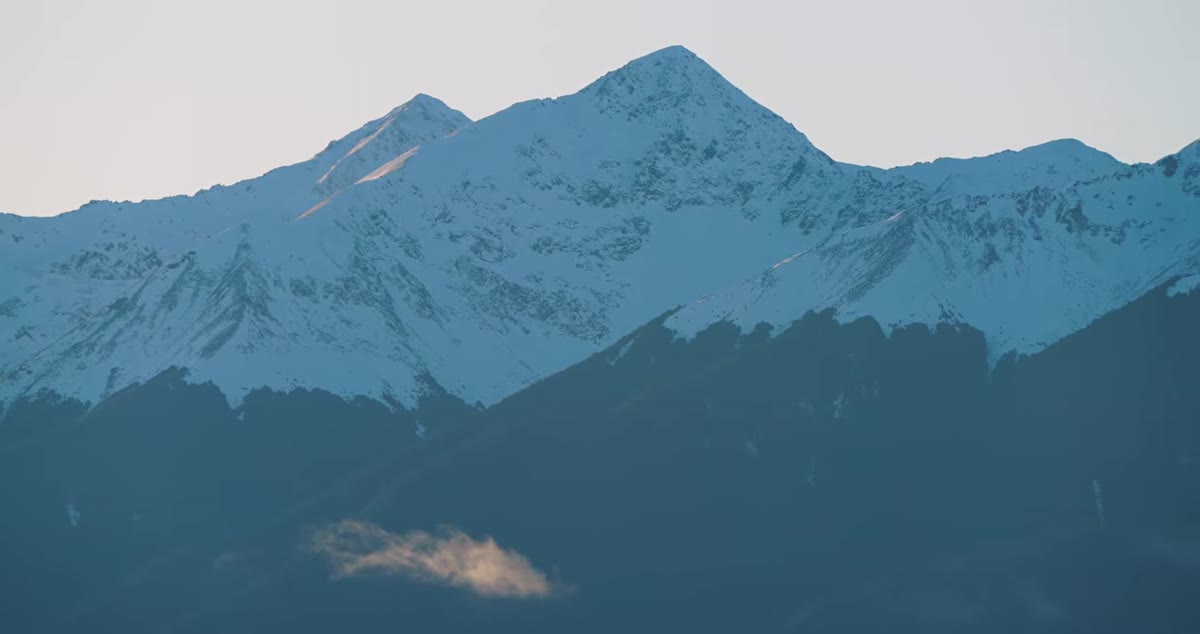
Here’s the shift in thinking that took me years to land on: the telephoto isn’t just about getting closer. It’s about editing out everything that doesn’t serve the image. When Patino shoots a mountain peak at 300 or 400mm, he’s removing excess sky, removing distracting foreground, and leaving only the shapes and lines that carry the composition. It’s a subtractive process, and it’s one of the most powerful compositional tools you have.
Telephoto framing isolating peak shape with minimal sky and foreground
Here’s the shift in thinking that took me years to land on: the telephoto isn’t just about getting closer. It’s about editing out everything that doesn’t serve the image. When Patino shoots a mountain peak at 300 or 400mm, he’s removing excess sky, removing distracting foreground, and leaving only the shapes and lines that carry the composition. It’s a subtractive process, and it’s one of the most powerful compositional tools you have.
On a clear day with flat light, this approach lets you focus entirely on form. The way a ridgeline curves. The way shadow defines the edge of a peak. Strip away the context and you’re left with geometry, and geometry is almost always enough to hold a frame.
Step 5: Recognize When Atmospheric Conditions Activate the Long Lens
 Patino noting atmospheric conditions improve telephoto landscape shots
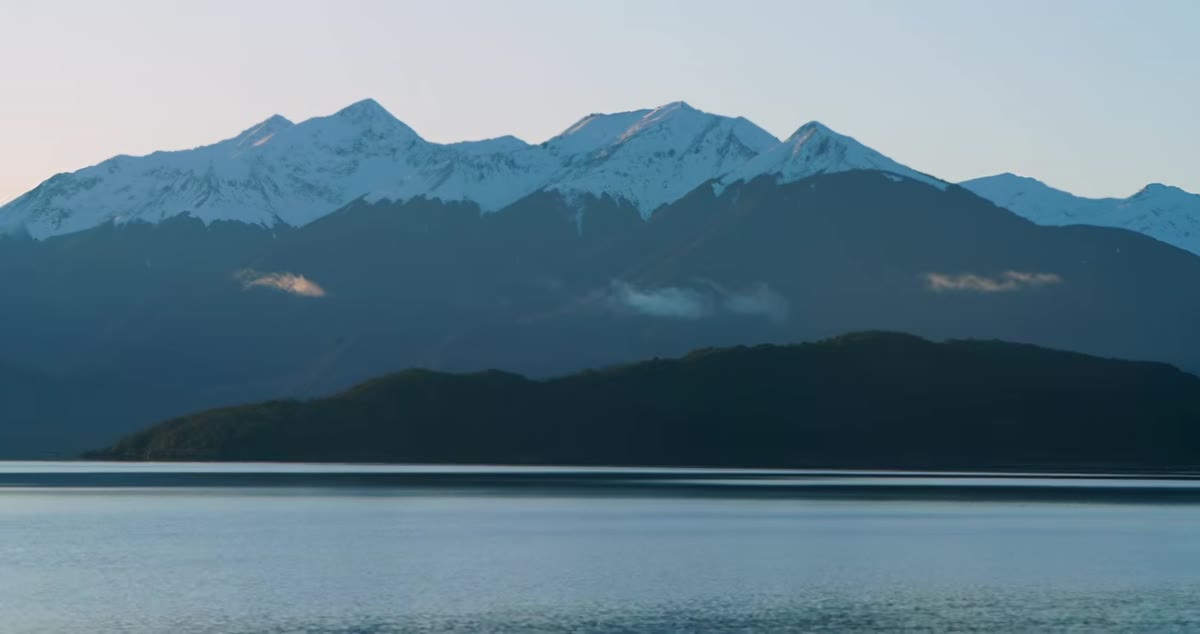
Patino mentions almost in passing that the 100-400mm performs best in atmospheric conditions, and that’s worth expanding. Mist, cloud wrapping peaks, low fog between ridgelines, haze softening a forest at distance. All of these conditions are gifts for the telephoto shooter. They add layers, they create separation between elements, and they give the compression effect something to work with.
Patino noting atmospheric conditions improve telephoto landscape shots
Patino mentions almost in passing that the 100-400mm performs best in atmospheric conditions, and that’s worth expanding. Mist, cloud wrapping peaks, low fog between ridgelines, haze softening a forest at distance. All of these conditions are gifts for the telephoto shooter. They add layers, they create separation between elements, and they give the compression effect something to work with.
When I’m checking weather the night before a shoot, I’m not hoping for clear skies. I’m hoping for interesting skies. Partial cloud cover, incoming weather, the hour after rain when everything is still catching light through broken clouds. That’s when I know the long lens is coming out first.
Step 6: Plan the Mid-Range Zoom as Your Problem-Solving Lens
 Patino describing the 28-75mm as the middle range option
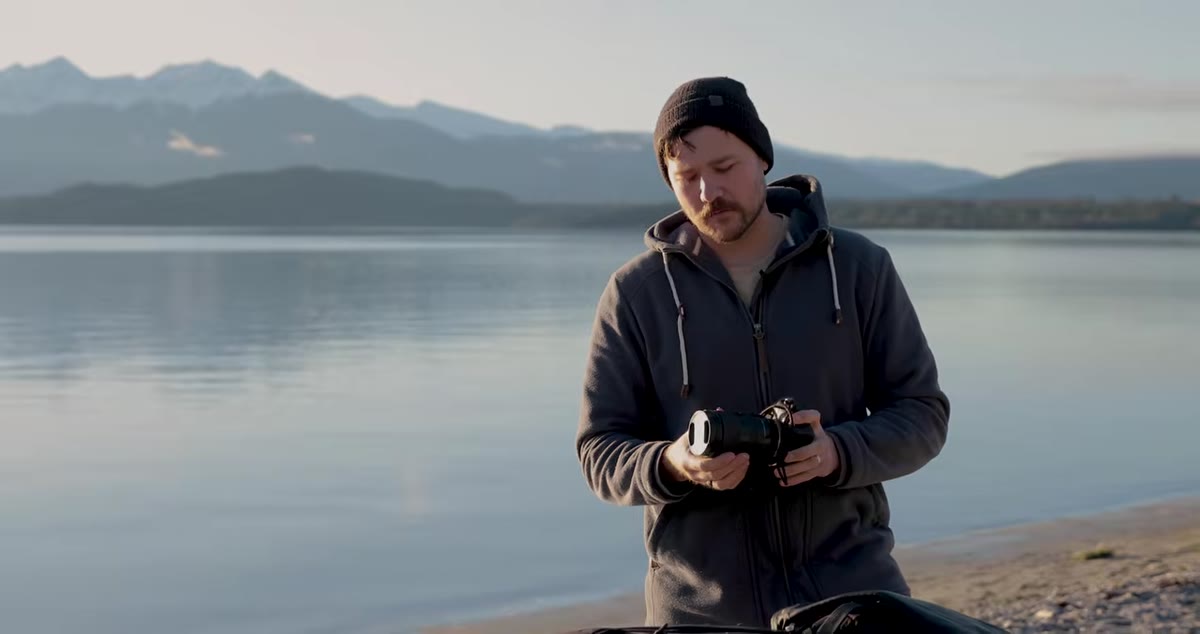
Patino’s 28-75mm mid-range zoom sits in the kit as the connector between his wide and telephoto work. It’s the lens that handles scenes where a 24mm feels too exaggerated and a 200mm feels too compressed. Environmental portraits of the landscape, tighter foreground compositions, intimate forest shots where you want natural perspective without distortion. This range earns its weight by covering the territory neither extreme handles well.
Patino describing the 28-75mm as the middle range option
Patino’s 28-75mm mid-range zoom sits in the kit as the connector between his wide and telephoto work. It’s the lens that handles scenes where a 24mm feels too exaggerated and a 200mm feels too compressed. Environmental portraits of the landscape, tighter foreground compositions, intimate forest shots where you want natural perspective without distortion. This range earns its weight by covering the territory neither extreme handles well.
In my own kit, a 24-70mm equivalent has become the lens I often end a shoot with, when the dramatic wide angles and the compressed telephotos have done their work and I’m just looking for one clean, quiet image before I pack up.
From My Own Experience: The Case for Shooting All Three in a Single Session
There’s a habit I’ve built over the years that Patino’s approach reinforced for me. Before I commit to a single lens for a location, I walk the scene with all three and make at least one intentional composition with each. Not because I expect to use all three shots. But because the exercise forces me to see the landscape three different ways, and usually one of those ways surprises me.
My mentor once told me the mountain doesn’t care about your schedule. He was right, and the corollary is that the landscape doesn’t care which lens you planned to use. Stay flexible, carry the range, and let the conditions tell you what the image wants to be.
The single most important idea in this tutorial is deceptively simple: if you can see a photograph but can’t compose it because of what’s in your bag, that’s a gear problem with a solvable answer. Cover your range, understand what each focal length does to a scene, and the creative decisions stay where they belong, with you.
Watch the full tutorial on YouTube to see Patino work through these compositions in the field. The RAW files he offers for download are worth grabbing so you can compare how each focal length rendered the same location.
Comments
Leave a Comment