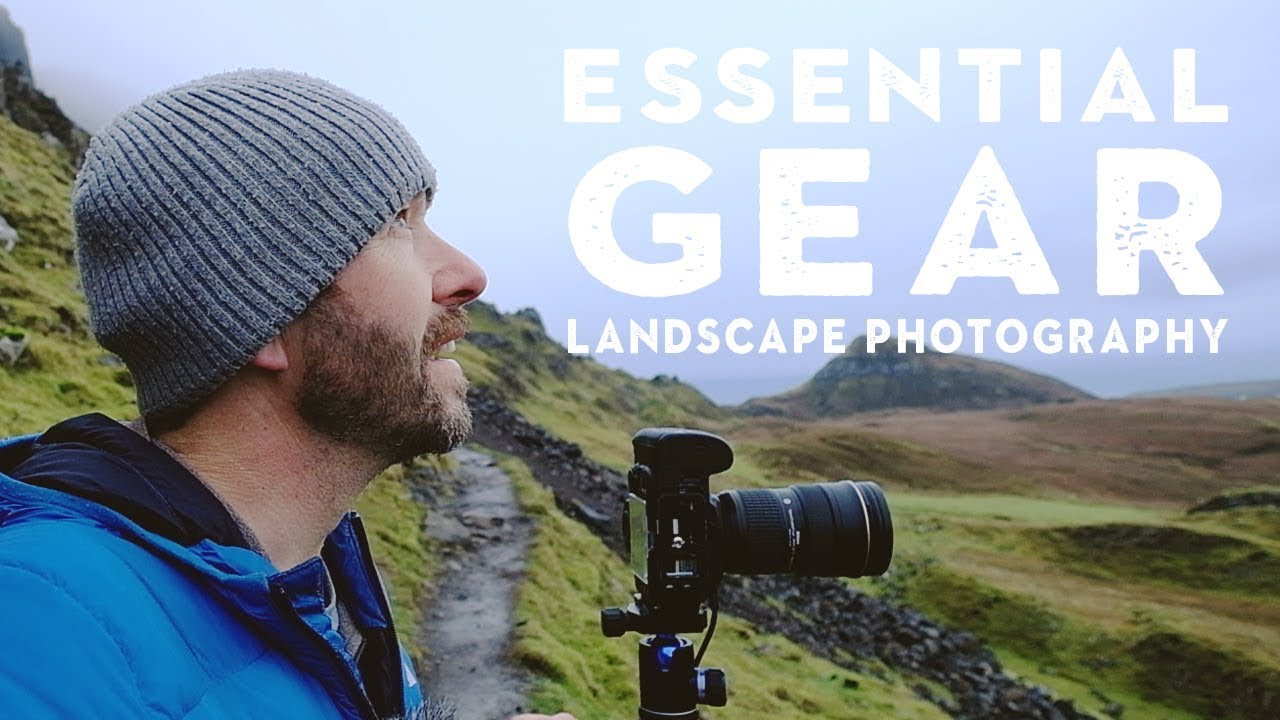
There’s a version of me from about fifteen years ago who would have spent three times as much money on gear if someone had just handed me a clear, honest list. Not a sponsored roundup. Not a spec sheet. An actual working photographer saying: here’s what I carry, here’s why it earns its weight, and here’s what changed the way I shoot. That’s exactly what Nigel Danson delivers in his breakdown of his landscape photography kit, filmed on the road to Skye and Glencoe. Watch the full tutorial on YouTube before or after reading this, because the Scottish light alone is worth your time.
What struck me watching it was how closely his priorities mirror my own after two decades shooting full-time. I’m based in the high desert of Oregon, not the Scottish Highlands, but the logic of a well-built kit translates anywhere you’re working in unpredictable conditions. Nigel frames the whole video around five specific items that made a real difference to his work, not just five things he owns. That framing matters. Every piece of gear should earn its place by solving a real problem in the field.
Step 1: Start With a Camera Body That Can Take a Beating
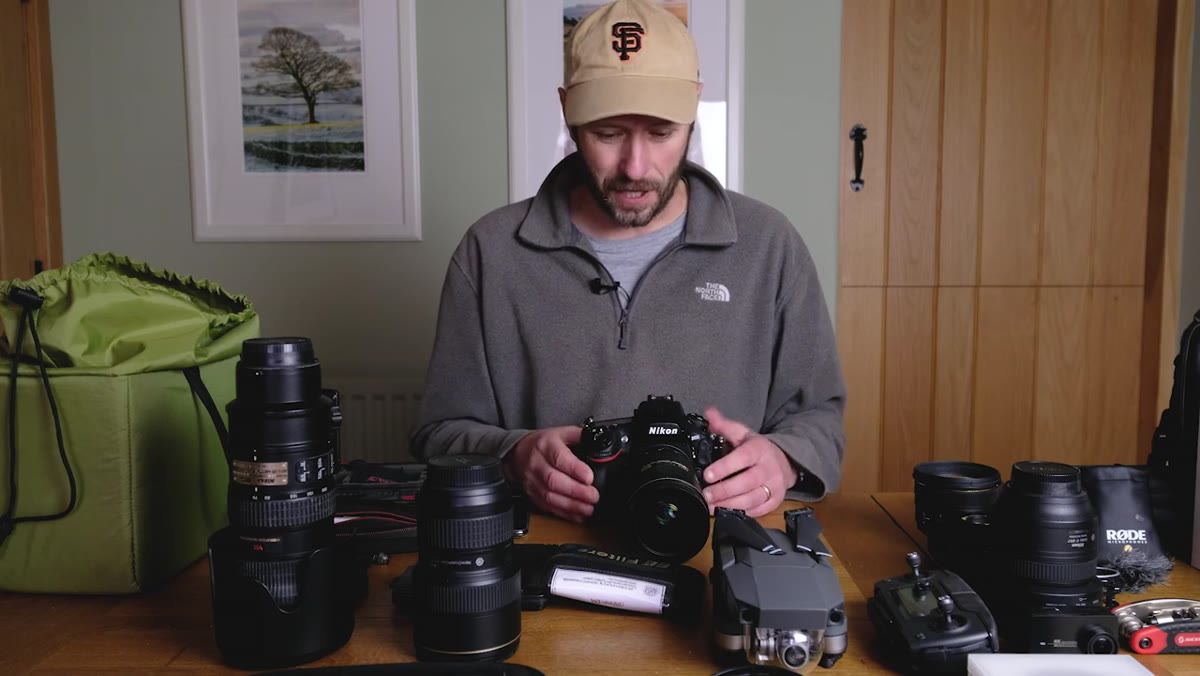 Nigel holding the Nikon D810, showing its body construction
Nigel shoots with the Nikon D810, a camera he trusts for its build quality and durability. He’s banged it, dropped it, and put it through hard conditions, and it keeps going. The lesson here isn’t brand loyalty. It’s that your primary body needs to be something you’re not afraid to use. If you’re babying your camera at the trailhead because you’re worried about the finish, you’ll hesitate at the moment that counts.
Nigel holding the Nikon D810, showing its body construction
Nigel shoots with the Nikon D810, a camera he trusts for its build quality and durability. He’s banged it, dropped it, and put it through hard conditions, and it keeps going. The lesson here isn’t brand loyalty. It’s that your primary body needs to be something you’re not afraid to use. If you’re babying your camera at the trailhead because you’re worried about the finish, you’ll hesitate at the moment that counts.
For landscape work specifically, weather sealing and a solid grip matter more than megapixel count in most real-world shooting situations. Before you upgrade your lenses, ask honestly whether your camera body is holding you back, or whether you’re just not pushing it.
Step 2: Anchor Your Zoom Range With One Versatile Lens
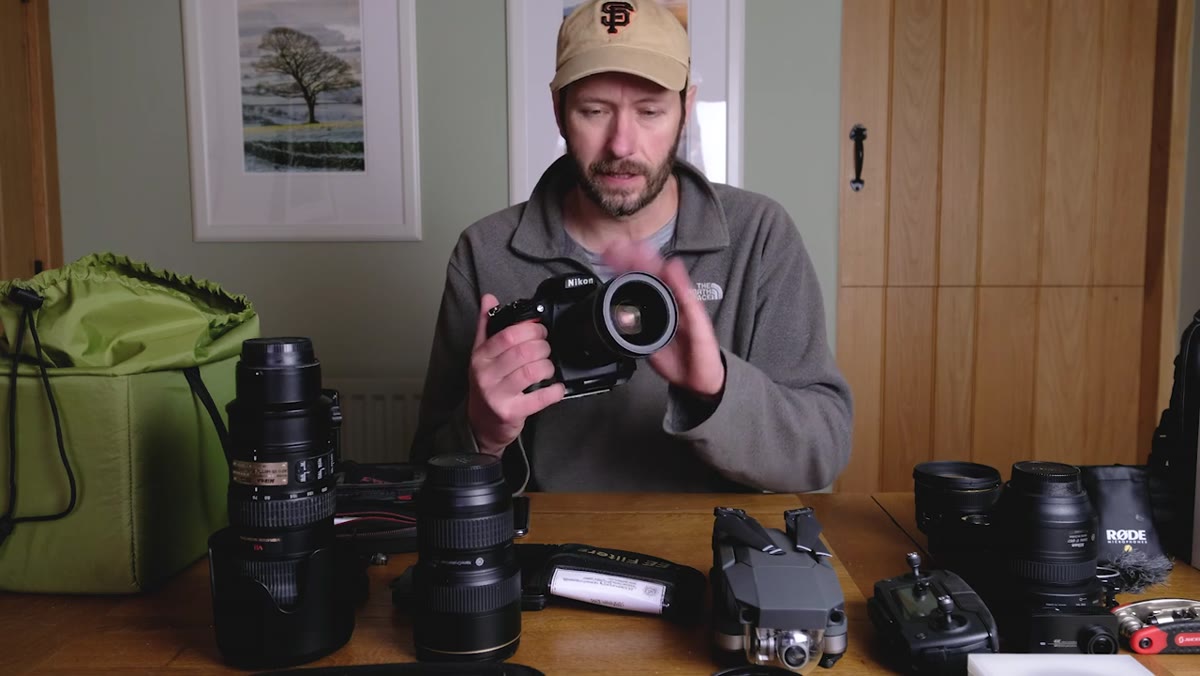 Close-up of the 24-70mm f/2.8 lens mounted on the camera
Nigel’s workhorse lens is a 24-70mm f/2.8, and his reasoning is practical: it covers a wide enough range to handle most landscape compositions without a lens swap. Wide-angle for grand scenes, compressed mid-range for pulling elements together. The f/2.8 aperture gives flexibility in low light, which matters enormously when you’re shooting the first thirty minutes after sunrise.
Close-up of the 24-70mm f/2.8 lens mounted on the camera
Nigel’s workhorse lens is a 24-70mm f/2.8, and his reasoning is practical: it covers a wide enough range to handle most landscape compositions without a lens swap. Wide-angle for grand scenes, compressed mid-range for pulling elements together. The f/2.8 aperture gives flexibility in low light, which matters enormously when you’re shooting the first thirty minutes after sunrise.
If budget is a constraint, a slower f/4 version of a similar zoom range still gets you the compositional flexibility. The focal range is the priority. One sharp, reliable lens you reach for automatically beats a bag full of glass you’re constantly second-guessing.
Step 3: Use a Telephoto to Solve Composition Problems
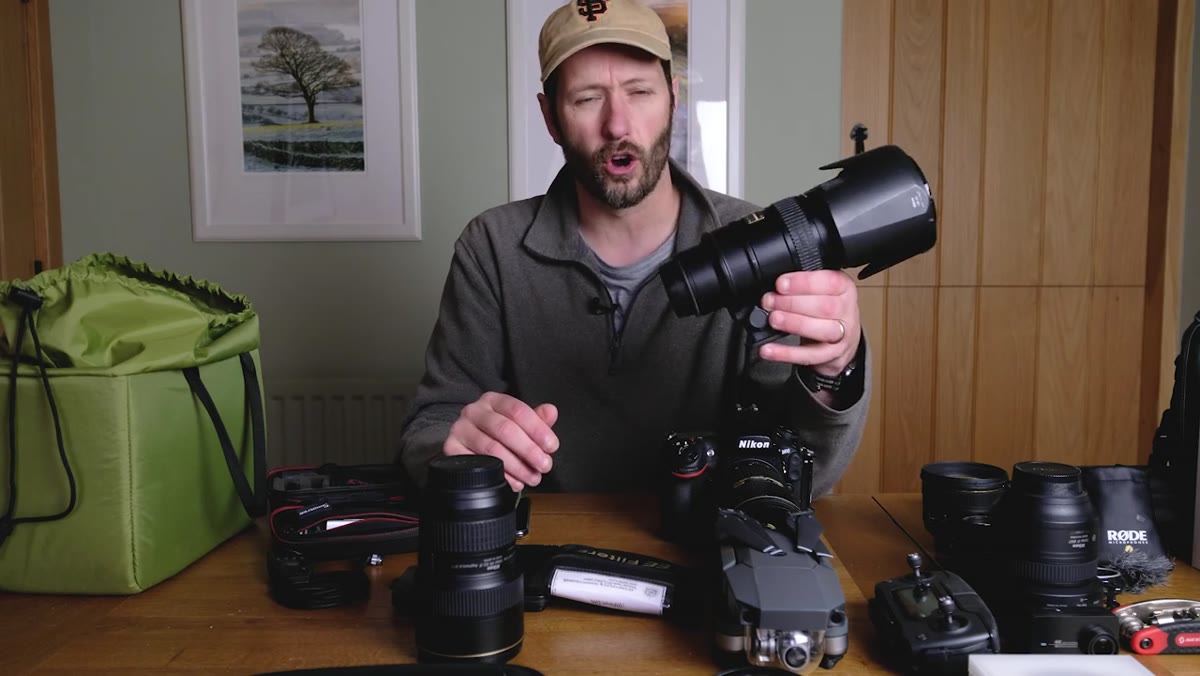 Nigel demonstrating the 70-200mm lens aimed at a distant landscape
This is the piece of advice I wish someone had given me earlier in my career. Nigel’s 70-200mm f/2.8 isn’t just a wildlife or portrait lens. When you arrive at a location and the foreground isn’t cooperating, or the light is doing something spectacular in the mid-distance, picking up the telephoto and compressing the scene can rescue a shoot entirely.
Nigel demonstrating the 70-200mm lens aimed at a distant landscape
This is the piece of advice I wish someone had given me earlier in my career. Nigel’s 70-200mm f/2.8 isn’t just a wildlife or portrait lens. When you arrive at a location and the foreground isn’t cooperating, or the light is doing something spectacular in the mid-distance, picking up the telephoto and compressing the scene can rescue a shoot entirely.
The practical move: if you’re stuck on composition, stop trying to force a wide-angle frame. Mount the long glass, ignore the foreground, and look for what’s actually happening in the landscape at 100mm or 150mm. You’ll often find the shot you came for is hiding inside the wider view you’ve been fighting with.
Step 4: Carry a Wide-Angle Option for Environmental Scale
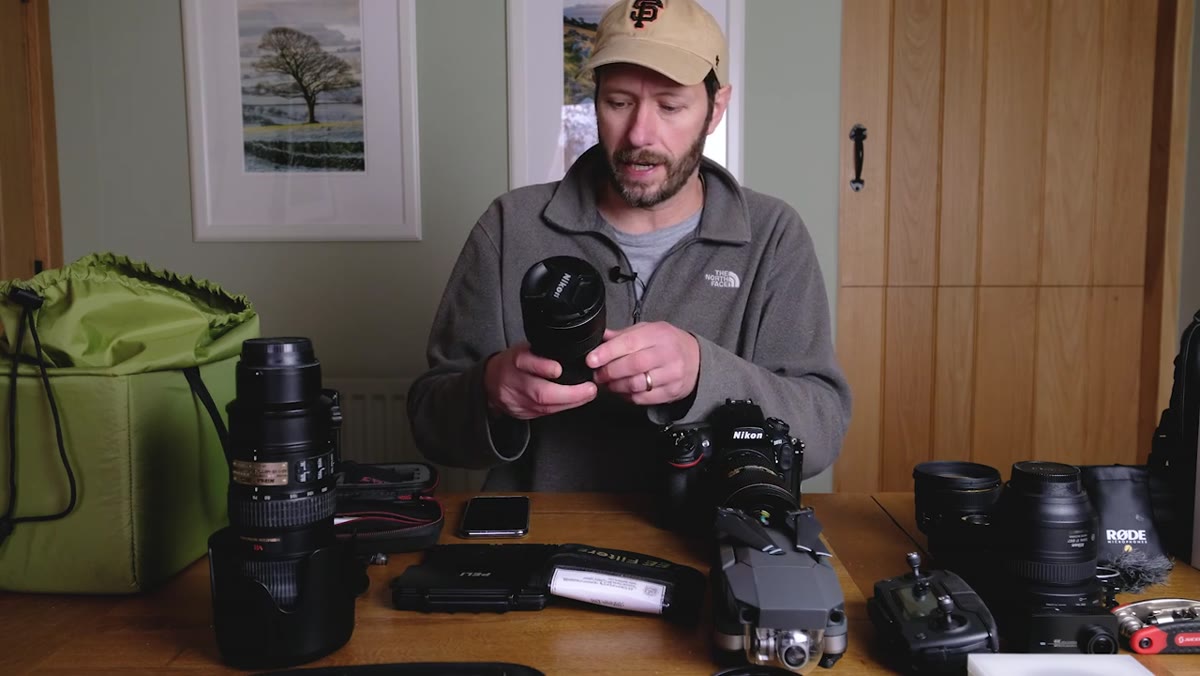 The 16-35mm wide-angle lens shown alongside other lenses in the kit
Nigel rounds out his lens kit with a 16-35mm VR (vibration reduction) wide-angle. He uses it for both stills and video, and the stabilization is a genuine advantage when shooting handheld in tricky conditions. At the wide end of 16mm, you can place a dramatic foreground element close to the lens while keeping the full sky and background in frame.
The 16-35mm wide-angle lens shown alongside other lenses in the kit
Nigel rounds out his lens kit with a 16-35mm VR (vibration reduction) wide-angle. He uses it for both stills and video, and the stabilization is a genuine advantage when shooting handheld in tricky conditions. At the wide end of 16mm, you can place a dramatic foreground element close to the lens while keeping the full sky and background in frame.
The key discipline with ultra-wide lenses is restraint. They amplify everything, including clutter and distortion at the edges. Walk the scene before you put the wide-angle on. Know what you want in the frame, because at 16mm, everything is in the frame.
Step 5: Add an L-Bracket Before You Add More Filters
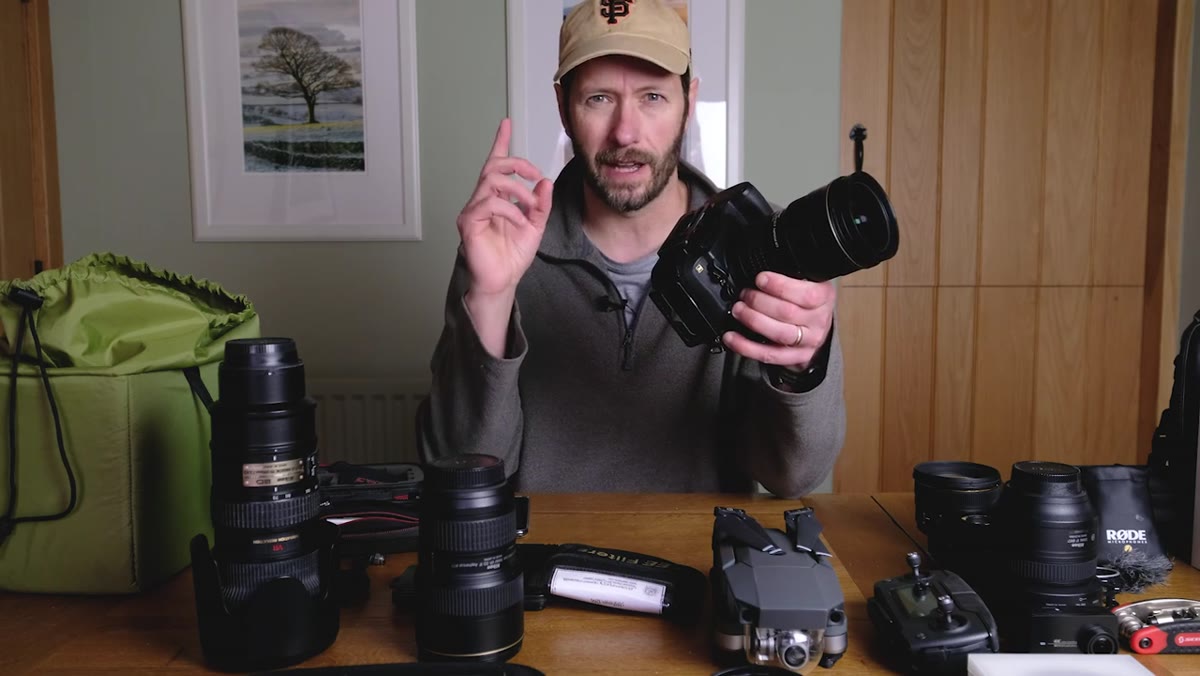 L-bracket attached to camera base, demonstrating quick attachment to tripod
This is Nigel’s first named essential, and I’d argue it’s the most undervalued item on the list. An L-bracket lets you switch between landscape and portrait orientation on a tripod without repositioning the head, which means you keep your composition and your level horizon. Without one, rotating the camera on a standard tripod plate shifts your center of gravity and often throws off your framing entirely.
L-bracket attached to camera base, demonstrating quick attachment to tripod
This is Nigel’s first named essential, and I’d argue it’s the most undervalued item on the list. An L-bracket lets you switch between landscape and portrait orientation on a tripod without repositioning the head, which means you keep your composition and your level horizon. Without one, rotating the camera on a standard tripod plate shifts your center of gravity and often throws off your framing entirely.
Nigel adds one specific detail worth copying: pad the contact point between the bracket and the camera body. A small piece of foam or felt protects the camera finish and, more importantly, tightens the fit so there’s no micro-movement during long exposures. On a five-second exposure, even a millimeter of bracket wobble gives you a soft image.
Step 6: Understand What a Polarizer Actually Does Before You Buy ND Filters
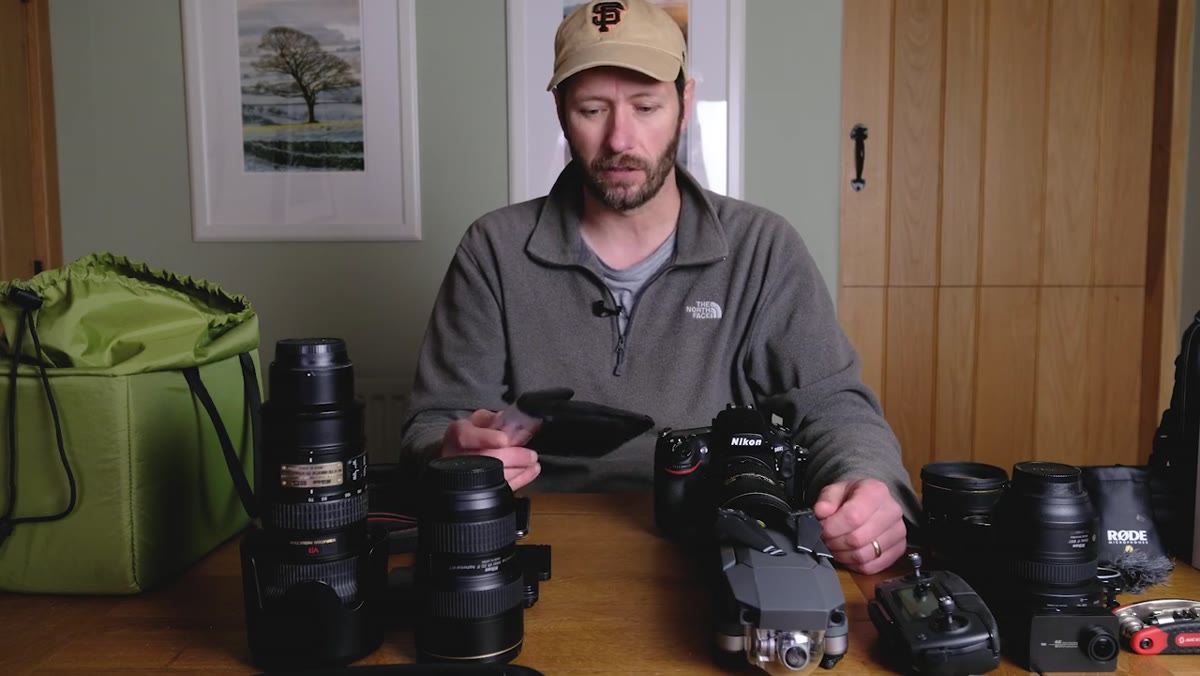 Polarizing filter being rotated in front of the lens, showing effect on water
Nigel calls the polarizer his most-used filter, and after two decades in the field I’d agree with that ranking. It does two things that no amount of post-processing can fully replicate: it reduces atmospheric haze to reveal detail in distant mountains or ridgelines, and it cuts surface reflections on water to let you see depth and texture below.
Polarizing filter being rotated in front of the lens, showing effect on water
Nigel calls the polarizer his most-used filter, and after two decades in the field I’d agree with that ranking. It does two things that no amount of post-processing can fully replicate: it reduces atmospheric haze to reveal detail in distant mountains or ridgelines, and it cuts surface reflections on water to let you see depth and texture below.
Rotate the filter while looking through the viewfinder or at the live view screen. The effect changes as you turn it, and the sweet spot varies by your angle to the light source. Polarizers work best when the sun is roughly 90 degrees to the side of your shooting direction. Pointing directly at or directly away from the sun reduces the effect significantly.
A Field Note on Gear Minimalism
I’ve done workshops where participants showed up with four lenses, two filter systems, and a tripod they’d never fully assembled before. By the second morning, most of them were shooting with one lens and the polarizer. The mountain doesn’t care what’s in your bag. It cares whether you’re paying attention when the light shifts.
My own kit has contracted over the years, not expanded. I still occasionally shoot a roll of film on a trip, not because the images are necessarily better, but because it forces a different quality of attention before I press the shutter. That same discipline applies to gear selection. Carry what you understand. Carry what you trust. The rest is weight.
The single most transferable idea in Nigel’s breakdown is this: identify five things that actually changed your photography, not five things you own. That question reframes every gear decision you’ll make going forward. Watch him work through his own answer here, with the Scottish Highlands as a backdrop that makes the whole argument feel very convincing.
Watch the full tutorial on YouTube
Comments (1)
Quality content like this is rare. Keep it up.
Leave a Comment