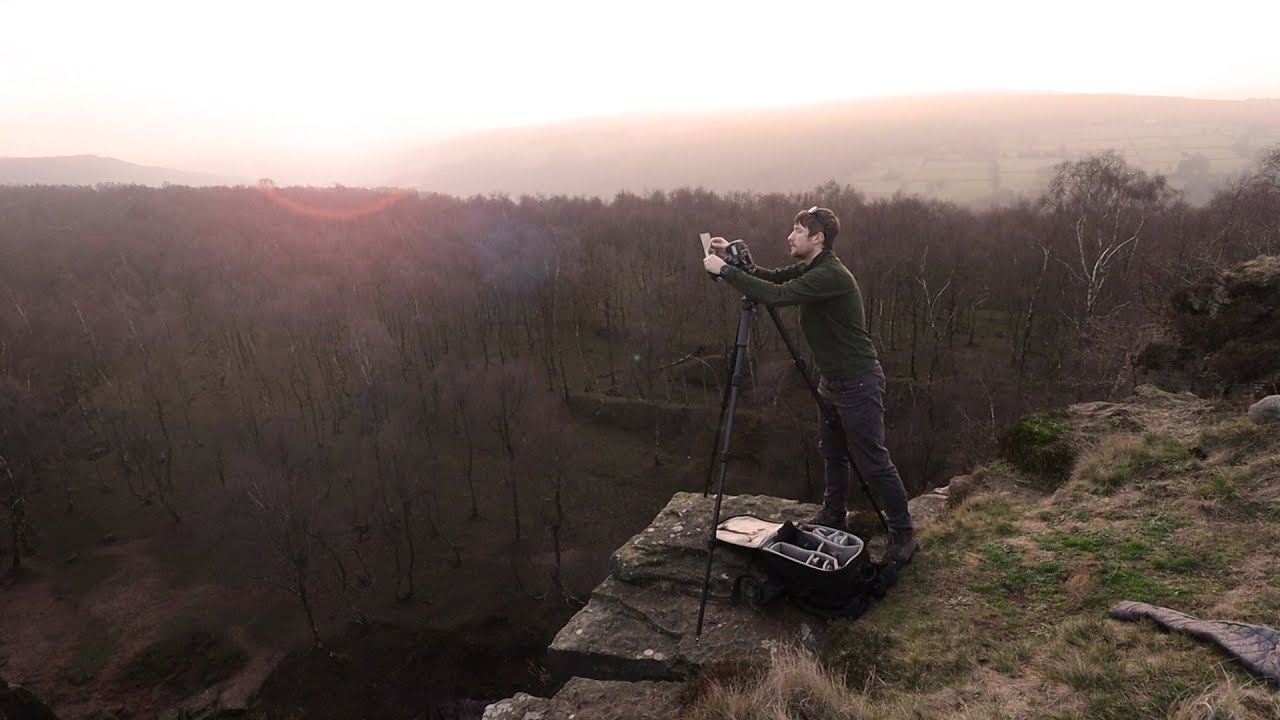
There’s a particular kind of frustration I’ve learned to respect over twenty years of doing this: you arrive at a location with forty minutes to spare, the light starts doing something extraordinary, and you are in completely the wrong spot. No composition, no clear path to one, and the clock ticking loud in your chest. It used to rattle me. Now I recognize it as the actual job. In this Thomas Heaton tutorial, he captures that experience with unusual honesty, wandering the Peak District at golden hour with a local guidebook, a camper van, and no fixed plan. What looks like a casual vlog is actually a masterclass in how working photographers move, adapt, and think when conditions stop cooperating. Watch the full tutorial on YouTube
What Heaton is demonstrating, even if he doesn’t frame it this way, is deliberate looseness. That sounds like a contradiction, but it isn’t. The photographers I’ve seen grow fastest are the ones who stop treating every outing as a mission with a single acceptable outcome. A mentor once told me the mountain doesn’t care about your schedule, and I’ve carried that in my back pocket on every shoot since. This tutorial reinforces it from a different angle, by showing what the process actually looks like when you give yourself permission to explore rather than execute.
The practical takeaways here are real and field-tested. Here’s how to break down what Heaton does, and what I’d layer on from my own experience.
Step 1: Head Out with Minimal Gear and Maximal Intention
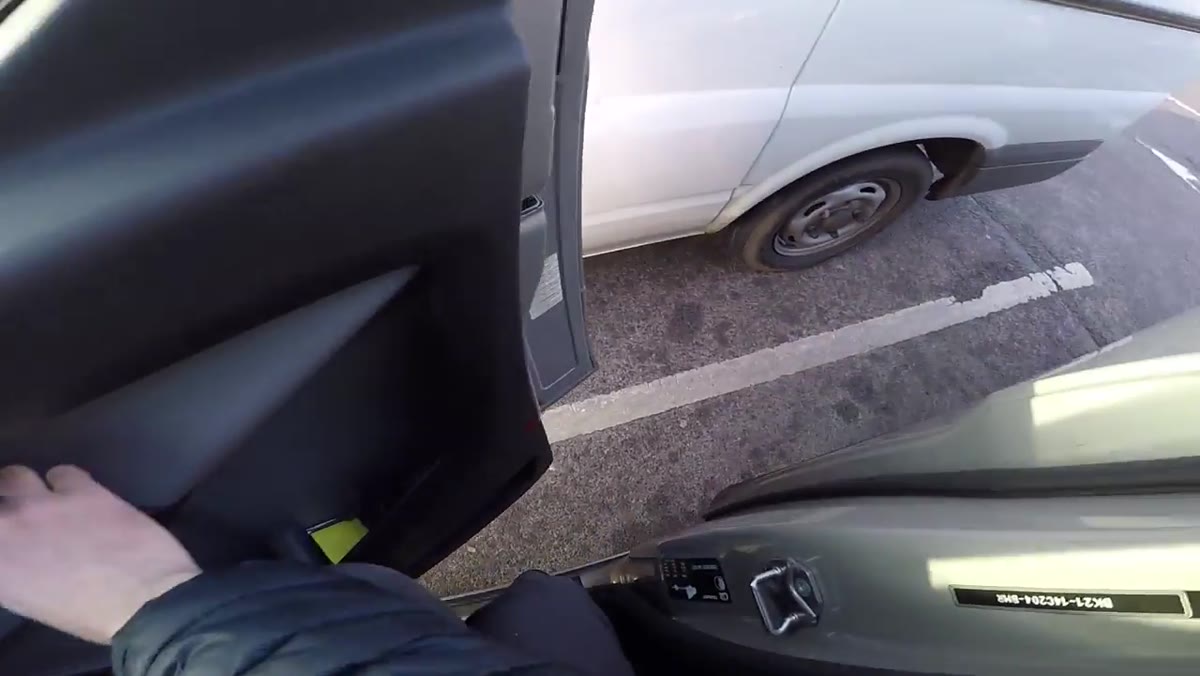 Heaton loading essentials into camper van before driving south
Heaton packs light for this trip deliberately. A guidebook, his intuition, and camera gear. That’s it. This isn’t laziness; it’s a specific strategy. When you carry less, you commit faster. You aren’t standing in a field debating which lens to mount because you’ve already narrowed your options. For sunset work especially, where you might have thirty to sixty minutes of usable light, decision fatigue is a real enemy. Choose your focal length range before you leave the vehicle and stick with it unless conditions force your hand.
Heaton loading essentials into camper van before driving south
Heaton packs light for this trip deliberately. A guidebook, his intuition, and camera gear. That’s it. This isn’t laziness; it’s a specific strategy. When you carry less, you commit faster. You aren’t standing in a field debating which lens to mount because you’ve already narrowed your options. For sunset work especially, where you might have thirty to sixty minutes of usable light, decision fatigue is a real enemy. Choose your focal length range before you leave the vehicle and stick with it unless conditions force your hand.
The local guidebook detail matters more than it seems. Heaton isn’t using satellite maps or pre-visualized drone footage. He’s working with rough regional knowledge and his own eyes. This keeps the shooting session genuinely exploratory rather than confirmatory, meaning he’s actually looking at the landscape rather than checking it against a reference image in his head.
Step 2: Scout on Foot Before Committing to a Composition
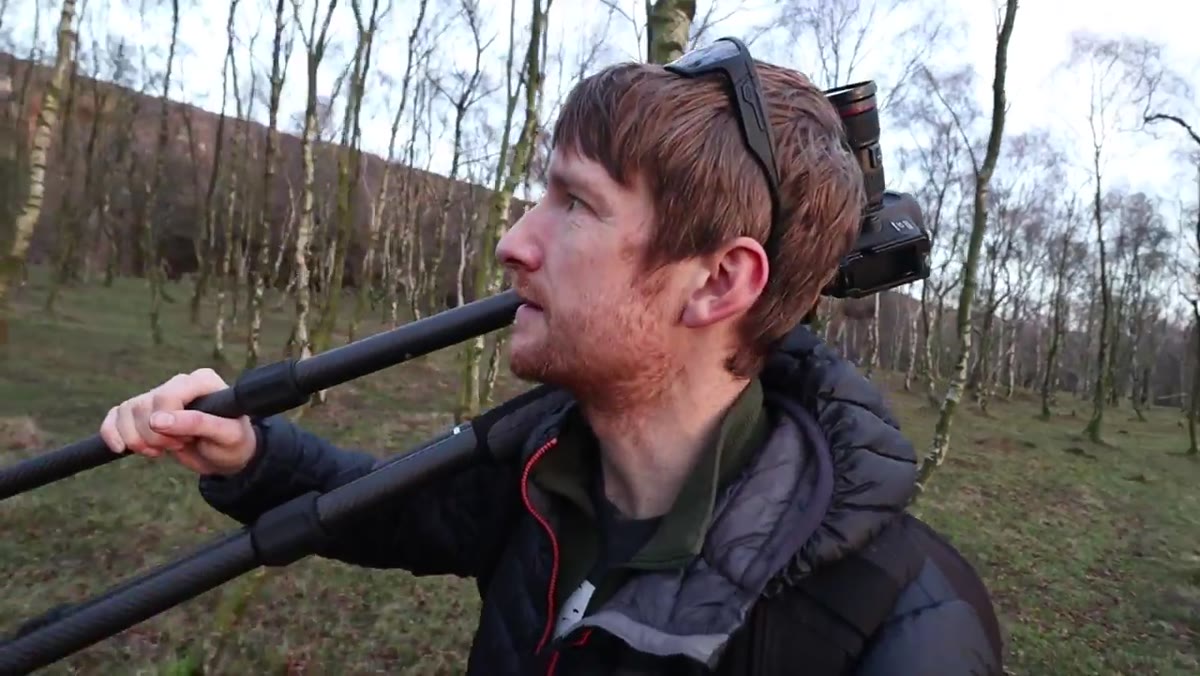 Heaton walking through dense birch woodland looking for compositions
When Heaton enters the birch woodland, he doesn’t immediately plant his tripod. He walks. He’s looking for intimate compositions among the trees, and he’s honest that he isn’t finding them. That honesty is worth pausing on. Scouting and shooting are different mental modes, and conflating them costs you both. Give yourself a deliberate scouting window, even five or ten minutes, before you commit to a frame. Walk past the obvious foreground. Turn around. Look at what’s behind you.
Heaton walking through dense birch woodland looking for compositions
When Heaton enters the birch woodland, he doesn’t immediately plant his tripod. He walks. He’s looking for intimate compositions among the trees, and he’s honest that he isn’t finding them. That honesty is worth pausing on. Scouting and shooting are different mental modes, and conflating them costs you both. Give yourself a deliberate scouting window, even five or ten minutes, before you commit to a frame. Walk past the obvious foreground. Turn around. Look at what’s behind you.
In dense woodland like this, the chaos of branches and trunks means you need to physically move to find the visual order. It rarely reveals itself from a standing position. Get low, get close, step sideways. Heaton doesn’t find his intimate shot here, and that’s fine, because the scouting tells him something more useful: the real light is happening behind him, and there’s an elevated vantage point nearby.
Step 3: Read the Sky Constantly, Not Just at the Start
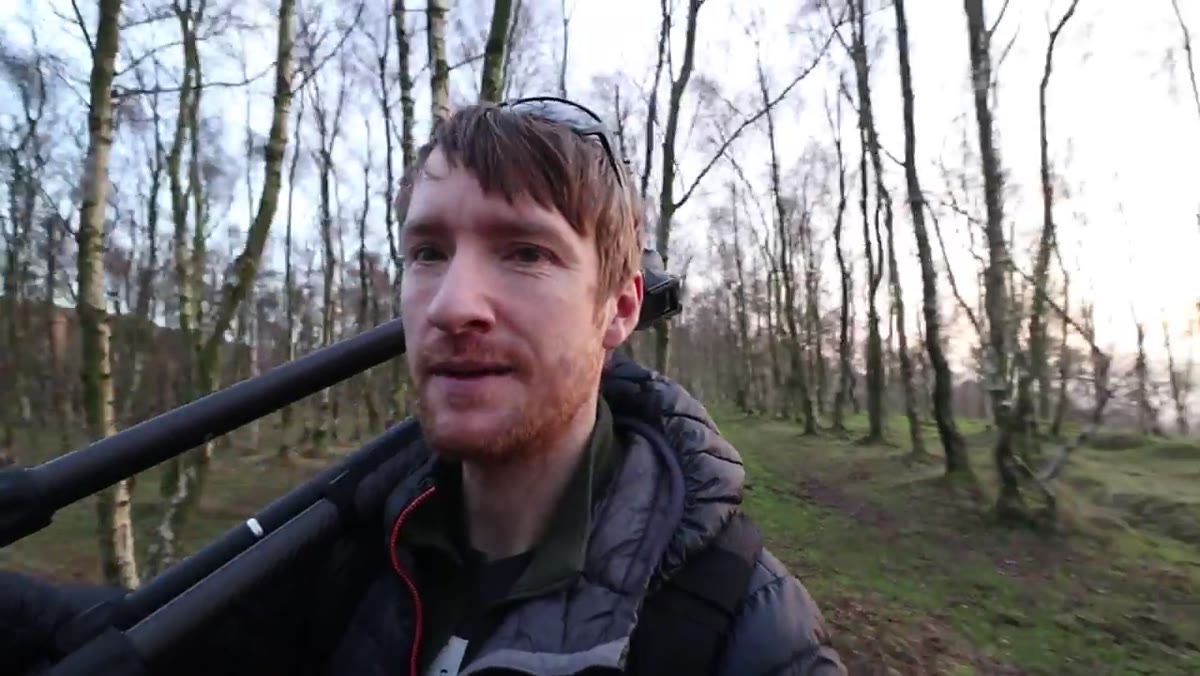 Sun setting behind Heaton with golden haze and high-altitude clouds visible
While walking the woodland floor, Heaton glances back and clocks the sun dropping with a golden atmospheric haze and high-altitude cloud cover. This is the moment that redirects his entire session. Cloud type matters enormously at golden hour. High, thin clouds scatter and hold color. Low, dense cloud blocks it. Mid-level clouds can go either way. Learning to read cloud altitude quickly is one of the most useful practical skills you can develop, and it comes from nothing more than showing up repeatedly and paying attention to what the sky does before, during, and after sunset.
Sun setting behind Heaton with golden haze and high-altitude clouds visible
While walking the woodland floor, Heaton glances back and clocks the sun dropping with a golden atmospheric haze and high-altitude cloud cover. This is the moment that redirects his entire session. Cloud type matters enormously at golden hour. High, thin clouds scatter and hold color. Low, dense cloud blocks it. Mid-level clouds can go either way. Learning to read cloud altitude quickly is one of the most useful practical skills you can develop, and it comes from nothing more than showing up repeatedly and paying attention to what the sky does before, during, and after sunset.
When you see high-altitude clouds with a warm haze on the horizon an hour before sunset, that’s a strong signal to move toward an open elevated position rather than staying in a sheltered spot. Heaton makes this call instinctively. You can train the same instinct.
Step 4: Move Fast When the Light Commits
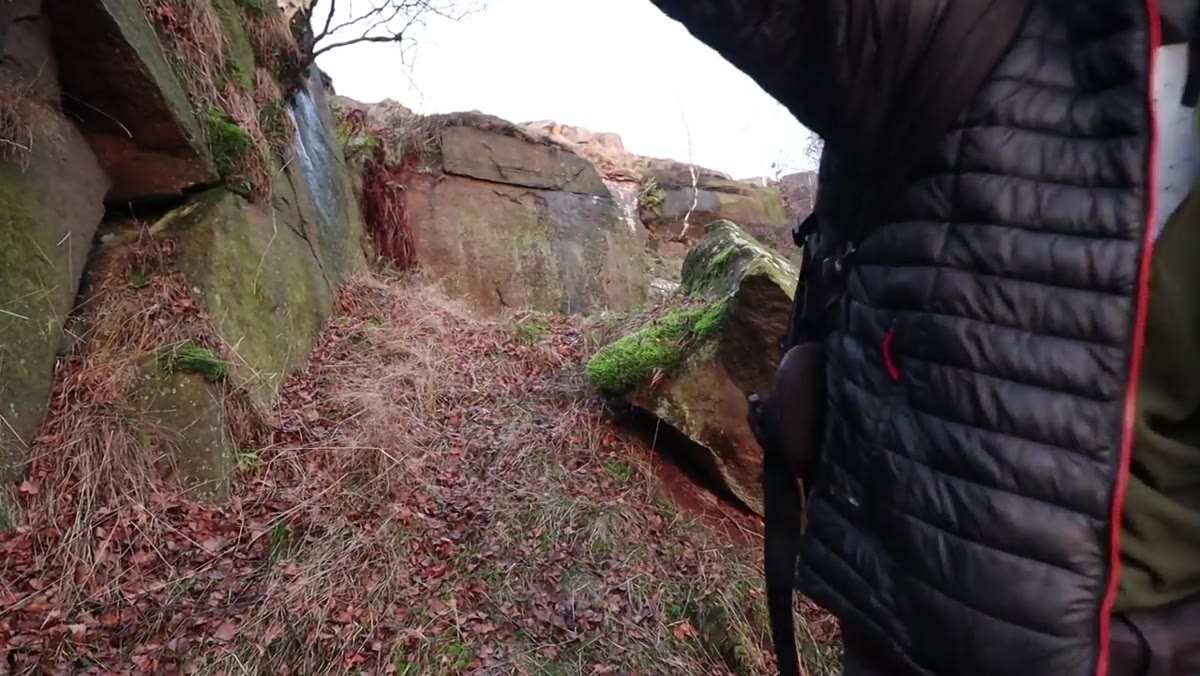 Heaton moving quickly up toward cliff top as golden light intensifies
Once Heaton identifies the cliff top as his target, he moves. He takes the wrong path first and doubles back without drama. This is worth noting because many photographers treat a navigation error as evidence they should abandon the attempt. It isn’t. Add five minutes to your timeline, correct course, keep moving. The light is not going to stop for you, but it also isn’t going to disappear in the thirty seconds it takes to backtrack.
Heaton moving quickly up toward cliff top as golden light intensifies
Once Heaton identifies the cliff top as his target, he moves. He takes the wrong path first and doubles back without drama. This is worth noting because many photographers treat a navigation error as evidence they should abandon the attempt. It isn’t. Add five minutes to your timeline, correct course, keep moving. The light is not going to stop for you, but it also isn’t going to disappear in the thirty seconds it takes to backtrack.
When you’re moving fast toward a sunset position, keep your camera out and settings partially dialed. In fading golden light I typically start around ISO 200, f/8, and adjust from there. The exact values matter less than not arriving at your composition and then spending three minutes fumbling through menus while the sky peaks and fades.
Step 5: Shoot from Where You Are, Safely
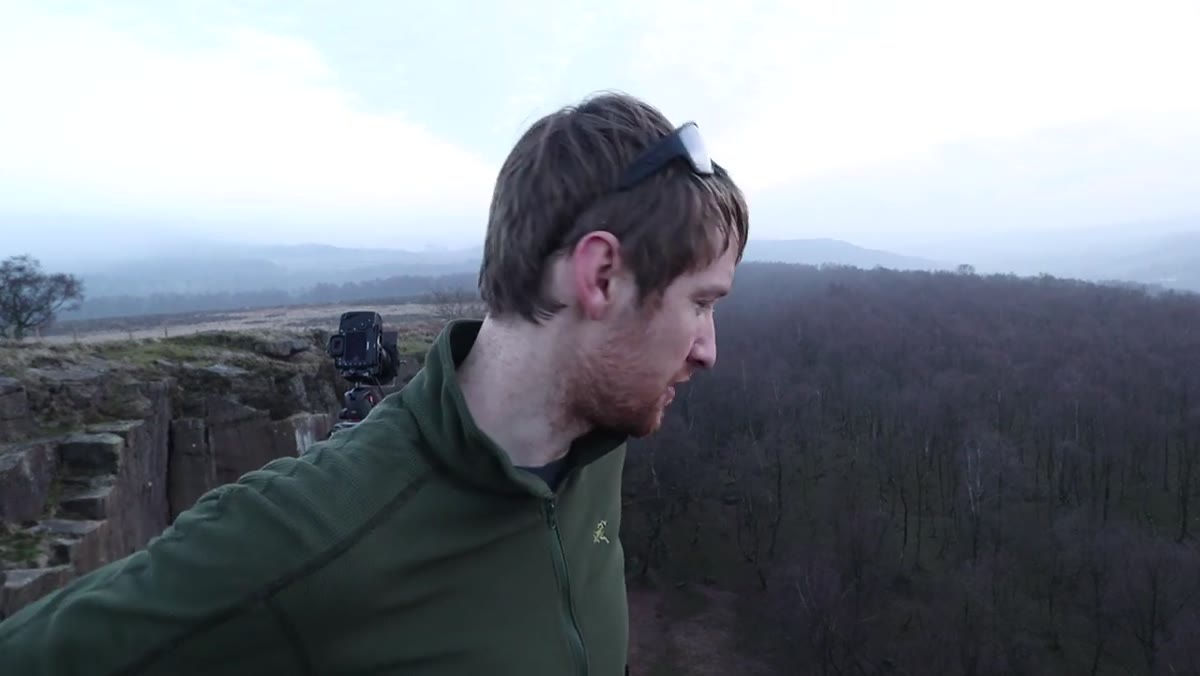 Heaton perched on precarious ledge with camera, describing his footing
Heaton is candid about ending up on a precarious ledge because he rushed the setup. He treats this as a safety note, and it is, but there’s a photographic lesson inside it too. When you’re chasing light, the composition you find in a hurry is often better than the one you would have engineered with more time. You default to your instincts rather than your second-guessing. The ledge shot exists because he moved fast and trusted what he saw. That’s the upside. The downside is that he wasn’t watching his feet.
Heaton perched on precarious ledge with camera, describing his footing
Heaton is candid about ending up on a precarious ledge because he rushed the setup. He treats this as a safety note, and it is, but there’s a photographic lesson inside it too. When you’re chasing light, the composition you find in a hurry is often better than the one you would have engineered with more time. You default to your instincts rather than your second-guessing. The ledge shot exists because he moved fast and trusted what he saw. That’s the upside. The downside is that he wasn’t watching his feet.
Always establish your footing before you raise the camera. This is non-negotiable near cliff edges, riverbanks, or any uneven ground in low light. I shoot in the dark more mornings than I can count, and the habit of checking your footing first has kept me out of trouble more times than any piece of gear.
From My Own Notebook: The Blank Session Has Value Too
I’ve driven six hours to a location and sat in fog for two days and come home with one frame. That image became my best-selling print. I wouldn’t have made it if I’d treated the fog as failure and left. Heaton’s session in this video doesn’t resolve cleanly either. He finds a composition under pressure, he makes the shot, but the video isn’t built around a triumphant result. It’s built around the attempt.
The blank sessions, the wrong turns, the woodland that doesn’t give you anything, these are deposits in an account you draw on when you do find the shot. You can’t shortcut that accumulation. The photographers who last in this work are the ones who stopped needing every outing to produce a portfolio image.
The single most important thing Heaton demonstrates in this tutorial is that showing up without a rigid plan is itself a discipline, not a default. Loose doesn’t mean passive. You are moving, reading, adapting, and making calls in real time. That is the actual skill. The camera settings are almost secondary.
Watch the full tutorial on YouTube and pay particular attention to how Heaton talks to himself while he works. That running commentary reveals how an experienced landscape photographer actually thinks in the field, which is something most tutorials edit out entirely.
Comments (3)
Printing this out and pinning it next to my monitor. That good.
Great article! I actually covered something related on my site — the compositing angle is really complementary to this.
I've been looking for exactly this kind of tutorial. Perfect timing.
Leave a Comment