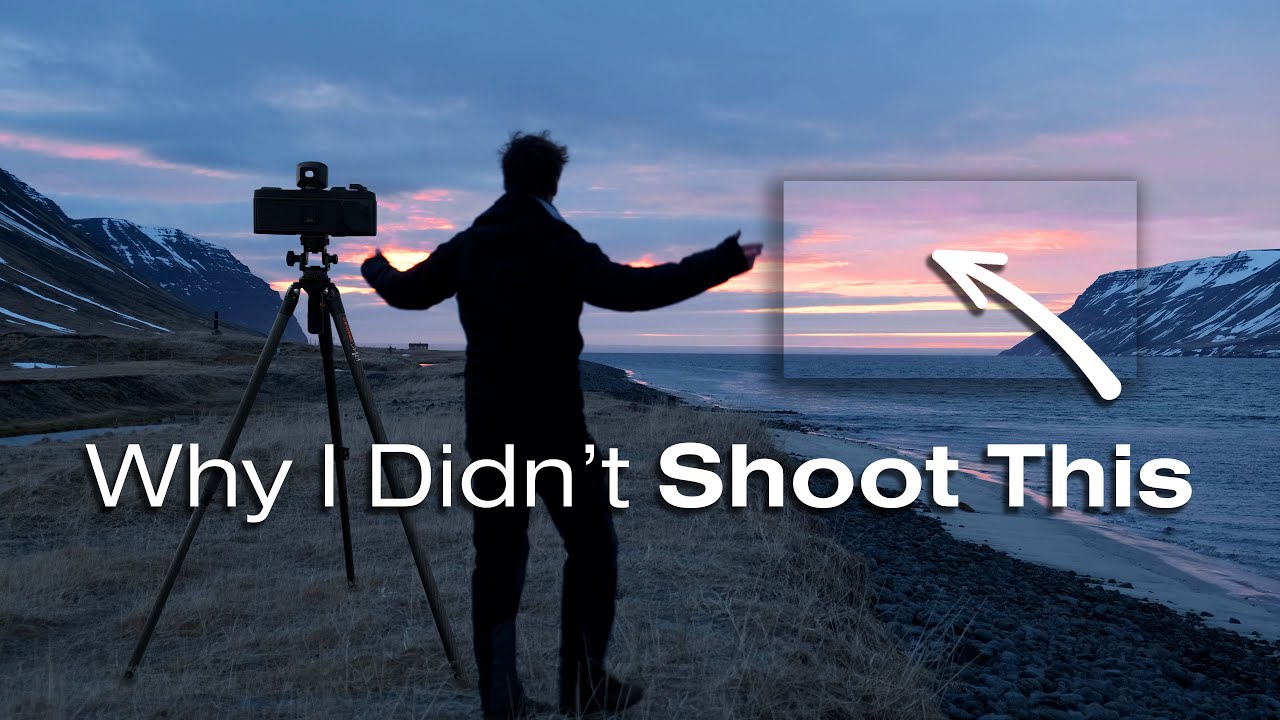
There’s a particular kind of hurt that comes from watching the sky explode in the wrong direction. You’ve read the clouds, done the math, committed to a composition — and then the light does exactly what it wants, which is nothing like what you wanted. I’ve been there more times than I can count, standing on a cold shore with my camera pointed at a wall of grey while something spectacular unfolds behind me. It never gets easier. But it does get more instructive.
In this Thomas Heaton tutorial filmed during a landscape photography trip to Iceland, that exact scenario plays out in real time. Watch the full tutorial on YouTube — it’s honest in a way most photography content isn’t. Heaton doesn’t cut around the failure. He lets you sit in it with him, and that’s where the real teaching lives. As someone who still shoots film occasionally because it forces me to slow down and commit before pressing the shutter, I found this video genuinely useful. Not because it shows you how to nail the shot, but because it shows you exactly how and why a thoughtful, experienced photographer can get it wrong — and what you can take from that into your own fieldwork.
Step 1: Arrive Early and Survey the Sky Before Reaching for the Camera
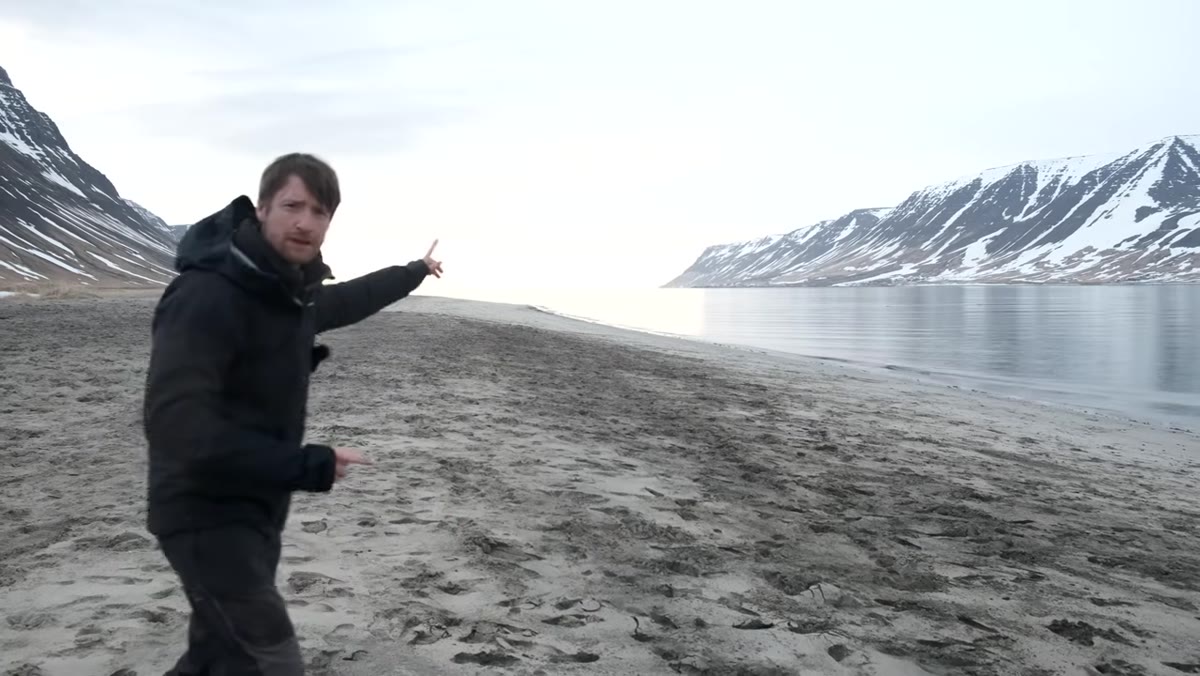 Thomas scanning the valley gap where sun will set
Before Heaton shoots a single frame, he spends time reading the scene. He identifies a gap in the clouds at the horizon, low in the valley, and calculates where the sun will set relative to that opening. This isn’t guesswork — it’s deliberate observation. He notes the direction of the clouds, the geography of the fjord, and the mountains that would catch any light breaking through.
Thomas scanning the valley gap where sun will set
Before Heaton shoots a single frame, he spends time reading the scene. He identifies a gap in the clouds at the horizon, low in the valley, and calculates where the sun will set relative to that opening. This isn’t guesswork — it’s deliberate observation. He notes the direction of the clouds, the geography of the fjord, and the mountains that would catch any light breaking through.
When you arrive at a location with dramatic but unsettled weather, resist the impulse to immediately start composing shots. Give yourself five to ten minutes to simply watch. Where is the light moving? Where is it being blocked? Which features in the landscape would catch warm light if a gap appeared? Weather changes fast, especially near coastlines and fjords, and the decisions you make early will shape everything that follows.
Step 2: Burn Through Loaded Film to Free Up the Camera for What’s Coming
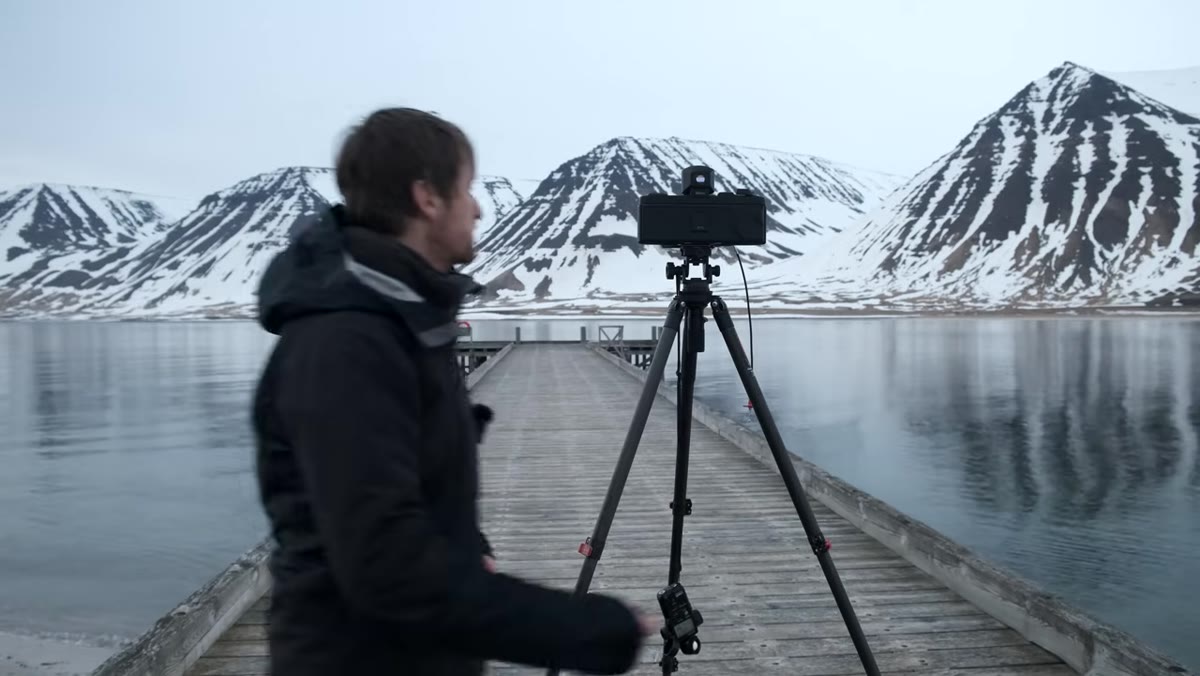 Heaton shooting final frames of black and white film on fjord
Heaton had black and white film loaded when the potential for a golden-hour color scene appeared. Rather than ignore the opportunity or waste it, he made a practical decision: shoot out the remaining frames on a nearby composition of the pier and shoreline, so he could reload with color film in time for the light.
Heaton shooting final frames of black and white film on fjord
Heaton had black and white film loaded when the potential for a golden-hour color scene appeared. Rather than ignore the opportunity or waste it, he made a practical decision: shoot out the remaining frames on a nearby composition of the pier and shoreline, so he could reload with color film in time for the light.
This is a discipline issue more than a technical one. Know what’s loaded in your camera and what shooting conditions it suits. If you’re carrying a camera — film or digital — with settings or profiles that don’t match the conditions unfolding in front of you, address it before the light arrives. Scrambling to switch mid-scene costs you composure and time. For digital shooters, this means checking your picture profile, white balance preset, and whether you’re shooting RAW or JPEG before the golden window opens.
Step 3: Scout Composition While You Still Have Time
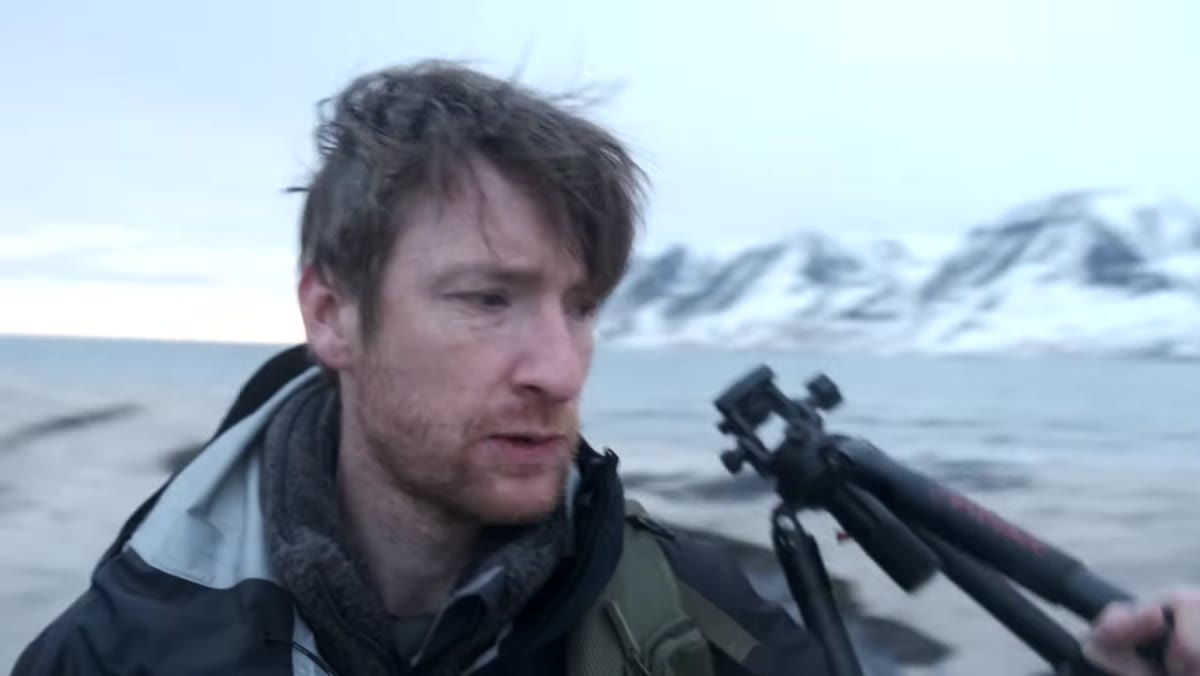 Heaton walking the shoreline looking for a foreground
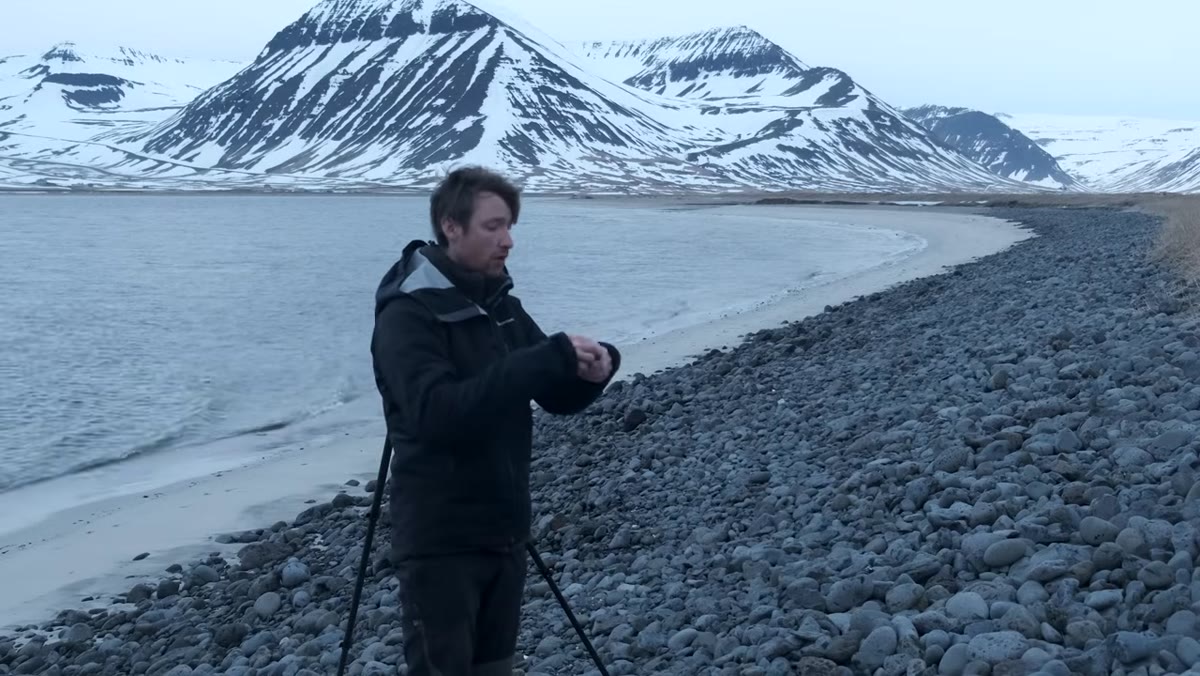
With the clock running, Heaton moves along the beach looking for a composition he can commit to. He notes challenges immediately: the beach is covered in footprints, the pier is occupied by his travel companions, and every minute he spends searching is a minute closer to the light either arriving or disappearing.
Heaton walking the shoreline looking for a foreground
With the clock running, Heaton moves along the beach looking for a composition he can commit to. He notes challenges immediately: the beach is covered in footprints, the pier is occupied by his travel companions, and every minute he spends searching is a minute closer to the light either arriving or disappearing.
The lesson here is to scout before you need to. If you know where the light might land, walk that area early — ideally on a prior visit or at minimum an hour before golden hour. Identify two or three anchor compositions so that when conditions develop, you’re choosing between good options rather than hunting from scratch. Pay attention to foreground interest, sight lines, and any elements that could clutter or strengthen the frame.
Step 4: Choose Your Film Stock Based on Confidence in the Light
 Heaton loading Provia film under time pressure
Heaton made a deliberate choice to load Provia rather than Velvia as the light window narrowed. Velvia is his go-to for saturated, high-contrast color scenes — the kind of image that earns the name “Velvia moment.” But with the gap in the clouds closing and the light looking less certain, he wasn’t willing to spend a roll of Velvia on a scene that might not deliver.
Heaton loading Provia film under time pressure
Heaton made a deliberate choice to load Provia rather than Velvia as the light window narrowed. Velvia is his go-to for saturated, high-contrast color scenes — the kind of image that earns the name “Velvia moment.” But with the gap in the clouds closing and the light looking less certain, he wasn’t willing to spend a roll of Velvia on a scene that might not deliver.
For film shooters, this is a real and recurring decision: match the emulsion to your confidence in the conditions. Velvia rewards dramatic, well-lit scenes. Provia handles more subdued light with greater color accuracy and less risk of blowouts. For digital photographers, the equivalent is choosing whether to bracket exposures or lock in a single exposure. When you’re unsure of the light’s intensity or direction, build in flexibility rather than committing to a setting that only works in ideal conditions.
Step 5: Recognize the Moment the Gamble Hasn’t Paid Off
 Cloud gap closing, light shifting away from the subject
This is the step most tutorials skip entirely. Heaton watches the gap close, watches the light bank onto a completely different part of the landscape behind him, and names it clearly: he misjudged the direction. He made a decision to face east, the light went west, and no amount of waiting would change that.
Cloud gap closing, light shifting away from the subject
This is the step most tutorials skip entirely. Heaton watches the gap close, watches the light bank onto a completely different part of the landscape behind him, and names it clearly: he misjudged the direction. He made a decision to face east, the light went west, and no amount of waiting would change that.
Knowing when to call it is as much a skill as knowing where to stand. There’s a version of persistence that’s useful — waiting out a slow build of light, holding a composition through a passing cloud — and there’s a version that’s just stubbornness. The difference is evidence. When the physical conditions of the scene tell you clearly that the light is going elsewhere, trust that information. Pack up with purpose and redirect your energy toward the next opportunity.
What I’d Add From My Own Experience
I’ve watched the light go the wrong direction more times than I’d like to admit. My mentor told me once that the mountain doesn’t care about your schedule, and I’ve found that applies equally to fjords, coastlines, and every other landscape I’ve photographed over the last two decades. But one thing Heaton’s video reinforced for me is the value of staying in the field even after the shot doesn’t happen.
He ends the video by noting that there’s a sunrise the following morning. He hasn’t quit, hasn’t catastrophized. He’s already recalibrated. That mental reset — treating a failed golden hour as data rather than defeat — is something you build slowly, through repetition and a willingness to return. Some of my best-selling prints came from trips that felt like complete failures in the moment. The image only exists because I was still there, still watching, after everything I’d planned had fallen apart.
The single most important takeaway from this video is that committing to a direction is a bet, not a guarantee, and the best photographers make those bets consciously and recover from them without drama. Read the sky early, prepare your gear before the light arrives, scout your compositions in advance, and when the scene doesn’t cooperate, document what went wrong and show up for the next one.
Watch the full tutorial on YouTube to see exactly how Heaton navigates the whole sequence — it’s one of the more honest looks at fieldwork decision-making you’ll find.
Comments (1)
This is exactly what I needed today. Been struggling with this for weeks.
Leave a Comment