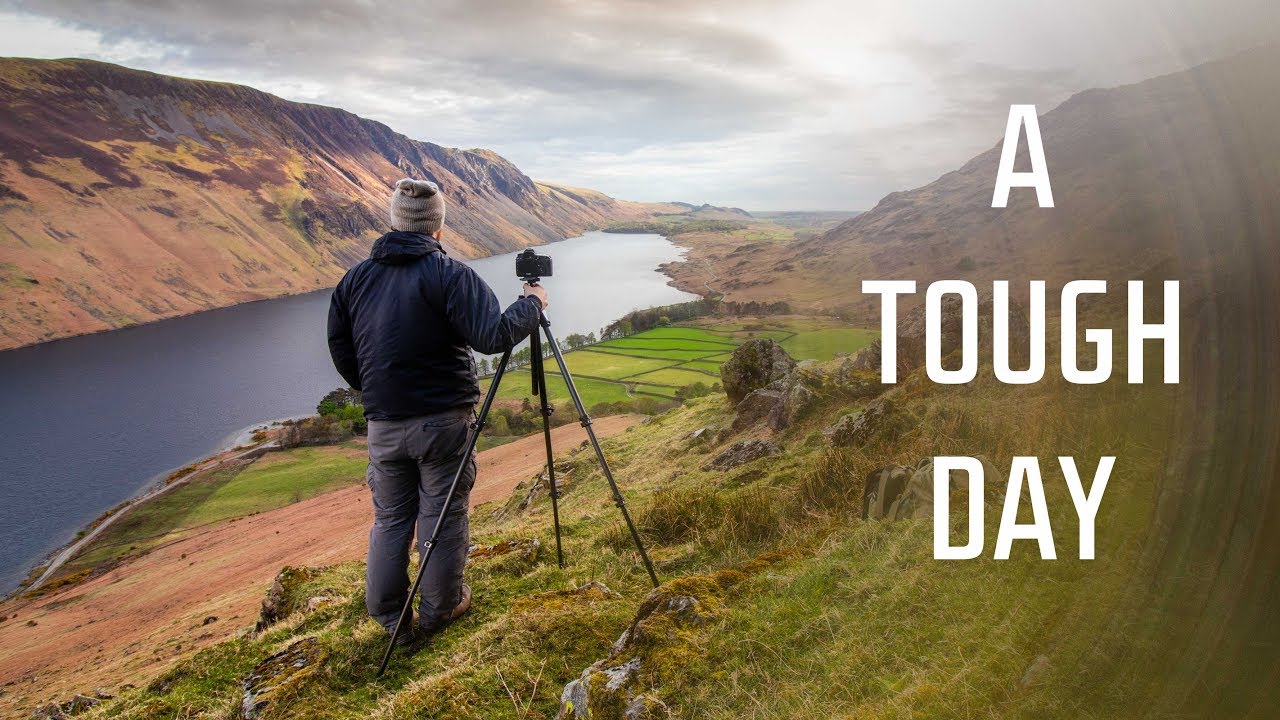
There’s a particular kind of day in the field that every serious landscape photographer knows. The forecast teased you with drama. You drove a long way. You got there, and the sky couldn’t make up its mind. I’ve had hundreds of those days over twenty years of doing this work full-time, and I’ve learned that they’re often more instructive than the golden-hour gifts. The shoots where nothing lands perfectly force you to problem-solve in real time, and that’s exactly the kind of session worth studying.
In this First Man Photography tutorial, Watch the full tutorial on YouTube, the creator heads out to Wast Water in England’s Lake District under genuinely difficult conditions. Changeable weather, no reliable light, a heavy pack, and honest fatigue. Rather than packaging a highlight reel, he shows the messy middle of a real shoot, including the moments where he wasn’t happy with what he got. That honesty is the whole point. Watching how a skilled photographer adapts when the session refuses to cooperate is worth more than watching someone nail a perfect sunrise on cue.
What follows is a breakdown of the practical decisions he makes on location, with the reasoning expanded for anyone who wants to apply the same thinking on their next unpredictable day out.
Step 1: Read the Conditions Before You Unpack
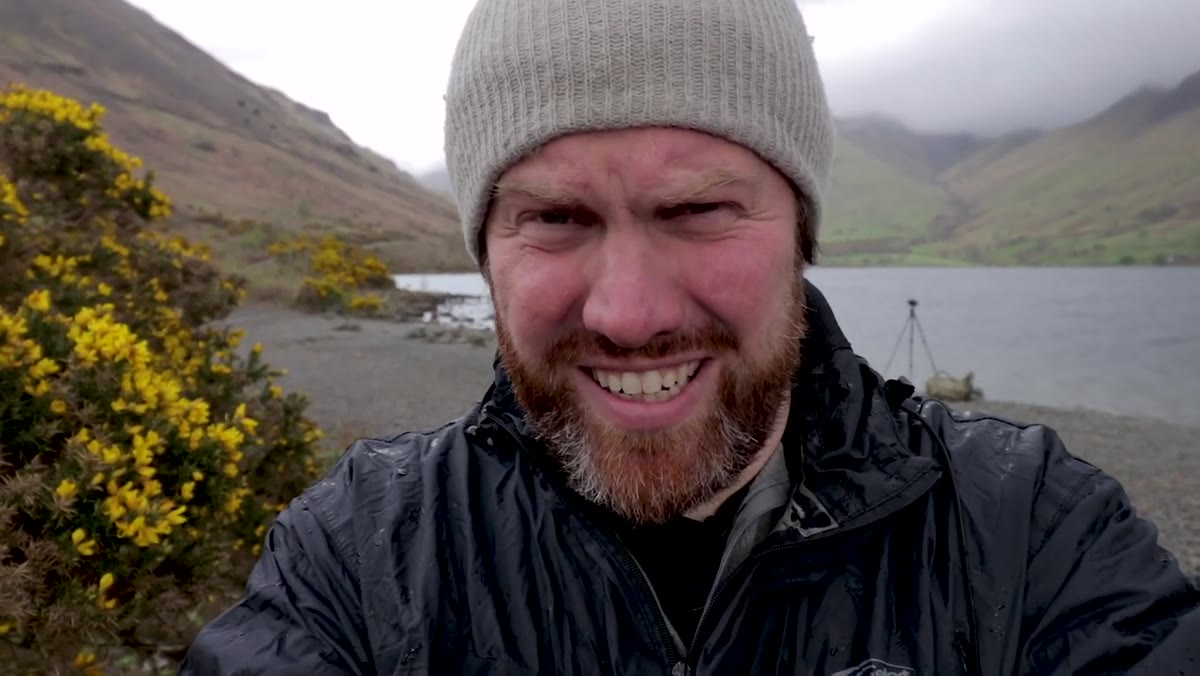 Overcast windy shoreline at Wast Water, moody sky
Before the tripod comes out, spend a few minutes just looking. The creator arrives at Wast Water and immediately reads the sky rather than rushing to a composition. He notes light coming in off the sea behind him, identifies the shower pattern as sporadic, and decides the day could swing either way. That assessment shapes everything that follows, including where he positions himself and how patient he’s willing to be.
On a day like this, your first job is forecasting the next fifteen minutes, not the next hour. Look for where the breaks in the cloud are moving. If a bright edge is tracking toward your scene, you have time to set up and wait. If the whole sky is a flat grey lid with no movement, your approach shifts entirely toward foreground interest and structure rather than waiting for a light event that isn’t coming.
Step 2: Find a Foreground Element That Earns Its Place
 Bright yellow gorse bush along the lake shoreline
With flat overhead light washing out the mid-tones, the creator spots a gorse bush in full yellow bloom along the shoreline and immediately recognizes its value. In a scene dominated by grey cloud and muted greens, that burst of saturated yellow becomes the visual anchor. He doesn’t treat it as a novelty. He treats it as a tool, something that solves the problem of a low-contrast, low-interest sky.
The lesson here is deliberate: when ambient light is dull, foreground color contrast does the work that dramatic sky would normally do. Walk the shoreline or the edge of your scene and ask what has inherent color or texture that the conditions haven’t flattened. Gorse, wildflowers, rust, lichen on rock, even a wet surface catching a sliver of reflected sky. These elements become your exposure anchor and your compositional entry point.
Step 3: Use Natural Curves to Build Your Lead-In Line
 Creator gesturing along curved arc of gorse bush
Once he identifies the gorse as his foreground, the creator notices that the bush has a natural arc to it. Rather than shooting straight across the shrub, he positions himself so that curve sweeps from the near edge of the frame toward the mountains in the background. The road behind the bush gets hidden by the plant itself, which solves a potential distraction in the same move.
Lead-in lines don’t have to be paths or rivers. Any element with directional energy, a curved branch, the angle of a rock face, the sweep of tall grass, can pull the viewer’s eye from foreground to background. The key is getting low enough that the curve reads clearly against the mid-ground. If you’re standing at eye level, the effect collapses. Drop the tripod, get the camera close to the ground, and suddenly that gentle arc becomes a strong compositional gesture.
Step 4: Get the Camera Low and Shoot Before the Light Changes
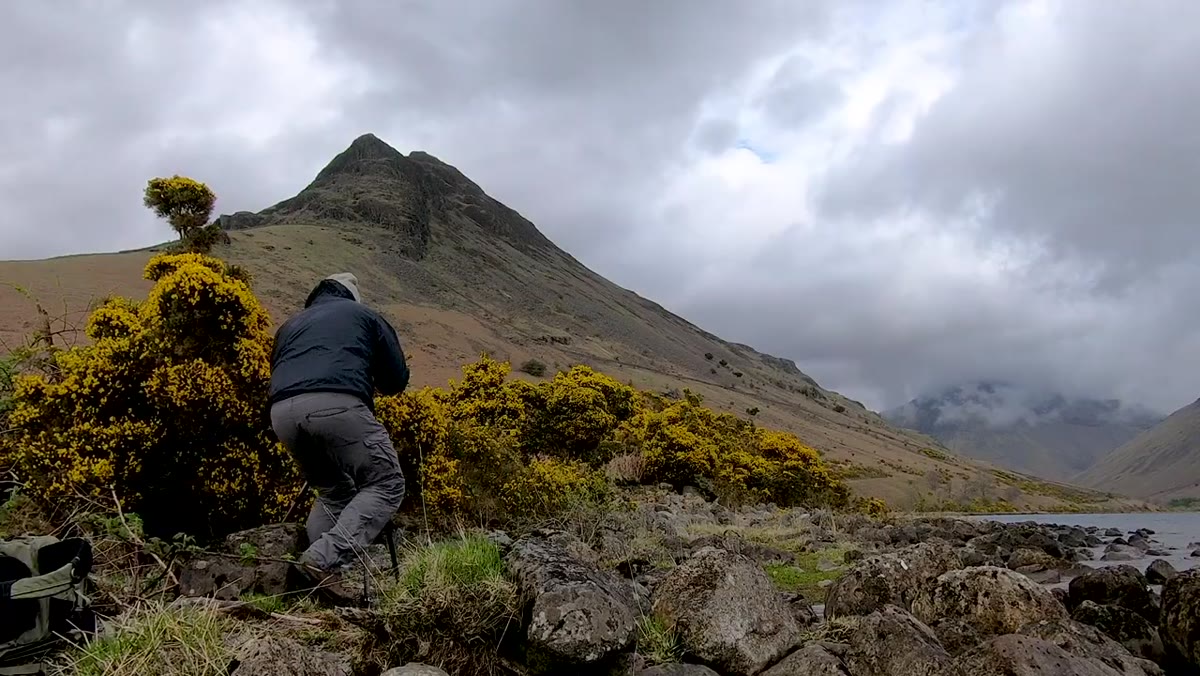 Camera set very low on tripod near gorse bush
He sets the camera extremely low to emphasize the gorse against the mountains, and then he moves fast. A small break in the cloud is pushing a thin edge of blue into the upper frame, and he doesn’t wait to refine the composition further. He shoots what he has because the light event is happening now.
This is a discipline I had to build deliberately. The instinct is to keep adjusting until everything feels perfect. But perfect composition with gone light is a blank file. Set your critical elements, check that your horizon is level, confirm your depth of field covers front to back, and release the shutter. You can bracket and refine from that first capture. You cannot recover light that left while you were fiddling with your ball head.
Step 5: Run a Time-Lapse to Work While You Wait
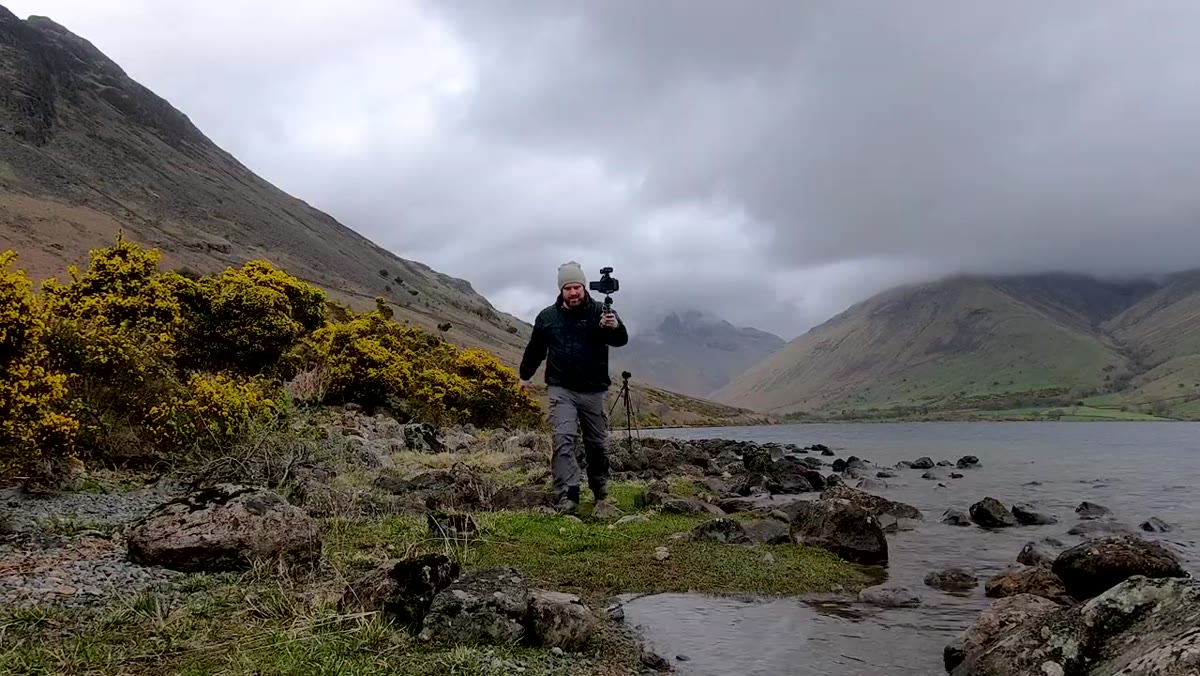
 GoPro Hero 6 set up for time-lapse on location
Between active shooting, the creator sets up a GoPro Hero 6 to capture a time-lapse of the scene. He also mentions using the camera’s voice control feature to start recording hands-free, which he had used earlier while driving by mounting the GoPro to the windscreen. It’s a smart use of downtime when the light isn’t doing what you need.
A time-lapse running in the background does two things. First, it gives you usable footage even if the stills session disappoints. Second, it shows you the cloud movement pattern across fifteen or twenty minutes in a few seconds of playback, which helps you understand whether that light break you’re waiting for is actually coming or just teasing from the edge of the frame. Treat it as both a creative capture and a scouting tool.
Step 6: Review Honestly and Name What Isn’t Working
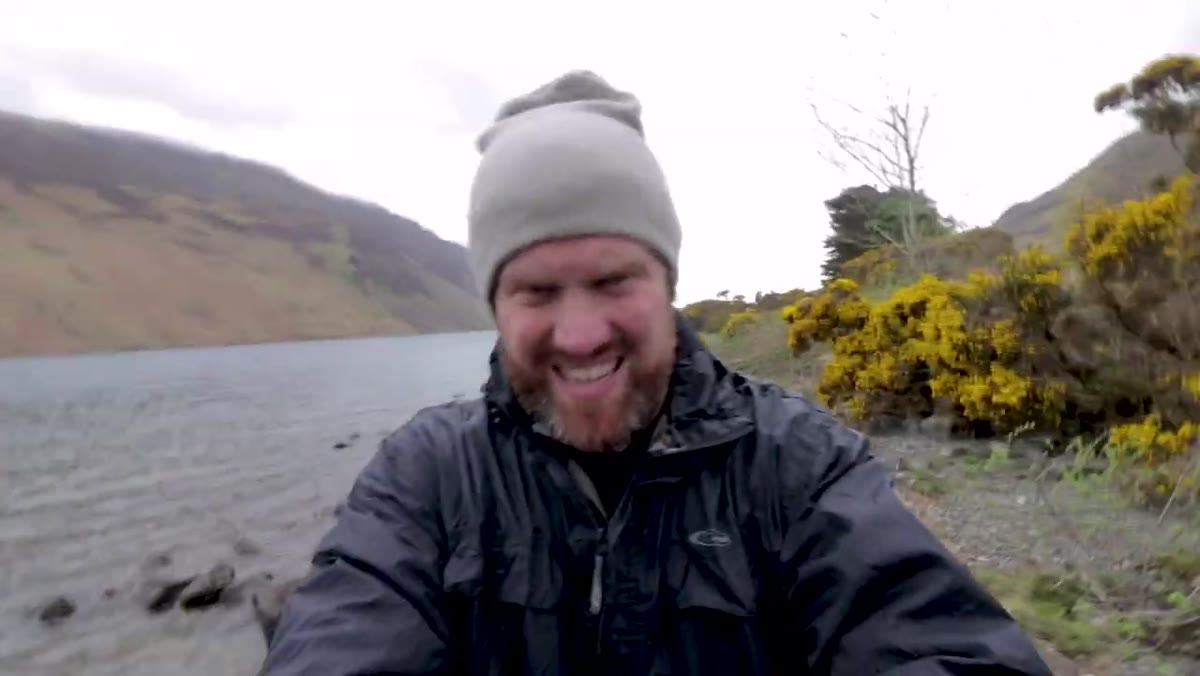
 Creator pausing to address camera, visibly frustrated
One of the most valuable moments in the entire video is when the creator stops mid-session to say directly that he’s not satisfied with the images. He doesn’t dismiss the footage. He commits to explaining specifically what he doesn’t like and why. That kind of honest, structured self-critique is what separates photographers who improve from photographers who plateau.
After each session, write down two or three specific reasons why a shot fell short. Not “the light was bad” but “the foreground curve didn’t read because I was too high, and the sky had no tonal variation to give the mountains depth.” Specificity is what you can act on next time.
A Note from the Field
Difficult days have a way of teaching things that easy ones don’t. Some of my most technically sound thinking has happened when I was cold, tired, and working with flat light because those constraints forced me to solve composition problems I would have ignored if a spectacular sky was handling everything for me. A mentor once told me that the mountain doesn’t care about your schedule, and he was right. The conditions you get are the conditions you work with. The question is whether you’re paying close enough attention to find what’s actually there.
If you’ve written off a location because one visit gave you mediocre results, go back. The same shoreline that handed you nothing last March may be extraordinary in October with low-angle light raking across those rocks you barely noticed.
The single most transferable idea from this session is that foreground color contrast can carry an image when sky drama is absent. Find the element in your scene that has inherent saturation or texture, build your composition around it, get low, and shoot before the moment passes. Everything else is refinement.
Watch the full tutorial on YouTube and pay particular attention to how the creator talks through his dissatisfaction at the end. That candor is as instructive as the composition work.
Comments (3)
My workflow just got 10x faster. Not even kidding.
I tried this on a client project yesterday and the results were way better than expected.
Couldn't agree more. I've seen this make a huge difference in photography work specifically.
Leave a Comment