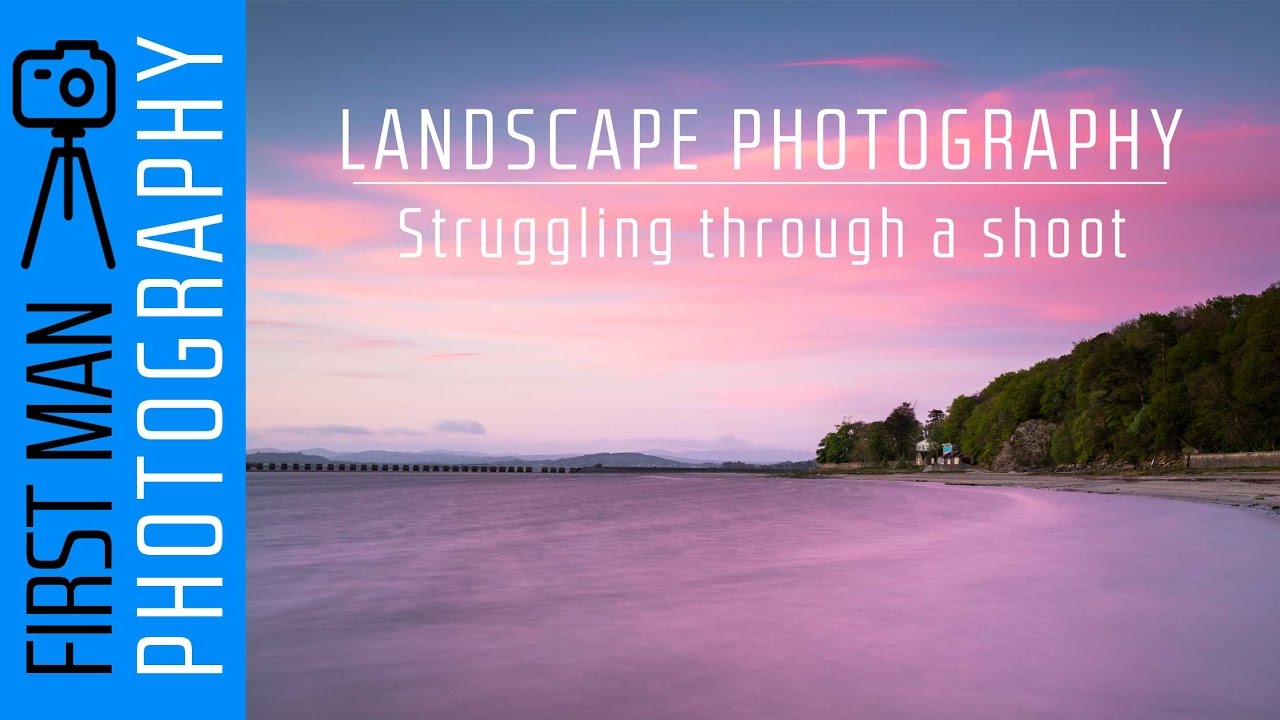
There’s a particular kind of shoot I know better than I’d like to admit. You’re tired, the location is new, the light is moving faster than you can think, and somewhere between the car park and the shoreline you realize you’ve left something important behind. These are the sessions where most of the frames are throwaway, but occasionally, if you stay patient and keep working, one image cuts through. That’s exactly what happens in this First Man Photography tutorial, Watch the full tutorial on YouTube, and it’s worth studying not because it’s a masterclass in everything going right, but because it shows a working photographer grinding through everything going wrong.
After twenty years of shooting landscapes professionally, I still have sessions that feel like this one. The honest, unpolished nature of this video is what drew me to write about it. The creator shows up to Arnside, a designated Area of Outstanding Natural Beauty just south of the Lake District in Cumbria, England, running on low sleep and without having scouted the location first. Sound familiar? What follows is a practical lesson in adapting on the fly, working with the light you’re given, and not letting imperfect conditions become an excuse to pack up early.
Step 1: Arrive with Realistic Expectations, Not a Shot List
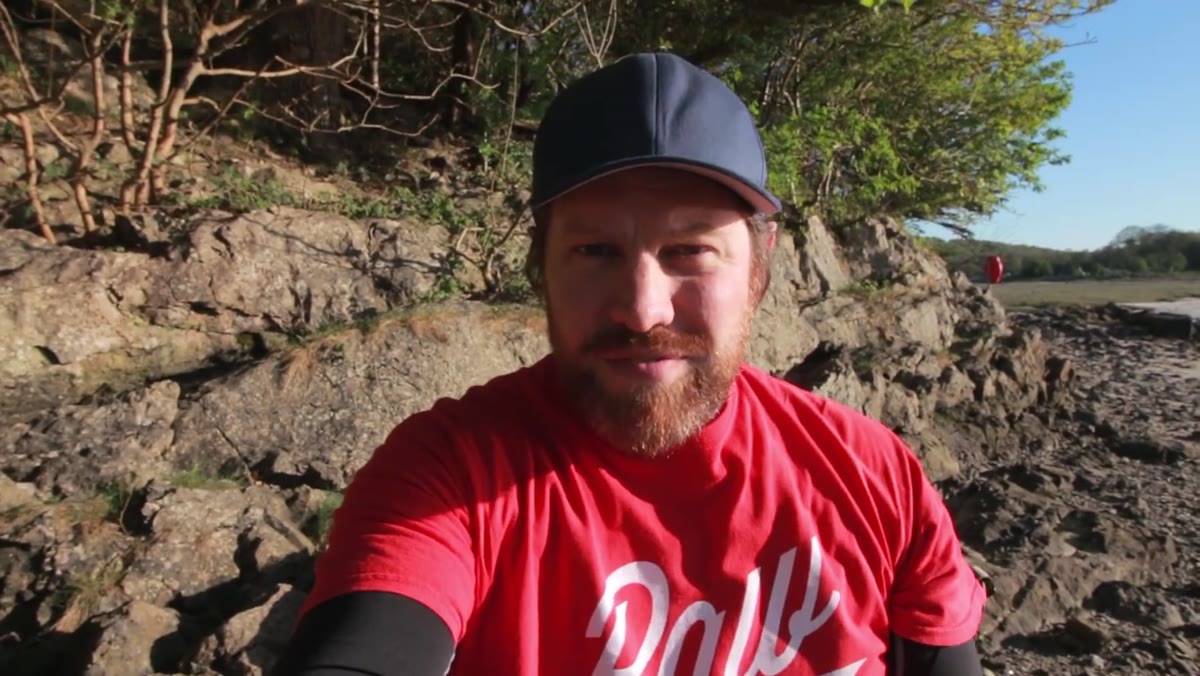 Photographer sitting on rocks at Arnside estuary at golden hour
The creator arrives after 6pm with no prior knowledge of the location and an honest goal: two or three decent compositions. That’s the right mindset for an unscouted shoot. When I arrive somewhere new, I resist the urge to immediately set up a tripod. The first ten minutes belong to walking, looking, and letting the place speak before you impose a frame on it. The mistake most photographers make is treating an unfamiliar location like a familiar one, moving straight to the edge of the water and shooting what’s in front of them. Give yourself permission to wander before you commit.
Step 2: Read the Sky Before You Read the Scene
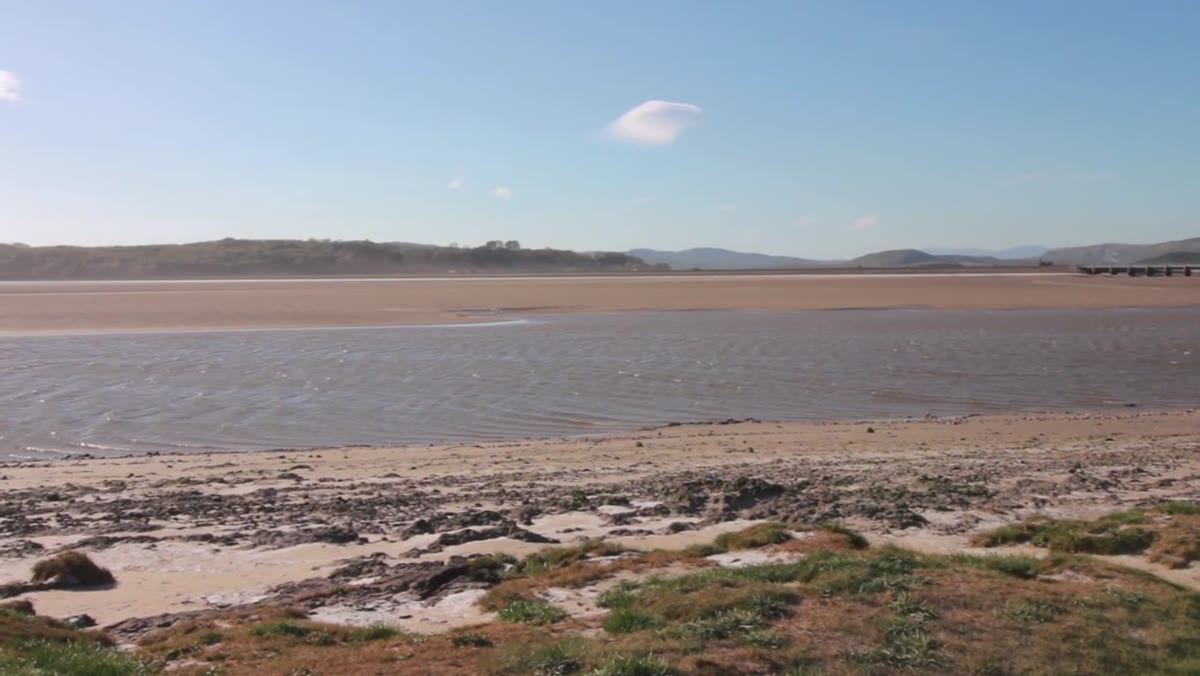 Clouds beginning to build over estuary as blue sky transitions
One of the more instructive moments in this tutorial is the creator’s observation about the sky. He notes that a cloudless blue sky all day is not ideal for landscape work, but as the sun drops, cloud is beginning to push in. This is a crucial thing to train yourself to watch. At golden hour, a small amount of high or mid-level cloud acts like a natural softbox, catching the warm light and amplifying it across the whole scene. No cloud means a bright disc setting into haze. Some cloud means color, texture, and depth. Check the sky thirty to sixty minutes before sunset, not just at the moment you want to shoot.
Step 3: Find a Composition That Does Multiple Things at Once
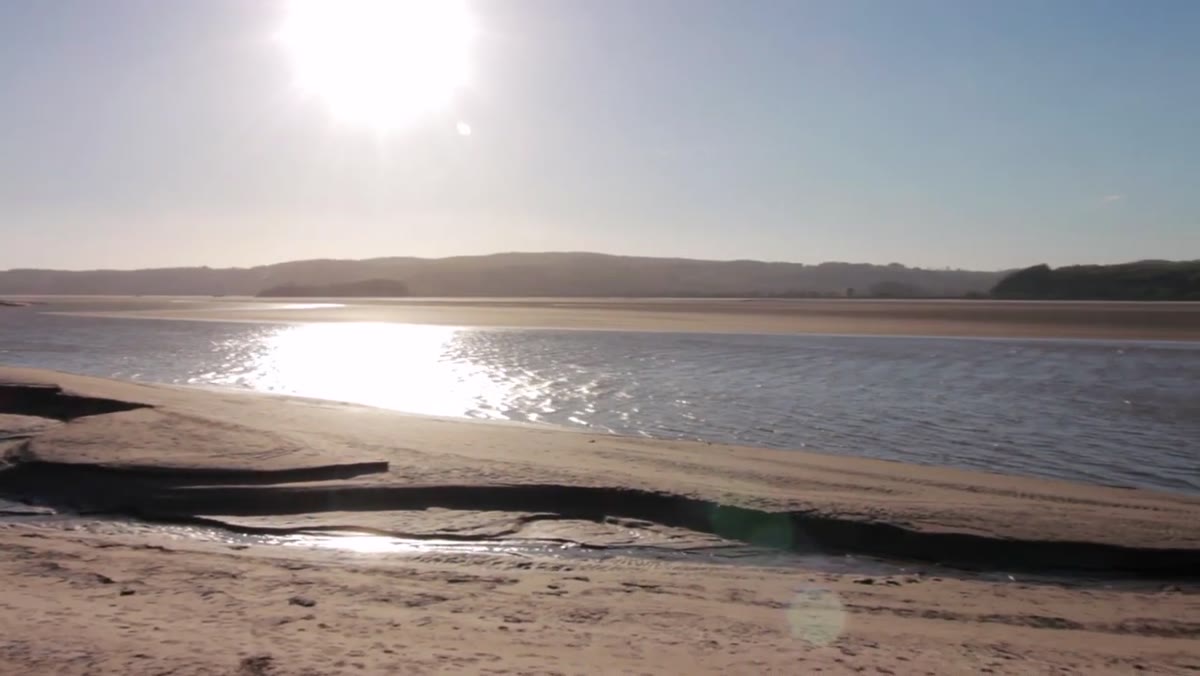 Camera framed on S-curve water leading toward the viaduct
The creator settles on a composition that uses a channel of water curving in a loose S-shape through the foreground, drawing the eye toward a viaduct sitting in the mid-distance. This is a sound compositional decision for several reasons working simultaneously. The water provides a natural leading line. The viaduct gives the image a point of arrival. The incoming clouds add interest in the upper third. When I evaluate a composition in the field, I ask whether it has at least three layers: a foreground element that anchors, a mid-ground subject that rewards, and a background or sky that contextualizes. If I can only find two of those three, I keep looking.
Step 4: Adapt When Your Gear Lets You Down
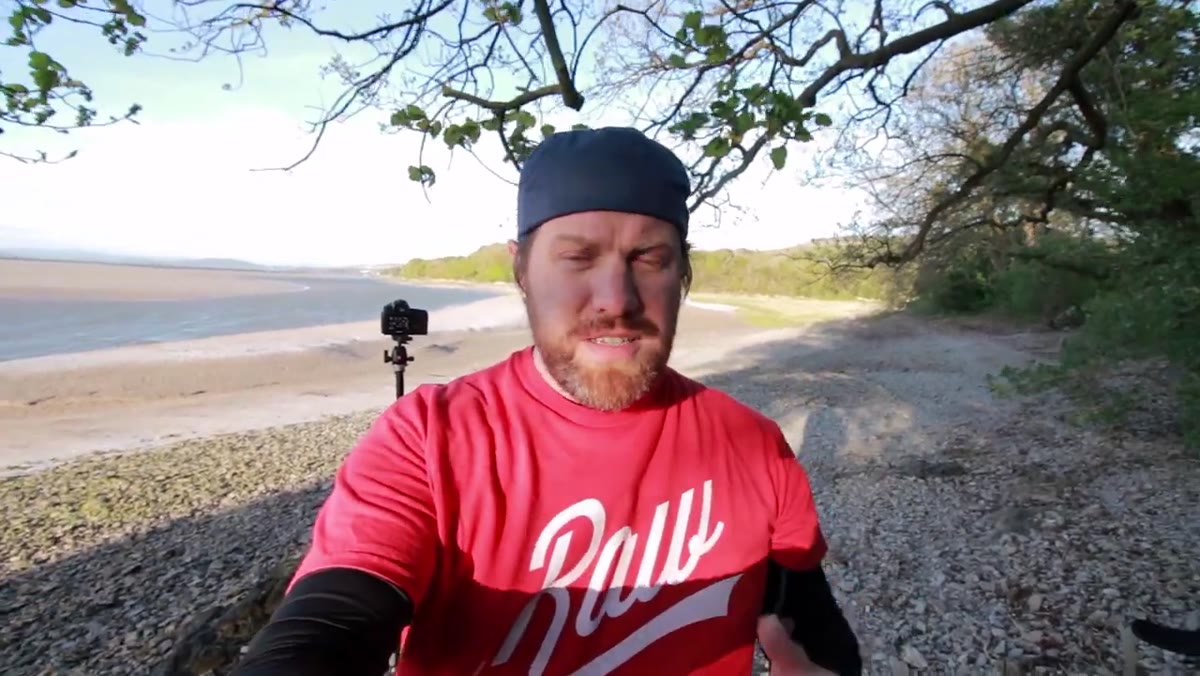 Photographer noting missing screw-on filters for the 82mm lens
Here’s where the tutorial gets genuinely useful for anyone who shoots with screw-on ND or polarizing filters. The creator realizes he’s left his filters for his 24-70mm lens at home. Without a neutral density filter, the long exposure he wanted to smooth out the water surface isn’t possible at the exposure values required to retain highlight detail in the sky. This is a gear failure that changes the shot, but it doesn’t end the session.
The lesson is that every kit failure forces a creative decision. Without the ND, he’s pushed toward shorter exposures. That means the water retains texture and movement rather than becoming glass-smooth. Sometimes that’s actually the better image. I keep a small notebook of backup approaches for exactly these situations: no ND means work with motion, no tripod means find a natural support, no wide angle means work tighter and look for abstract detail. The constraint often produces something you wouldn’t have tried otherwise.
Step 5: Stay Through the Uncertainty
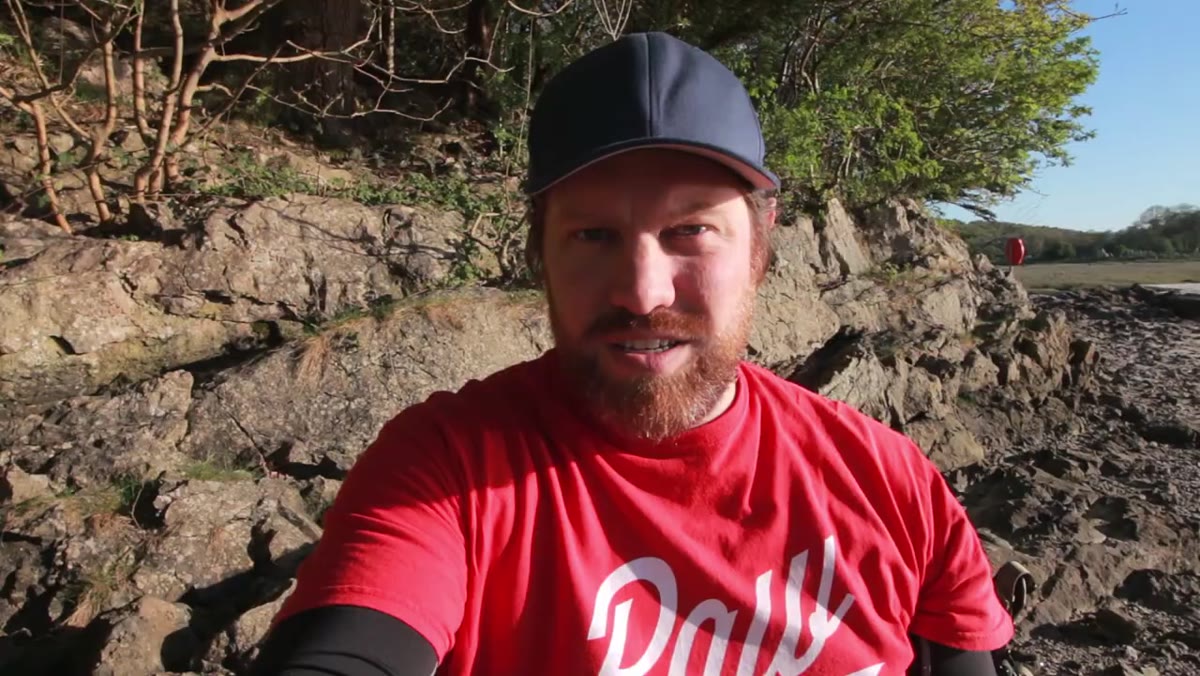 Creator scanning the estuary, undecided about position
The honest admission in this video, that he wasn’t sure he was in the right spot to use the light well, is something I deeply recognize. That uncertainty is uncomfortable, but leaving because you’re unsure is almost always the wrong call. Light changes fast near sunset and what looks like a mediocre position at 6:30pm can become the perfect position at 7:10pm when the angle shifts. I learned this the hard way years ago, chasing a spot I thought would be better and arriving just as the light on the original location peaked and died behind a ridge. I still think about that image I never made. Stay with your composition, refine it, and let the light come to you.
Step 6: Capture What the Scene Actually Gives You
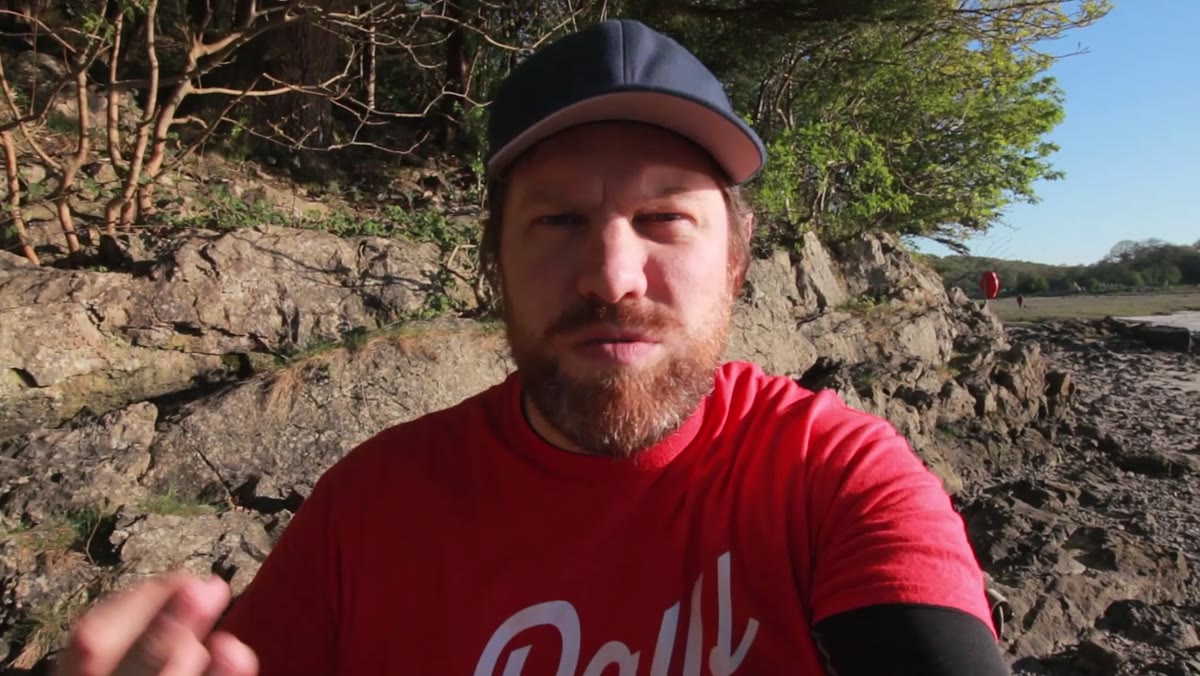 Golden light developing across the estuary landscape
The golden light the creator had been anticipating begins to materialize, and the approach shifts from searching to shooting. At this point, discipline matters. It’s tempting to keep repositioning in search of something slightly better while the window is open. Instead, commit to your strongest composition, work it properly, adjust exposure for the changing light every few minutes, and bracket if the dynamic range between sky and foreground is wide. The image you execute well beats the image you chased and arrived at too late.
A Note From My Own Experience: Don’t Underestimate Unfamiliar Places
The most seductive trap in this kind of shoot is assuming that because you don’t know a location well, you’re at a disadvantage. You are, technically. But fresh eyes sometimes find compositions that familiarity would have talked you out of. Some of my most surprising images have come from places I visited once and never returned to. The flip side is real too: scouting saves you from spending your golden hour still figuring out where to stand. Whenever possible, visit a new location in flat midday light first. Walk every angle. Note where the sun will fall based on direction. Then go back to shoot it properly. When that’s not possible, as it often isn’t, you do what the creator does here: you arrive, you stay calm, you work the light you’re given, and sometimes that’s enough.
The single most important lesson from this tutorial is the simplest one: show up anyway. The conditions weren’t ideal, the gear wasn’t complete, the photographer was tired, and the location was unknown. He stayed, adapted, and came home with shots worth keeping. Perfect preparation is a luxury. Good instincts, patience, and a willingness to work through the difficulty are what actually produce images.
Watch the full tutorial on YouTube to see the complete session unfold, including the sunset that eventually arrives and the compositions that made the difficult evening worthwhile.
Comments (3)
Just subscribed. If the rest of your content is this good, I'm in.
My workflow just got 10x faster. Not even kidding.
Wow, I had no idea you could do this. Mind blown.
Leave a Comment