
There’s a particular kind of disappointment that only landscape photographers know. You’ve hiked for an hour, you’ve found something genuinely beautiful, you’ve made careful frames in the field, and then you get home, pull up the RAW files, and realize: none of these are keepers. Not because you made a technical error. Because the scene, for all its real-world magic, just didn’t translate.
I’ve been doing this for twenty years and that feeling still catches me off guard. What separates a developing photographer from a working one isn’t avoiding those sessions. It’s learning to extract something useful from them every single time. That’s why I keep coming back to this kind of honest, process-forward work from other photographers. In this William Patino tutorial, Watch the full tutorial on YouTube, Patino documents a solo wilderness hike to a remote waterfall, makes considered compositions in the field, does a rough edit at his desk, and then makes the call that most photographers would quietly bury: he’s keeping nothing. Watching him reason through that decision out loud is more instructive than most gear reviews I’ve seen this year.
What follows is a breakdown of his process, step by step, with the lessons I think translate directly to your own field practice.
Step 1: Read the Scene Before You Unpack
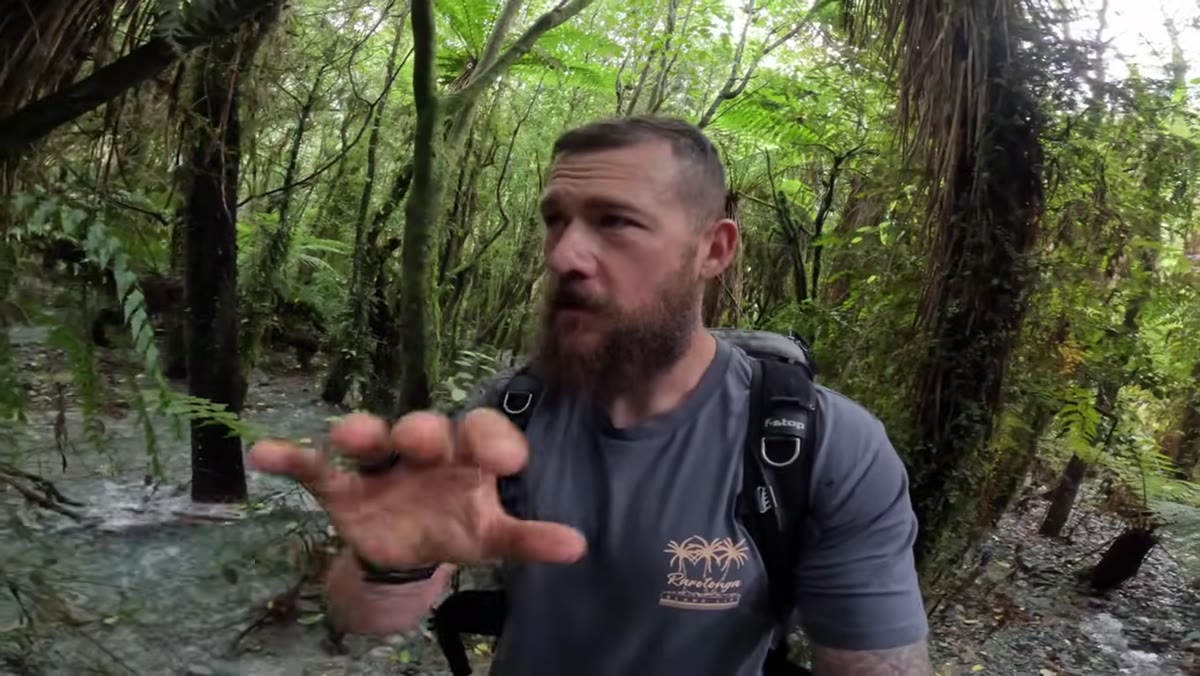 Patino assessing a new rain-formed stream winding through trees
Patino arrives at a stream that’s formed from recent rainfall and his first instinct isn’t to set up a tripod. It’s to walk and observe. He notes the way the water wraps around the trees, then immediately flags a problem: there’s something missing. He can’t articulate it yet, but he trusts that instinct enough to keep moving rather than force a shot.
Patino assessing a new rain-formed stream winding through trees
Patino arrives at a stream that’s formed from recent rainfall and his first instinct isn’t to set up a tripod. It’s to walk and observe. He notes the way the water wraps around the trees, then immediately flags a problem: there’s something missing. He can’t articulate it yet, but he trusts that instinct enough to keep moving rather than force a shot.
This is disciplined field behavior. When I arrive somewhere new, I give myself a hard rule. No camera out for the first ten minutes. Walk the full scene, note where the light is falling, identify the two or three elements that genuinely catch your eye. Shooting too early locks you into the first composition you see, which is almost never the best one.
Step 2: Identify the Anchor, Then Test the Access
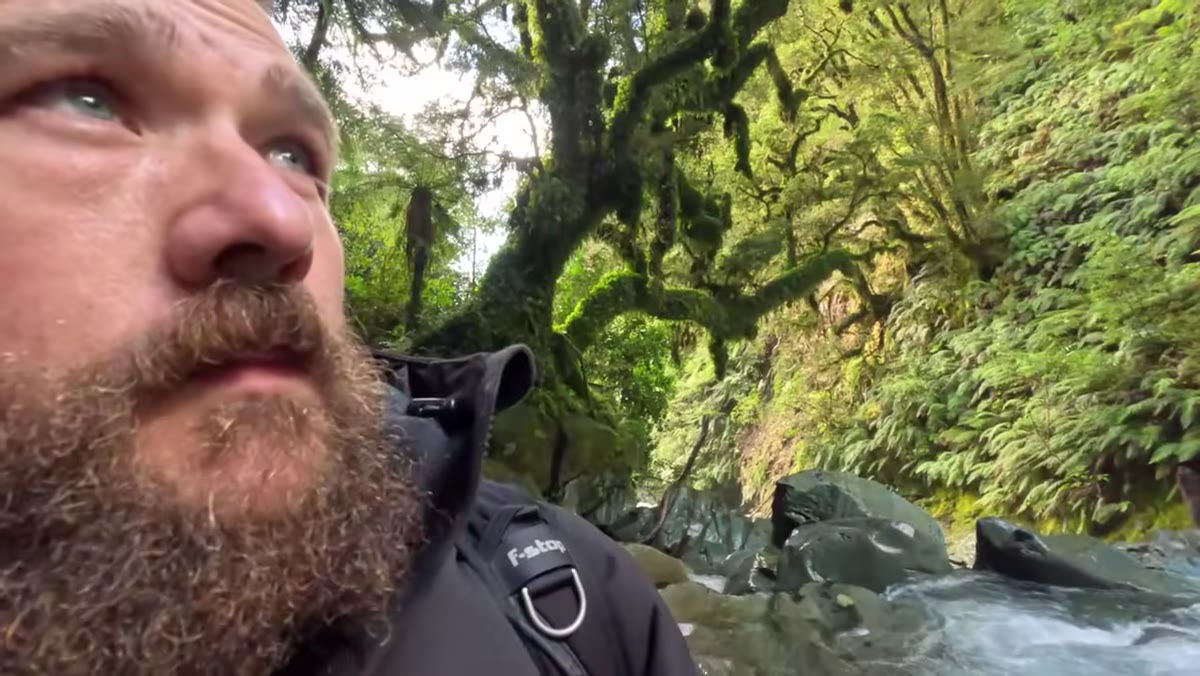 Patino discovers the waterfall and colorful tree from below
When Patino crests a rise and finds a large waterfall with a dramatically colored tree in the foreground, his response is methodical. He identifies the waterfall as the background anchor and the tree as the foreground subject, and immediately tries to reach a higher terrace to shoot the waterfall straight-on. The upper route turns out to be impassable. A 25-foot drop with no safe line around it, and his vehicle is several kilometers away. He turns back.
Patino discovers the waterfall and colorful tree from below
When Patino crests a rise and finds a large waterfall with a dramatically colored tree in the foreground, his response is methodical. He identifies the waterfall as the background anchor and the tree as the foreground subject, and immediately tries to reach a higher terrace to shoot the waterfall straight-on. The upper route turns out to be impassable. A 25-foot drop with no safe line around it, and his vehicle is several kilometers away. He turns back.
That risk-assessment moment matters. I know photographers who push past that line because the shot feels worth it. It never is. Your best image isn’t worth an injury in a location where no one knows you’re there. Patino correctly pivots to the compositions that are safely within reach, and that pivot is where the real creative problem-solving begins.
Step 3: Work Around the Obstacles, Not Through Them
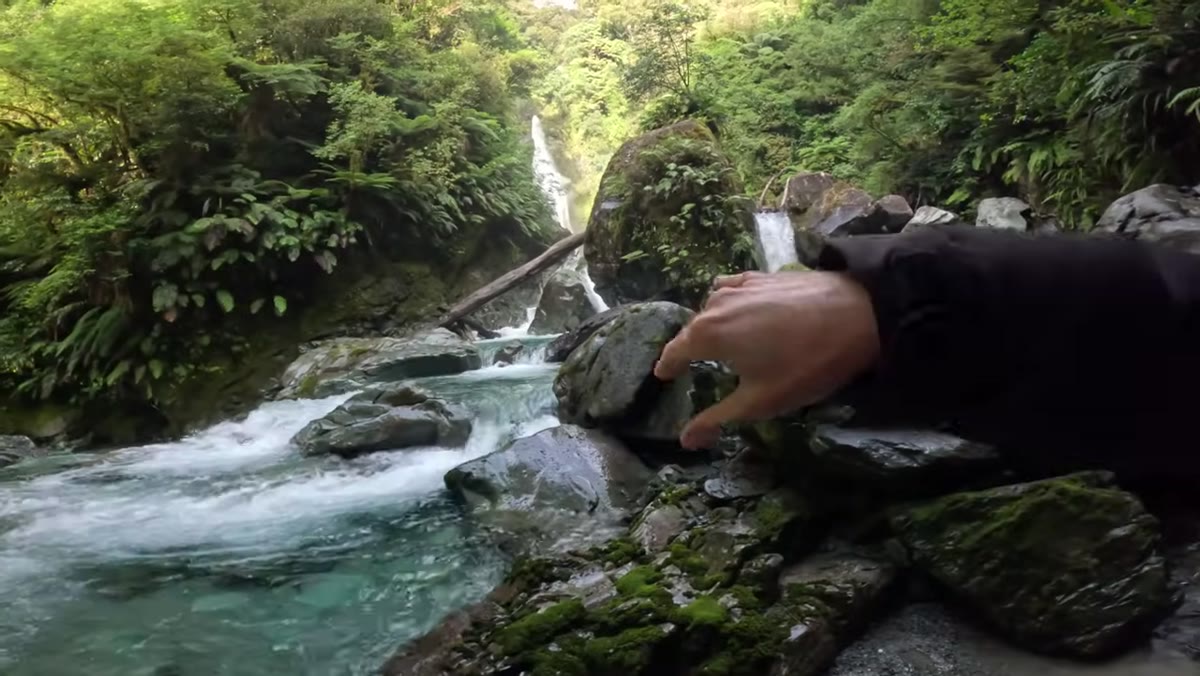 Patino struggling to find clean composition around deep pools
The lower position presents real difficulties. Deep pools block lateral movement. The rocks he needs to stand on are treacherous. Getting a clean flow from the foreground elements toward the tree requires constant repositioning, and each position introduces a new problem. Obstructions in the frame, clashing elements, depth-of-field compromises.
Patino struggling to find clean composition around deep pools
The lower position presents real difficulties. Deep pools block lateral movement. The rocks he needs to stand on are treacherous. Getting a clean flow from the foreground elements toward the tree requires constant repositioning, and each position introduces a new problem. Obstructions in the frame, clashing elements, depth-of-field compromises.
His solution is to move higher and tighter. By climbing slightly and switching to a wider focal length (he mentions 12mm), he’s able to include the tree drinking at the water’s edge and find a flow from a near rock down through the current back toward the tree. The composition isn’t perfect, but it’s honest to what the scene can actually offer. That’s the work: not imagining the ideal shot, but finding the best possible shot from the position the landscape gives you.
Step 4: Prioritize One Subject When the Scene Is Complex
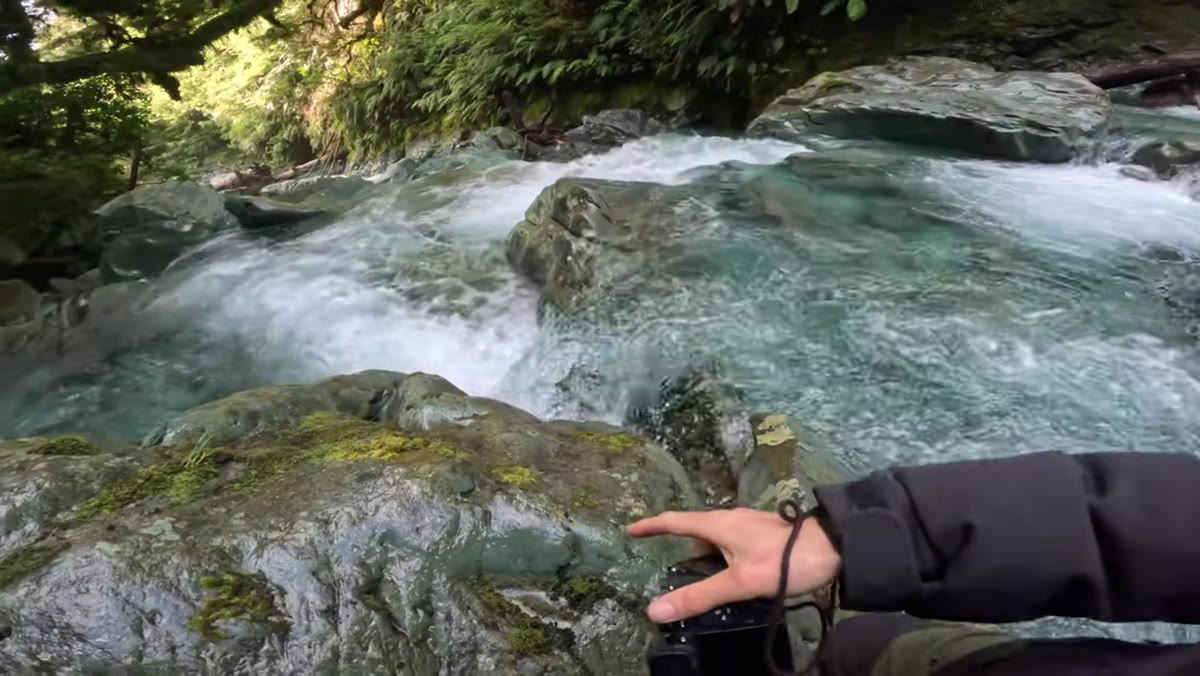 Patino deciding to focus exclusively on the tree composition
Partway through the session, Patino stops trying to include the waterfall altogether. Too many obstructions. Too many competing elements. He narrows his focus entirely to the tree, using the rock and water flow as leads into it. This is a harder decision than it sounds.
Patino deciding to focus exclusively on the tree composition
Partway through the session, Patino stops trying to include the waterfall altogether. Too many obstructions. Too many competing elements. He narrows his focus entirely to the tree, using the rock and water flow as leads into it. This is a harder decision than it sounds.
When you’ve hiked to see a waterfall, it takes discipline to take a photo where the waterfall is essentially cropped out. But the reason to do it is simple. Competing anchors split the viewer’s attention and weaken both. A single strong subject with clear supporting elements will almost always outperform a frame trying to give equal weight to everything impressive in the scene.
Step 5: Make the Edit Honestly Before You Judge the Image
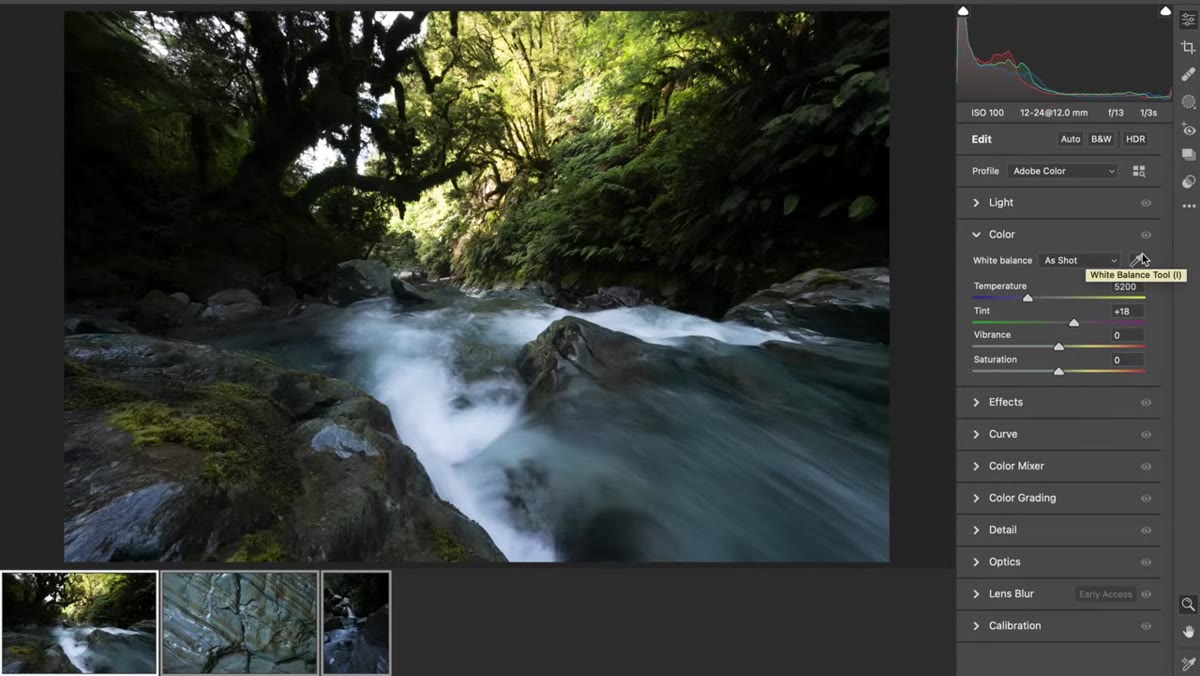 RAW files open on desktop, basic adjustments applied in Lightroom
Back at his desk, Patino does a rough pass on the three RAW files. He’s not polishing these for portfolio. He’s doing just enough processing to see what the image actually is: expand dynamic range, pull highlights, lift shadows, apply a landscape profile, bring in some color. Basic ballpark adjustments so the file reflects something close to what the scene looked like.
RAW files open on desktop, basic adjustments applied in Lightroom
Back at his desk, Patino does a rough pass on the three RAW files. He’s not polishing these for portfolio. He’s doing just enough processing to see what the image actually is: expand dynamic range, pull highlights, lift shadows, apply a landscape profile, bring in some color. Basic ballpark adjustments so the file reflects something close to what the scene looked like.
This is a habit worth building. When you’re culling from a session, don’t judge your RAW files raw. Give each image a thirty-second pass so you’re evaluating the photograph, not the compressed, unprocessed data. It changes what you keep and what you cut.
Step 6: Name What Isn’t Working, Specifically
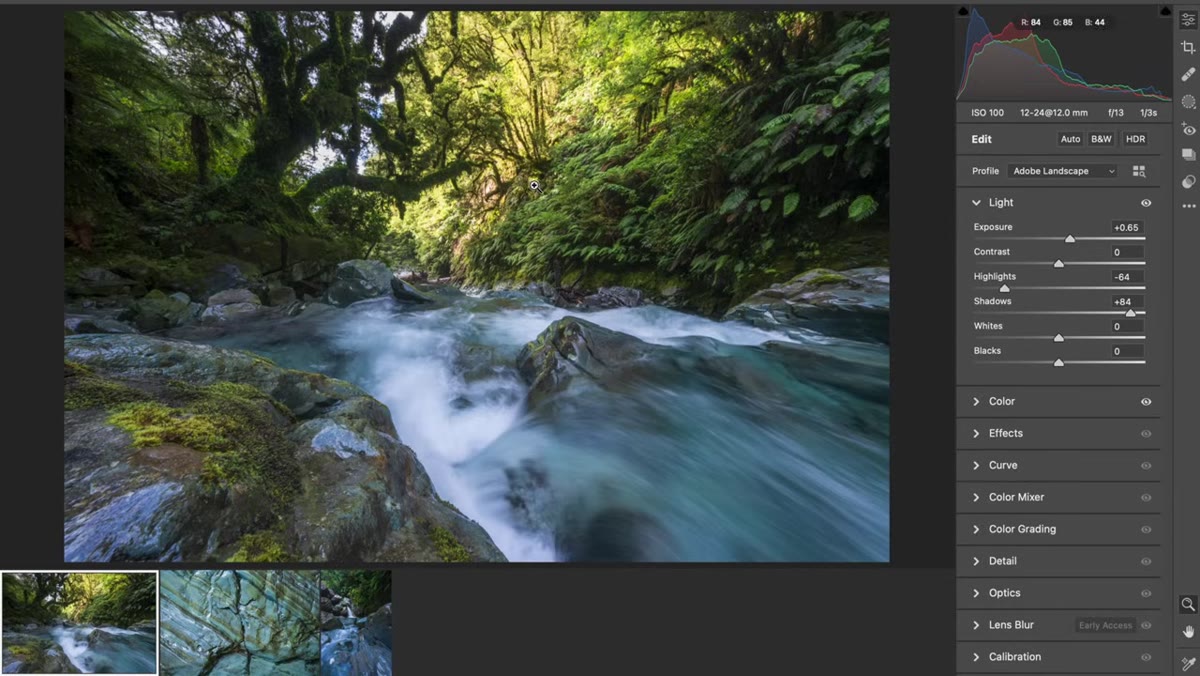 Patino explaining the color clash between wall, foliage, and water in editing
Here’s where the tutorial earns its title. Patino identifies that the light on the background wall, which he initially liked in the field, is distracting in the edit. More than that, he names the specific problem: the greens and yellows of the foliage, the cyan blues in the water, and the warm tones of the wall are fighting each other. The colors aren’t harmonizing. There’s simply too much going on for any single element to breathe.
Patino explaining the color clash between wall, foliage, and water in editing
Here’s where the tutorial earns its title. Patino identifies that the light on the background wall, which he initially liked in the field, is distracting in the edit. More than that, he names the specific problem: the greens and yellows of the foliage, the cyan blues in the water, and the warm tones of the wall are fighting each other. The colors aren’t harmonizing. There’s simply too much going on for any single element to breathe.
This is the skill most photographers spend years developing. Not just feeling that something is off, but being able to say why, precisely, so you can apply that knowledge next time. Color clash, competing light sources, too many subjects of equal visual weight. Name it. Write it in your field notes if you have to. That vocabulary becomes your editing compass.
What I’d Add From Twenty Years in the Field
Patino makes the decision to keep none of these images, and I think that’s correct. But I want to add something he doesn’t explicitly say: the session still has real value, and not just as a learning exercise. Scouting a location like this, even when it doesn’t produce keepers, means you now know what the scene looks like after heavy rain. You know the pool depths. You know which rock is slippery. You know that the upper tier is impassable without gear you don’t carry.
I still shoot film occasionally, partly for the discipline it imposes, and partly because a roll of thirty-six frames is essentially a scouting log. Every frame is a deliberate decision. Digital has given us the freedom to shoot and think later, and that freedom is genuinely useful. But on sessions like this one, I try to treat each composition as if I only have a handful of frames left. It slows me down just enough to ask: what is this image actually about?
The single most important idea in this tutorial is one Patino demonstrates more than states: being willing to come home empty is part of the practice. Not a failure of the practice. Some locations need more than one visit, more than one season, more than one weather event before they give you something worth keeping. Knowing that, and being willing to do the honest work of naming why a session didn’t produce, is what separates a long career from a short one.
Watch the full tutorial on YouTube and pay particular attention to the editing section. That’s where the real lesson lives.
Comments (3)
The before and after really sells it. Incredible difference.
This is exactly what I needed today. Been struggling with this for weeks.
Well explained. I think my audience would really benefit from this — mind if I link to it?
Leave a Comment