
There’s a particular kind of morning I know too well. You’ve planned the shoot, set the alarm, driven the miles, and then stood at the window watching the world get hammered by wind and rain. Every instinct says stay inside. After twenty years of doing this professionally, I’ve learned that the hour after a storm passes is often more valuable than the golden-hour shot you originally planned for. The problem is most photographers either give up too early or rush out too soon, missing the window entirely.
Watch the full tutorial on YouTube
In this Thomas Heaton tutorial, filmed during a late-autumn shoot across a series of slate quarries in what appears to be North Wales, Heaton does something rare for a photography video: he shows you a morning that went sideways and walks you through every decision he made in real time. His shooting partner was unwell, the storm kept them pinned until midday, and yet the session produced some of the most compelling light I’ve seen captured on camera in a long time. This is a video about adaptability. About how a ruined plan becomes a better photograph. Here’s how to apply what he demonstrates.
Step 1: Let the Storm Dictate Your Start Time
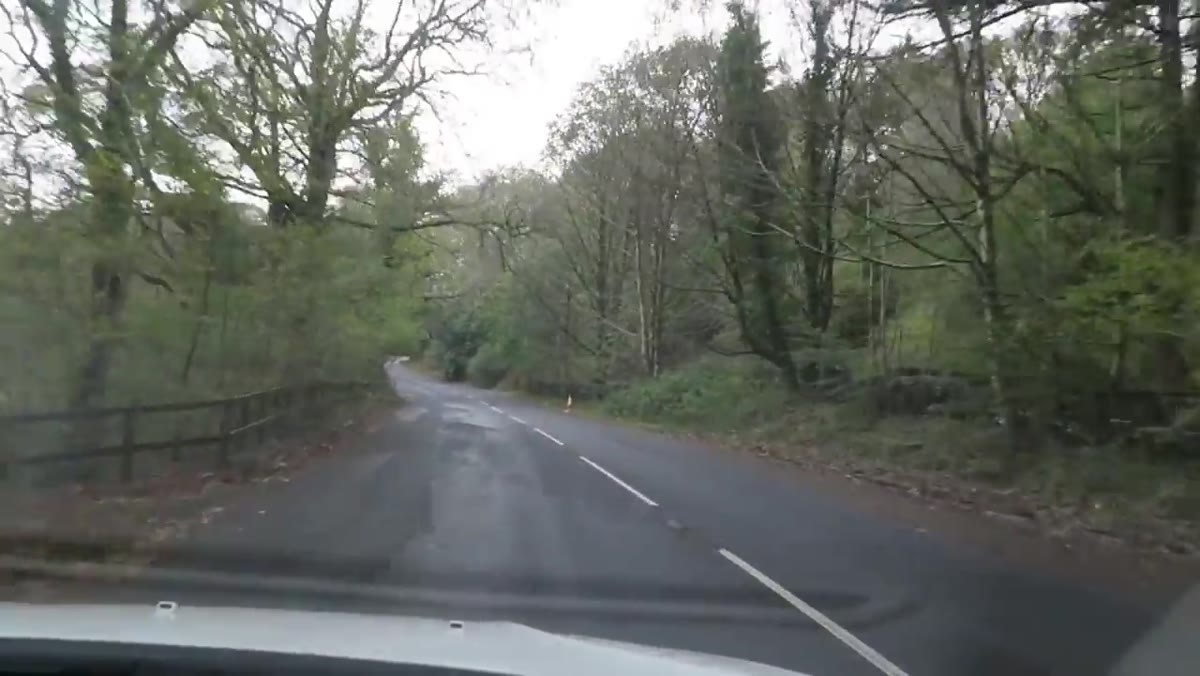 Thomas talking to camera from hotel, storm visible outside
The instinct to force a sunrise shoot regardless of conditions is one of the most expensive habits in landscape photography. Heaton makes a deliberate choice to sleep in, eat breakfast, and wait. Not out of laziness but because shooting in heavy rain and gale-force wind, with no light breaking through, produces nothing worth keeping. Watch the forecast and watch the sky. When you see the storm beginning to fracture, when light starts appearing in isolated patches, that’s your signal. A midday start in post-storm light will beat a miserable 5am effort in a closed-in sky every single time.
Thomas talking to camera from hotel, storm visible outside
The instinct to force a sunrise shoot regardless of conditions is one of the most expensive habits in landscape photography. Heaton makes a deliberate choice to sleep in, eat breakfast, and wait. Not out of laziness but because shooting in heavy rain and gale-force wind, with no light breaking through, produces nothing worth keeping. Watch the forecast and watch the sky. When you see the storm beginning to fracture, when light starts appearing in isolated patches, that’s your signal. A midday start in post-storm light will beat a miserable 5am effort in a closed-in sky every single time.
Step 2: Build a Route Before You Leave, Not After You Arrive
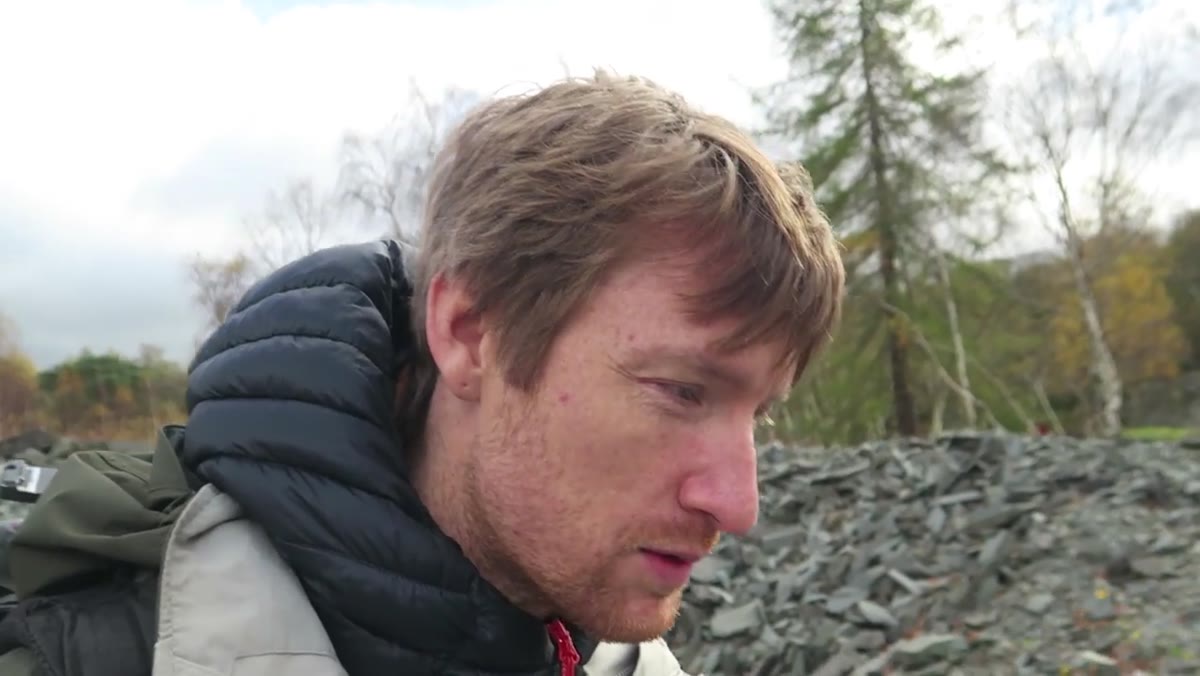 Thomas describing the day’s plan while walking toward the quarry
Heaton and his partner had a planned route through multiple quarries before they set foot outside. This matters more than it sounds. When light is moving fast and conditions are changing by the minute, you cannot afford to be standing in a field deciding where to go next. Know your locations. Know which ones face which direction, which ones have foreground interest, which ones give you depth and layering. Have a sequence. When one location isn’t working, you move to the next without debate. Pre-scouting on a clear day or even using mapping tools like Google Earth and PhotoPills will let you make these decisions at your desk, not on the hill.
Thomas describing the day’s plan while walking toward the quarry
Heaton and his partner had a planned route through multiple quarries before they set foot outside. This matters more than it sounds. When light is moving fast and conditions are changing by the minute, you cannot afford to be standing in a field deciding where to go next. Know your locations. Know which ones face which direction, which ones have foreground interest, which ones give you depth and layering. Have a sequence. When one location isn’t working, you move to the next without debate. Pre-scouting on a clear day or even using mapping tools like Google Earth and PhotoPills will let you make these decisions at your desk, not on the hill.
Step 3: Identify the Light Before You Identify the Composition
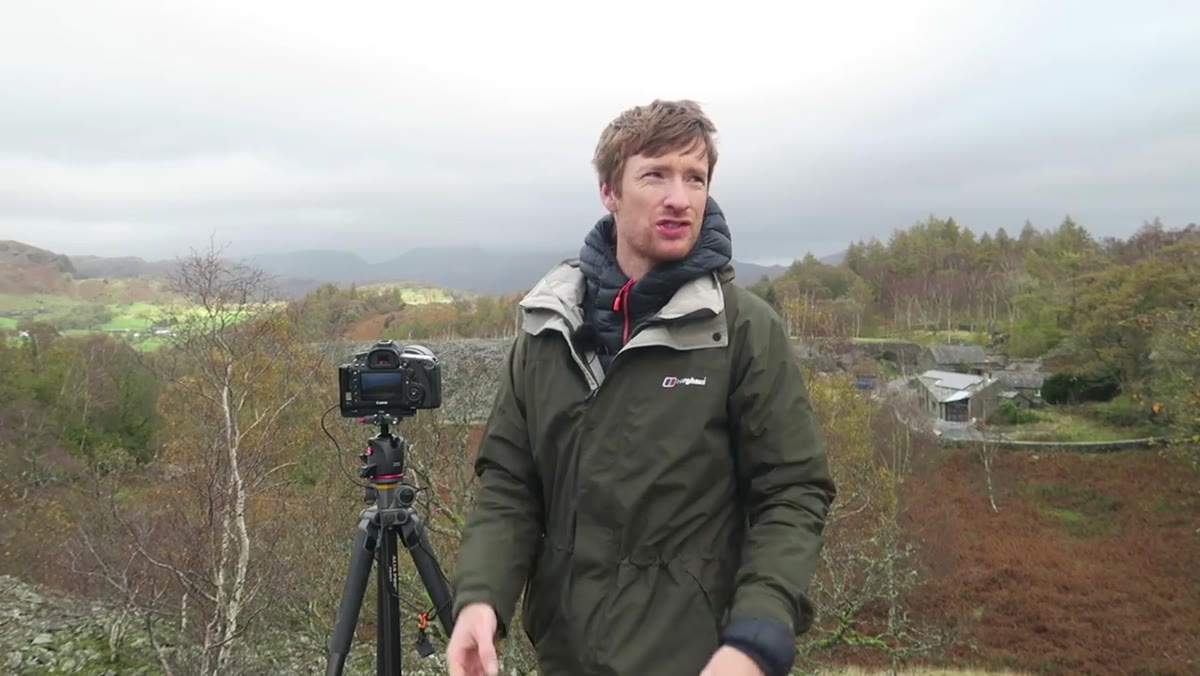 Wide shot of the quarry landscape with light streaming across the fells
When Heaton arrives at the quarry, he doesn’t immediately drop his tripod and start shooting. He watches. The light is moving fast across the landscape, streaming through gaps in the cloud cover and painting different sections of the fell in completely different tones. His first job is to understand where the light is traveling, how quickly, and which elements of the scene it’s illuminating as it passes. Only once he has that read does he settle on a frame. Think of it as choreography: you need to know where the dancer is going before you pick your angle.
Wide shot of the quarry landscape with light streaming across the fells
When Heaton arrives at the quarry, he doesn’t immediately drop his tripod and start shooting. He watches. The light is moving fast across the landscape, streaming through gaps in the cloud cover and painting different sections of the fell in completely different tones. His first job is to understand where the light is traveling, how quickly, and which elements of the scene it’s illuminating as it passes. Only once he has that read does he settle on a frame. Think of it as choreography: you need to know where the dancer is going before you pick your angle.
Step 4: Use a Long Lens to Compress and Layer the Scene
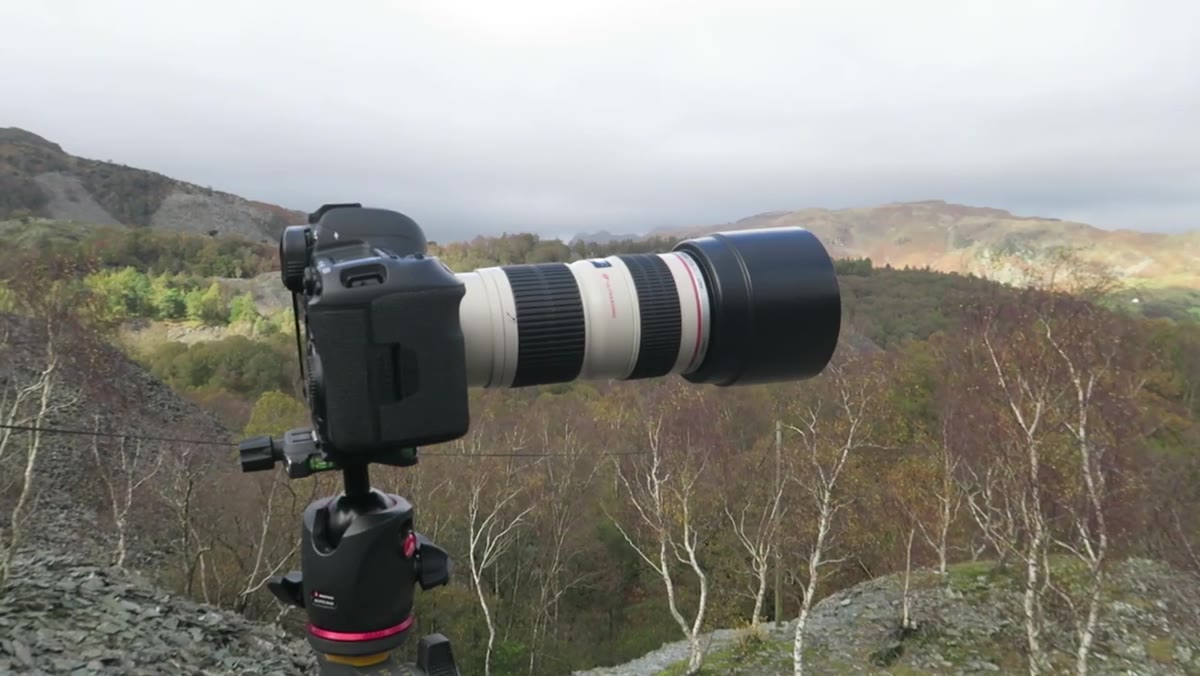 Close shot of Thomas’s lens at approximately 135mm on camera
Heaton shoots this scene at around 135mm, and the choice is deliberate. A wide lens at this location would have spread the elements apart and flattened the sense of depth. At 135mm, the slate quarry walls, the silver birch trees, and the lit fells behind them compress into a single stacked composition. Each layer reads distinctly: dark stone, white bark, warm light on the hillside, heavy storm sky above. If you’re shooting a scene with strong horizontal layers, a focal length in the 100-200mm range will pull those layers together in a way that a 24mm simply cannot replicate.
Close shot of Thomas’s lens at approximately 135mm on camera
Heaton shoots this scene at around 135mm, and the choice is deliberate. A wide lens at this location would have spread the elements apart and flattened the sense of depth. At 135mm, the slate quarry walls, the silver birch trees, and the lit fells behind them compress into a single stacked composition. Each layer reads distinctly: dark stone, white bark, warm light on the hillside, heavy storm sky above. If you’re shooting a scene with strong horizontal layers, a focal length in the 100-200mm range will pull those layers together in a way that a 24mm simply cannot replicate.
Step 5: Pick a Primary Subject and Focus There, Not Everywhere
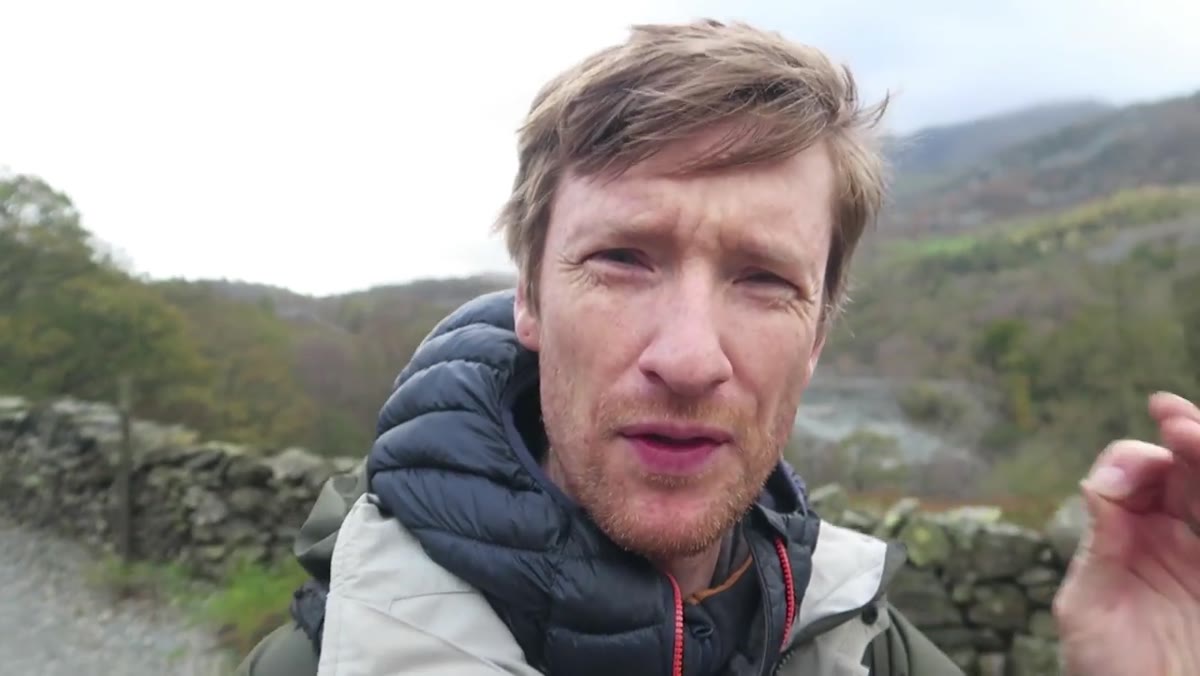 Thomas explaining focus placement on the silver birch trees
This is the step most tutorials gloss over: where you focus determines what the image is about. Heaton is clear on this. The silver birch trees are the subject. Everything else, the quarry in front, the fells behind, can afford to soften. He places focus directly on the trees and lets the depth of field fall away from there. When you’re working with a longer focal length and a mid-aperture like f/5.6 or f/8, the depth of field is finite. Make a deliberate choice about what has to be sharp and commit to it. If you’re trying to keep everything equally sharp, you’ve likely lost the subject entirely.
Thomas explaining focus placement on the silver birch trees
This is the step most tutorials gloss over: where you focus determines what the image is about. Heaton is clear on this. The silver birch trees are the subject. Everything else, the quarry in front, the fells behind, can afford to soften. He places focus directly on the trees and lets the depth of field fall away from there. When you’re working with a longer focal length and a mid-aperture like f/5.6 or f/8, the depth of field is finite. Make a deliberate choice about what has to be sharp and commit to it. If you’re trying to keep everything equally sharp, you’ve likely lost the subject entirely.
Step 6: Shoot in Bursts During the Critical Light Window
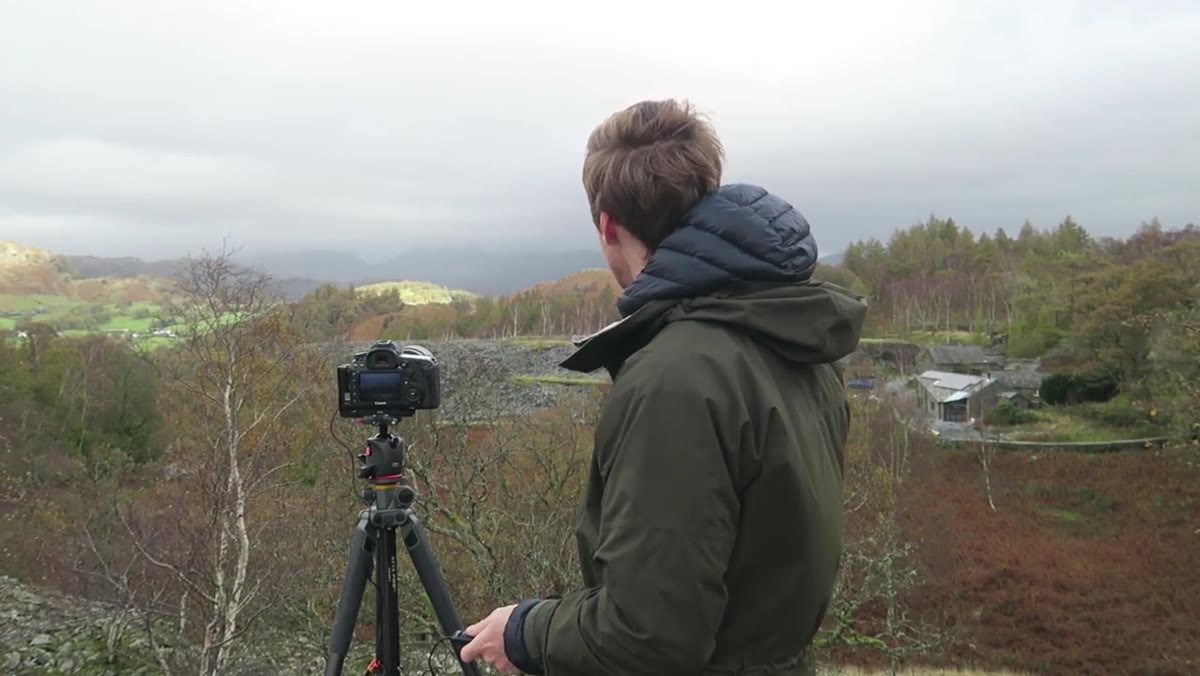 Thomas holding the remote shutter, watching the light sweep across the landscape
When the light is this changeable, a single frame is almost always the wrong strategy. Heaton recommends shooting a series of images across the window of good light, not machine-gunning the shutter, but taking considered frames as different elements of the scene catch the light. Each shot will be distinct. The cloud break shifts. The light moves across a different ridge. A shadow lifts off the birches. When you sit down at the computer, you’ll have a progression to choose from rather than one frame you’re hoping was the right moment. Hold the composition. Watch the scene. Fire when the light hits the element that matters most.
Thomas holding the remote shutter, watching the light sweep across the landscape
When the light is this changeable, a single frame is almost always the wrong strategy. Heaton recommends shooting a series of images across the window of good light, not machine-gunning the shutter, but taking considered frames as different elements of the scene catch the light. Each shot will be distinct. The cloud break shifts. The light moves across a different ridge. A shadow lifts off the birches. When you sit down at the computer, you’ll have a progression to choose from rather than one frame you’re hoping was the right moment. Hold the composition. Watch the scene. Fire when the light hits the element that matters most.
Step 7: Know When the Location Has Given You What It Has
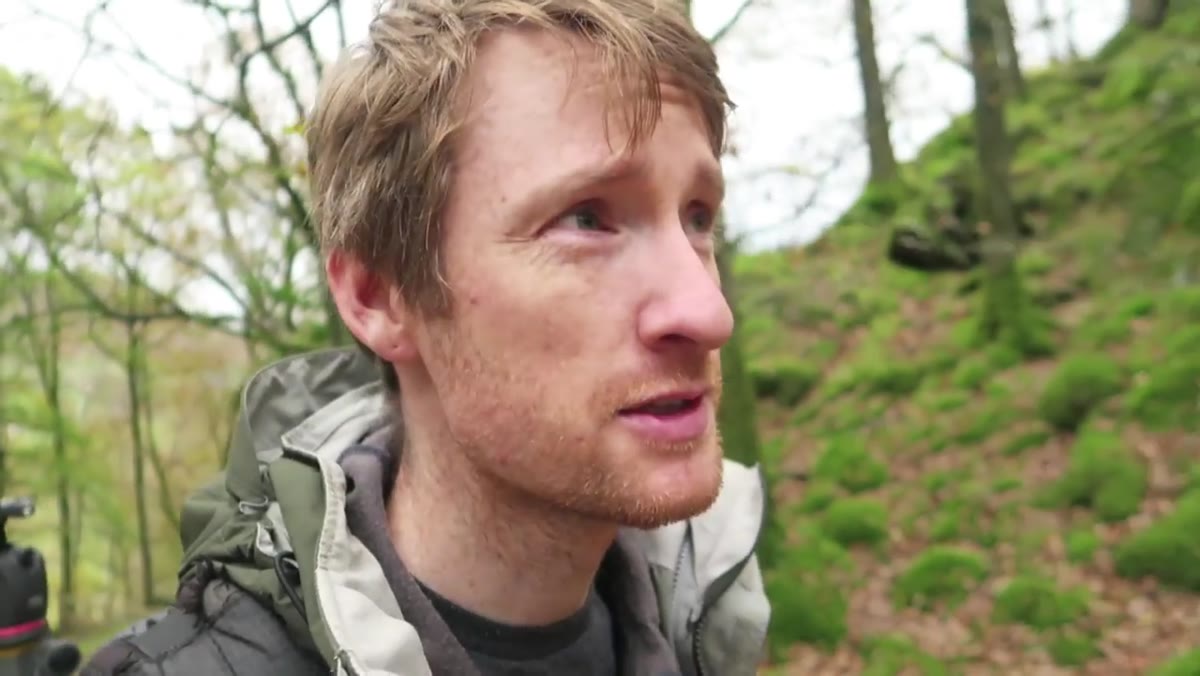 Thomas noting that his partner has moved off to find a new composition
Two photographers in the field will often split naturally. One locks in on a composition and works it patiently. The other moves on. Neither approach is wrong. What matters is recognizing the moment when a location has exhausted its potential for you specifically. Heaton notices when his partner has drifted to something new, and that’s a signal worth paying attention to. When you’ve made the strong frames, when the light has moved past the zone you were working with, walking away is the right call. Staying and grinding rarely improves what you already have. It usually just clutters your edit with mediocre alternatives to the good shots you already took.
Thomas noting that his partner has moved off to find a new composition
Two photographers in the field will often split naturally. One locks in on a composition and works it patiently. The other moves on. Neither approach is wrong. What matters is recognizing the moment when a location has exhausted its potential for you specifically. Heaton notices when his partner has drifted to something new, and that’s a signal worth paying attention to. When you’ve made the strong frames, when the light has moved past the zone you were working with, walking away is the right call. Staying and grinding rarely improves what you already have. It usually just clutters your edit with mediocre alternatives to the good shots you already took.
What I’d Add from My Own Fieldwork
The one thing Heaton doesn’t say explicitly, but that I’d underline from hard experience: the mental state you’re in when the light finally breaks matters almost as much as the technique. My mentor told me once that the mountain doesn’t care about your schedule, and he was right. The mornings I’ve forced myself outside in poor conditions with low expectations have often ended up being the most productive. The mood you bring into a difficult shoot shapes how patient you’ll be and whether you’ll recognize a good frame when it appears. Trust the process, not the plan.
The single most important thing this tutorial teaches is that your original plan is just a starting point. The conditions rewrote Heaton’s entire morning, and he let them. He waited, he adapted, he used a long lens to compress layers of storm light into a coherent composition, he focused on what mattered, and he shot deliberately rather than frantically. That combination is repeatable.
Watch the full tutorial on YouTube to see every decision play out in real time. It’s well worth the full watch.
Comments
Leave a Comment