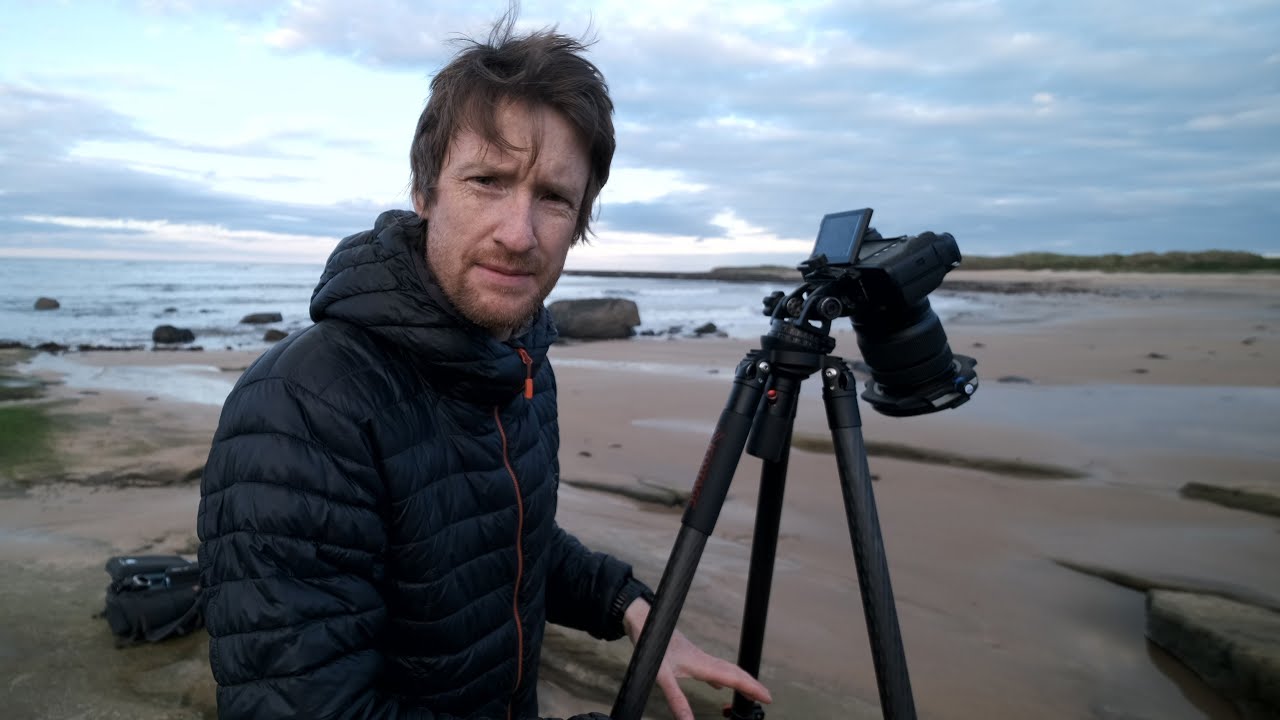
There’s a version of landscape photography that lives on Instagram - golden hour light pouring across still water, every frame a postcard. And then there’s the version most of us actually live: cold fingers, wrong-place-right-time arrivals, and entire months where the weather simply refuses to cooperate. I’ve been shooting full-time for twenty years, and I’d say a solid third of my best work came out of sessions I almost didn’t bother with. That’s the real lesson buried inside Thomas Heaton’s video, which most people will watch for the coastal scenery and miss entirely.
In this Thomas Heaton tutorial, Heaton heads to the Northumberland coast during what he describes as one of the worst Mays on record in the UK - relentless low pressure systems, rain, temperatures barely scraping into double digits. What he documents isn’t a masterclass in technique so much as a masterclass in mindset: how a working photographer reads a situation, makes a call, and shows up anyway. That approach is transferable anywhere. I’ve stood in the Cascade foothills in April weather that felt like February, hat pulled low, asking myself the same question Heaton implicitly asks here - is this window worth taking?
The answer, almost always, is yes.
Step 1: Track the Gap, Not the Forecast
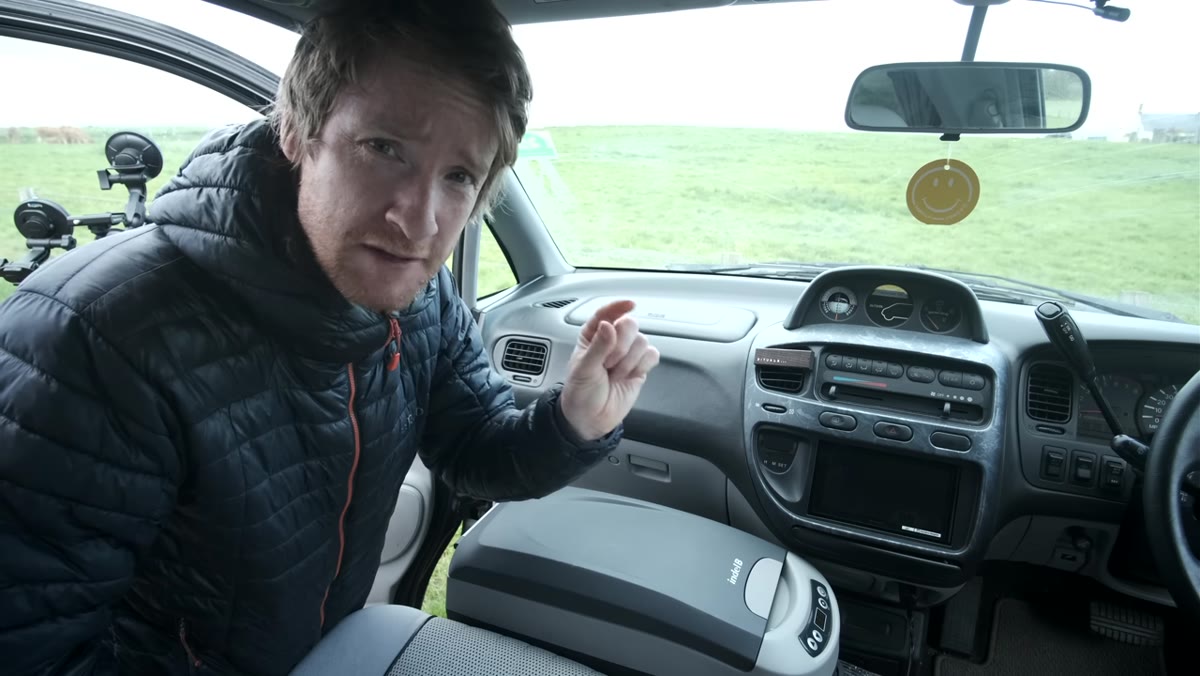 Weather systems discussed as photographer explains a 12-hour gap
Most photographers look at a forecast and read it as a verdict. Heaton reads it as a negotiation. When consecutive low pressure systems have been battering a region, the intervals between them become the opportunity. He identifies a roughly 12-hour window - one system moving out, the next not yet arrived - and that’s enough. The conditions won’t be glamorous. But calm is workable, and workable is all you need.
Weather systems discussed as photographer explains a 12-hour gap
Most photographers look at a forecast and read it as a verdict. Heaton reads it as a negotiation. When consecutive low pressure systems have been battering a region, the intervals between them become the opportunity. He identifies a roughly 12-hour window - one system moving out, the next not yet arrived - and that’s enough. The conditions won’t be glamorous. But calm is workable, and workable is all you need.
Practically, this means checking pressure trend charts, not just rain probability. Apps like Windy or Meteoblue show you the shape of a weather system in motion. What you’re looking for is that descending pressure flattening and then beginning to lift - the seam between systems. That seam is your shoot.
Step 2: Lower the Bar for “Good Enough” Conditions
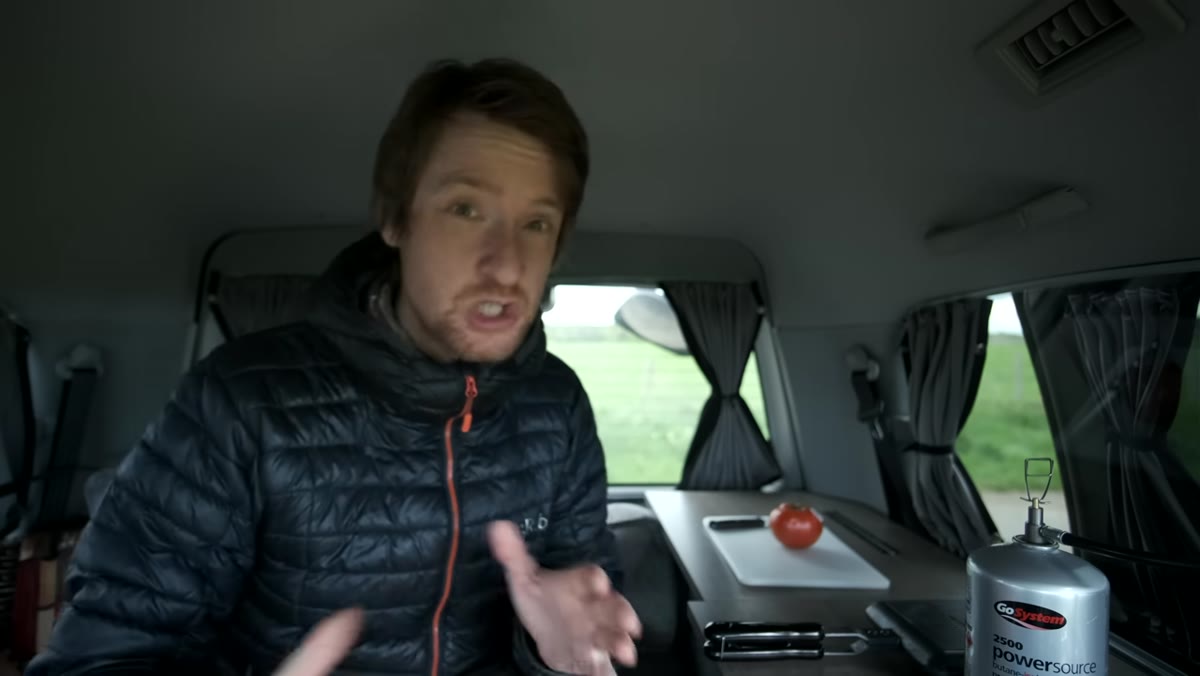 Photographer notes temperatures around 9 degrees Celsius en route to coast
Heaton mentions the temperature is sitting around 9 degrees Celsius when he heads out. That’s not comfortable. That’s not pretty light. And it doesn’t matter. One of the habits that separates working photographers from hobbyists is a recalibrated definition of acceptable conditions. If you’re waiting for perfect, you’re waiting for rare.
Photographer notes temperatures around 9 degrees Celsius en route to coast
Heaton mentions the temperature is sitting around 9 degrees Celsius when he heads out. That’s not comfortable. That’s not pretty light. And it doesn’t matter. One of the habits that separates working photographers from hobbyists is a recalibrated definition of acceptable conditions. If you’re waiting for perfect, you’re waiting for rare.
The practical adjustment here is gear and clothing. Going out in marginal conditions requires that you’ve already solved the discomfort problem before you arrive - layers sorted, battery situation handled (cold kills batteries fast, keep a spare in an inside pocket close to your body), and rain protection on the camera so you’re not standing there second-guessing yourself when a shower moves through.
Step 3: Arrive Early and Let Yourself Settle
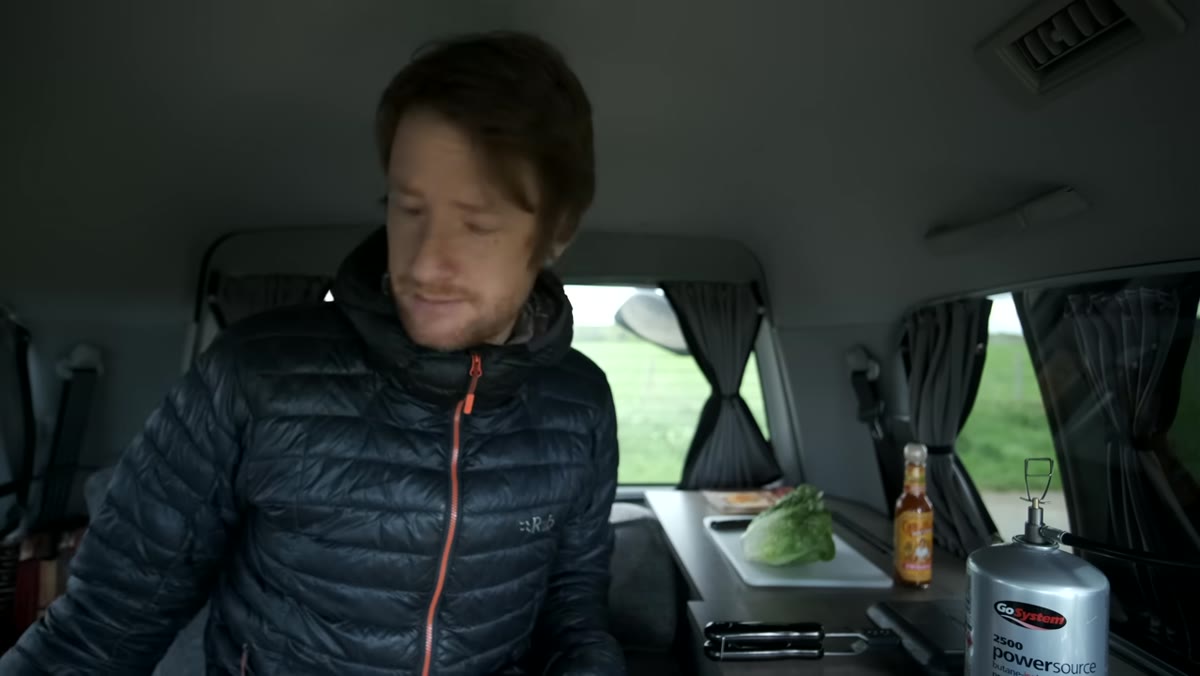
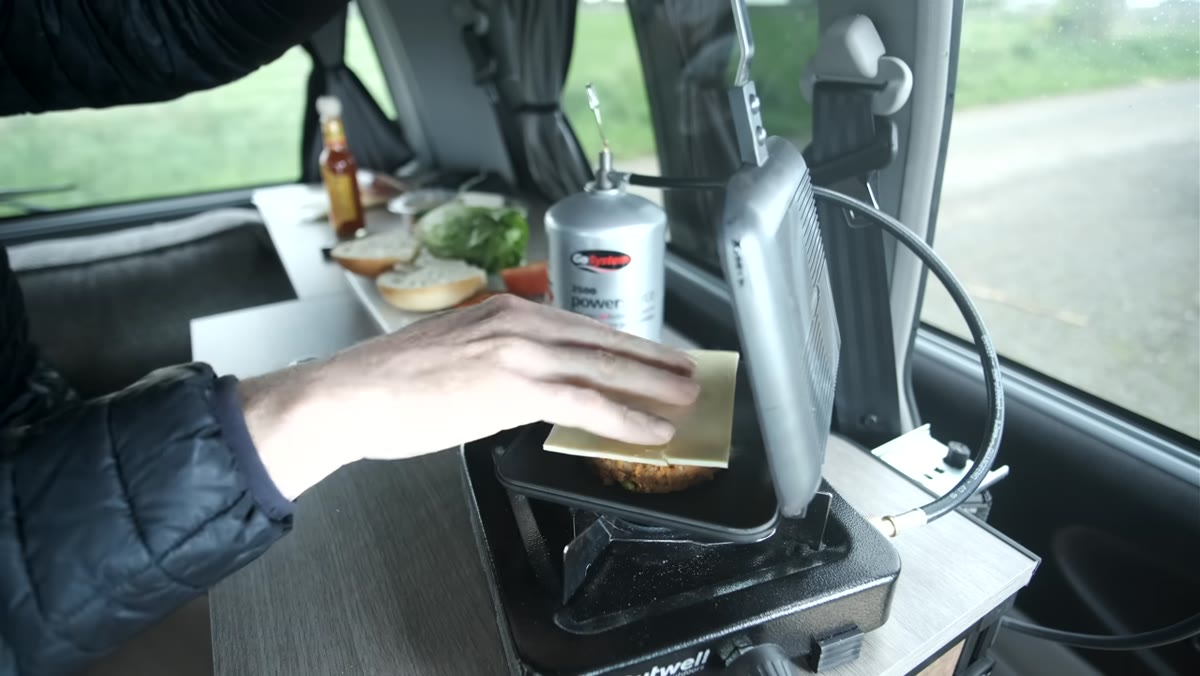 Heaton eating a meal before heading out to photograph
Heaton deliberately arrives early and eats before he shoots. This isn’t dead time - it’s prep time in the most human sense. When I push straight from the car to the tripod, my framing is restless. I’m still in transit mentally. Sitting somewhere, eating something, watching the light change without the camera in your hands - that’s when you actually start seeing the location instead of just scanning it.
Heaton eating a meal before heading out to photograph
Heaton deliberately arrives early and eats before he shoots. This isn’t dead time - it’s prep time in the most human sense. When I push straight from the car to the tripod, my framing is restless. I’m still in transit mentally. Sitting somewhere, eating something, watching the light change without the camera in your hands - that’s when you actually start seeing the location instead of just scanning it.
This is especially true when conditions are uncertain. If you arrive wound up and the light isn’t cooperating, you’ll either bail too soon or start forcing compositions out of impatience. Slow arrival changes what you’re capable of seeing once you do pick up the camera.
Step 4: Commit to the Location Anyway
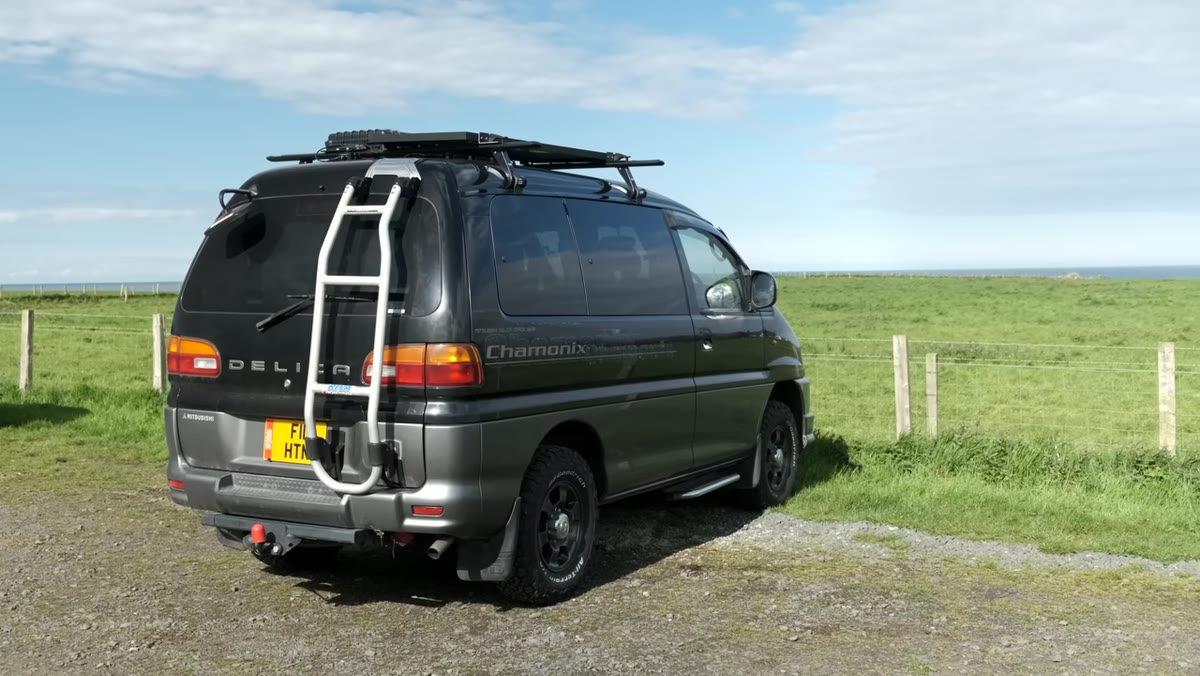
 Photographer heads toward Northumberland coast with intention to shoot
Heaton doesn’t audition the location and then decide whether it’s worth shooting. He’s committed before he arrives. That might sound obvious, but the number of times I’ve watched photographers (and done it myself) show up somewhere and spend the first thirty minutes talking themselves out of it - the light’s flat, the tide’s wrong, it’s too cloudy - is significant.
Photographer heads toward Northumberland coast with intention to shoot
Heaton doesn’t audition the location and then decide whether it’s worth shooting. He’s committed before he arrives. That might sound obvious, but the number of times I’ve watched photographers (and done it myself) show up somewhere and spend the first thirty minutes talking themselves out of it - the light’s flat, the tide’s wrong, it’s too cloudy - is significant.
Commitment changes your behavior on location. Instead of evaluating whether it’s worth it, you start solving for what’s actually there. Overcast sky? That’s diffused light, which is genuinely better for certain subjects - textured rock, wet sand, coastal grasses. The shoot you planned for isn’t always the shoot you get, but the shoot you get is real.
Step 5: Use the Mundane Details as Part of the Story
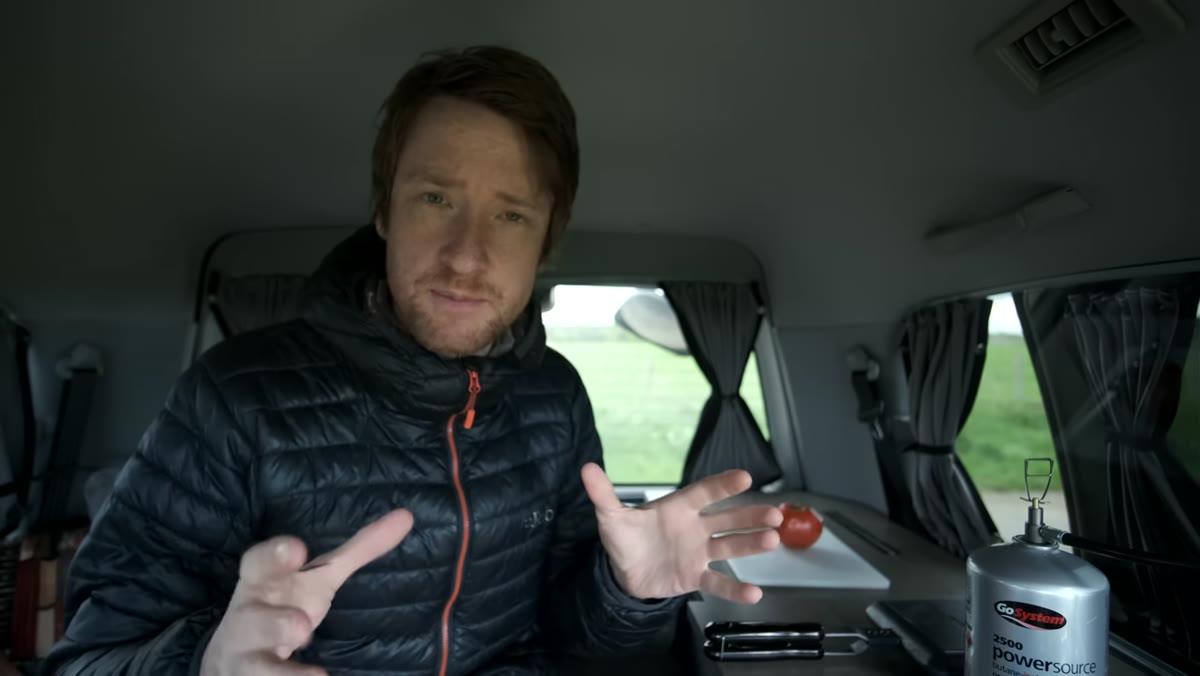
 Creator talks candidly about phone issues and everyday mishaps
One of the things Heaton does throughout this video - and it’s subtle - is document the unglamorous scaffolding around the photography. Broken phone, locked Instagram account, shipping price mistakes. It reads like filler, but it’s actually the honest texture of a working photographer’s life. The mythology of landscape photography tends to strip all of this out and leave only the transcendent moment.
Creator talks candidly about phone issues and everyday mishaps
One of the things Heaton does throughout this video - and it’s subtle - is document the unglamorous scaffolding around the photography. Broken phone, locked Instagram account, shipping price mistakes. It reads like filler, but it’s actually the honest texture of a working photographer’s life. The mythology of landscape photography tends to strip all of this out and leave only the transcendent moment.
For your own practice, this translates into keeping notes - a field journal, voice memos, even just a photo of your setup at a location. Context makes images legible later. It also keeps you honest about what the work actually costs in time, logistics, and patience.
Step 6: Document the Process, Not Just the Result
 Heaton references previous Lake District video shot four weeks prior
Heaton connects this shoot back to a Lake District trip from four weeks earlier - a different camera, a different mood, a different set of challenges. The through-line is the ongoing documentation of process, not just output. This is what separates a body of work from a collection of images.
Heaton references previous Lake District video shot four weeks prior
Heaton connects this shoot back to a Lake District trip from four weeks earlier - a different camera, a different mood, a different set of challenges. The through-line is the ongoing documentation of process, not just output. This is what separates a body of work from a collection of images.
If you’re not already shooting behind-the-scenes frames - your setup, the conditions, the failures - start. These become invaluable when you’re writing about your work, teaching, or just trying to remember what was happening when that frame clicked into place.
What Twenty Years Has Taught Me About Weather Windows
I drove six hours to the Oregon coast once, alone, in November. Two days of fog so thick I couldn’t see fifty feet. I sat with it. Walked the beach a dozen times. On the morning of the third day, something broke open in the overcast for about eight minutes. The image I got in that window became my best-selling print.
The weather doesn’t owe you anything. What Heaton demonstrates - quietly, without making it a lesson - is that the photographer who shows up in the gap between storms, eats a burger in a cold car, and walks out onto a grey beach anyway is the one who earns the images that matter. Patience isn’t passive. It’s the most active choice you make on any shoot.
The single thing to take from this video is that the conditions you’re waiting for are probably not coming. The window you have right now is the one worth taking. Study how Heaton makes that decision, and make it yours.
Watch the full tutorial on YouTube
Comments (2)
Clear and practical. No fluff. Appreciate that.
Couldn't agree more. I've seen this make a huge difference in photoshop work specifically.
Leave a Comment