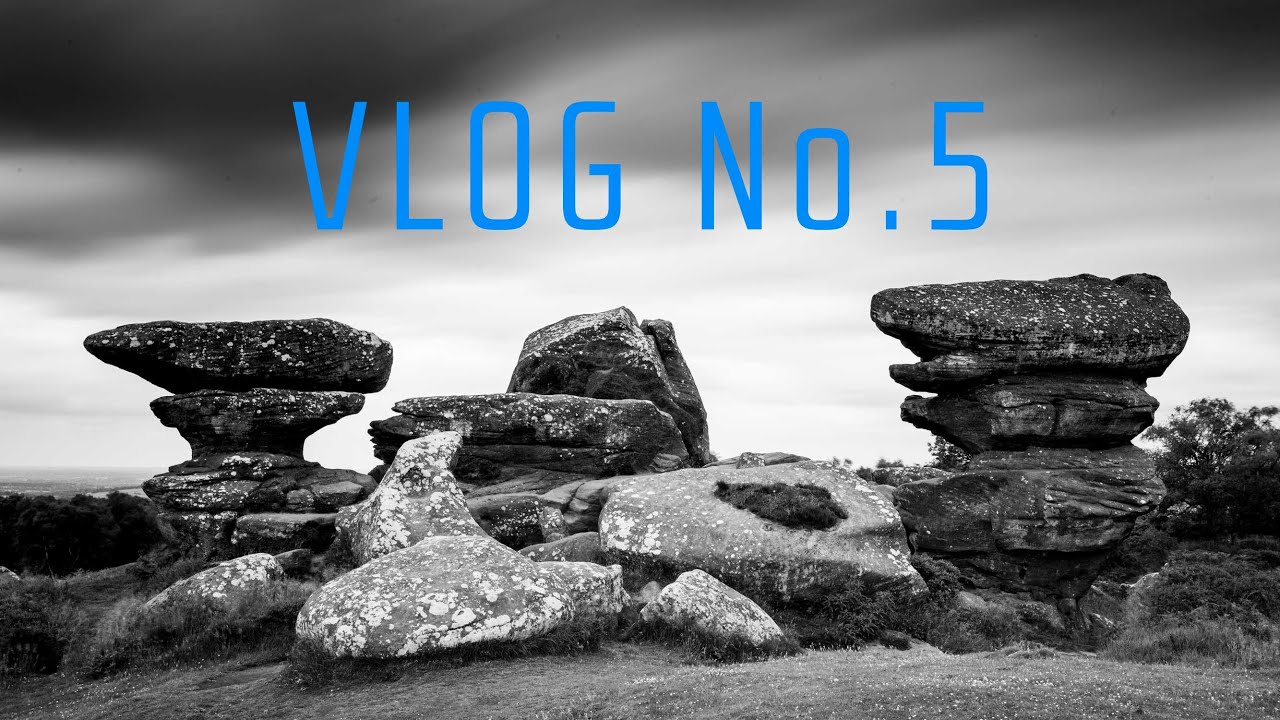
Some days you pick up your camera because the light is extraordinary. Other days you pick it up because you need to. I’ve had shoots where I wasn’t chasing any particular image but just needed to be somewhere wild and quiet, somewhere the thinking could happen on its own. Those are often the sessions that teach me the most, not about technique exactly, but about how to be a better photographer in the field. When I came across this vlog from First Man Photography, shot at Brimham Rocks in North Yorkshire, it hit that exact nerve.
Watch the full tutorial on YouTube
The video is quiet, almost meditative in tone, but packed inside that calm delivery is one of the most honest pieces of advice I’ve heard about why some photographers consistently come home with better images than others. It has nothing to do with gear. It comes down to a concept the creator calls accessibility, and once you hear it framed this way, you’ll start making different decisions every time you choose a location.
Step 1: Accept What a Popular Location Will Cost You
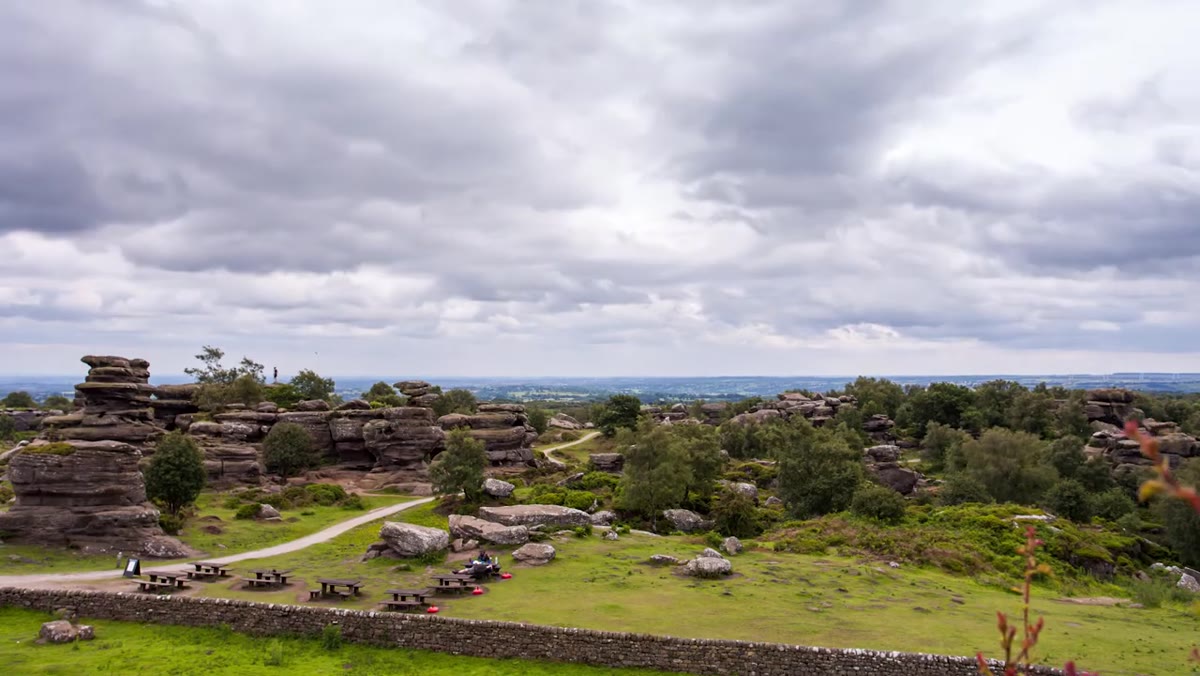 Busy scene at Brimham Rocks visitor area with crowds visible
Brimham Rocks is a National Trust site with a large car park, clear footpaths, and well-maintained visitor facilities. That means it is beautiful, it is accessible, and it is full of people. First Man Photography arrives and immediately notes the crowds, not with frustration but with honesty. If you drive somewhere easy, expect company.
Busy scene at Brimham Rocks visitor area with crowds visible
Brimham Rocks is a National Trust site with a large car park, clear footpaths, and well-maintained visitor facilities. That means it is beautiful, it is accessible, and it is full of people. First Man Photography arrives and immediately notes the crowds, not with frustration but with honesty. If you drive somewhere easy, expect company.
This matters practically. Shooting a timelapse at a busy site means people will move through your frame. That can work in your favor if you set your interval wide enough that figures blur into nothing, but it requires you to think about it before you press start. Plan your timelapse intervals to handle foot traffic, not fight it.
Step 2: Start a Timelapse While You Assess the Scene
 Intervalometer being set up on camera at rock formation
Rather than standing around waiting for a gap in the crowd, the right move is to put the camera to work immediately. In the video, a timelapse is set running on a static composition while the surrounding scene is still being read. This is efficient fieldwork. Your camera is gathering data while your eyes are scouting.
Intervalometer being set up on camera at rock formation
Rather than standing around waiting for a gap in the crowd, the right move is to put the camera to work immediately. In the video, a timelapse is set running on a static composition while the surrounding scene is still being read. This is efficient fieldwork. Your camera is gathering data while your eyes are scouting.
For a location like this, start with an interval of around 5 to 7 seconds if the crowd is moving steadily. Mount the camera low and stable. Brimham Rocks offers natural ledges and platforms that can function as impromptu supports, but bring a solid tripod anyway. A 20 to 30 minute sequence at that interval gives you 170 to 360 frames, more than enough for a smooth 10 to 15 second clip.
Step 3: Understand the Accessibility Principle
 Photographer sitting on rock edge overlooking open moorland
This is the core lesson of the entire video. The creator makes a direct point: the places that are hardest to reach produce the most distinctive images, because fewer photographers make the effort. Easy access equals crowded shots. Hard access equals solitude and originality.
Photographer sitting on rock edge overlooking open moorland
This is the core lesson of the entire video. The creator makes a direct point: the places that are hardest to reach produce the most distinctive images, because fewer photographers make the effort. Easy access equals crowded shots. Hard access equals solitude and originality.
Think about what this means for your planning. Before you book a location, ask yourself what the barrier to entry is. A car park and a flat path? Expect competition in every frame. A two-hour hike, a pre-dawn alarm, a permit application, or a flight to somewhere remote? Those barriers filter out most photographers, and what you find on the other side is yours alone. I once drove six hours to a coastal location, sat in fog for two days, and came home with a single usable frame. It became my best-selling print. The effort wasn’t wasted. It was the whole point.
Step 4: Use the Environment for Unconventional Perspectives
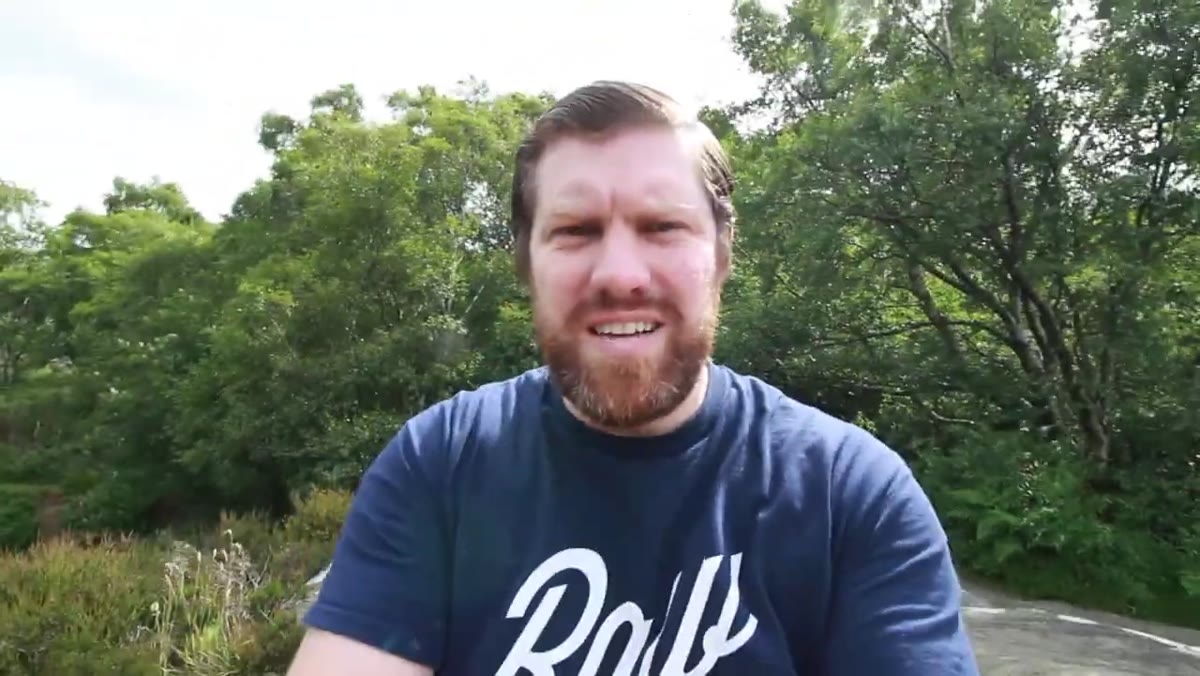 Camera positioned on rocky ledge with steep drop visible below
Brimham Rocks is a jumble of weathered millstone grit formations, and the video makes use of that by finding shooting positions on elevated outcrops. The creator notes sitting on a ledge with a significant drop below, not recklessly but deliberately, to get a perspective unavailable from the ground path.
Camera positioned on rocky ledge with steep drop visible below
Brimham Rocks is a jumble of weathered millstone grit formations, and the video makes use of that by finding shooting positions on elevated outcrops. The creator notes sitting on a ledge with a significant drop below, not recklessly but deliberately, to get a perspective unavailable from the ground path.
Whenever you’re at a rocky or elevated location, take ten minutes to walk the full perimeter before committing to a composition. Look down as well as out. The shot from a high ledge looking across to another formation at the same height is often far more interesting than the standard wide-angle-from-below. Watch your footing and never put camera movement ahead of personal safety, but don’t default to the safe, flat, obvious angle out of habit.
Step 5: Build Quiet Time Into the Shoot
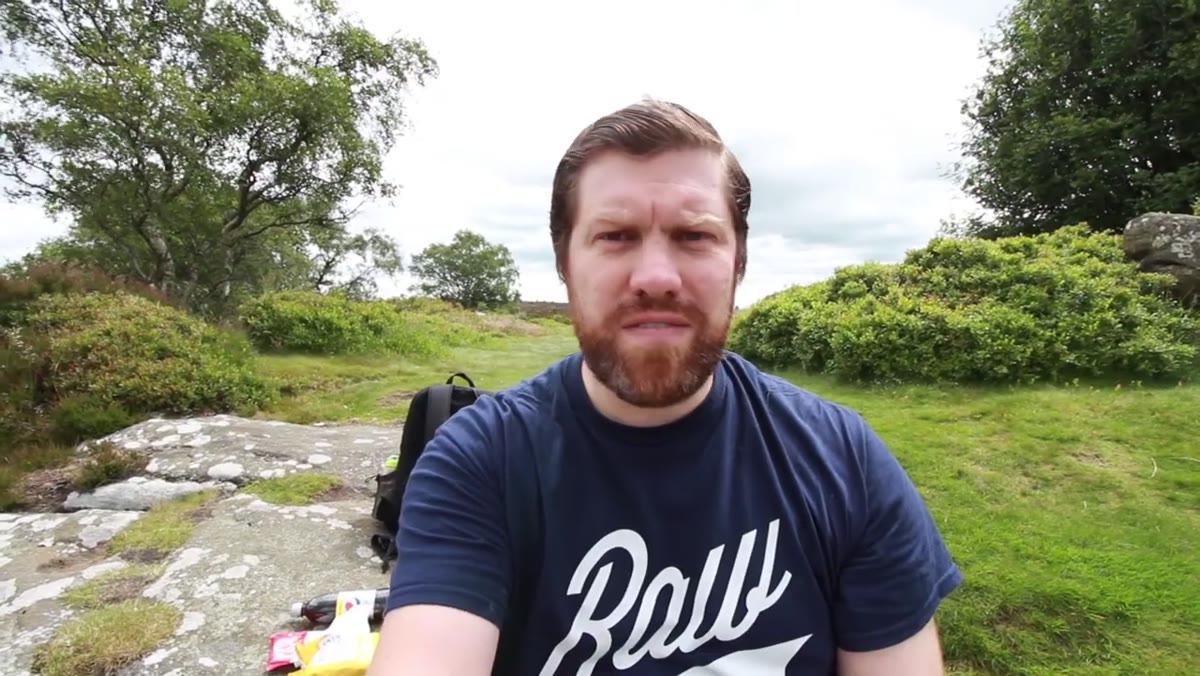 Photographer eating lunch alone on rock edge away from visitor centre
Midway through the session, the video shows a deliberate pause. Lunch on a rock ledge, away from the visitor centre, away from other people. This isn’t dead time. It is part of the work.
Photographer eating lunch alone on rock edge away from visitor centre
Midway through the session, the video shows a deliberate pause. Lunch on a rock ledge, away from the visitor centre, away from other people. This isn’t dead time. It is part of the work.
I’ve learned to treat these pauses the same way. Sitting with a location, watching how the light moves, noticing where the shadows fall at a particular hour, that kind of observation feeds directly into the images you make afterward. The photographer who spends 20 minutes watching before shooting will almost always outperform the one who arrived and started firing immediately. Your eyes calibrate to a place. Let them.
Step 6: Let the Mood of the Day Inform Your Subject Matter
 Creator speaking to camera in a reflective early morning tone
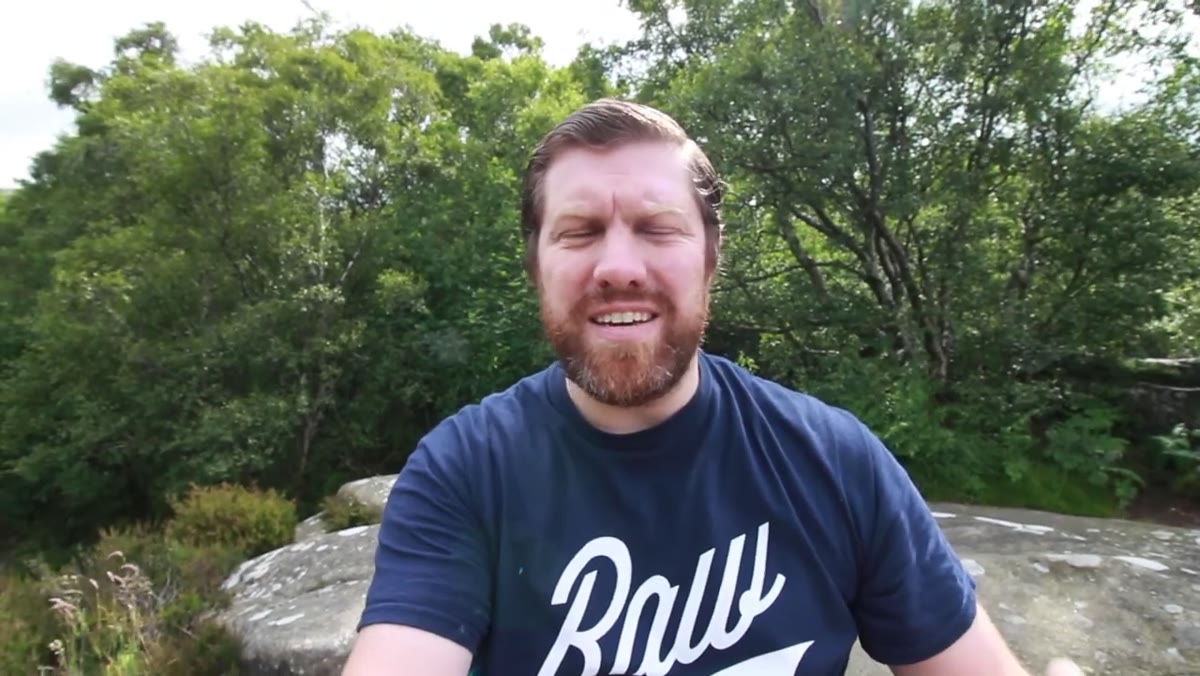
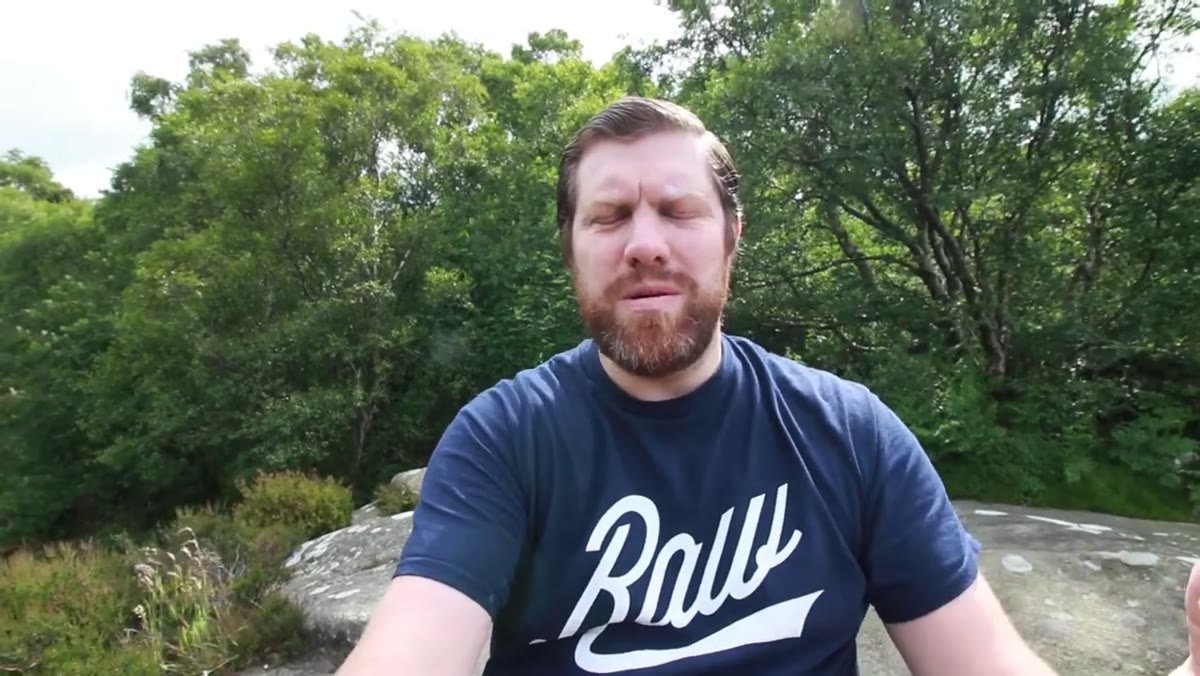
First Man Photography mentions arriving in a reflective, slightly sombre frame of mind, and rather than fighting that, he leans into it. Photography as a way of processing a mood, of thinking through something difficult, of finding clarity through observation. That internal state can inform which compositions feel right on a given day.
Creator speaking to camera in a reflective early morning tone
First Man Photography mentions arriving in a reflective, slightly sombre frame of mind, and rather than fighting that, he leans into it. Photography as a way of processing a mood, of thinking through something difficult, of finding clarity through observation. That internal state can inform which compositions feel right on a given day.
I’m not suggesting you shoot sad pictures when you feel sad. But your emotional register affects what you notice. A contemplative mood slows you down, makes you look longer, and often leads to quieter, more considered compositions. Some of my most technically deliberate work has come from days when I wasn’t feeling sharp or energetic. The mood forced patience that I wouldn’t have otherwise had.
What I’d Add From Twenty Years in the Field
Brimham Rocks is listed as being in the Yorkshire Dales, but it actually sits on the edge of Nidderdale, which is an Area of Outstanding Natural Beauty in its own right. That distinction matters to a photographer because Nidderdale is less traveled than the Dales proper. If you’re making the trip to Brimham Rocks, build in extra time to explore the surrounding moorland. The formations themselves are spectacular, but the wider landscape rewards the photographer willing to walk away from the car park and find something that isn’t on the first page of image search results. Apply the accessibility principle to the surrounding geography, not just the headline location.
The single most important idea in this video is deceptively simple: the harder it is to get somewhere, the better your chances of making a photograph that no one else has. That’s not a guarantee. It’s a ratio. More effort, fewer competitors, higher probability of something original. If your images feel generic, don’t blame your gear. Ask yourself how hard you worked to get there.
Watch the full tutorial on YouTube
Comments (1)
My workflow just got 10x faster. Not even kidding.
Leave a Comment