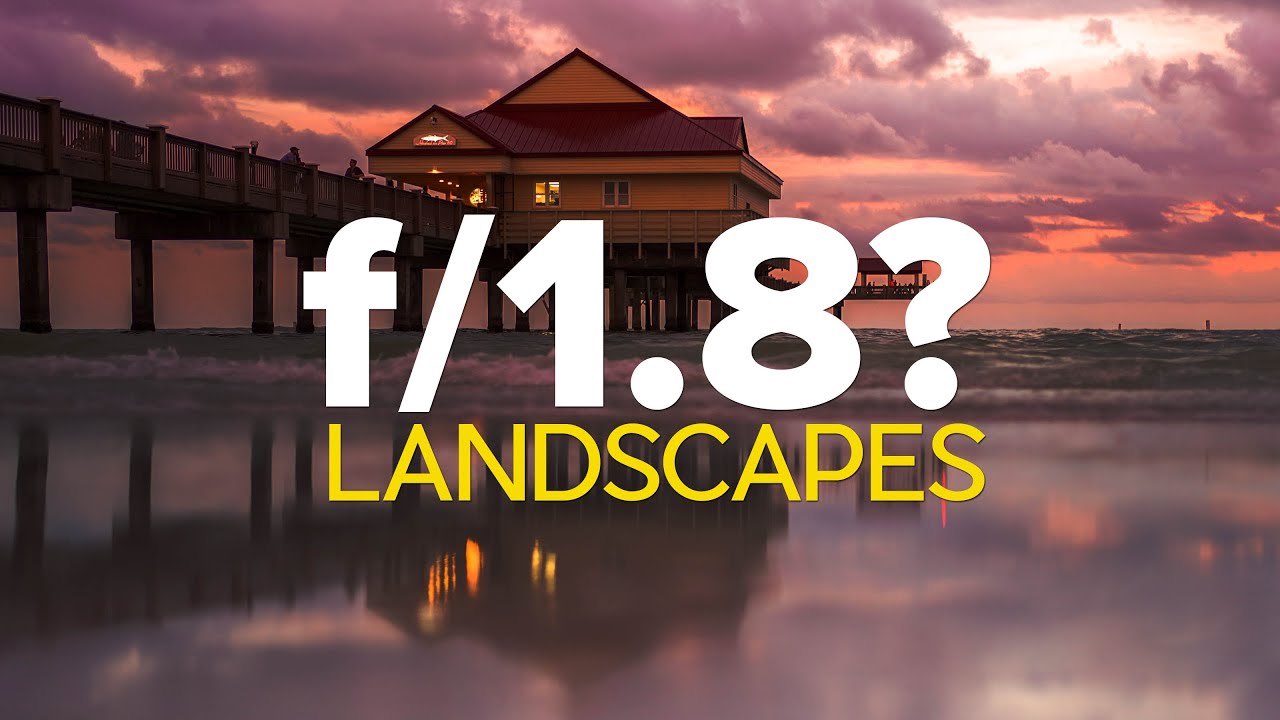
I have spent the better part of twenty years defaulting to f/16. It is practically muscle memory at this point. Alarm goes off before four, I pull on my hat, grab the bag, and by the time I am standing in front of whatever scene made me drive out there, my hand is already reaching for that small aperture. Maximum depth of field, front to back sharpness, everything in focus. That has been my religion for a long time.
So when I came across this Matt Kloskowski tutorial - Watch the full tutorial on YouTube - and watched him deliberately take a landscape lens out and shoot the whole session at f/1.8, something clicked. Not because wide apertures are a secret or a revelation. I know how bokeh works. But because Matt frames the technique as a storytelling decision, not a technical one. That distinction matters, and it is one I had been walking past for years without really stopping to look at it.
The tutorial uses the Sony 35mm f/1.8 as the occasion for the lesson, but Matt is clear from the start that the lens is almost beside the point. What he is really talking about is intentional selective focus in outdoor photography. As someone who runs workshops and regularly watches newer photographers chase front-to-back sharpness as if it were a moral virtue, I think this approach deserves a proper breakdown.
Step 1: Reframe What a Wide-Aperture Lens Is Actually For
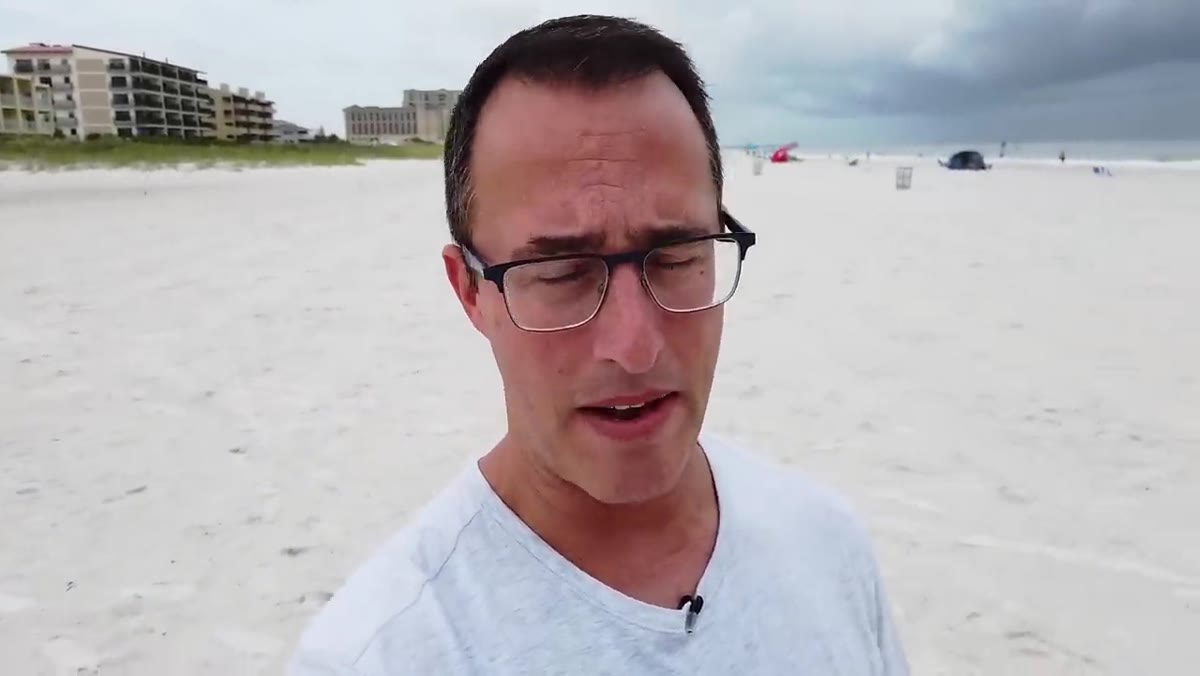 Matt holding the Sony 35mm f/1.8 lens outdoors
Before you change any settings, change your assumption about what this kind of lens is supposed to do. Matt makes the point early: if you pick up a fast lens and immediately stop it down to f/16, you are ignoring the entire reason the lens exists. Wide apertures on landscape lenses are not a portrait photographer’s accident. They are an invitation to direct attention.
Matt holding the Sony 35mm f/1.8 lens outdoors
Before you change any settings, change your assumption about what this kind of lens is supposed to do. Matt makes the point early: if you pick up a fast lens and immediately stop it down to f/16, you are ignoring the entire reason the lens exists. Wide apertures on landscape lenses are not a portrait photographer’s accident. They are an invitation to direct attention.
Think of it less like a technical setting and more like a framing decision. A shallow depth of field in a landscape image tells the viewer where to look. It removes the democracy of sharpness from the frame and replaces it with a clear hierarchy. Before you head out, decide whether you want your image to have a subject or a scene. Both are valid. But wide-open shooting almost always requires you to have a specific subject in mind before you press the shutter.
Step 2: Choose Your Subject Before You Choose Your Aperture
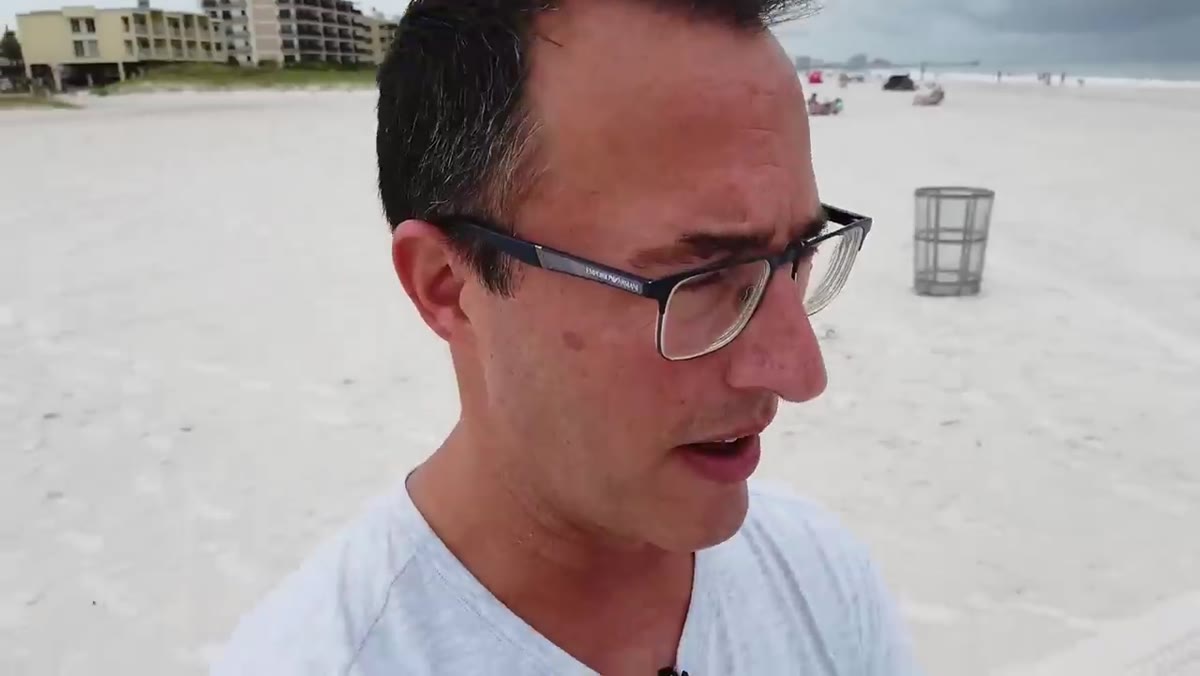 Matt at the pier location scouting the scene at beach
Matt describes arriving at a pier at sunset with two potential compositions available: the pier itself in the background, and a tidal pool in the foreground. That detail is important. He did not arrive and then decide to shoot wide open. He arrived, identified two distinct subjects within the same scene, and recognized that aperture could separate them into two entirely different photographs.
Matt at the pier location scouting the scene at beach
Matt describes arriving at a pier at sunset with two potential compositions available: the pier itself in the background, and a tidal pool in the foreground. That detail is important. He did not arrive and then decide to shoot wide open. He arrived, identified two distinct subjects within the same scene, and recognized that aperture could separate them into two entirely different photographs.
This is the step most photographers skip. Walk the scene first. Identify what you actually want the viewer to notice. At f/1.8 or f/2.8, you are making a commitment. Whatever falls outside your focal plane is going to go soft. That softness should feel intentional, not like a mistake. If you cannot name your subject before you set your aperture, slow down and look harder before you shoot.
Step 3: Get Low and Use the Foreground as a Compositional Tool
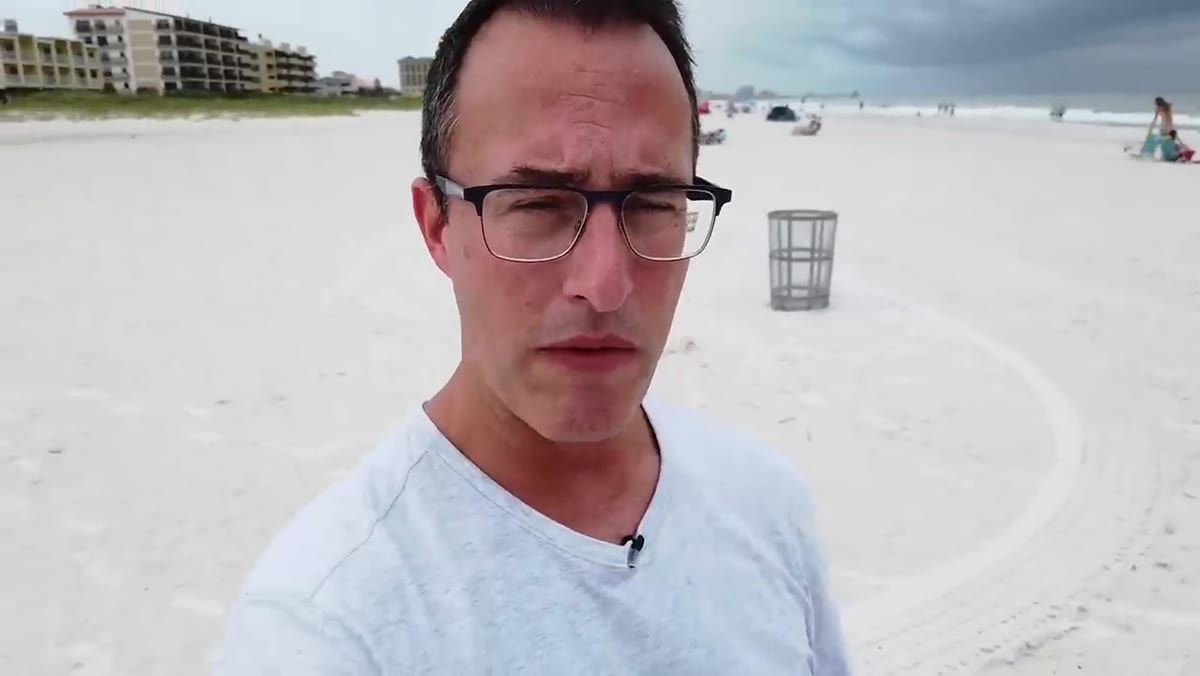 Camera positioned low showing foreground beach and pier distance
Here is where the technique gets interesting in the field. Matt gets low to the ground so that the foreground, sand and shallow water, fills the bottom of the frame. At f/1.8 with his focus locked on the pier in the distance, that foreground blurs into a wash of soft texture. It does not disappear. It still reads as beach. But it is clearly subordinate to the pier.
Camera positioned low showing foreground beach and pier distance
Here is where the technique gets interesting in the field. Matt gets low to the ground so that the foreground, sand and shallow water, fills the bottom of the frame. At f/1.8 with his focus locked on the pier in the distance, that foreground blurs into a wash of soft texture. It does not disappear. It still reads as beach. But it is clearly subordinate to the pier.
Getting physically low does two things. First, it increases the apparent distance between the foreground and background, which exaggerates the depth-of-field separation. Second, it gives the soft foreground enough visual weight that it becomes part of the composition rather than empty space. This is not a telephoto compression trick. This is geometry. Get your camera closer to the ground, and the scene layers itself.
Step 4: Reverse the Focus Point and Shoot the Same Scene Again
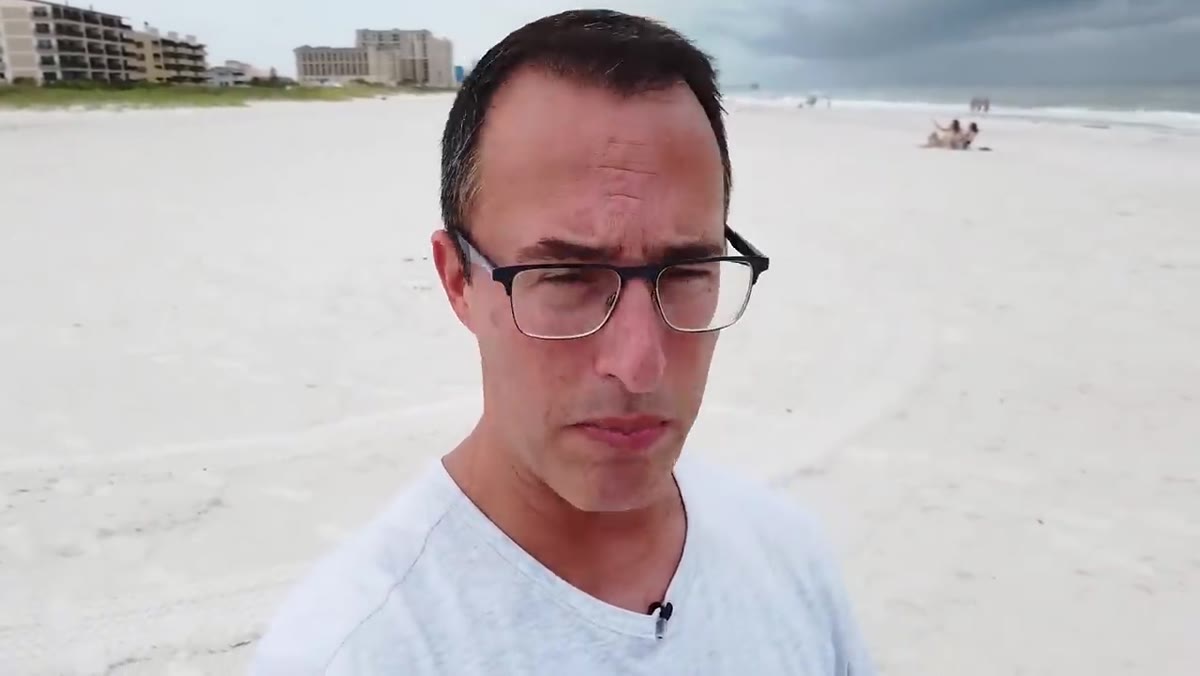 Matt describing reversed focus technique at same location
Once Matt has the shot focused on the pier, he does something elegant: he refocuses on the foreground and shoots again. Same location, same aperture, entirely different photograph. Now the tidal pool and wet sand are sharp, and the pier goes soft in the background.
Matt describing reversed focus technique at same location
Once Matt has the shot focused on the pier, he does something elegant: he refocuses on the foreground and shoots again. Same location, same aperture, entirely different photograph. Now the tidal pool and wet sand are sharp, and the pier goes soft in the background.
These are not two versions of the same shot. They are two separate editorial statements. In the first, the pier is the story. In the second, the water at your feet is the story and the pier becomes atmosphere, a suggestion of what is out there. Practicing this kind of reversal is genuinely useful as a field habit. Before you move to a new location, ask yourself whether you have fully explored the focal decisions available to you at the one you are already standing in.
Step 5: Match Your Aperture to the Story, Not to a Default
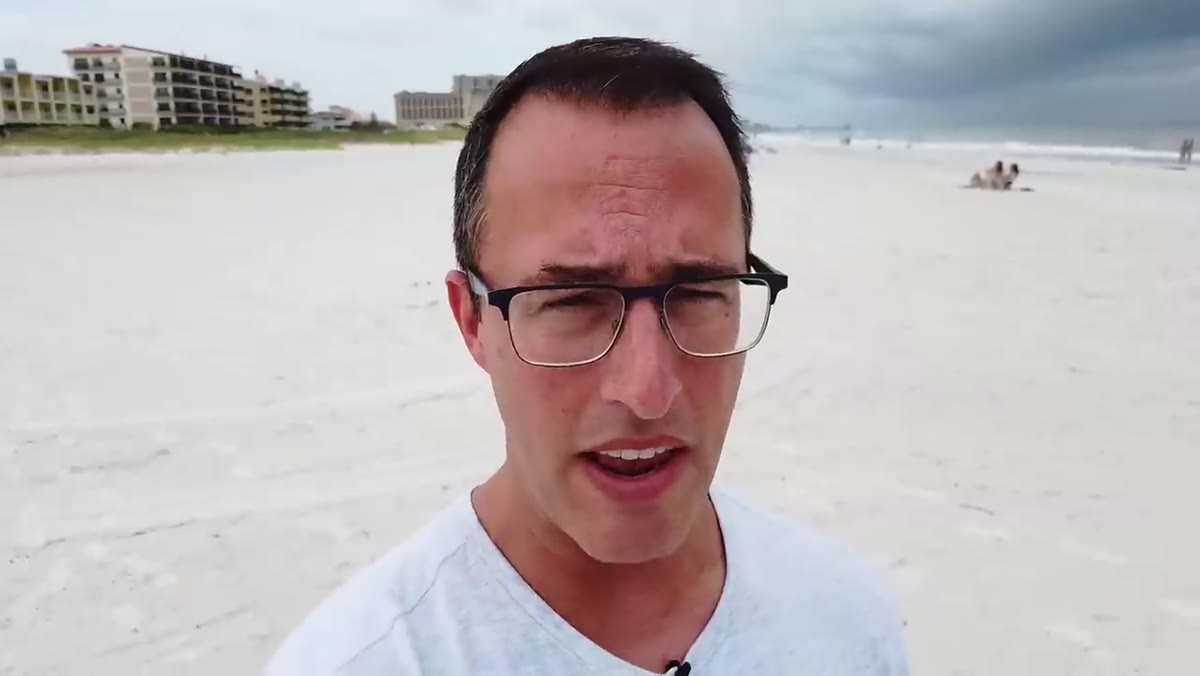 Matt speaking to camera about aperture as storytelling choice
Matt’s closing technical point is the one worth writing on a piece of tape and sticking to your camera bag. You do not need an f/1.8 lens to do any of this. A 2.8 or even an f/4 wide-angle lens, shot close to a foreground subject, will produce meaningful depth-of-field separation. The principle scales. What does not scale is shooting every landscape at f/16 out of habit and then wondering why your images feel flat or directionless.
Matt speaking to camera about aperture as storytelling choice
Matt’s closing technical point is the one worth writing on a piece of tape and sticking to your camera bag. You do not need an f/1.8 lens to do any of this. A 2.8 or even an f/4 wide-angle lens, shot close to a foreground subject, will produce meaningful depth-of-field separation. The principle scales. What does not scale is shooting every landscape at f/16 out of habit and then wondering why your images feel flat or directionless.
Set your aperture based on whether you want the viewer to experience a place or to focus on something within a place. f/16 answers the first question. A wider aperture answers the second. Both answers are correct sometimes. Neither is correct always.
What I Would Add From Twenty Years in the Field
The technique Matt demonstrates works especially well in transitional light, that window around sunrise and sunset when the quality of light is already doing a lot of heavy lifting. I have found that wide-open shooting in harsh midday light tends to flatten the bokeh in a way that reads as accidental rather than intentional. The soft regions of the frame need some tonal variation to feel lush rather than washed out.
My suggestion: pair this approach with scenes that have strong directional light hitting the foreground subject. The specular highlights in wet sand, the rim light on beach grass, the glow through tide pool water - these all render beautifully when they are your sharp focal point and the background goes soft behind them. The blur becomes a frame. The light does the rest. I learned a long time ago that the conditions do not adjust for your plans, so you might as well learn to work with whatever the scene is handing you.
The single most important idea in this tutorial is not about aperture at all. It is about intention. Wide-open landscape photography forces you to decide what your image is about before you take it. That constraint is clarifying, and it is worth practicing even if you eventually go back to f/16 as your default. Spend one session asking yourself what your subject is before you touch your aperture ring. You will see your location differently.
Watch the full tutorial on YouTube to see Matt’s field demonstration and the sunset edit he walks through at the end. It is worth the time.
Comments (1)
Great breakdown. The step-by-step approach really helps.
Leave a Comment