For most of my twenty years shooting landscapes, I lived at the extremes. Ultra-wide for the sweeping foreground-to-horizon compositions. Long telephoto for compression and isolation. The middle ground felt like no man’s land, a compromise zone for photographers who hadn’t made up their mind. I told myself that story for a long time, and it cost me shots.
What changed my thinking wasn’t a single dramatic moment in the field. It was watching a working professional lay out exactly why he had quietly made a mid-range zoom his most-used lens over an entire year of serious travel photography. In this Mark Denney tutorial on the Nikon 24-120mm f/4 S lens, he walks through his reasoning with the kind of honesty you rarely get in gear reviews. No spin. Just a shooter explaining what actually happened when he put this lens on his camera and left it there.
What follows is my breakdown of his key points, filtered through my own time in the field and a few hard lessons about what “versatility” actually costs you when you get it wrong.
Step 1: Understand Why Focal Length Extremes Have Diminishing Returns
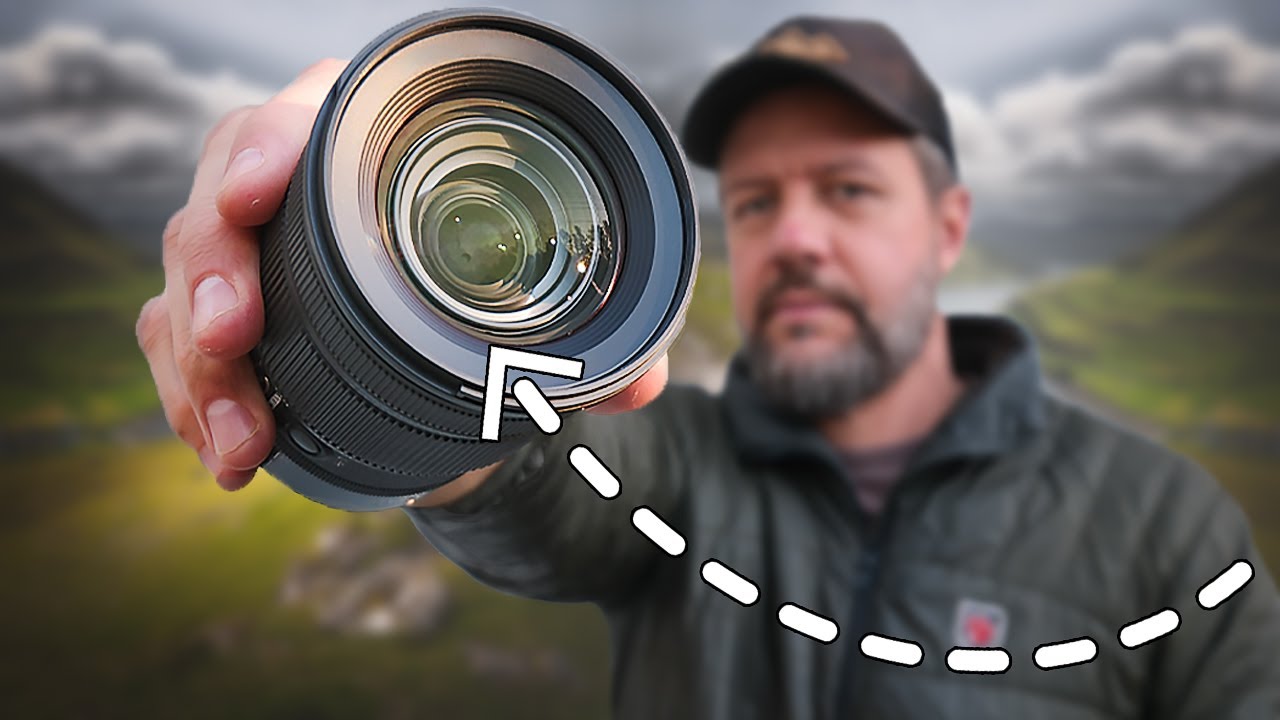
 Mark Denney holding lens, explaining focal length philosophy
Denney opens by admitting something most photographers resist saying out loud: years of defaulting to extreme focal lengths left a gap in his work. Super-wide and super-long are both powerful, but they push you toward specific types of images. When every composition is either pulled in close or stretched to infinity, you start missing the middle register of a scene, the relationship between a subject and its immediate environment.
Mark Denney holding lens, explaining focal length philosophy
Denney opens by admitting something most photographers resist saying out loud: years of defaulting to extreme focal lengths left a gap in his work. Super-wide and super-long are both powerful, but they push you toward specific types of images. When every composition is either pulled in close or stretched to infinity, you start missing the middle register of a scene, the relationship between a subject and its immediate environment.
The practical takeaway here is to audit your own focal length habits. Pull up your EXIF data from the last six months and see where you actually shoot. If you find a canyon between 24mm and 100mm with almost nothing in it, you may be avoiding a range rather than choosing intentionally.
Step 2: Recognize the Real Cost of Constant Lens Changes
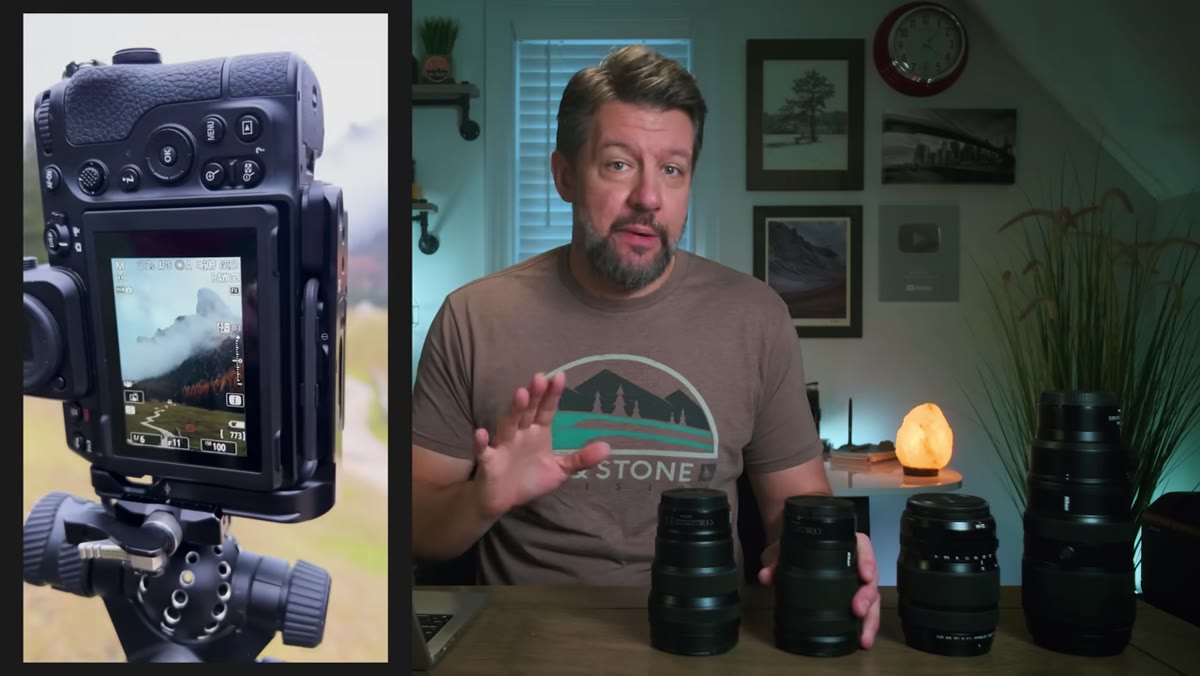
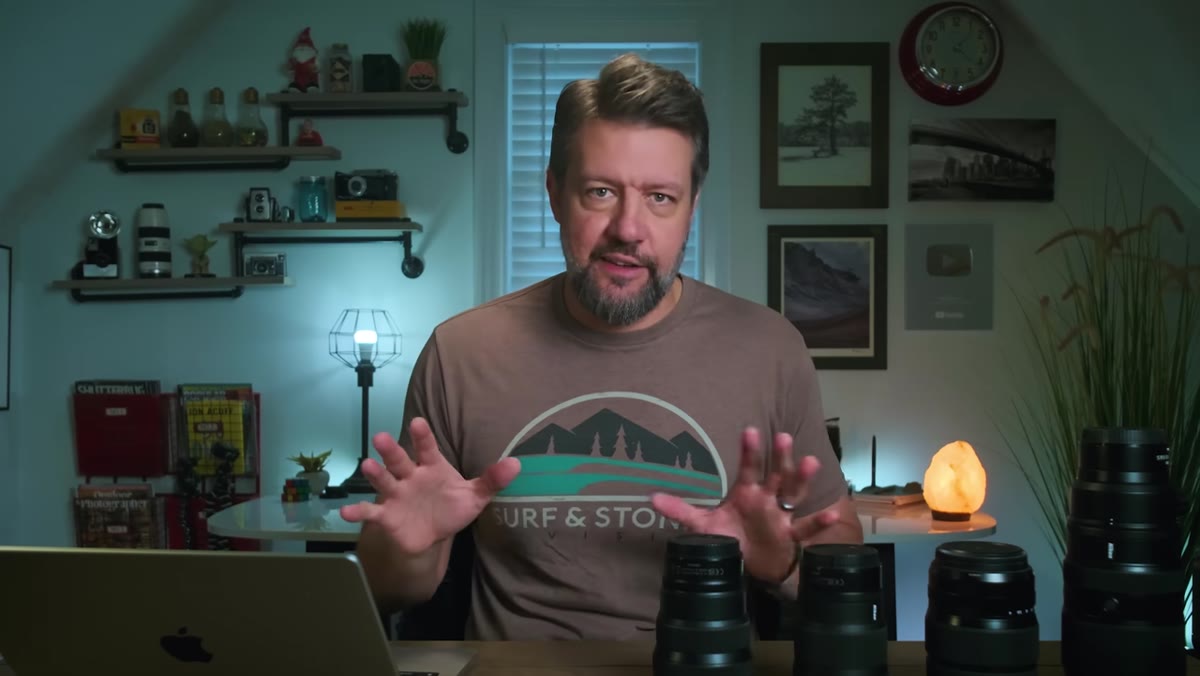 Nikon 24-120mm lens shown alongside Fuji 32-64mm
Before moving to Nikon full-frame, Denney shot Fuji with a 32-64mm, a full-frame equivalent of roughly 25-51mm. That is a capable range, but it is narrow enough that he found himself swapping lenses constantly to cover a scene. Every lens change in the field is a moment where you are looking at your bag instead of the light. In winter, with gloves on, at the edge of a river, that swap is also a real risk to your gear.
Nikon 24-120mm lens shown alongside Fuji 32-64mm
Before moving to Nikon full-frame, Denney shot Fuji with a 32-64mm, a full-frame equivalent of roughly 25-51mm. That is a capable range, but it is narrow enough that he found himself swapping lenses constantly to cover a scene. Every lens change in the field is a moment where you are looking at your bag instead of the light. In winter, with gloves on, at the edge of a river, that swap is also a real risk to your gear.
The 24-120mm range solves this by covering enough ground that you can reframe without ever touching your bag. Denney’s point is not just about convenience. It is about staying present. When a lens stays on your camera for the entire duration of a shoot, your attention stays on the landscape instead of your kit.
Step 3: Evaluate Zoom Range Against Optical Quality Trade-offs
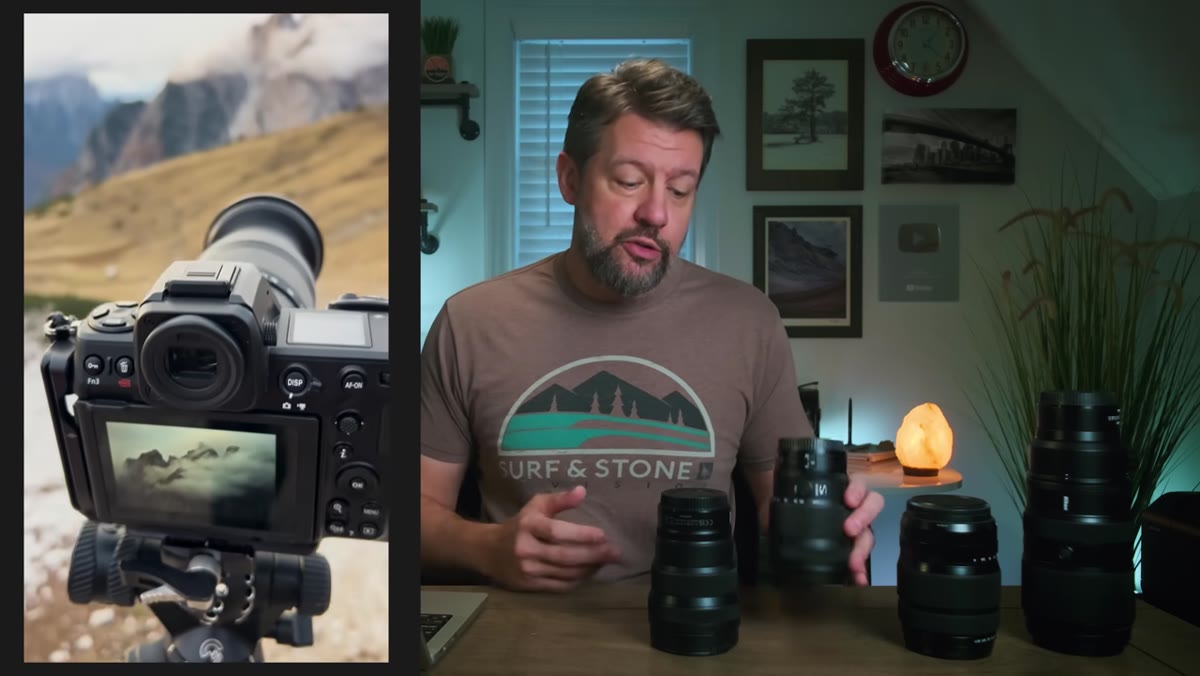 Close-up of lens markings showing S-Line badge
This is where the tutorial gets genuinely useful for anyone shopping in this category. Denney tested the Nikon 24-200mm as a logical next step after falling for the 24-120mm. More range should mean more flexibility. In practice, the 24-200mm’s variable aperture and soft corners made it a lens he returned. The extra 80mm of reach was not worth the image quality penalty.
Close-up of lens markings showing S-Line badge
This is where the tutorial gets genuinely useful for anyone shopping in this category. Denney tested the Nikon 24-200mm as a logical next step after falling for the 24-120mm. More range should mean more flexibility. In practice, the 24-200mm’s variable aperture and soft corners made it a lens he returned. The extra 80mm of reach was not worth the image quality penalty.
The lesson is specific and actionable. When evaluating any high-ratio zoom, look for two things: whether it carries the manufacturer’s top-tier optical designation (in Nikon’s case, the S-Line badge), and whether it maintains a constant aperture. A variable aperture zoom forces exposure adjustments as you zoom, which adds a mental layer in the field that you simply do not need when you are racing the light. Sharp corners matter enormously if you ever intend to print large, which I do.
Step 4: Test the Lens Across Actual Landscape Shooting Scenarios
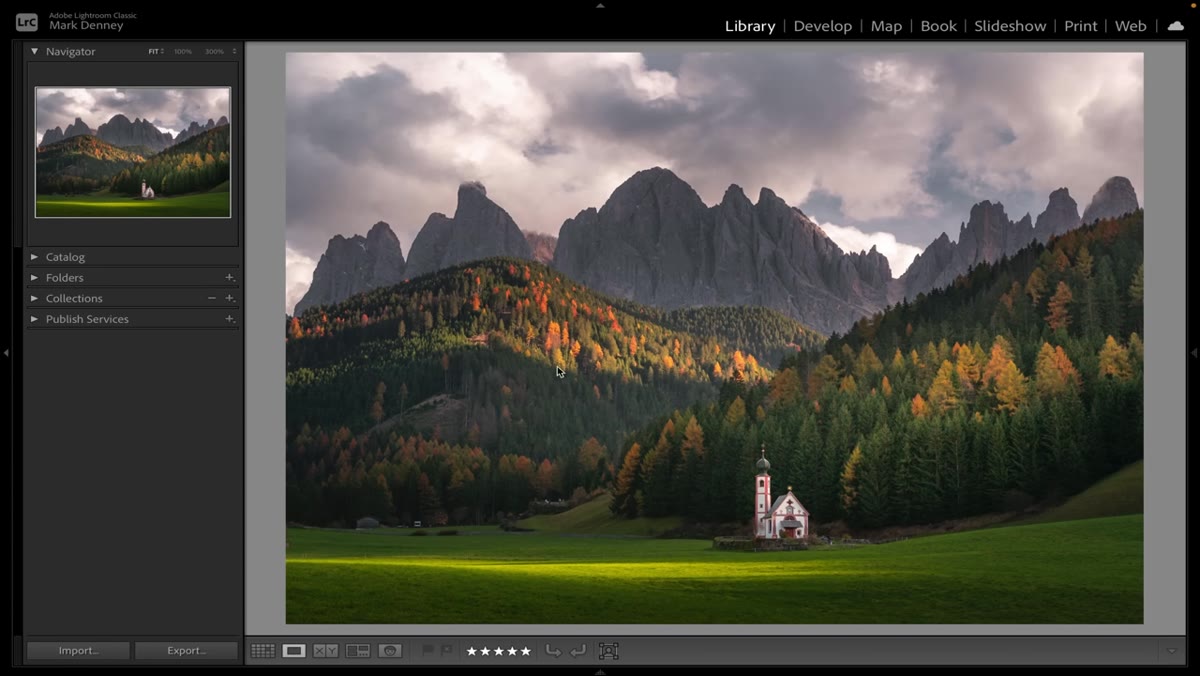 Gallery of landscape images from Dolomites, Iceland, Smoky Mountains
Denney shares a sequence of images made with the 24-120mm across several distinct environments. The Dolomites, the Icelandic highlands, the Smoky Mountains, and the Tetons all appear in his review, and the point is not to show off locations. It is to demonstrate that one lens performed consistently across radically different conditions and compositions. Some of those frames are wide environmental shots. Others are compressed and intimate.
Gallery of landscape images from Dolomites, Iceland, Smoky Mountains
Denney shares a sequence of images made with the 24-120mm across several distinct environments. The Dolomites, the Icelandic highlands, the Smoky Mountains, and the Tetons all appear in his review, and the point is not to show off locations. It is to demonstrate that one lens performed consistently across radically different conditions and compositions. Some of those frames are wide environmental shots. Others are compressed and intimate.
When you are field-testing a lens, push it through varied scenarios before making a judgment. Shoot it in flat midday light and in the low-contrast blue hour. Shoot it at its widest focal length and then zoom all the way to its longest. Print one of the results at a size that would actually stress the optics. That is the only honest test.
Step 5: Make the “Most-Used Lens” Metric Work for You
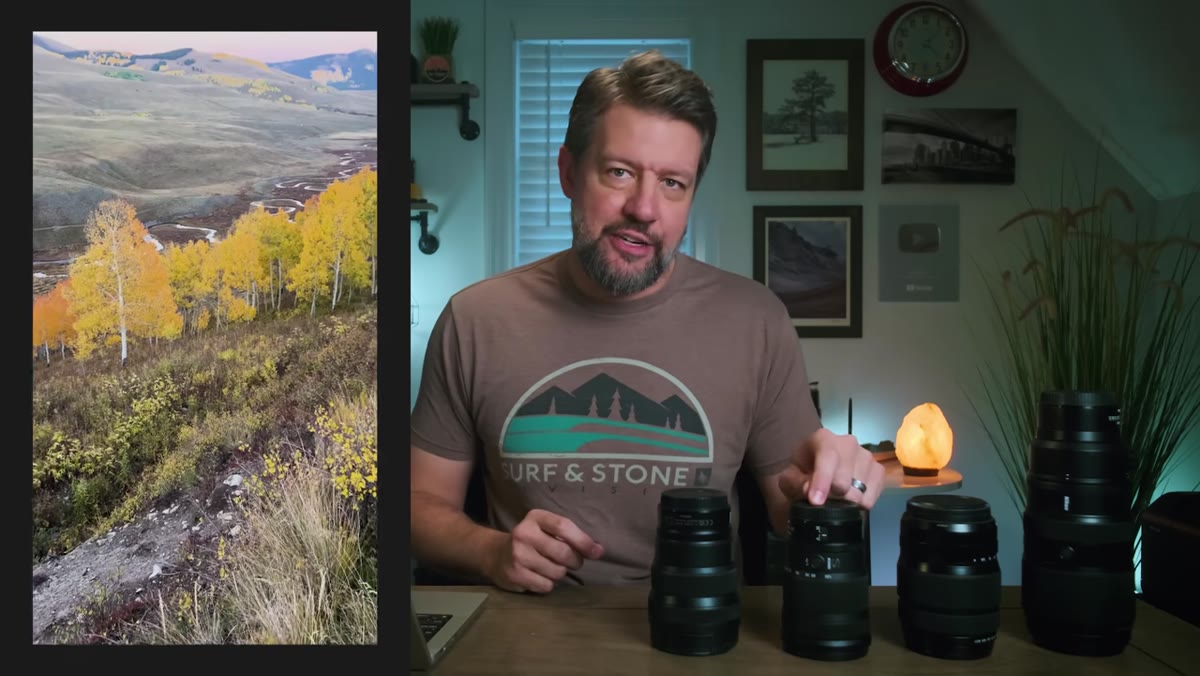 Mark Denney discussing his most-used lens of the year
One of the most grounding moments in the tutorial is when Denney admits he switched to full-frame Nikon specifically to access a better selection of long telephoto lenses. That was the goal. And yet when he looked back at his year, the 24-120mm had more time on his camera than anything else. His most-anticipated lenses sat in the bag.
Mark Denney discussing his most-used lens of the year
One of the most grounding moments in the tutorial is when Denney admits he switched to full-frame Nikon specifically to access a better selection of long telephoto lenses. That was the goal. And yet when he looked back at his year, the 24-120mm had more time on his camera than anything else. His most-anticipated lenses sat in the bag.
Track which lens you actually reach for, not which one you think you should be using. Gear decisions made on paper often do not survive contact with real shooting conditions. If a lens keeps ending up on your camera, that is your honest vote. Respect it.
What Twenty Years in the Field Adds to This Conversation
Denney’s experience here mirrors something I had to learn the slow way. I spent years believing a larger kit was a safer kit, that having more options in the bag meant more creative freedom on location. What I actually had was decision fatigue and a heavy backpack. My mentor used to say the mountain doesn’t care about your schedule, and it doesn’t care about your gear list either. It only responds to your attention.
The 24-120mm class of lens, whether you shoot Nikon, Sony, or Canon, is compelling precisely because it reduces the number of decisions between you and the image. I still carry a wide prime and a long telephoto on trips where I know I’ll need them. But my default kit has gotten leaner as I’ve gotten more experienced, not heavier. That shift runs counter to what a lot of gear culture tells you, and I think Denney’s tutorial is a useful corrective to that noise.
The single most important idea in this tutorial is also the simplest: the best lens for your landscape photography is not the one with the most impressive spec sheet. It is the one that keeps you engaged with the scene in front of you rather than the bag at your feet. Versatility that costs you image quality is not versatility. It is a compromise dressed up as a solution.
Watch the full tutorial on YouTube and pay particular attention to the sample images Denney walks through. The proof is in those frames, not in the focal length numbers.
Comments
Leave a Comment