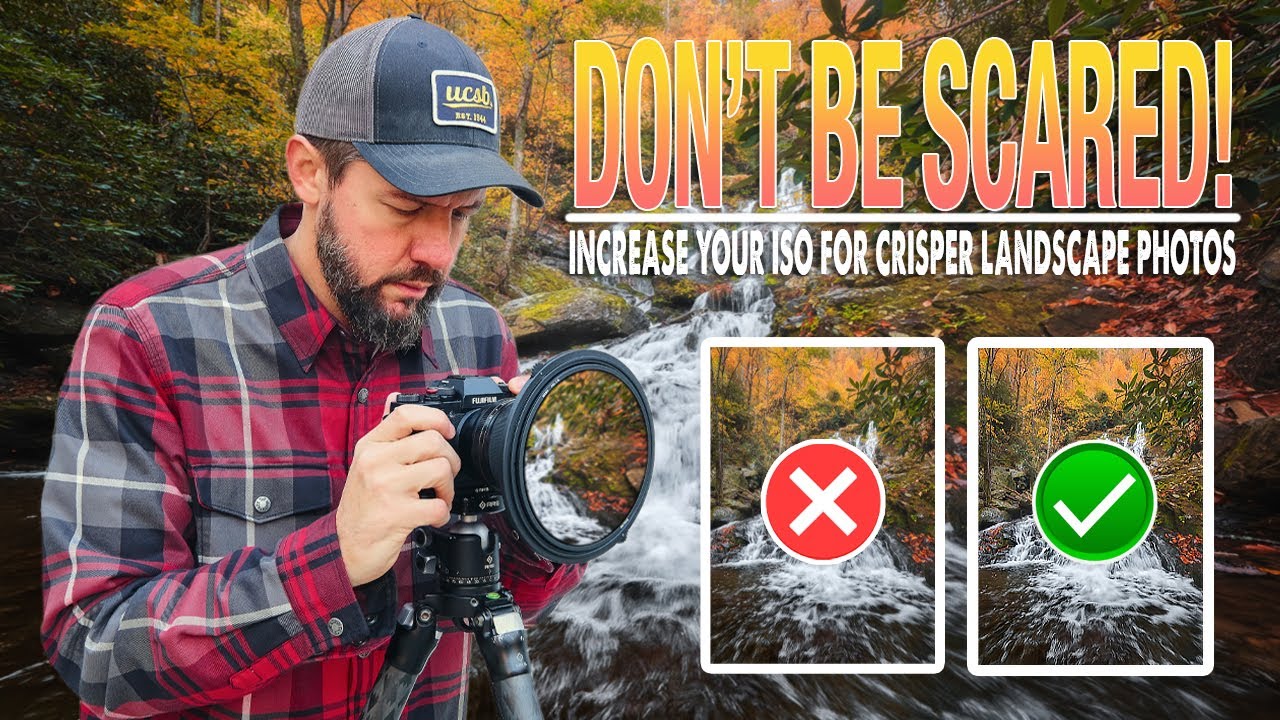
There’s a rule I carried around for years like a stone in my pack: keep ISO at 100, always. I learned it early, repeated it in workshops, and held onto it even when the light was failing and I knew, somewhere in the back of my mind, that I was making compromises that hurt my images. I’d drag my shutter speed to half a second, a full second, longer, trying to hold the exposure together without touching that dial. Sometimes it worked. Often it introduced motion blur in leaves or grasses that I didn’t want, and I’d pack up telling myself it was an artistic choice. It wasn’t. It was stubbornness dressed up as discipline.
In this Mark Denney tutorial, Watch the full tutorial on YouTube, he makes a direct and well-reasoned argument that ISO 100 fundamentalism is actually holding landscape photographers back. Not in every situation, but in specific, recurring ones that most of us encounter regularly. What I appreciate about his approach is that he doesn’t just assert it. He tests it, shows the results, and gives you a framework for finding your own camera’s real-world threshold. That’s the kind of thinking I respect.
The tripod is the variable that muddles this conversation most. Plenty of photographers, myself included for too long, assumed that shooting on a tripod eliminates any need for higher ISO because you can always slow your shutter. That logic holds in still, windless conditions with a static scene. The moment you add moving water, blowing grass, or shifting fog, a slower shutter stops being a neutral technical choice and starts actively shaping your image. Sometimes that’s what you want. Often it isn’t. Denney’s tutorial names that tension clearly and offers a better path.
Step 1: Recognize the Two Field Situations That Actually Demand Higher ISO
 Mark Denney explains two recurring ISO situations in landscape photography
Before touching any settings, Denney asks you to think situationally rather than dogmatically. The argument isn’t “ISO 100 is bad.” It’s that two specific conditions arise in landscape photography where raising ISO is the smarter technical decision, and knowing them in advance means you’re prepared when you’re standing in a creek at 5am making fast calls in changing light. He doesn’t reveal both situations all at once, but framing your mindset here is the first practical step. Stop thinking of ISO as a failure mode and start thinking of it as one of three levers you’re always balancing.
Mark Denney explains two recurring ISO situations in landscape photography
Before touching any settings, Denney asks you to think situationally rather than dogmatically. The argument isn’t “ISO 100 is bad.” It’s that two specific conditions arise in landscape photography where raising ISO is the smarter technical decision, and knowing them in advance means you’re prepared when you’re standing in a creek at 5am making fast calls in changing light. He doesn’t reveal both situations all at once, but framing your mindset here is the first practical step. Stop thinking of ISO as a failure mode and start thinking of it as one of three levers you’re always balancing.
Step 2: Challenge the ISO 100 Default Before You Even Leave the House
 Discussion of common belief that tripod use eliminates need for high ISO
The conditioning runs deep. Denney describes the same mental block I had: a near-physical reluctance to move that dial past 100, as if every increment upward was chipping away at the image. He’s right that this belief is widespread, and right that it’s only partially true. Modern sensors, even APS-C and Micro Four Thirds systems, handle elevated ISO far better than the cameras many of us learned on. The practical step here is to stop treating ISO 100 as a default and start treating it as one option among several, chosen deliberately, not by habit.
Discussion of common belief that tripod use eliminates need for high ISO
The conditioning runs deep. Denney describes the same mental block I had: a near-physical reluctance to move that dial past 100, as if every increment upward was chipping away at the image. He’s right that this belief is widespread, and right that it’s only partially true. Modern sensors, even APS-C and Micro Four Thirds systems, handle elevated ISO far better than the cameras many of us learned on. The practical step here is to stop treating ISO 100 as a default and start treating it as one option among several, chosen deliberately, not by habit.
Step 3: Run Your Own ISO Threshold Test at Home
 Camera set up on tripod pointed at Christmas tree for ISO test
This is the most immediately useful thing in the tutorial. Denney mounted his Fujifilm X-T3 on a tripod and pointed it at his Christmas tree, specifically because the scene has bright ornaments against darker shadow areas. That contrast is ideal for seeing where noise starts to appear and how it affects color. He kept everything constant, aperture, shutter speed, white balance, and changed only ISO across a range of exposures. Find a similar subject in your home: a lamp in a dark corner, a window with curtains half drawn, anything with a range of tones. Lock your camera down and shoot the same frame at ISO 160, 400, 640, 1000, 1600, 2500, and 5000.
Camera set up on tripod pointed at Christmas tree for ISO test
This is the most immediately useful thing in the tutorial. Denney mounted his Fujifilm X-T3 on a tripod and pointed it at his Christmas tree, specifically because the scene has bright ornaments against darker shadow areas. That contrast is ideal for seeing where noise starts to appear and how it affects color. He kept everything constant, aperture, shutter speed, white balance, and changed only ISO across a range of exposures. Find a similar subject in your home: a lamp in a dark corner, a window with curtains half drawn, anything with a range of tones. Lock your camera down and shoot the same frame at ISO 160, 400, 640, 1000, 1600, 2500, and 5000.
Step 4: Zoom In and Evaluate Noise at Each Stop
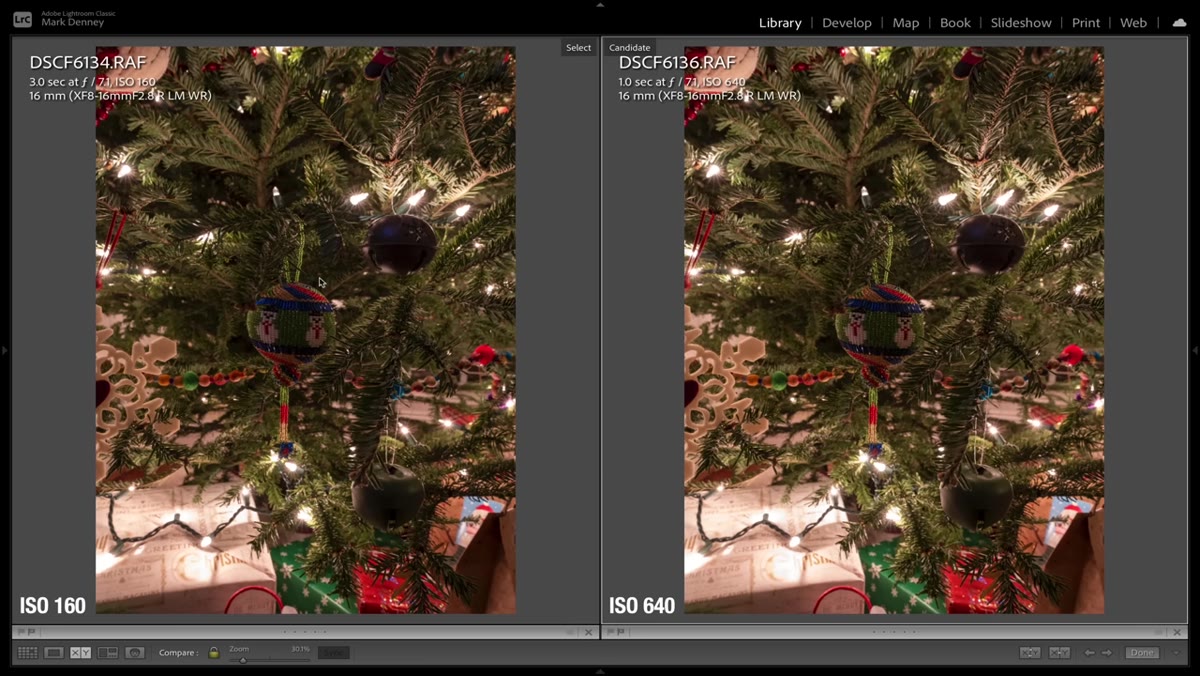 Side-by-side comparison of ISO 160 vs ISO 640 zoomed in on ornament
Pull the images into Lightroom or whatever you process in and zoom to 100 percent on the same region in every frame. Denney specifically looks at the colored areas, the ornaments on his tree, because noise degrades color saturation and accuracy before it becomes obviously visible as grain in neutral tones. On his X-T3, ISO 160 through 1600 looked nearly identical at this zoom level. Noise became faintly visible at 2500, noticeable but still manageable at 5000. Write down your own numbers. This is your camera’s real-world map, not a spec sheet, not a forum opinion.
Side-by-side comparison of ISO 160 vs ISO 640 zoomed in on ornament
Pull the images into Lightroom or whatever you process in and zoom to 100 percent on the same region in every frame. Denney specifically looks at the colored areas, the ornaments on his tree, because noise degrades color saturation and accuracy before it becomes obviously visible as grain in neutral tones. On his X-T3, ISO 160 through 1600 looked nearly identical at this zoom level. Noise became faintly visible at 2500, noticeable but still manageable at 5000. Write down your own numbers. This is your camera’s real-world map, not a spec sheet, not a forum opinion.
Step 5: Identify Your Personal Acceptable Threshold
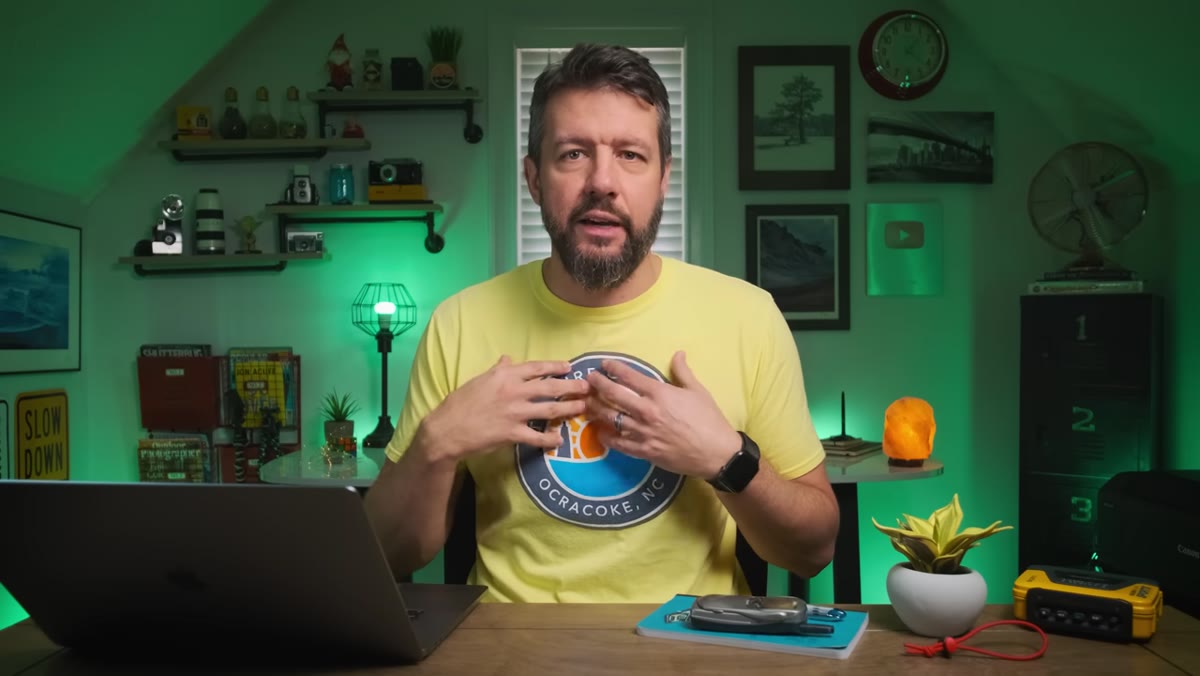 ISO 2500 image evaluated as threshold point on Fujifilm X-T3
Denney’s conclusion for his X-T3 was that 2500 is his working ceiling for images where he needs clean results, and 5000 is available when circumstances demand it. Your number will differ depending on your sensor. A Sony A7R IV will hold cleaner longer than an older APS-C body. The point is to have a number, a specific number, that you’ve arrived at through testing rather than inherited from a photography forum. Once you know it, you can stop hesitating in the field and just shoot.
ISO 2500 image evaluated as threshold point on Fujifilm X-T3
Denney’s conclusion for his X-T3 was that 2500 is his working ceiling for images where he needs clean results, and 5000 is available when circumstances demand it. Your number will differ depending on your sensor. A Sony A7R IV will hold cleaner longer than an older APS-C body. The point is to have a number, a specific number, that you’ve arrived at through testing rather than inherited from a photography forum. Once you know it, you can stop hesitating in the field and just shoot.
Step 6: Apply This Directly to Moving Subjects in Low Light
 Discussion of dragging shutter vs raising ISO for landscape exposure problems
The practical field application is this: when you’re working with a scene where motion matters, waterfall mist, bending grasses, fog rolling through a frame, and the light is low, you have a choice between a slower shutter and a higher ISO. A slower shutter changes the character of that motion permanently. A higher ISO, within your tested threshold, gives you noise that is largely correctable in post. That’s an important asymmetry. Motion blur baked into a RAW file is a creative decision you can’t undo. Noise at ISO 1600 cleaned up in Lightroom is a technical inconvenience you can manage.
Discussion of dragging shutter vs raising ISO for landscape exposure problems
The practical field application is this: when you’re working with a scene where motion matters, waterfall mist, bending grasses, fog rolling through a frame, and the light is low, you have a choice between a slower shutter and a higher ISO. A slower shutter changes the character of that motion permanently. A higher ISO, within your tested threshold, gives you noise that is largely correctable in post. That’s an important asymmetry. Motion blur baked into a RAW file is a creative decision you can’t undo. Noise at ISO 1600 cleaned up in Lightroom is a technical inconvenience you can manage.
What Twenty Years in the Field Added to This
I’d add one thing Denney doesn’t explicitly cover: conditions change fast, and the mental overhead of second-guessing your ISO costs you shots. I’ve been in situations on the Oregon coast where I had maybe four minutes of light before the clouds shifted and the whole scene went flat. Those are not the moments for philosophical debates about noise. Knowing my camera’s threshold means I can make the call in ten seconds and keep shooting. The test Denney recommends is worth an afternoon of your time at home, so you never have to think about it again in the field.
The single most important shift this tutorial offers is reframing ISO from a measure of image quality into a tool for creative control, one with real limits you can know in advance through testing. Once you know where your camera starts to break down, you can use everything below that point without apology and without hesitation.
Watch the full tutorial on YouTube to see Denney’s side-by-side comparisons and hear him walk through both field situations in full.
Comments (3)
Never thought of approaching it this way. Really creative.
Quality content like this is rare. Keep it up.
Just subscribed. If the rest of your content is this good, I'm in.
Leave a Comment