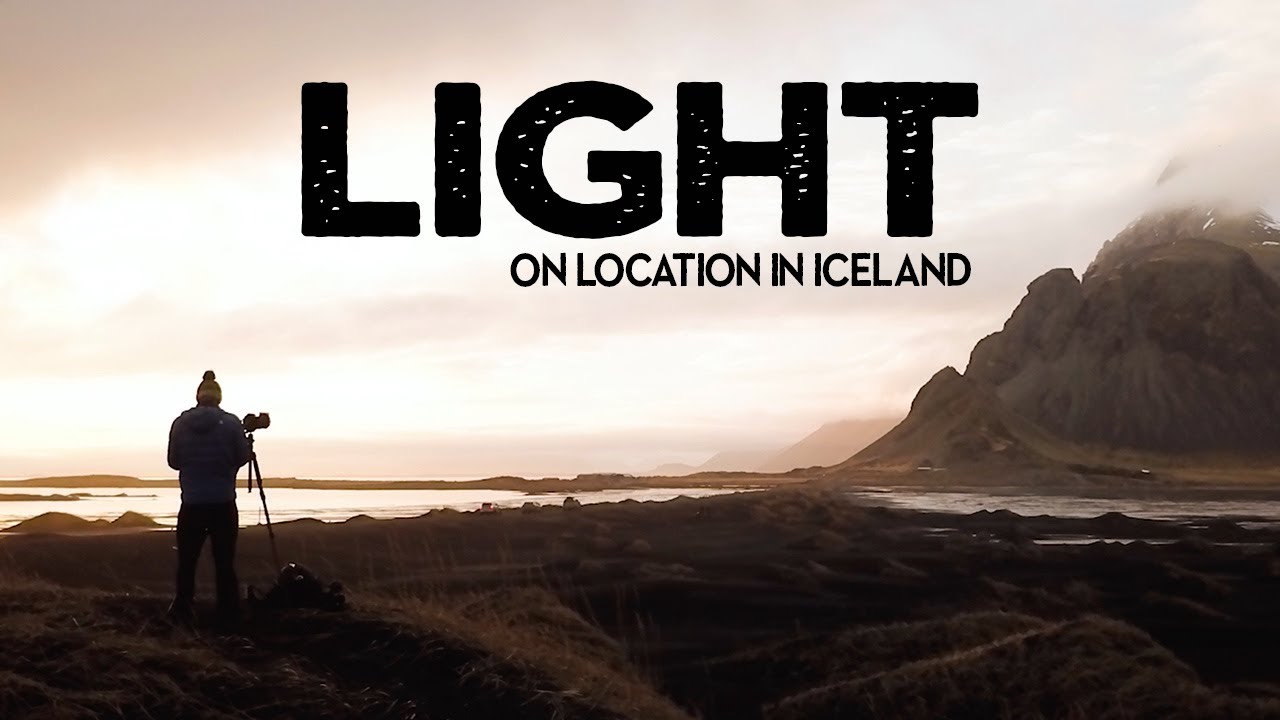
There’s a version of me from fifteen years ago who would have set up a tripod at that glacier, fired off a hundred frames in flat midday light, and driven home convinced I’d done the work. I know better now. The hardest skill in landscape photography isn’t composition or exposure. It’s reading the quality of light in front of you and making an honest call about whether it’s worth pressing the shutter at all. That clarity takes a long time to develop, and watching experienced photographers talk through their thinking in real locations is one of the fastest ways to compress that learning.
In this Nigel Danson tutorial filmed on location in Iceland, Danson does something most tutorial creators skip: he shows you the shots he didn’t take, and explains exactly why. That kind of honesty is rare and worth more than another video of golden hour perfection. Watch the full tutorial on YouTube if you want to follow along. What follows is my breakdown of the practical lessons embedded in this video, with notes from my own time in the field.
Step 1: Arrive Without Expectations and Assess the Full Scene
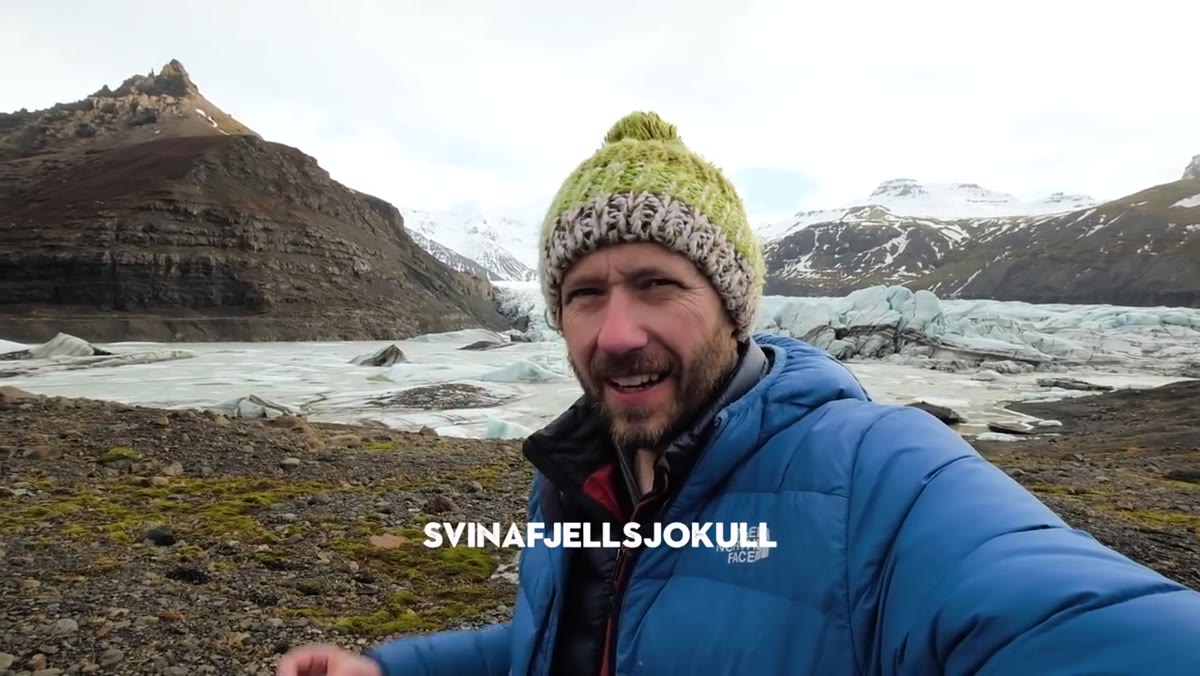 Danson standing at a glacier, snow-covered ice filling the frame
Before you touch your camera, walk the location and ask a single question: where is the light going, and what is it actually hitting right now? Danson arrives at a glacier in Iceland and rather than immediately shooting, he stops and listens. He notices the absence of wind, the sounds of the ice moving, the atmosphere of the place. This isn’t romanticism. It’s reconnaissance. You can’t make a strong image of a place you haven’t fully registered yet.
Danson standing at a glacier, snow-covered ice filling the frame
Before you touch your camera, walk the location and ask a single question: where is the light going, and what is it actually hitting right now? Danson arrives at a glacier in Iceland and rather than immediately shooting, he stops and listens. He notices the absence of wind, the sounds of the ice moving, the atmosphere of the place. This isn’t romanticism. It’s reconnaissance. You can’t make a strong image of a place you haven’t fully registered yet.
Take five minutes to identify your foreground, your midground, and your background as separate elements. Look at each one in the current light. Does the light flatter all three, or only one of them?
Step 2: Identify the Weak Link in the Composition
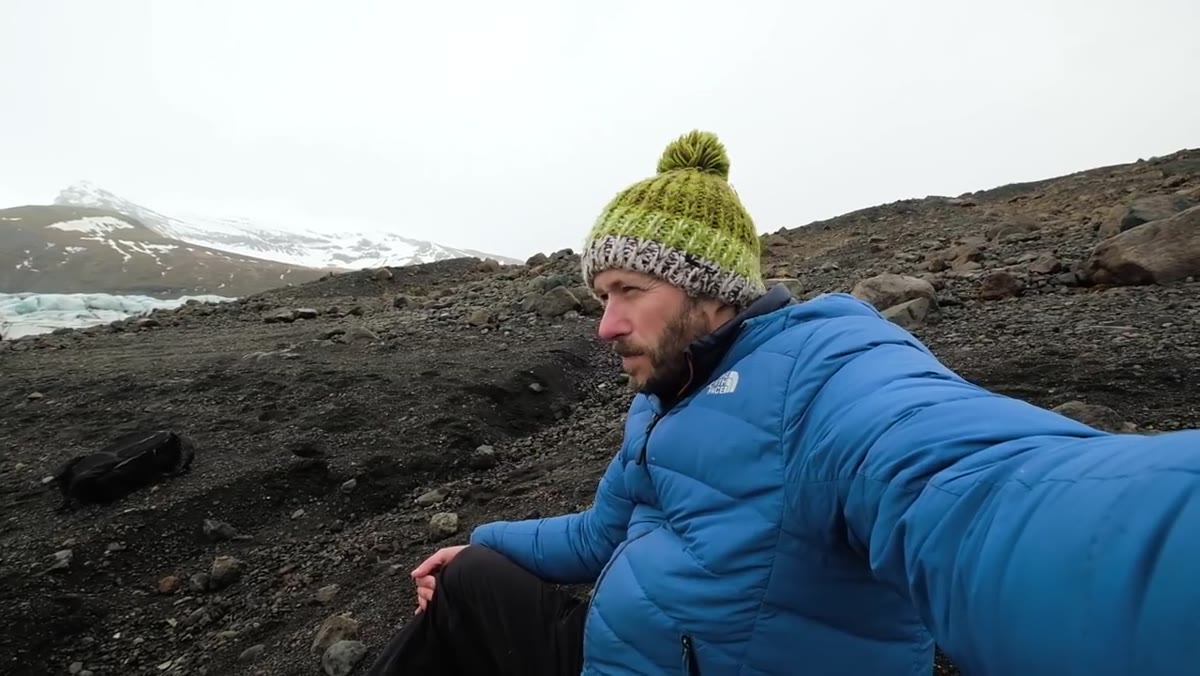 Danson and companion in falling snow, evaluating the glacier composition
This is the step most photographers skip because it requires admitting the shot isn’t there. At the glacier, Danson recognizes a painful compositional problem: the foreground ice is genuinely stunning, full of texture, cracks, and visual interest. But the midground is empty, and the glacier face behind it is washed out under overcast light. Beautiful foreground alone doesn’t make a photograph.
Danson and companion in falling snow, evaluating the glacier composition
This is the step most photographers skip because it requires admitting the shot isn’t there. At the glacier, Danson recognizes a painful compositional problem: the foreground ice is genuinely stunning, full of texture, cracks, and visual interest. But the midground is empty, and the glacier face behind it is washed out under overcast light. Beautiful foreground alone doesn’t make a photograph.
Train yourself to identify which element of the three-layer composition is failing. If one layer is weak, the image is weak. Don’t compensate by shooting tighter to hide the problem. Understand that flat, directionless light can rob a dramatic subject of all its power, and that’s not something you fix in Lightroom.
Step 3: Know What the Light Could Do, Then Decide Whether to Wait or Move
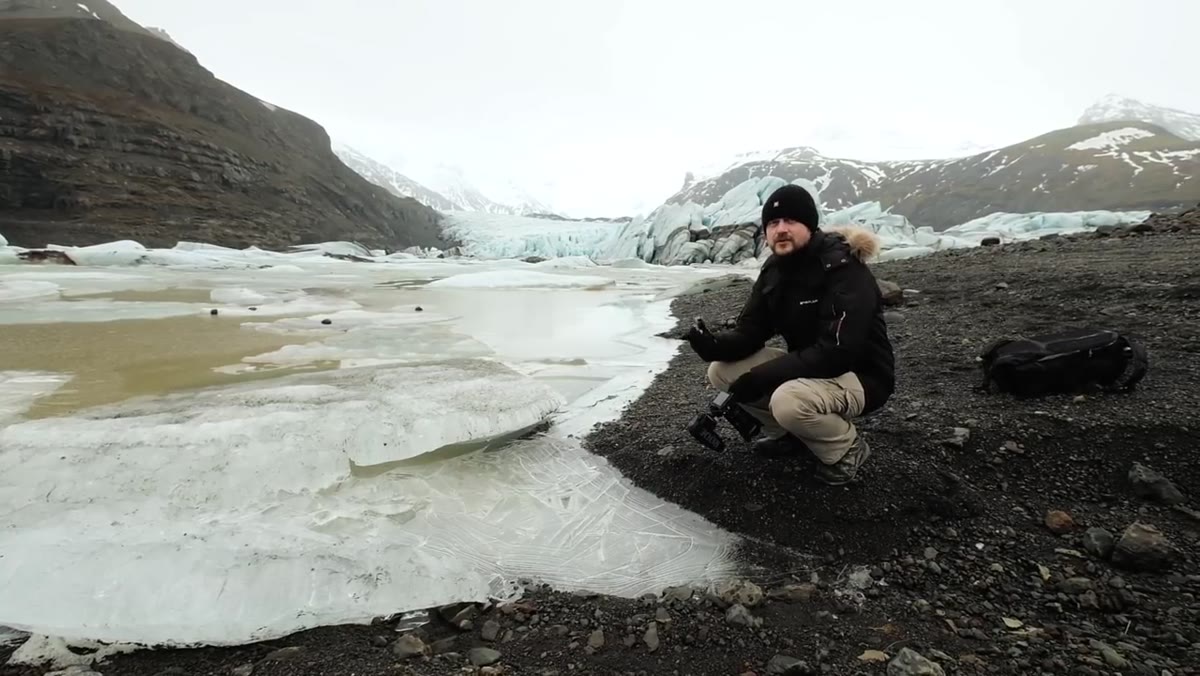 Danson explaining sunset light potential at the glacier location
Danson doesn’t leave the glacier frustrated. He leaves with information. He notes that at sunset, the sun would angle directly across the glacier face and ignite the entire scene. He mentally files that away. That’s the correct response to a location that isn’t working right now: understand its potential, note the time and direction of light that would unlock it, and either return at that time or move on to somewhere that’s working now.
Danson explaining sunset light potential at the glacier location
Danson doesn’t leave the glacier frustrated. He leaves with information. He notes that at sunset, the sun would angle directly across the glacier face and ignite the entire scene. He mentally files that away. That’s the correct response to a location that isn’t working right now: understand its potential, note the time and direction of light that would unlock it, and either return at that time or move on to somewhere that’s working now.
If you’re shooting with limited time in a destination, make a quick list of your locations and their optimal light windows. Morning east-facing. Afternoon west-facing. Overcast-only for certain subjects like waterfalls or forests where you want soft, even light. Glacier faces often need direct low-angle light to reveal their blue and white tonal range. Flat light just collapses them to grey.
Step 4: Work with Wave Timing and Natural Lines at Coastal Locations
 Danson at black sand beach with mountains and ocean behind him
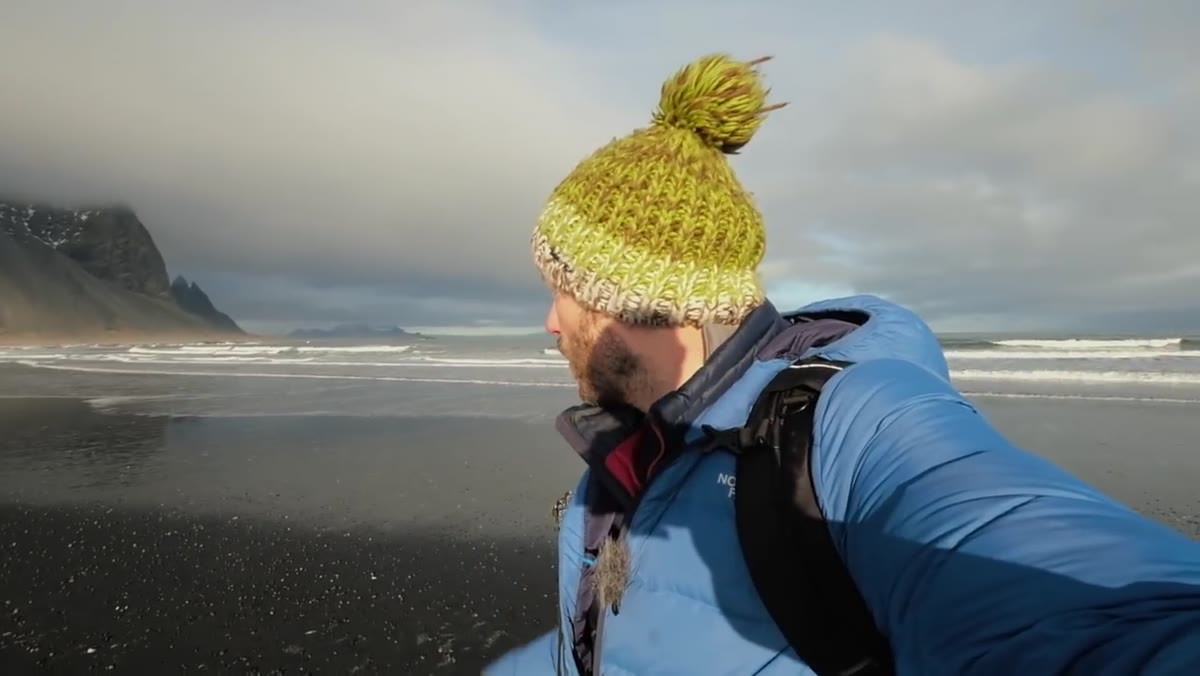
At the black sand beach at Reynisfjara, Danson shifts into a different rhythm entirely. Coastal shooting is less about waiting for light and more about timing within the moment. He’s watching two things at once: the angle of light on the mountains in the background, and the movement of waves in the foreground. He’s looking for receding waves that leave a thin film of water on the black sand, which creates reflections and pulls lines through the composition.
Danson at black sand beach with mountains and ocean behind him
At the black sand beach at Reynisfjara, Danson shifts into a different rhythm entirely. Coastal shooting is less about waiting for light and more about timing within the moment. He’s watching two things at once: the angle of light on the mountains in the background, and the movement of waves in the foreground. He’s looking for receding waves that leave a thin film of water on the black sand, which creates reflections and pulls lines through the composition.
Set your shutter speed long enough to show movement in the water but not so long that you lose the reflective surface. Around 1/4 to 1/2 second is often the sweet spot on a wet beach. Shoot in bursts across multiple wave cycles. The composition itself may be static, but the foreground element changes with every wave. Patience here means firing a lot of frames and editing down to the one where the water line and the reflection align.
Step 5: Wait for the Transition Light Before Calling It Done
 Light softening over the mountains as Danson adjusts his shooting position
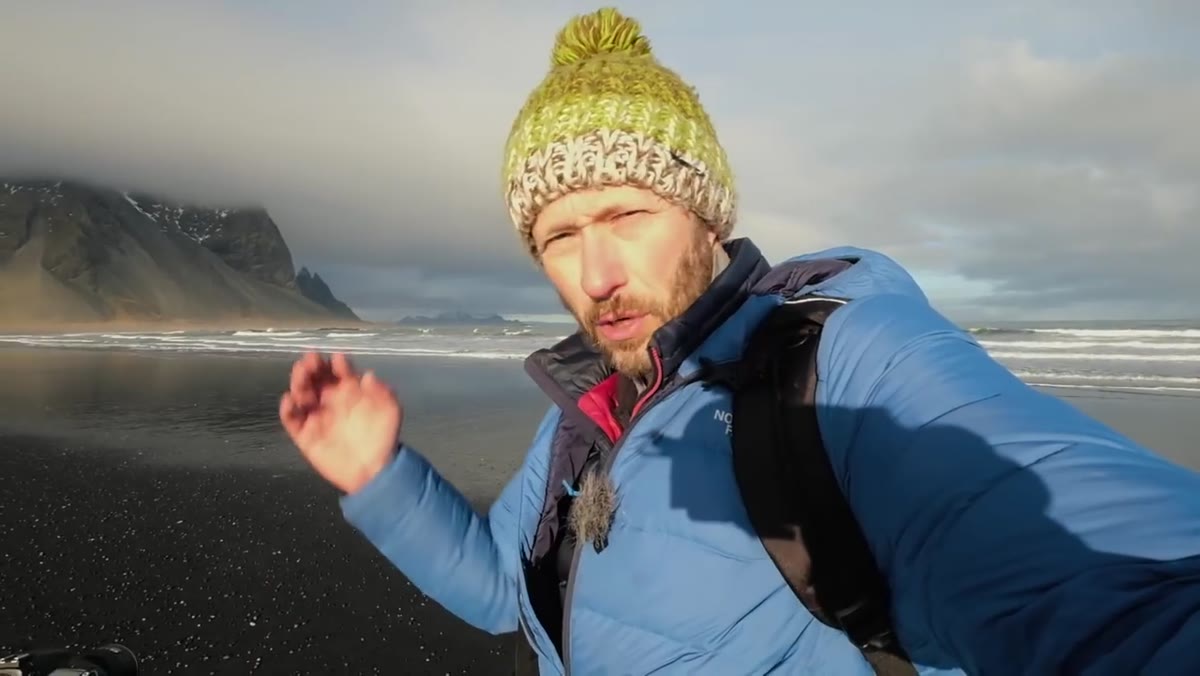
Danson mentions waiting for the light to come down slightly from its harsher midday intensity so the balance between sky and land evens out and the sky picks up more orange. This is the transition window, the period just before golden hour when the light is still directional but no longer blowing out the sky. A lot of photographers pack up too early because they think the magic doesn’t start until the sky turns red.
Light softening over the mountains as Danson adjusts his shooting position
Danson mentions waiting for the light to come down slightly from its harsher midday intensity so the balance between sky and land evens out and the sky picks up more orange. This is the transition window, the period just before golden hour when the light is still directional but no longer blowing out the sky. A lot of photographers pack up too early because they think the magic doesn’t start until the sky turns red.
That transition window, often 30 to 45 minutes before actual golden hour, produces some of my favorite shooting conditions. The light has warmth and direction but it isn’t so low that it rakes everything with extreme shadows. If you’re at a location with good compositional bones, stay through this transition rather than arriving only at the last ten minutes of sunset.
Step 6: Isolate Detail Subjects When the Hero Shot Isn’t Available
 Danson crouching near beach grasses with black sand and cliffs behind
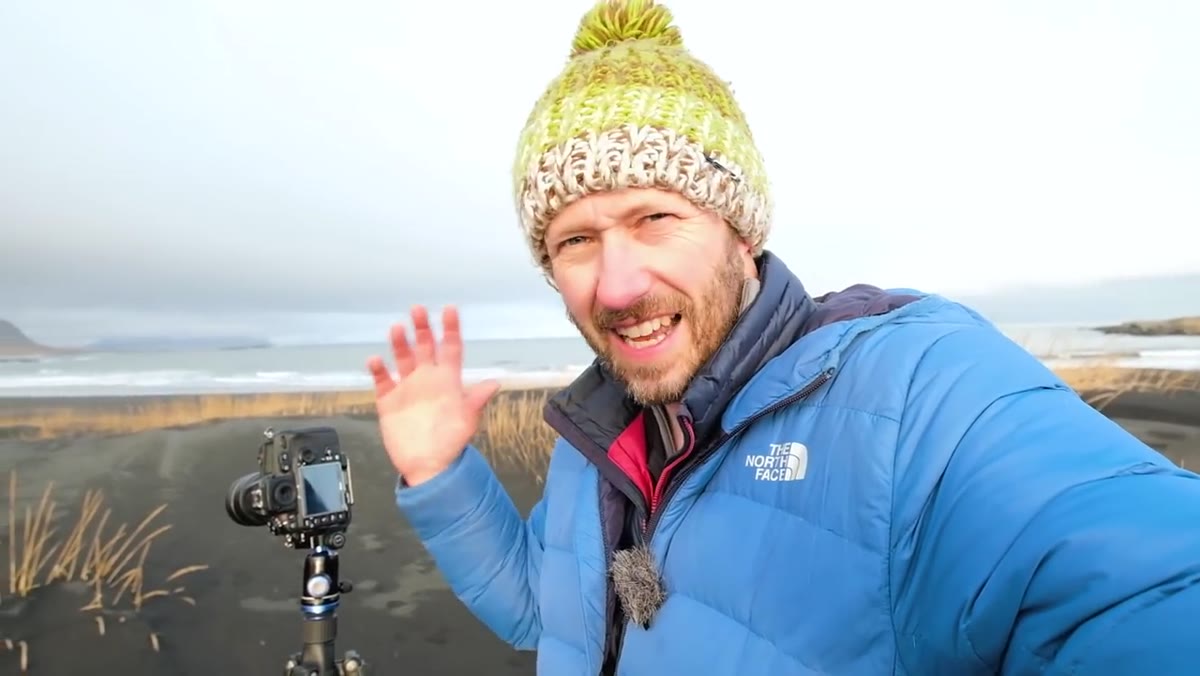
Further down the beach, Danson finds a patch of grass growing out of the black sand. The main mountain shot may not have ideal light, but this smaller scene has its own integrity. He works to isolate individual reed stems so they read clearly against the beach, letting the eye travel from the grasses through the mid-distance sand and up to the cliffs. It’s a self-contained image that doesn’t rely on dramatic sky or perfect glacier light.
Danson crouching near beach grasses with black sand and cliffs behind
Further down the beach, Danson finds a patch of grass growing out of the black sand. The main mountain shot may not have ideal light, but this smaller scene has its own integrity. He works to isolate individual reed stems so they read clearly against the beach, letting the eye travel from the grasses through the mid-distance sand and up to the cliffs. It’s a self-contained image that doesn’t rely on dramatic sky or perfect glacier light.
Always have a secondary subject in mind when you scout. Details, textures, and smaller vignettes within a location often produce stronger images under difficult light than forcing a grand landscape composition. A single grass stem against black sand with soft wave blur in the distance is a complete photograph.
What I’d Add From Twenty Years in the Field
The lesson underneath all of this is really about honesty with yourself. It took me a long time to leave a location without shooting, to drive home with an empty card and count that as a success. But every time I’ve forced a frame in bad light, I’ve known it the second I pressed the shutter. My mentor told me once that the mountain doesn’t care about your schedule. He was right. The glacier isn’t going to cooperate just because you drove four hours. Danson models this in a way that’s understated but critical: he shows you what he passed on, and he explains why, without drama or self-pity. That’s the field mindset. Read the light, make an honest call, move or wait.
One practical tool I use: before I leave any location, I pull up the Photographer’s Ephemeris and look at the next two days of light for that exact spot. If the current conditions are wrong but the forecast shows low-angle sun hitting my subject in 24 hours, I have real information to decide whether to stay or come back. Don’t guess at light. Study it.
The single most important thing in this video is a sentence Danson says almost as an aside: you want the entire picture to be good, not just the foreground. That one idea, internalized and applied consistently, will improve your editing rate and your finished work more than any technical setting ever will.
Watch the full tutorial on YouTube and pay close attention to the moments where Danson explains what isn’t working. That’s where the real teaching is.
Comments (2)
This is exactly what I needed today. Been struggling with this for weeks.
I've been looking for exactly this kind of tutorial. Perfect timing.
Leave a Comment