The Exposure Problem Nobody Warns You About
I was standing on a ridgeline in the Three Sisters Wilderness at 5:47 a.m., watching first light hit a snow-covered summit above me. The sky behind it was a deep, bruised violet. The snow itself was picking up a pink cast that I knew would last maybe four minutes. I had everything set up the night before. I knew my composition. And my meter was still lying to me.
This is the central frustration of mountain photography, and it catches experienced shooters just as often as beginners. The dynamic range of an alpine scene at golden hour routinely spans 12 to 15 stops. The bright snow, the shadowed rock faces, the glowing sky, they’re all in the same frame asking to be exposed correctly at the same time. Your camera’s matrix meter sees that snow and does exactly what it’s designed to do: it tries to make it 18% gray. Which means your white snow goes gray, your highlights blow out, or your shadows turn to mud, sometimes all three at once.
What Your Meter Is Actually Measuring
A camera meter doesn’t measure light the way your eye does. It measures reflected light and assumes the average scene averages out to middle gray. On a flat overcast day in a forest, that assumption works reasonably well. On a mountain face with direct sun hitting snow while the valley below sits in shadow, it fails in predictable ways.
The problem is compounded by altitude. Thinner atmosphere means harder, higher-contrast light. UV levels are significantly elevated, which affects how digital sensors render blues and whites. Shadows are deeper and recover less cleanly. The light changes faster because you’re often shooting from elevations where you’re seeing the sun before it clears the horizon for anyone in the valley below. You may have a 6-minute shooting window instead of 20.
The technical move I rely on here is exposure to the right, or ETTR. Shoot in manual mode, aim to push your histogram as far right as possible without clipping the highlights. In a mountain scene with bright snow, this often means spot-metering off the brightest part of the sky just adjacent to the peak, not the sky itself, and then adding 2 to 2.5 stops of positive exposure compensation as a starting point. Review, adjust, repeat. On my Sony A7R V, I’m typically shooting at ISO 100, f/11 for depth across the scene, and whatever shutter speed the meter suggests minus about 1.5 stops of adjustment. Then I check the histogram and move from there.
Bracket More Than You Think You Need To
In flat light, I’ll bracket three frames. In the mountains, I bracket five, sometimes seven. I set my drive to shoot -2, -1, 0, +1, +2 in two-stop increments. On a scene with extreme range, I’ll go wider. This isn’t indecision. It’s insurance against conditions that shift in ways you can’t fully control.
For blending, I use Lightroom’s HDR merge for simpler scenes, which handles alignment automatically and produces a .dng file that carries through full metadata. For anything complex, especially scenes with cloud movement or wind-blown foreground elements, I move to Photoshop and blend manually using luminosity masks through the Lumenzia panel. It costs around $40 and saves several hours of manual selection work on a serious multi-image blend. The resulting file from a well-blended bracket sequence off my A7R V is pushing 180 to 220 megabytes at full resolution, and at that size you’re cropping freely and printing large with no compromise.
A Mentor’s Lesson I Learned the Hard Way
A photographer I trained under early in my career used to say that the mountain doesn’t care about your schedule. I thought I understood what he meant. I didn’t, not fully, until I drove six hours to a location in the Cascades and sat in dense fog for two days straight. I had a workshop to prepare for. I had images I needed. The fog didn’t negotiate.
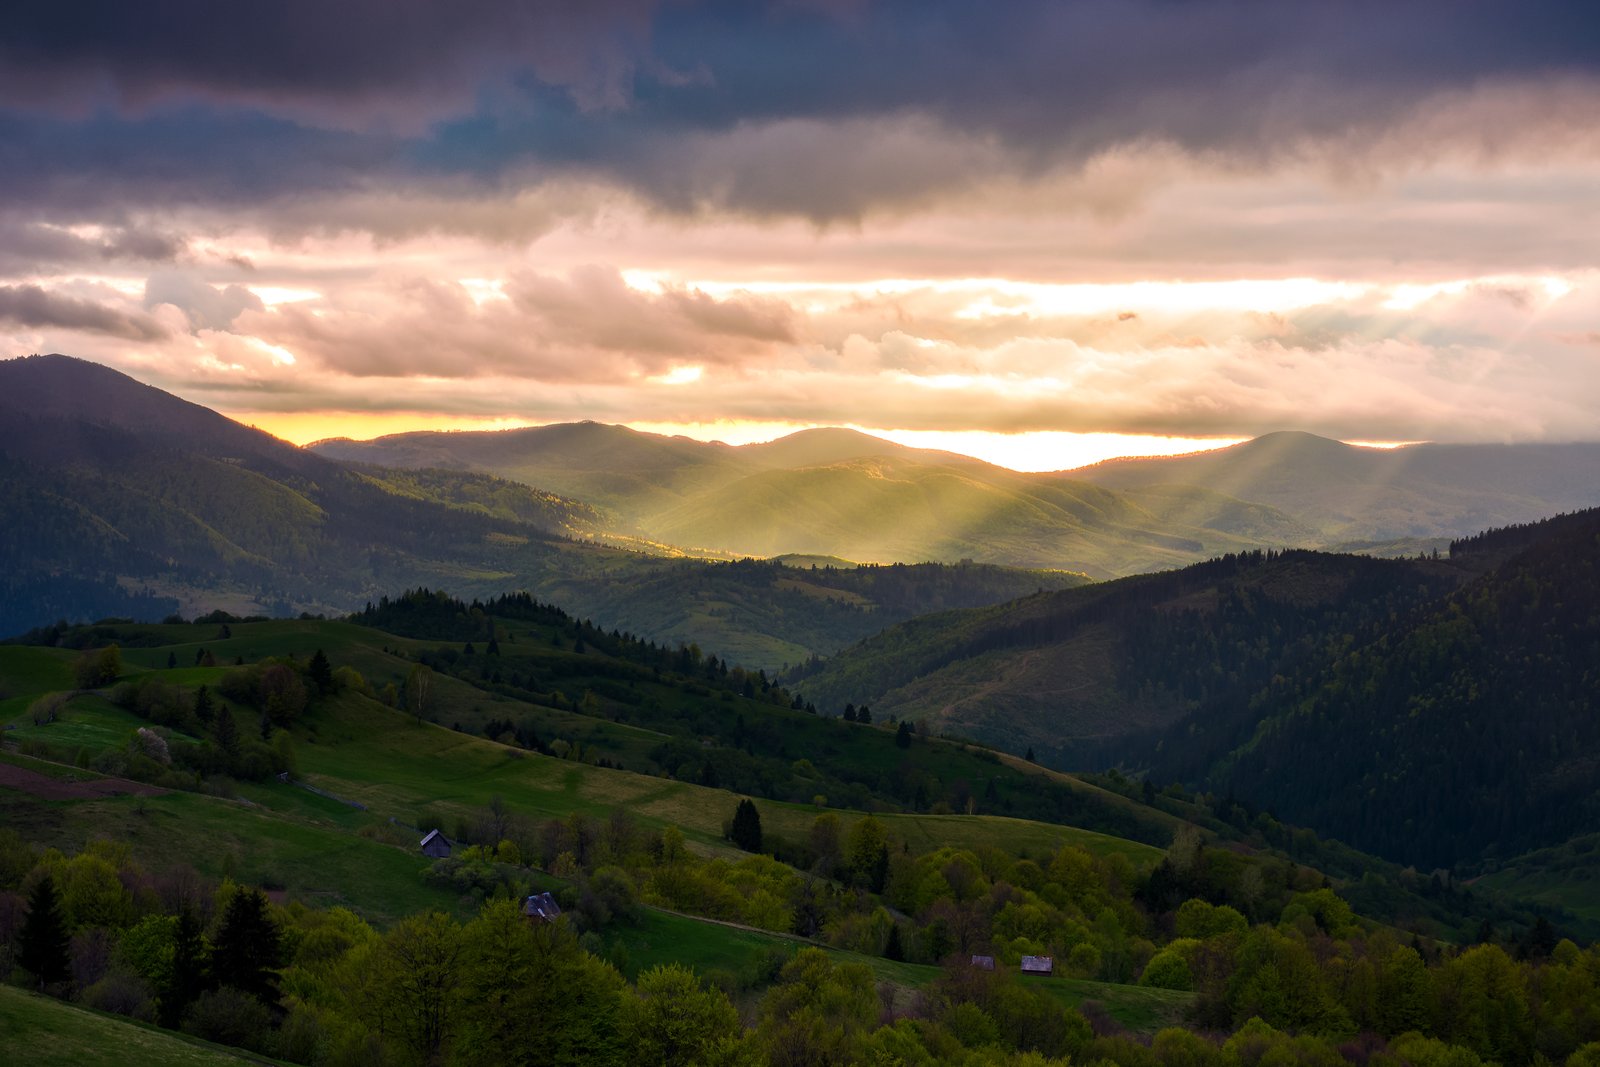
On the morning of the third day, the fog broke for about 40 minutes. The mountain was draped in mist, the light was coming through in columns, and the scene looked like nothing I had planned for or could have predicted. I made one image. One frame I was genuinely happy with. It’s now my best-selling print, and it exists entirely because I stayed when leaving made more sense on paper.
I think about that trip every time I’m tempted to rush an alpine shoot. The conditions that make mountain photography hard, the unpredictability, the brutality of the light, the speed at which everything changes, are exactly the conditions that make it worth doing. You cannot schedule transcendence.
Building a Pre-Dawn Workflow That Actually Works
The margins in mountain photography are thin. If you’re still making decisions about settings when the light arrives, you’ve already lost. My pre-dawn checklist, built over two decades of early mornings, looks like this: I’m on location at least 45 minutes before civil twilight. Composition is locked in the dark using a 4,000-lumen headlamp for foreground detail scouting. I shoot a test frame at ISO 3200 to check composition and horizon level, then dial back to ISO 100 before the light changes. Filters, if I’m using them, are already staged. The Lee 0.9 GND hard-stop goes on first if the sky-to-ground split is clean. If the horizon is irregular, I pull it and plan to blend.
I check my memory cards the night before. I format them in-camera, not on the computer. I carry two identical batteries and rotate them so neither runs cold. Mountain cold at elevation will drop a fully charged battery to 40% before the light even arrives.
The single most important thing I can tell you about shooting in mountain light is this: stop trusting your meter and start trusting your histogram. The meter is guessing. The histogram is showing you exactly what you captured, and it doesn’t lie.
Comments
Leave a Comment