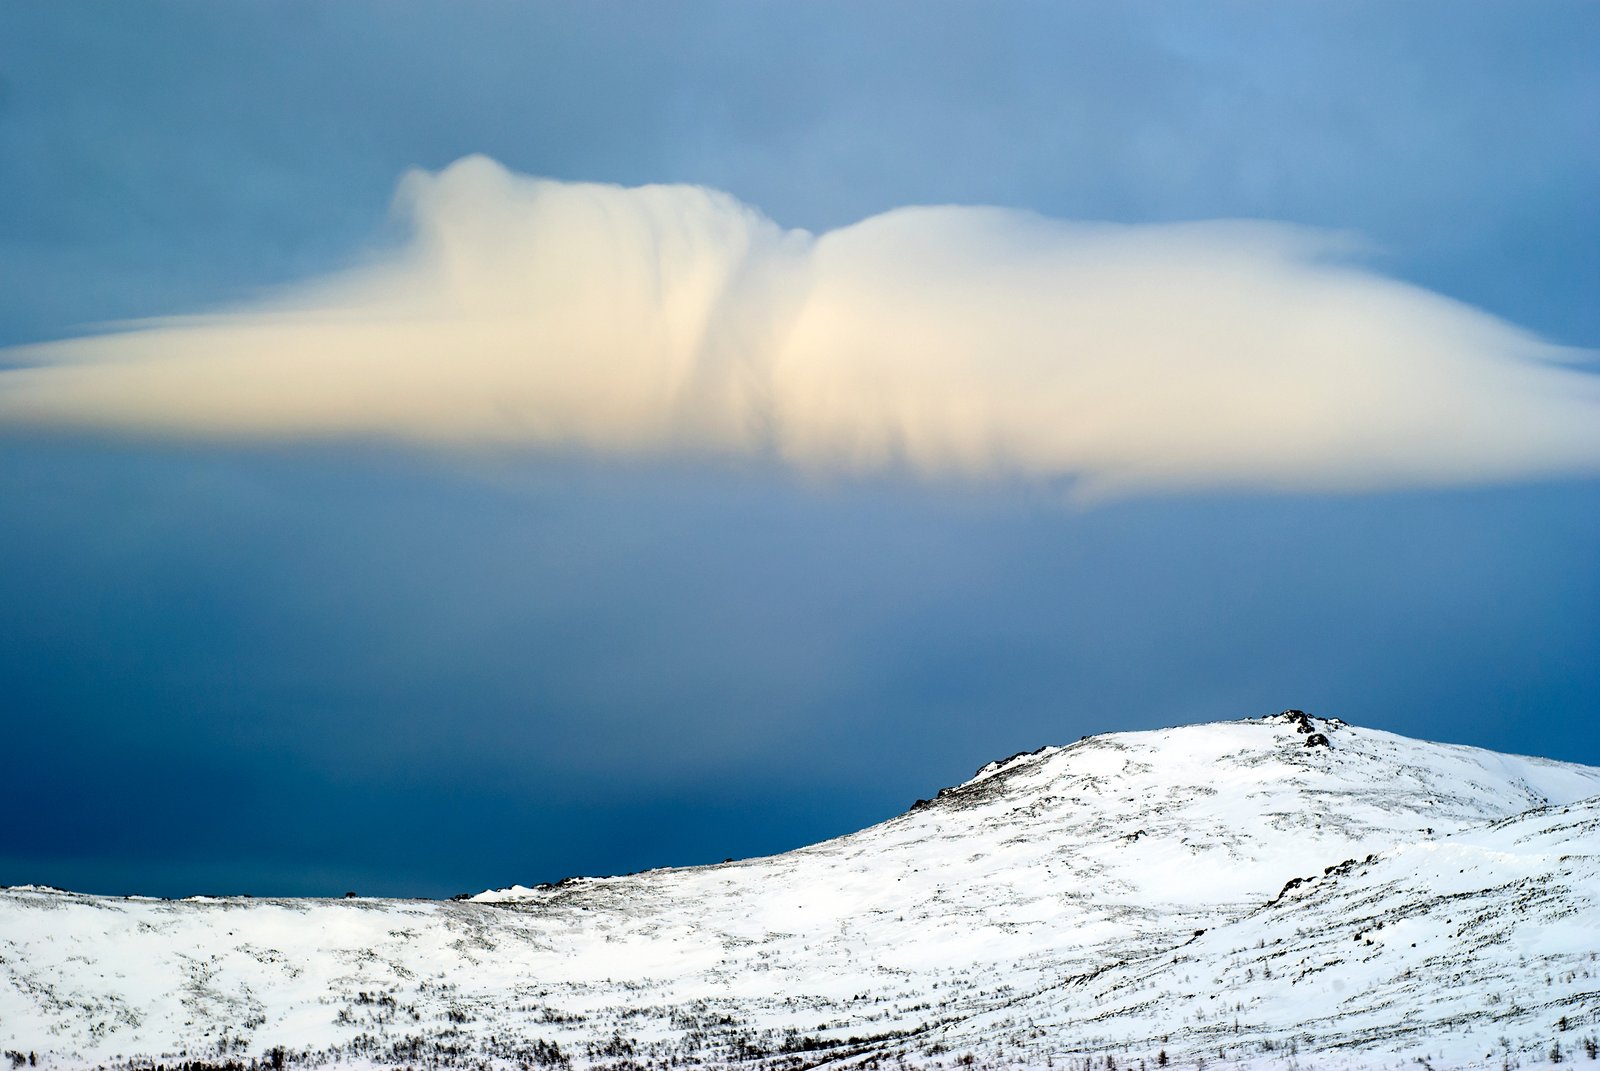
I had been watching that ridgeline for two hours before anything happened. My thermos was empty, my fingers were stiff inside my gloves, and the alpenglow I had driven four hours to catch was looking like a no-show. Then, in about the time it takes to pour a cup of coffee, the clouds parted, the light hit the snow, and the whole face of the mountain turned a color I can only describe as burning copper. I fired off maybe forty frames in three minutes. Then it was over.
That kind of moment is what mountain photography is actually about, and it rewards almost nothing except preparation and stubbornness.
The Light Problem Nobody Talks About in Tutorials
Most photographers know about golden hour. Fewer understand what happens to light when it interacts with elevation, snow, and thin atmosphere. At altitude, the air scatters less light, which means contrast is more extreme and shadows go darker faster than at sea level. A mountain face can shift three stops of dynamic range within a single minute as the sun clears a ridge. If you’re chimping your LCD, adjusting settings, or still setting up your tripod, you will miss it.
This is why I never shoot mountains on aperture priority. I come in with a manual starting point based on the conditions I expect, and I adjust from there. For pre-dawn blue hour on snow, I typically start around ISO 400, f/8, and a shutter speed in the 1/15 to 1/30 second range, then bracket one stop up and one stop down. Snow is a trap on evaluative metering. The camera wants to expose it as middle gray, and you’ll blow out every highlight in the frame if you let it make that decision.
Building the Shot Before the Light Arrives
I scout during the flat, boring middle of the day. That’s when I can walk to a position without rushing, check my foreground options, assess where the sun will be at 6:08 a.m. the following morning based on a tool like PhotoPills, and plant a stake (sometimes literally) in the spot I want to stand. By the time I come back in the dark, I am not making decisions. I am executing a plan.
Composition decisions made under pressure at 5 a.m. in the cold almost always produce weak images. The hat goes on, the tripod legs go to the marks I measured the day before, and my lens is already set to a pre-focused distance I confirmed in daylight. I use manual focus with live view magnified to 10x on a static element at the distance I plan to shoot. That focus ring does not move again until I am done.
For lenses, I shoot mountains primarily with a 24-70mm f/2.8 and a 70-200mm f/4. The telephoto is underrated in mountain work. Compression flattens layers of ridges in a way that a wide angle simply cannot replicate, and it isolates the abstract geometry of snowfields and rock faces that make a mountain image feel monumental rather than just big.
When the Weather Is the Subject
A mentor of mine used to say the mountain doesn’t care about your schedule, and I have tested that theory more times than I can count. I once drove six hours to catch autumn light on a peak in the Cascades and spent two full days sitting in fog so thick I couldn’t see fifty feet past my car. On the second afternoon, just before I gave up and pointed south toward Bend, the fog thinned briefly and went golden. I shot for maybe eight minutes. That image, a single frame from a completely failed trip, is now my best-selling print.
What I learned from that experience was not some poetic lesson about patience. It was a technical one. I had almost packed my camera in the trunk before the light broke. If I had, I would have been standing there watching it happen through the windshield. Now I keep my camera on my shoulder until I am physically in the car with the engine running.
Exposure Brackets and When to Use Them
Modern sensors, particularly the Sony a7R series and the Fujifilm GFX 50S II I’ve used in the last few years, handle shadows remarkably well in post. But mountains with snow against a dark sky at sunrise can easily exceed 12 stops of dynamic range, which is still past the limit of a single raw file.
I bracket three frames: base exposure, minus 1.5 stops, and plus 1.5 stops. I blend them in Lightroom using luminosity masks, either through the native masking tools or through a panel like Lumenzia. I do not blend more than three frames unless the scene is genuinely static, because any wind on grass or movement in water creates ghosting that takes longer to fix than the blend is worth.
For file output, I deliver mountains at full resolution. My print customers buy large, and nothing kills a 40x60 print like softness at 100 percent. I shoot at the base ISO of whatever body I am using and do not touch the sharpening slider in Lightroom until I know the output size.
The One Thing That Changes Everything
The photographers I have watched improve fastest are not the ones who bought better glass or learned Photoshop first. They are the ones who started arriving earlier and staying later than they thought they needed to. The light that transforms a mountain from a photograph into a print-worthy image is not reliably there at 6 a.m. Sometimes it happens at 5:42. Sometimes 6:17. It does not negotiate.
Show up before you think you need to, stay after you think it’s over, and keep your camera in your hands until the last possible moment. That discipline is the real technique.
Comments (2)
Wow, I had no idea you could do this. Mind blown.
Tried this technique this morning. Game changer for real.
Leave a Comment