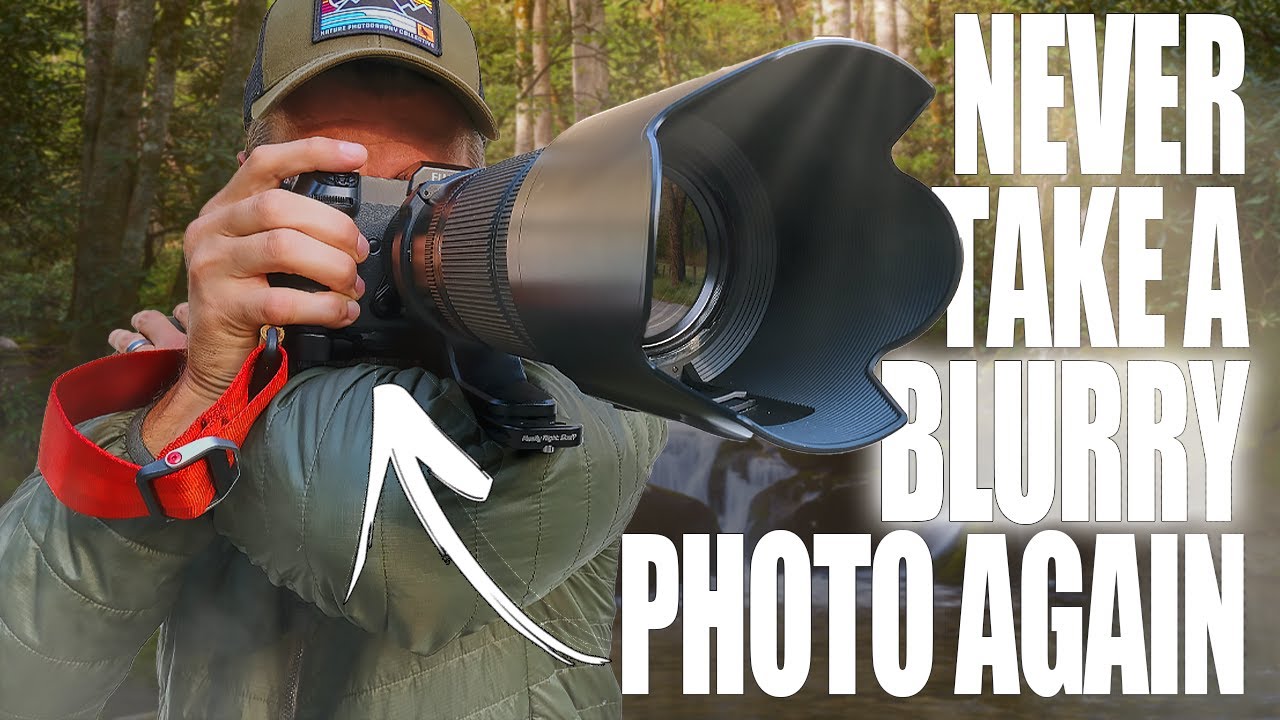
Sharpness problems are humbling. You drive to a location before dawn, you nail the composition, the light cooperates, and then you get home and pixel-peep your way into disappointment. I’ve been shooting landscapes full-time for two decades and I still have sessions where I pull images off the card and wonder what went wrong. It’s rarely focus. It’s rarely the lens. It’s almost always something I did, or didn’t do, in the field.
That’s why I kept coming back to this tutorial from Mark Denney. Watch the full tutorial on YouTube. Mark runs landscape photography workshops, and in this video he breaks down the three most common causes of soft images he encountered repeatedly across those workshops, ranked by how often he actually saw them in participants’ work. That framing matters. This isn’t theoretical. These are real failure patterns from real photographers working in the field.
What struck me watching it was how closely his findings matched what I see in my own workshops here in Oregon. The problems are consistent across skill levels, and the fixes are surprisingly simple once you understand what’s actually causing the blur.
Step 1: Understand Why Telephoto Lenses Create a Unique Stability Problem
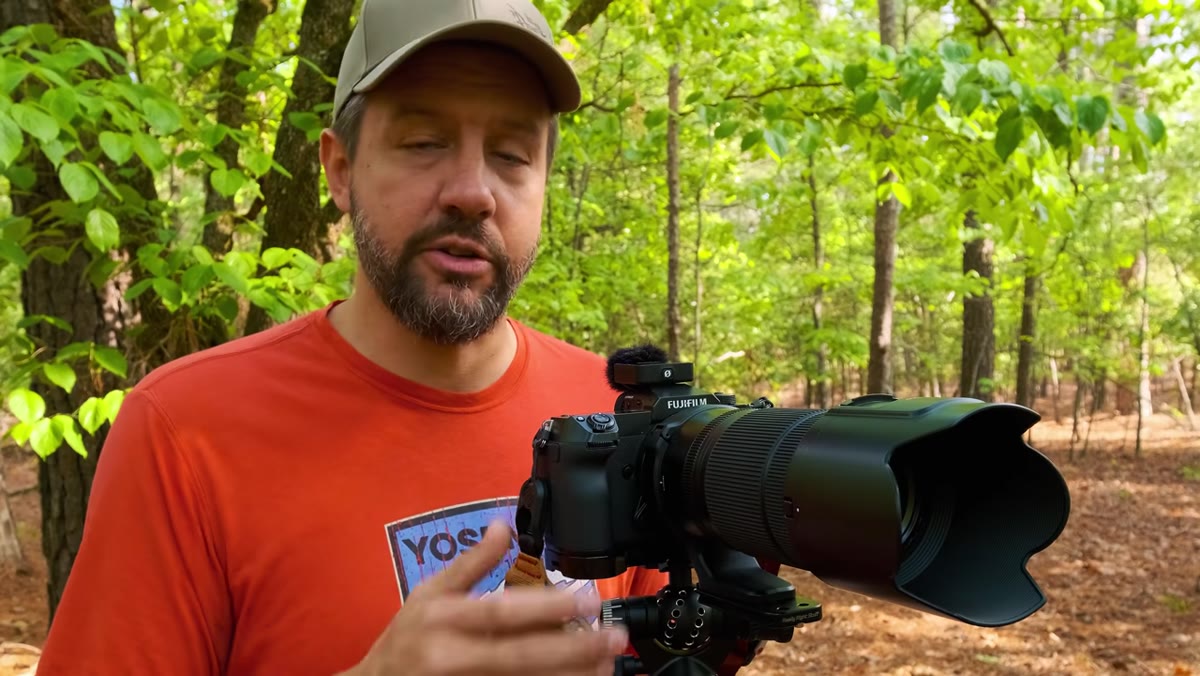
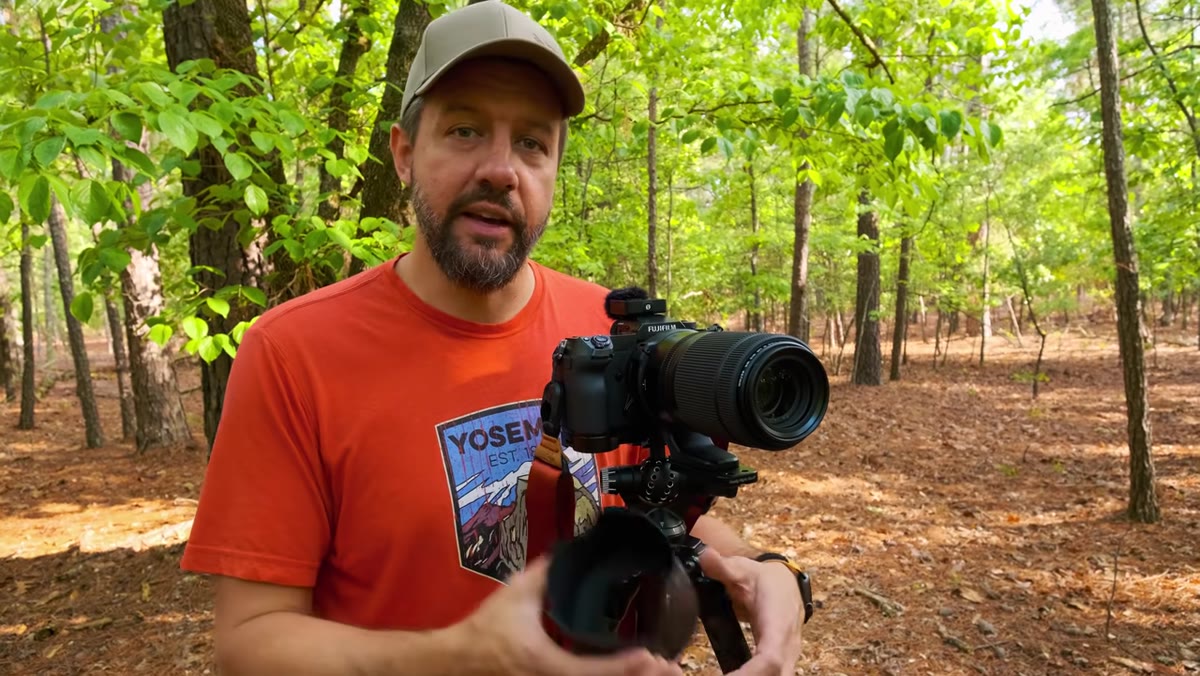 Telephoto lens with lens hood mounted on tripod ball head
Most photographers know that longer focal lengths magnify camera shake. What gets overlooked is the geometry of the problem. When you’re shooting with a telephoto lens that doesn’t have a tripod collar, you’re mounting the camera body to the ball head directly. The lens extends forward, the weight distribution is uneven, and the whole system is leaning into the shot. That physical imbalance creates a low-level vibration problem that persists even on a sturdy tripod.
Telephoto lens with lens hood mounted on tripod ball head
Most photographers know that longer focal lengths magnify camera shake. What gets overlooked is the geometry of the problem. When you’re shooting with a telephoto lens that doesn’t have a tripod collar, you’re mounting the camera body to the ball head directly. The lens extends forward, the weight distribution is uneven, and the whole system is leaning into the shot. That physical imbalance creates a low-level vibration problem that persists even on a sturdy tripod.
Add a lens hood to that setup and you’ve dramatically increased the surface area catching wind. Even a light breeze becomes a real issue. The lens hood that comes with most telephoto lenses is significantly larger than what you’d find on a wide-angle, and it acts like a small sail. Before you even think about shutter speed or focus, check how your gear is balanced on the head. If it feels front-heavy, it is, and that’s showing up in your images.
Step 2: Switch From a 2-Second to a 10-Second Self-Timer
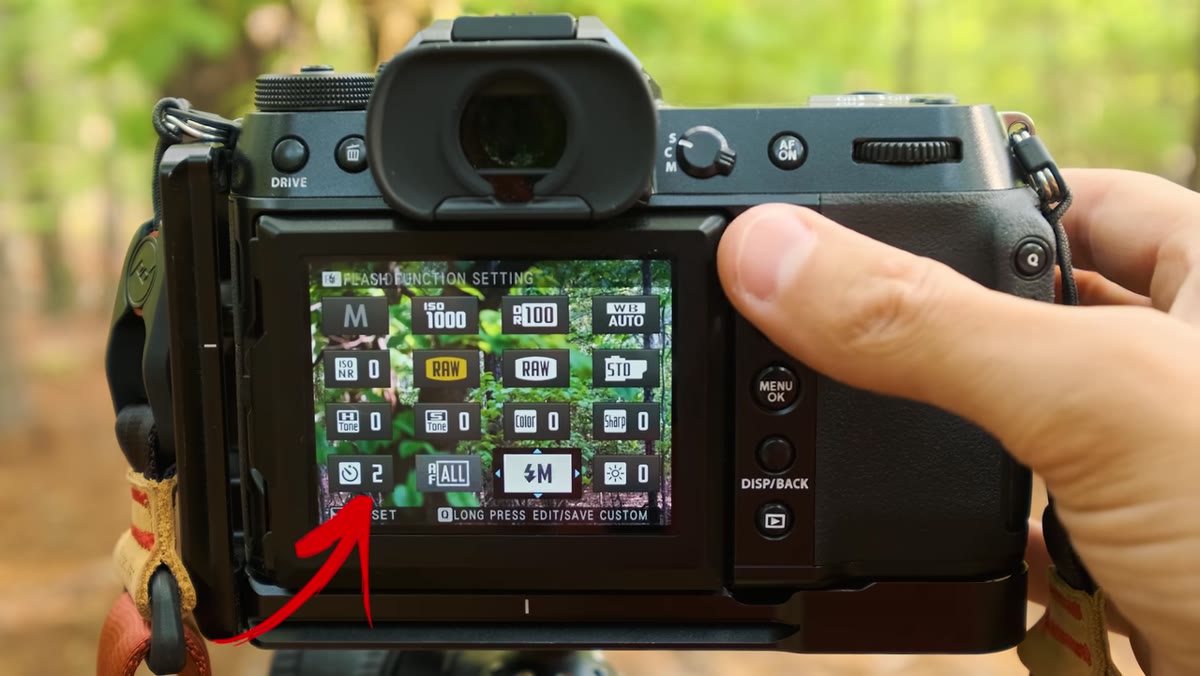 Camera menu showing self-timer set to 10 seconds
The 2-second self-timer is what most photographers default to when they’re trying to avoid shutter button vibration. It’s better than nothing, but Mark makes a strong case for extending that to 10 seconds, especially with longer lenses. The extra eight seconds gives the camera and tripod system time to settle fully after you’ve touched anything.
Camera menu showing self-timer set to 10 seconds
The 2-second self-timer is what most photographers default to when they’re trying to avoid shutter button vibration. It’s better than nothing, but Mark makes a strong case for extending that to 10 seconds, especially with longer lenses. The extra eight seconds gives the camera and tripod system time to settle fully after you’ve touched anything.
I’ve been doing this for years and it’s one of those habits that feels unnecessary until the day it saves a shot. When you press the shutter button, even gently, you introduce movement into the whole system. With a telephoto lens on an unbalanced mount, that movement takes longer to dissipate than you’d expect. Ten seconds sounds like a long wait on a cold morning, but a soft image is a longer wait.
Step 3: Know When to Turn Image Stabilization Back On
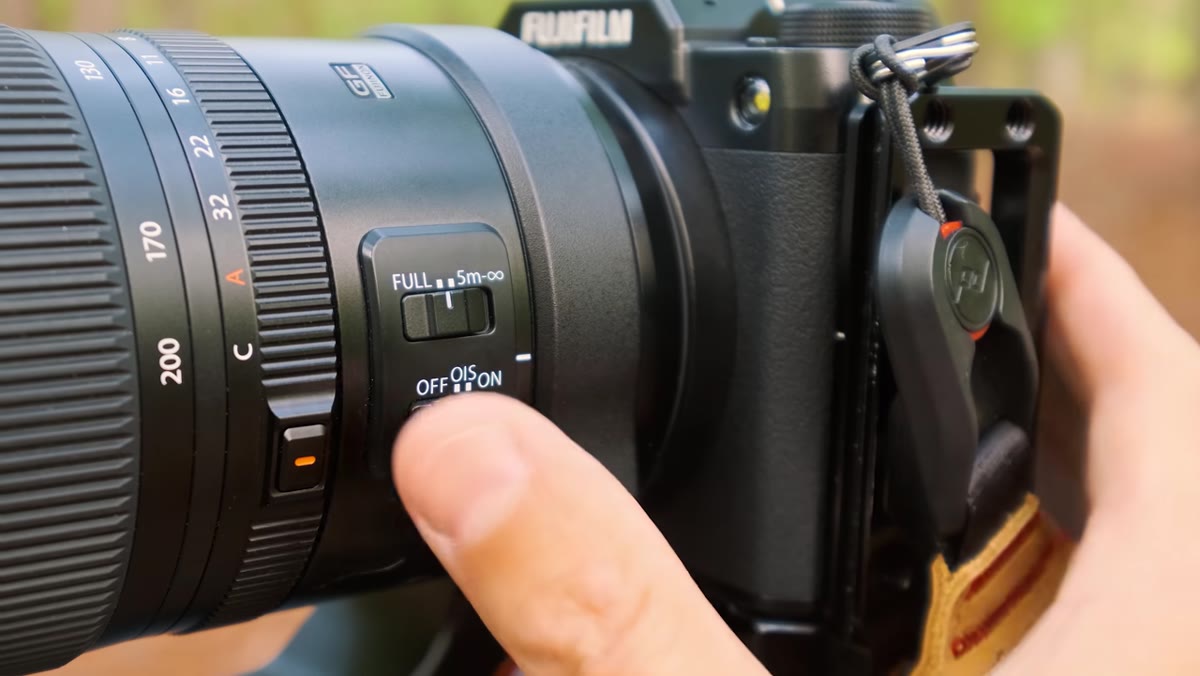 Camera body IS toggle being switched on while mounted to tripod
The conventional advice is to turn off image stabilization when you’re on a tripod. That advice is correct for most situations. But Mark flags an important exception: when you’re shooting with a longer lens in wind and that lens is mounted in a front-heavy, collar-less configuration, the IS system can actually help. The wind-induced vibration is continuous and irregular, and in that scenario the stabilization is responding to real, ongoing movement rather than fighting phantom shake.
Camera body IS toggle being switched on while mounted to tripod
The conventional advice is to turn off image stabilization when you’re on a tripod. That advice is correct for most situations. But Mark flags an important exception: when you’re shooting with a longer lens in wind and that lens is mounted in a front-heavy, collar-less configuration, the IS system can actually help. The wind-induced vibration is continuous and irregular, and in that scenario the stabilization is responding to real, ongoing movement rather than fighting phantom shake.
This isn’t a license to leave IS on all the time on a tripod. The general rule still holds for most landscape shooting. But if you’re running a telephoto, the wind is up, and you’re not using a tripod collar, consider switching IS back on and testing it. Shoot the same scene with and without and examine the results at 100 percent. The answer will be right there in the file.
Step 4: Use Your Body as a Wind Block
 Photographer standing beside camera blocking wind direction
This one sounds almost too simple, and that’s probably why people don’t do it. In high-wind conditions, after you’ve started the exposure, position yourself on the windward side of the camera and lens to block the incoming air. You’re not touching the gear. You’re just standing between the wind and the camera, reducing the turbulence that reaches the lens hood and body.
Photographer standing beside camera blocking wind direction
This one sounds almost too simple, and that’s probably why people don’t do it. In high-wind conditions, after you’ve started the exposure, position yourself on the windward side of the camera and lens to block the incoming air. You’re not touching the gear. You’re just standing between the wind and the camera, reducing the turbulence that reaches the lens hood and body.
I’ve done this on exposed ridgelines and cliff edges more times than I can count. There’s something almost absurd about standing in a gale trying to shield a camera with your body, but the sharpness difference in the final image is real. On a 10-second self-timer you have time to step into position after pressing the shutter. Use it.
Step 5: Recognize That Most Sharpness Problems Have a Root Cause Ranking
 Workshop discussion about frequency of sharpness issues
Mark’s approach here is what makes this tutorial genuinely useful rather than just a checklist. He ranked these causes by how often he actually observed them in workshop settings. The telephoto-specific issues are real but situational. The more frequent problems, the ones he saves for last, are the ones affecting photographers regardless of what lens they’re using.
Workshop discussion about frequency of sharpness issues
Mark’s approach here is what makes this tutorial genuinely useful rather than just a checklist. He ranked these causes by how often he actually observed them in workshop settings. The telephoto-specific issues are real but situational. The more frequent problems, the ones he saves for last, are the ones affecting photographers regardless of what lens they’re using.
That hierarchy matters when you’re troubleshooting your own images. Start with the most common causes before assuming your lens is soft or your focus system failed. The expensive diagnosis is almost never the right one. Most soft landscape images come from vibration, and most vibration problems come from choices we made without thinking about their physical consequences.
What I’d Add After 20 Years of Making These Mistakes
I still shoot film occasionally, mostly because it forces a different relationship with the shutter. You can’t fire 300 frames and hope two are sharp. You think about stability, light, and timing before you press anything. That discipline carries back into my digital work every time.
The thing I’d add to Mark’s breakdown is this: wind is underestimated as a sharpness killer in landscape photography because it’s invisible in the frame. A blurry image from motion blur shows you the blur. A blurry image from wind vibration just looks soft, like a focus miss, and people spend time questioning their lenses or their autofocus when the real problem was a gust at 1/4 second. Start your troubleshooting with the physical environment before you blame the gear.
The single most transferable lesson from this tutorial is that sharpness is a systems problem, not a settings problem. It’s the tripod, the mount, the wind, the timer, and the stability of your whole setup working together. Fix the system, and the settings almost take care of themselves.
Watch the full tutorial on YouTube to see Mark walk through each of these scenarios with his own gear and hear his full ranking of the three most common sharpness killers from his workshop experience.
Comments (2)
I tried this on a client project yesterday and the results were way better than expected.
Well explained. I think my audience would really benefit from this — mind if I link to it?
Leave a Comment