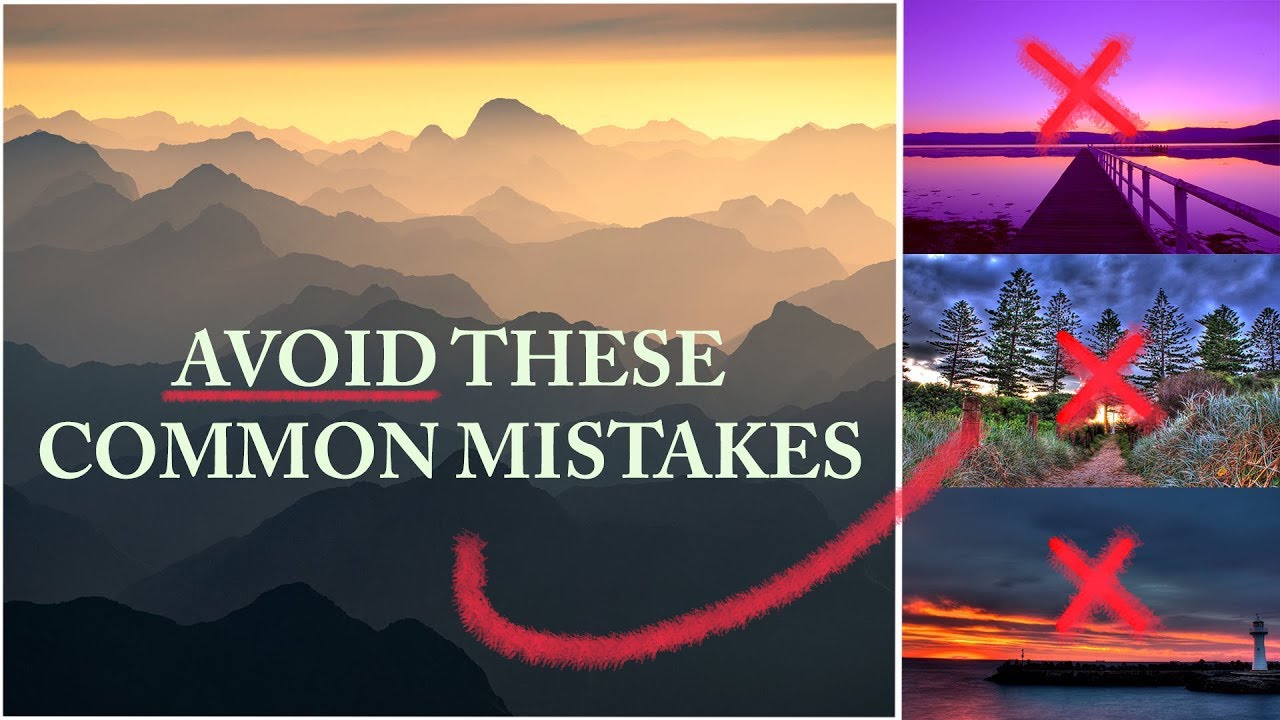
There’s a particular kind of learning that only happens when someone shows you their failures. Not polished, curated “before and after” content, but the real stuff, the photographs that made them wince years later. I’ve been shooting landscapes full-time for two decades, and I can still pull up folders from my early years that make me question my own taste. Which is exactly why this William Patino tutorial stopped me mid-scroll. Watch the full tutorial on YouTube
In the video, Patino does something most photographers won’t: he critiques his own early work in public, walking through the specific compositional and technical mistakes he made when he first picked up a camera. The mistakes are specific enough to be useful, and specific is the only kind of useful there is. Generic advice like “compose more carefully” doesn’t help you when you’re crouched on wet rocks at 5am trying to figure out what’s wrong with a frame.
These are the three core problems Patino identifies, broken down so you can check for them in the field before you press the shutter.
Step 1: Raise Your Camera Height and Check for Separation Between Zones
 Low camera angle causing pier to merge with background horizon
The first mistake Patino flags is shooting too low. He’s careful to point out that low angles aren’t inherently wrong. Getting close to the ground can emphasize foreground texture and create a sense of depth. The problem comes when the camera position collapses your compositional layers into one another.
Low camera angle causing pier to merge with background horizon
The first mistake Patino flags is shooting too low. He’s careful to point out that low angles aren’t inherently wrong. Getting close to the ground can emphasize foreground texture and create a sense of depth. The problem comes when the camera position collapses your compositional layers into one another.
What you’re looking for is separation between three distinct zones: foreground, midground, and background. When you drop too low, your foreground can run straight into the background with no visual breathing room between them. In Patino’s pier example, the structure runs toward the horizon and blends right into the far shore. There’s no layer of open water in between, no visual pause. Raising the camera even slightly would have revealed that middle layer and given the image its third dimension. Before you lock in your tripod height, scan the frame for all three zones. If two of them are merging at the edges, go up.
Step 2: Move Your Main Subject Away from the Frame Edge
 Lighthouse positioned at extreme left edge of frame
Patino shows two lighthouse photographs where the subject is pushed to the absolute edge of the frame. His honest explanation is that he was obsessed with capturing as much of the sky color as possible, so he kept cramming the lighthouse into the corner to make room. The result is a composition where the brain works against itself.
Lighthouse positioned at extreme left edge of frame
Patino shows two lighthouse photographs where the subject is pushed to the absolute edge of the frame. His honest explanation is that he was obsessed with capturing as much of the sky color as possible, so he kept cramming the lighthouse into the corner to make room. The result is a composition where the brain works against itself.
When a subject sits at the very edge, the viewer’s eye finds it immediately but then gets pulled across all the empty space in the remaining frame, looking for something to anchor on. It creates visual tension without payoff. The fix isn’t always to center the subject, but to bring it in toward the centralized zone of the frame so that the surrounding space supports it rather than fights it. Patino’s rule of thumb: he wants the viewer’s eye to come to rest somewhere near the center. That doesn’t mean a rigid bull’s-eye composition, but it does mean the subject shouldn’t be fighting the frame border for visual weight. When you’re composing, try sliding your subject in from the edge by one-third and see if the whole image settles.
Step 3: Shoot RAW and Correct White Balance in Post
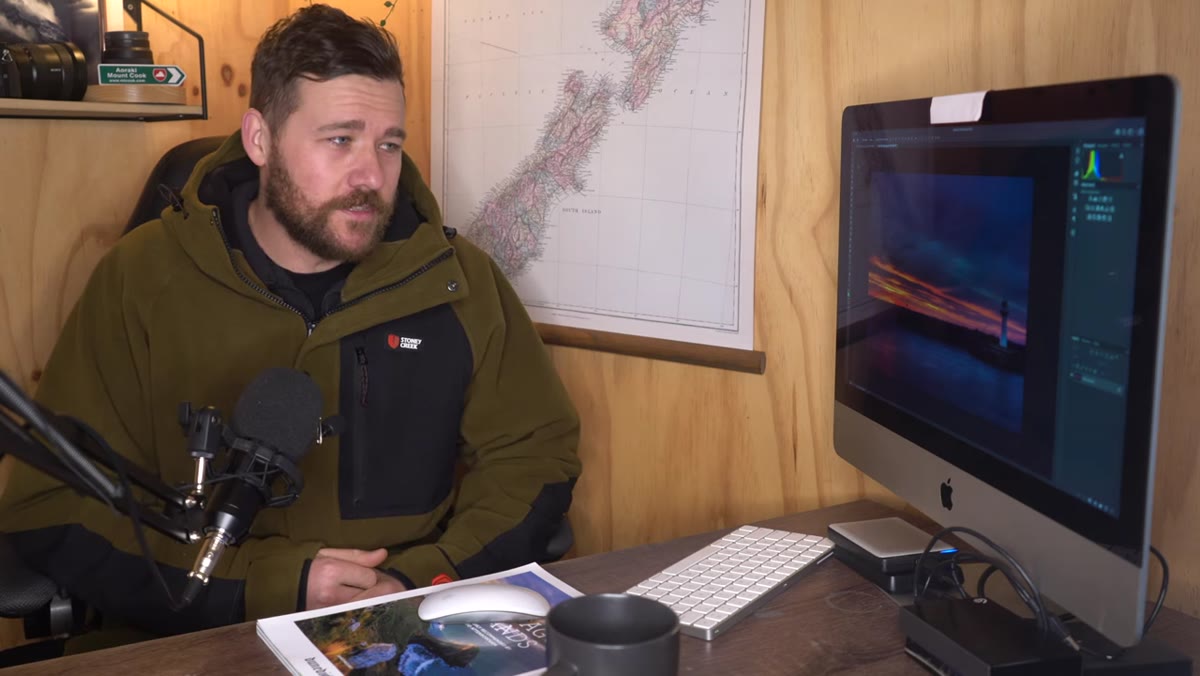
 Early JPEG image with oversaturated, color-shifted sky tones
White balance is the third problem Patino walks through, and it’s the one that aged the worst in his early work. He was shooting JPEG at the time, which means the camera baked in a white balance decision and gave him almost no room to correct it afterward. The resulting images look over-saturated and color-shifted in ways that undercut the actual light that was there.
Early JPEG image with oversaturated, color-shifted sky tones
White balance is the third problem Patino walks through, and it’s the one that aged the worst in his early work. He was shooting JPEG at the time, which means the camera baked in a white balance decision and gave him almost no room to correct it afterward. The resulting images look over-saturated and color-shifted in ways that undercut the actual light that was there.
His current approach: shoot in auto white balance, but shoot RAW. The auto setting is fine as a starting point because in RAW you retain full flexibility to adjust the color temperature in post. In Lightroom or Capture One, white balance is a non-destructive slider. You can pull warmth out of an image that looks like it was shot through an orange filter, or add it back to a scene that went cold and blue. If you’re still shooting JPEG, this is the single setting change with the biggest impact on your editing flexibility. Switch to RAW, set white balance to auto, and treat the in-camera reading as a draft rather than a final answer.
Step 4: Slow Down Before You Set the Tripod
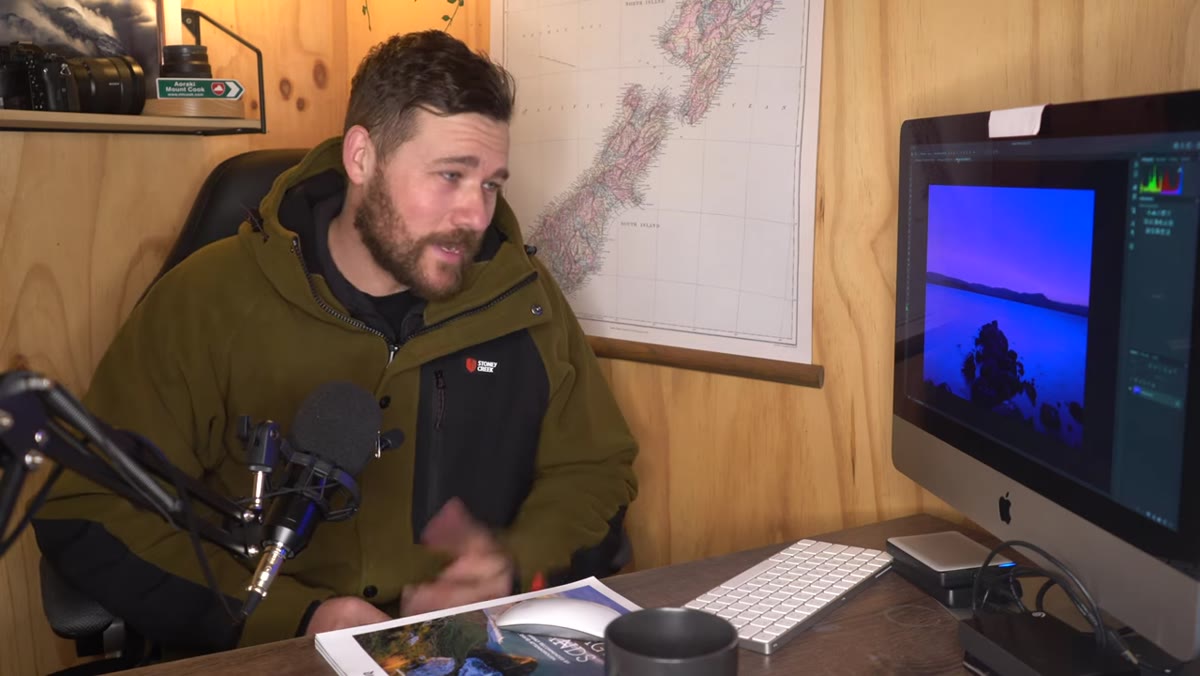
 Will introducing early portfolio images for critique
This one isn’t a separate segment in the video, but it runs underneath every mistake Patino describes. He kept rushing into the shot, dropping to ground level, filling the frame with sky, accepting whatever the camera decided about color. The technical mistakes are symptoms of the same root cause: not pausing long enough to evaluate the frame before committing to it.
Will introducing early portfolio images for critique
This one isn’t a separate segment in the video, but it runs underneath every mistake Patino describes. He kept rushing into the shot, dropping to ground level, filling the frame with sky, accepting whatever the camera decided about color. The technical mistakes are symptoms of the same root cause: not pausing long enough to evaluate the frame before committing to it.
I still do a slow walk around any location before I put the tripod down. I’m looking at how the light is hitting the scene from different heights, where the zones of the composition stack, what the edges of the frame will contain. It takes maybe three minutes and it has saved me from making the exact mistakes Patino is describing here. The image you’re building exists before you press the shutter. Treat that pre-composition phase as real work.
A Note from the Field
I still shoot a few rolls of film every year, not for nostalgia but because it forces exactly the kind of deliberate thinking this video is really about. When you have 36 frames on a roll and no immediate playback, you stop and ask yourself whether the composition is actually working before you fire. Digital made all of us faster. That’s mostly good, but speed has a cost when it comes to composition. The mistakes Patino is describing, collapsed zones, edge-hugging subjects, baked-in color errors, almost all of them come from moving too quickly through the decision-making phase.
The light won’t wait, that’s true. But most of the time, you have more time than your nervous system tells you. Breathe. Raise the camera a few inches. Slide the subject toward center. Check your RAW setting. Take the shot.
The single takeaway from Patino’s tutorial is this: your frame has zones, and those zones need to stay distinct. Foreground, midground, background. Subject, space, edge. Warm, neutral, cold. When any two of those things collapse into each other, the image loses its structure and the viewer’s eye has nowhere to go. That’s fixable, and it’s fixable before you ever open an editing app.
Watch the full tutorial on YouTube to see Patino work through the actual images himself. There’s value in seeing the photographs he’s critiquing, especially the white balance examples, which are harder to describe than to see.
Comments
Leave a Comment