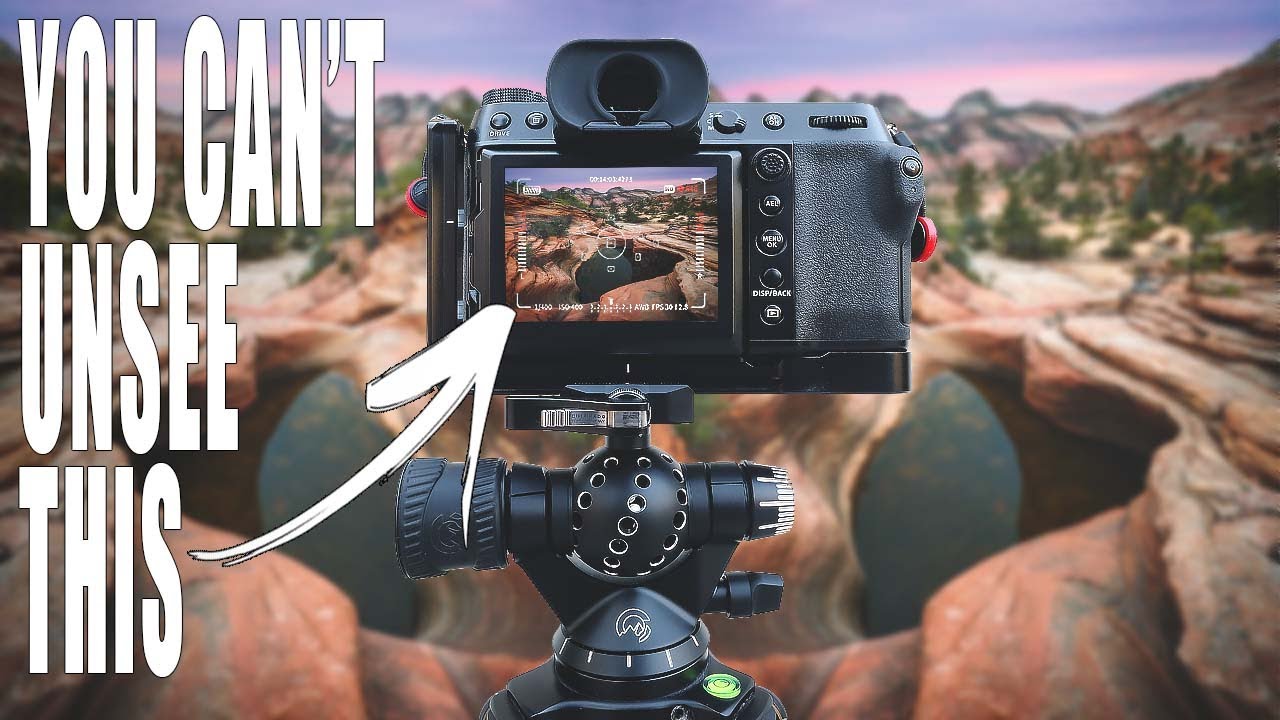
There’s a mistake I made for years before I could even see it happening. I’d get home from a shoot, pull the images up on the monitor, and feel a low-grade disappointment I couldn’t name. The light was right. The subject was there. Something was just… flat. It wasn’t until I started paying close attention to how other working photographers talked through their own editing sessions that the problem finally clicked. I was losing my foreground, not by ignoring it, but by getting so close to it that the camera couldn’t reveal its actual shape.
Watch the full tutorial on YouTube
In this Mark Denney tutorial on landscape composition, he zeroes in on one of the most common and correctable mistakes beginners make in the field. It’s not about gear or post-processing. It’s about camera placement relative to your foreground subject, specifically the height and lateral position of the camera, and how a few inches in either direction can mean the difference between a foreground that draws the eye through the frame and one that becomes a visual wall. I’ve watched a lot of tutorial content over the years, and what I appreciate about Denney’s approach here is that he uses his own failed shots to make the point. That takes a certain honesty.
I’ve been shooting landscapes for two decades. I’ve stood in freezing rivers at sunrise and driven through the night to catch light on a specific canyon wall. I still make this mistake occasionally. The difference now is that I catch it on location instead of at my desk. Here’s how to do the same.
Step 1: Understand What “Getting Low” Actually Costs You
 Camera low to mossy coastal rocks, flattening triangular foreground surface
Getting low is genuinely good advice. It creates perspective compression and makes foreground elements feel immediate and immersive. But there’s a tradeoff that nobody talks about enough: the lower your camera gets relative to a textured or shaped foreground surface, the more that surface collapses into a flat plane. You stop seeing its contours. Channels, ridges, depressions, the three-dimensional character of the ground, all of it disappears when you’re shooting nearly parallel to it. Before you put your camera down, ask yourself what shape the surface actually has from above. If the answer is “interesting,” you need to be high enough to show that.
Camera low to mossy coastal rocks, flattening triangular foreground surface
Getting low is genuinely good advice. It creates perspective compression and makes foreground elements feel immediate and immersive. But there’s a tradeoff that nobody talks about enough: the lower your camera gets relative to a textured or shaped foreground surface, the more that surface collapses into a flat plane. You stop seeing its contours. Channels, ridges, depressions, the three-dimensional character of the ground, all of it disappears when you’re shooting nearly parallel to it. Before you put your camera down, ask yourself what shape the surface actually has from above. If the answer is “interesting,” you need to be high enough to show that.
Step 2: Identify the Channels and Shapes in Your Foreground Before You Compose
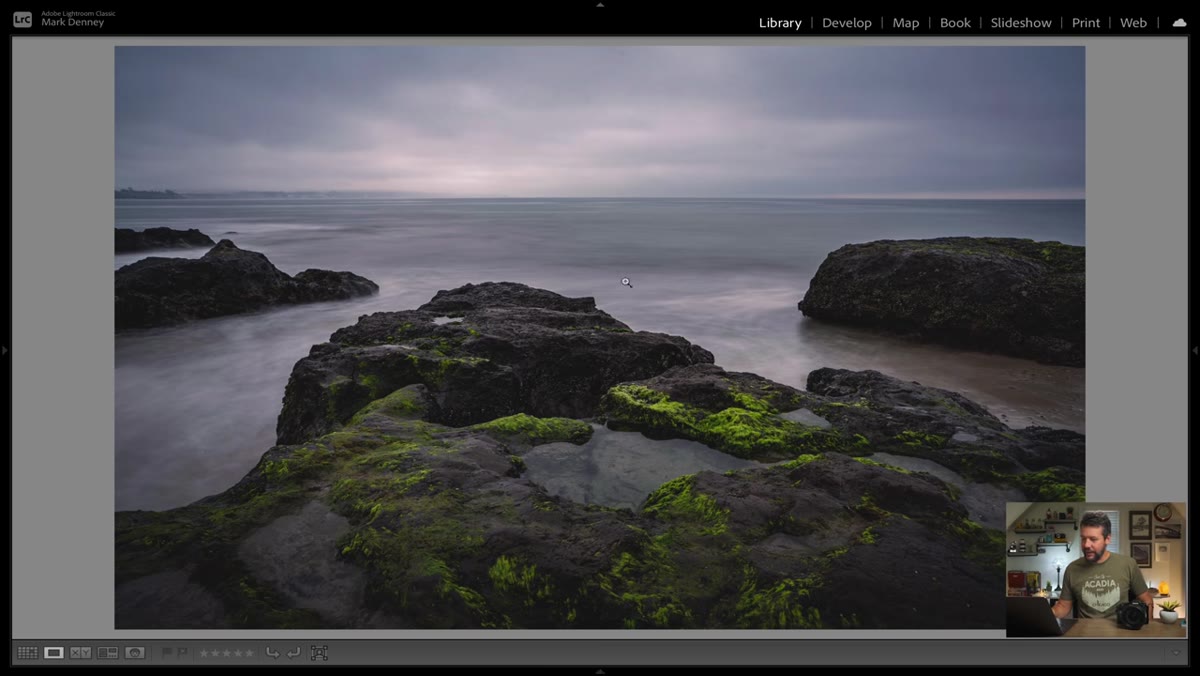 Overhead view revealing triangular rock shape and water channels on both sides
This is the step most photographers skip entirely because they’re reacting to the scene instead of reading it. Denney uses a coastal rock formation where the foreground has a strong triangular shape and two distinct water channels running along its edges. When the camera was positioned too low, those channels disappeared completely, and the rock read as a generic flat surface. Walk around your foreground subject before you ever put the camera to your eye. Crouch down, look across the surface, find where the natural lines and shapes are. Those features are your foreground story, and your camera height needs to be set to tell it.
Overhead view revealing triangular rock shape and water channels on both sides
This is the step most photographers skip entirely because they’re reacting to the scene instead of reading it. Denney uses a coastal rock formation where the foreground has a strong triangular shape and two distinct water channels running along its edges. When the camera was positioned too low, those channels disappeared completely, and the rock read as a generic flat surface. Walk around your foreground subject before you ever put the camera to your eye. Crouch down, look across the surface, find where the natural lines and shapes are. Those features are your foreground story, and your camera height needs to be set to tell it.
Step 3: Raise the Camera Until the Foreground Structure Becomes Visible
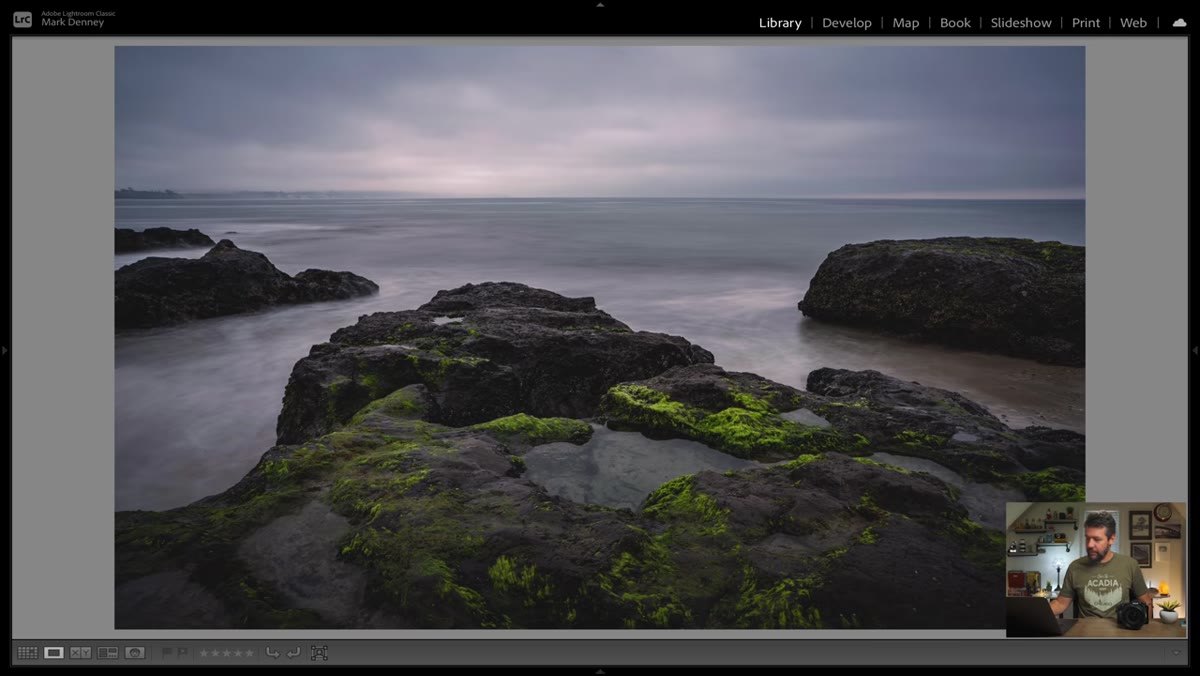 Camera raised slightly, both water channels now visible flanking the rock
Once you know what features exist in your foreground, the adjustment is usually small. Denney found that lifting the camera by just a few inches restored the triangular shape of the rock and brought both channels back into the frame. You’re not abandoning the low-angle perspective entirely. You’re finding the minimum height at which the foreground reads correctly. In practice, I do this by starting low and slowly raising my tripod head while watching the live view display. The moment I see the channels or ridges or shapes re-emerge, I stop. That’s usually the right position.
Camera raised slightly, both water channels now visible flanking the rock
Once you know what features exist in your foreground, the adjustment is usually small. Denney found that lifting the camera by just a few inches restored the triangular shape of the rock and brought both channels back into the frame. You’re not abandoning the low-angle perspective entirely. You’re finding the minimum height at which the foreground reads correctly. In practice, I do this by starting low and slowly raising my tripod head while watching the live view display. The moment I see the channels or ridges or shapes re-emerge, I stop. That’s usually the right position.
Step 4: Recognize That Lateral Position Causes the Same Problem
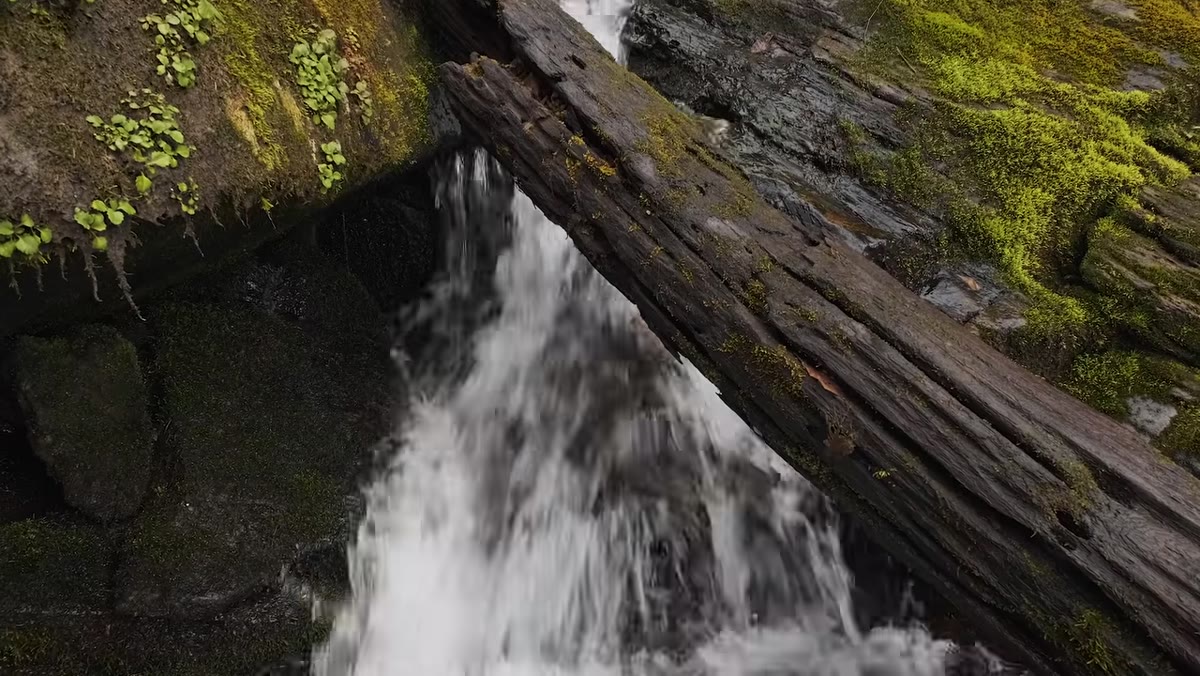
 Blue Ridge waterfall composition with camera centered, hiding a side channel
Height is only half of it. Denney’s second example is a Blue Ridge waterfall scene where the mistake wasn’t about being too low, it was about being too centered. His camera was positioned directly in front of the feature he was most drawn to, a waterfall flowing across rocks in the foreground. But that centered position hid a natural channel running along the side of the frame. The image felt fine in isolation. Compared to the version where he shifted the camera just a few inches laterally, it felt incomplete. The channel he had been blocking turned out to be one of the strongest compositional elements in the scene.
Blue Ridge waterfall composition with camera centered, hiding a side channel
Height is only half of it. Denney’s second example is a Blue Ridge waterfall scene where the mistake wasn’t about being too low, it was about being too centered. His camera was positioned directly in front of the feature he was most drawn to, a waterfall flowing across rocks in the foreground. But that centered position hid a natural channel running along the side of the frame. The image felt fine in isolation. Compared to the version where he shifted the camera just a few inches laterally, it felt incomplete. The channel he had been blocking turned out to be one of the strongest compositional elements in the scene.
Step 5: Make Small Lateral Adjustments and Recheck the Full Frame
 Slightly shifted camera position reveals side channel while retaining waterfall foreground
A few inches of lateral movement is often all it takes. Denney shifts his camera slightly to one side and suddenly the hidden channel opens up, the waterfall is still visible, and the foreground now has both depth and direction. The key is to recheck the entire frame after every adjustment, not just the element you’re focused on. New channels or shapes appearing at the edge of the frame will often reward a small positional shift. Keep moving until the frame contains everything the location has to offer, not just the thing that caught your eye first.
Slightly shifted camera position reveals side channel while retaining waterfall foreground
A few inches of lateral movement is often all it takes. Denney shifts his camera slightly to one side and suddenly the hidden channel opens up, the waterfall is still visible, and the foreground now has both depth and direction. The key is to recheck the entire frame after every adjustment, not just the element you’re focused on. New channels or shapes appearing at the edge of the frame will often reward a small positional shift. Keep moving until the frame contains everything the location has to offer, not just the thing that caught your eye first.
Step 6: Catch the Mistake on Location, Not at Home
 Reviewing images on camera screen in the field before moving on
The hardest part of all of this is timing. The compositional error is obvious on a large monitor after the fact. On a small camera screen in the field, in fading light, with cold hands, it’s easy to miss. Denney is direct about this: the technical fix is simple, but catching it in the moment is the real skill. I’ve started building a habit of reviewing at least my first few frames from any new composition with a specific focus on the foreground edges. Not exposure, not sharpness, those can wait. I’m looking at whether the shapes I saw with my eyes are actually visible in the frame.
Reviewing images on camera screen in the field before moving on
The hardest part of all of this is timing. The compositional error is obvious on a large monitor after the fact. On a small camera screen in the field, in fading light, with cold hands, it’s easy to miss. Denney is direct about this: the technical fix is simple, but catching it in the moment is the real skill. I’ve started building a habit of reviewing at least my first few frames from any new composition with a specific focus on the foreground edges. Not exposure, not sharpness, those can wait. I’m looking at whether the shapes I saw with my eyes are actually visible in the frame.
A Field Habit Worth Adding to Your Routine
There’s an old discipline that film photography forced on me that digital largely took away: the cost of a frame made me study a scene before I shot it. I’d spend ten or fifteen minutes just looking, moving around, crouching, standing, understanding the ground before committing. I still try to do this, especially when I first arrive at a location. I give myself a few minutes to walk the foreground before the tripod comes out of the bag. It sounds slow, and it is. But it’s the reason I can usually see the channels and shapes before the camera ever goes down. The lucky hat comes with me everywhere. The patient eyes took longer to develop.
The single most transferable thing from this tutorial is also the simplest: your foreground has a shape, and your job is to be in a position that reveals it. A few inches of camera movement, either vertically or laterally, will often make or break whether that shape reads in the final image.
Watch the full tutorial on YouTube to see Denney walk through the before-and-after examples with his actual field images. The visual comparison between the flat version and the corrected version is worth seeing with your own eyes.
Comments
Leave a Comment