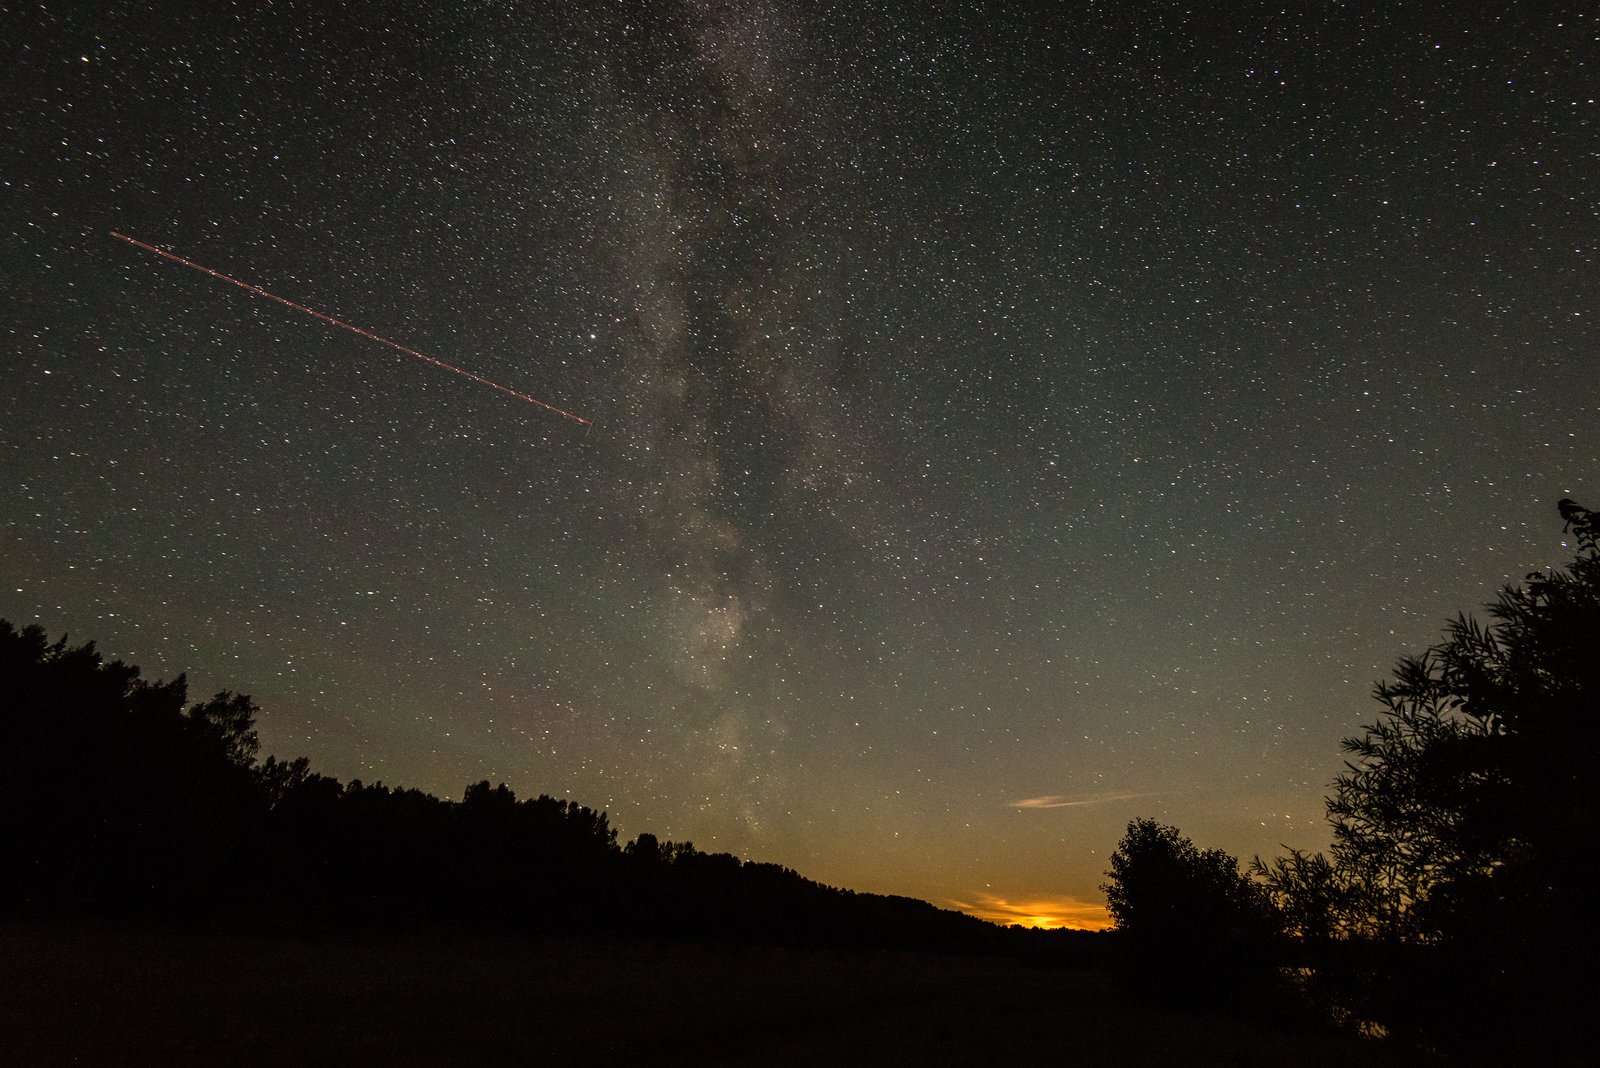
I used to come home from night shoots with a memory card full of images that looked like someone had smeared petroleum jelly on the lens. Soft stars. A sky that looked more gray than black. A Milky Way core that was technically there if you squinted, but carried none of the drama I’d seen standing in the field at 2am. I was doing what most photographers do when they first point a camera at the stars: maxing out the ISO, opening the aperture as wide as it would go, and hoping the histogram told a happy story. It didn’t.
Night photography has a way of exposing every weak point in your process. There’s no forgiving afternoon light to bail you out. What you put into it is exactly what you get back.
What’s Actually Happening When You Expose for Stars
Stars are moving. Not metaphorically. The Earth’s rotation means that if your shutter stays open too long, each pinprick of light draws itself into a short streak across your sensor. You don’t always notice this at 100% zoom in the field, but back on a 27-inch monitor at home, those soft oblong blobs tell the whole story.
The threshold depends on your focal length and your sensor size. For full-frame shooters, the old “500 rule” said to divide 500 by your focal length to get your maximum shutter speed in seconds. So a 24mm lens gives you roughly 20 seconds before trailing becomes visible. The problem is that the 500 rule was developed for lower-resolution sensors. On a modern 45-megapixel body like the Sony A7R V or the Nikon Z8, trailing shows up faster because more pixels means more detail. I now use the NPF rule, which accounts for aperture and pixel pitch, and I calculate it through an app called PhotoPills before I ever leave the truck.
At f/2.8 and ISO 3200 on a full-frame sensor, I typically land on exposures between 15 and 20 seconds. That’s my baseline starting point for a single-frame Milky Way shot.
The Settings I Actually Use in the Field
I shoot Sony. My workhorse for night work is the A7 IV with the Sigma 14mm f/1.8 Art lens. That combination lets me push to f/1.8 and grab every photon available. Here’s exactly where I start on a moonless night with the Milky Way core above the horizon:
- ISO 3200
- f/1.8
- 13 seconds (NPF-calculated for that focal length and aperture)
- Manual focus set to the hyperfocal point, confirmed by zooming in on a bright star on the rear LCD
I never, under any circumstances, use auto ISO at night. The camera will make decisions I disagree with every single time. Manual mode, manual focus, manual white balance set to 3900K. Night skies shot at the default 5500K daylight setting turn that deep blue-black into something closer to dirty orange.
After the first frame, I check the histogram and make sure I’m not clipping the left side too hard. A slight underexposure is recoverable in Lightroom. Noise-smeared shadow detail from crushed blacks is not.
Why Light Pollution Is a Craft Problem, Not Just a Location Problem
I’m based in central Oregon, which means I have access to genuine dark skies within 45 minutes of my front door. Not everyone has that. But I’ve watched photographers drive to perfectly dark locations and still come home with disappointing images because they didn’t account for the light pollution gradient on the horizon.
Even under a Bortle 2 sky, the glow above a distant city sits on your horizon like a slow sunrise that never arrives. That glow will blow out your foreground exposure if you’re blending a longer foreground shot with your sky frame. The fix is to check Light Pollution Map (lightpollutionmap.info) before the shoot, identify which cardinal direction carries the worst glow, and compose so that direction falls outside your frame or behind your subject.
The best night shots I’ve made used that glow intentionally. A faint amber horizon behind a volcanic peak reads as atmosphere, not contamination.
Stacking, Blending, and When to Use Each
For single-frame captures, noise is the enemy above ISO 6400 on most bodies. The cleaner path, when conditions allow, is image stacking. I’ll shoot 10 to 20 identical frames of the sky, align them in Sequator (free software, Windows) or Starry Landscape Stacker on Mac, and let the averaging process crush the random noise pattern. The result looks like a single frame shot at roughly two stops lower ISO. Stars stay sharp. The Milky Way gains depth it simply doesn’t have in a single shot.
For images with a static foreground, I shoot the ground separately at blue hour or with a longer exposure and blend the sky and ground in Photoshop using a luminosity mask. This is not cheating. It is how your eye actually experiences a landscape at night, because your eye adjusts constantly between the bright foreground and the dark sky above. A camera cannot do that in a single frame. I’m not manufacturing a scene that didn’t exist. I’m representing what it felt like to stand there.
The One Habit That Changed My Night Shooting More Than Any Gear
I still shoot a roll of film occasionally, not for the aesthetic, but because it forces a kind of deliberateness that my digital workflow sometimes loses. When you have 36 frames on a roll of Portra 800, you do not fire test shot after test shot. You think. You commit.
I brought that thinking back to my digital night work and it changed everything. I now spend 20 to 30 minutes at a new location before I touch the camera. I watch how the sky is moving. I identify where the core will be in an hour. I find the foreground element I want and I walk around it until I see the shot. Only then does the tripod come out.
The camera captures what you already saw. The seeing happens first, on your feet, in the dark, with the cold coming up through your boots.
Comments
Leave a Comment