There’s a particular kind of disappointment that hits when you’ve hiked two miles in the dark, set up in the spray of a beautiful falls at golden hour, and come home with images that look like a stock photo from 2009. Silky water, sure. But flat. Lifeless. No sense of the cold or the roar or the green smell of moss on wet rock. I’ve been making that hike, in various forms, for twenty years. The camera settings were never really the problem.
That said, the camera settings matter. Let’s start there, then get to the harder stuff.
The Exposure Triangle Doesn’t Care How Pretty the Waterfall Is
Moving water is a subject that punishes lazy exposure decisions more than almost anything else in landscape work. The shutter speed you choose doesn’t just affect motion blur. It changes the emotional character of the image entirely.
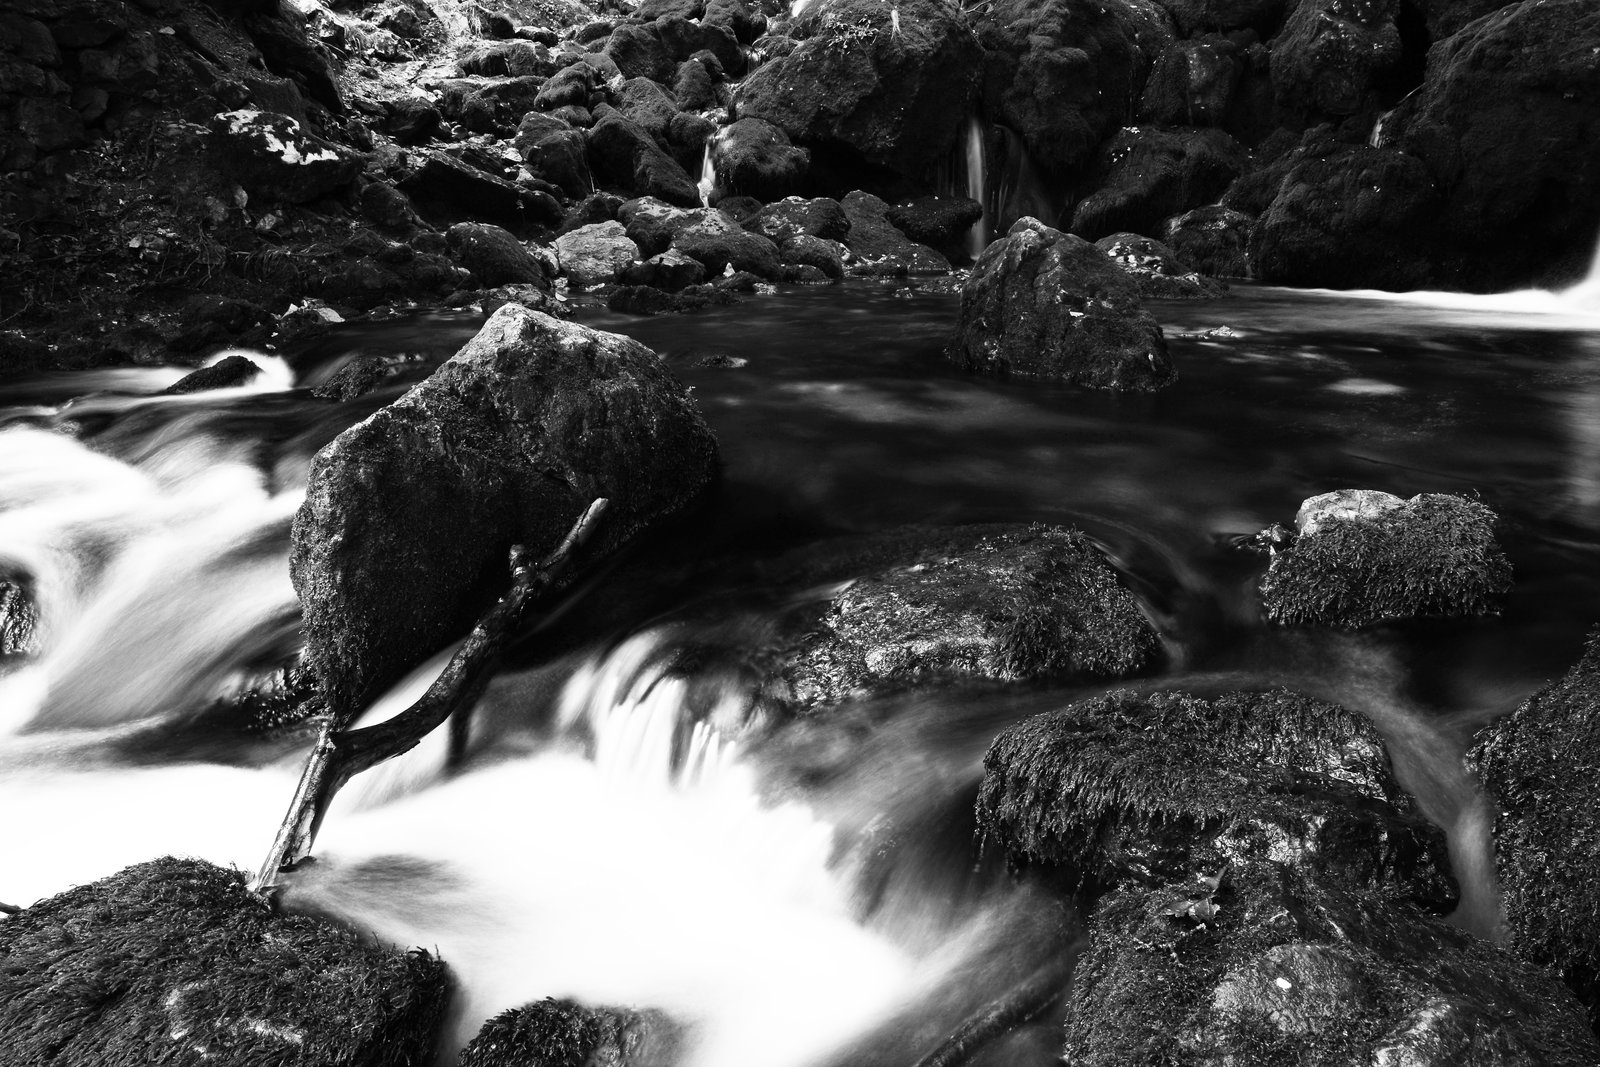
A shutter speed between 1/10 and 1/2 second will retain some texture in the water while suggesting movement. This tends to read as active, almost violent, which suits steep cascade falls well. Drop to 1 or 2 seconds and you start getting the classic cotton-candy effect. Push past 4 or 6 seconds and the water often turns into pure white streaks with no internal detail, which can flatten an image just as badly as overexposure.
I typically start at ISO 100, f/11, and dial the shutter until I’m somewhere in the 1/2 to 2 second range. That usually requires a neutral density filter. I use a 6-stop ND most often for bright midday situations, and a 3-stop when I’m shooting in the shade or closer to dusk. I shoot manual. Always manual. A camera in aperture priority mode will try to compensate when a cloud moves in, and you’ll end up with an inconsistent sequence of frames that don’t bracket cleanly.
Why Shade Is More Important Than the Waterfall Itself
Direct sunlight on a waterfall is a problem that no amount of filtration fully solves. The dynamic range between the bright water and the surrounding shadow can hit 12 or 14 stops. Even modern sensors with excellent latitude, a Sony A7R V or a Nikon Z8, struggle with that spread in a single frame without visible banding or clipping in the highlights.
Overcast days are not a consolation prize. They’re the real prize. An even sky drops the dynamic range of the scene to something manageable, typically 6 to 8 stops, which gives you clean water, readable shadow detail in the rocks and ferns, and color that doesn’t require heavy-handed editing to recover. I plan waterfall shoots around cloud cover the way some photographers plan them around golden hour. Both matter, but I’ll take heavy overcast over perfect light at noon every time.
When you can’t avoid some sun, look for falls that sit in natural shade from a canyon wall or a tree canopy. The light might still be directional, but you lose the harshest contrast. Arrival time matters: I’m usually at the location by 5:30 a.m. to catch the shaded window before the sun clears the ridgeline.
Composition and the One Thing Most Tutorials Skip
Everyone tells you to find a foreground element. A mossy rock, a curving stream, a splash pool. That advice is correct but incomplete. The foreground only works if there’s a clear visual path from it into the falls. If your wide angle lens at 16mm is pulling in a beautiful texture at your feet but there’s no line, real or implied, leading the eye back to the water, you’ve got two separate subjects fighting each other.
I spend more time moving laterally than forward and back. A slight shift of three or four feet can align a channel of moving water in the foreground with the main falls behind it, creating depth that reads immediately. I use a tripod that lets me get the head within six inches of the ground, a Gitzo GT1545T with an Arca-Swiss Z1 ball head, and I’m not shy about getting it into the water. A good pair of hip waders has saved more compositions for me than any filter I own.
The Shot I Almost Didn’t Take
A few years back I drove six hours to a falls in northern California that a friend had been raving about. I arrived to find the canyon completely socked in with fog. Not the photogenic kind. Just flat grey nothing. I sat for two days, reading, drinking bad coffee from my thermos, waiting.
On the morning of the third day, for about forty minutes, the fog lifted just enough to let in a thin shaft of diffused light. The falls appeared in this gauzy, almost dreamlike way, the mist from the water blending into the residual fog above. I shot maybe thirty frames. One of them became my best-selling print. It’s not what I drove six hours to photograph. It was something better, something I never would have seen if I’d left after day one.
I’ve told that story in workshops and someone always asks what I did with the two days of nothing. Mostly, I got quiet enough to notice things. That’s not a mystical answer. It’s practical. When you’re not rushing, you start to see the scene instead of just executing a shot list.
Reading Water Before You Set Up
Before I touch the tripod, I watch the falls for at least five minutes. I’m looking at where the water accelerates and where it slows, where it catches light, where it fans out versus where it funnels. That observation shapes everything: the composition, the shutter speed choice, the exact placement of the camera.
Fast, narrow channels photograph better at faster shutter speeds. Wide, shallow fans over rocks can handle longer exposures without turning to mush. The water is telling you what it needs. The best waterfall photography comes from responding to what’s actually in front of you, not from executing a preset technique on whatever falls you happen to be standing in front of.
The waterfall doesn’t care how far you drove to get there. That’s the only thing you need to remember when you’re setting up in the cold and the light is changing faster than you’d like.
Comments (3)
I've been looking for exactly this kind of tutorial. Perfect timing.
Just used this on a wedding shoot edit. Client was thrilled.
Love this. I referenced a similar technique in one of my recent posts. Always good to see other perspectives.
Leave a Comment