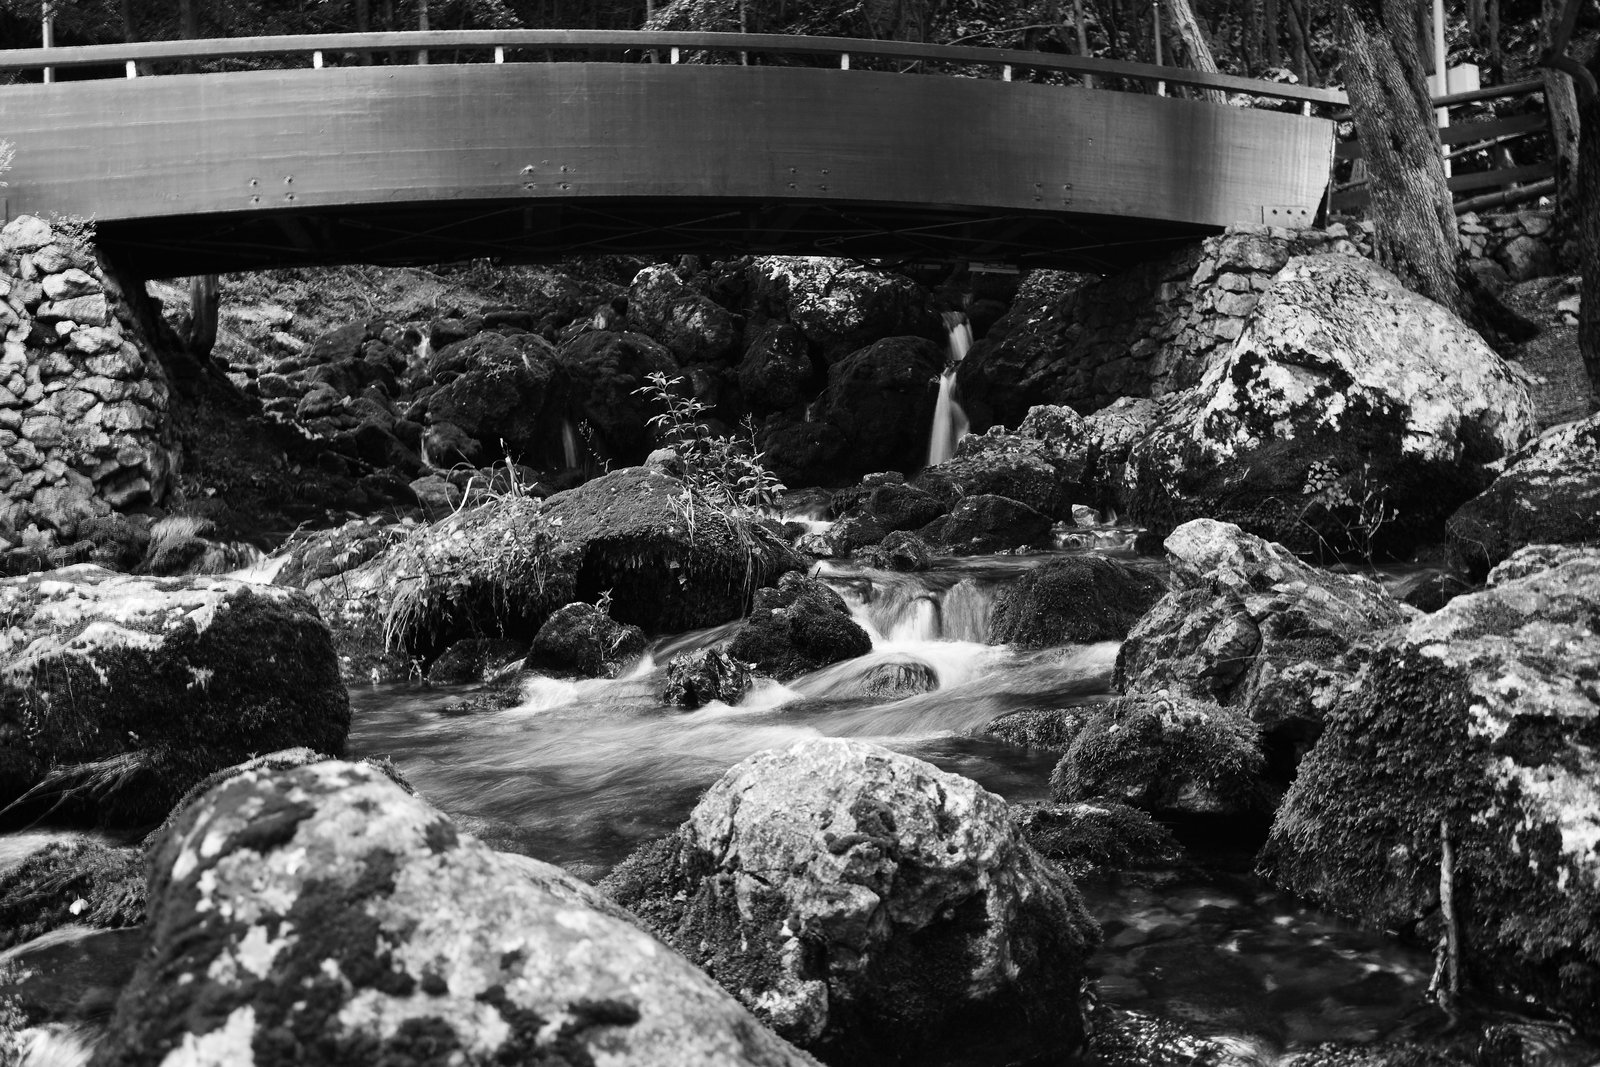
There’s a particular kind of quiet that settles over a waterfall at first light, before anyone else has made it down the trail. I’ve been standing in that quiet for twenty years, and I still get it wrong sometimes. Not catastrophically wrong, but wrong in the way that matters: technically competent, emotionally flat. The water rendered as a smooth, silky ribbon, the kind of image you’ve seen a thousand times, pleasantly executed and completely forgettable. Those misses taught me more than most of my good shots.
The problem isn’t the camera. It’s a misunderstanding of what the water is actually doing, and what we want it to feel like.
The Shutter Speed Myth Nobody Talks About
Most tutorials will tell you to use a slow shutter speed for waterfalls. One second, two seconds, sometimes thirty. The water goes silky and soft. It looks intentional. It photographs well in a thumbnail.
But silk is not always the right answer. A waterfall with real force, say a steep cascade crashing over basalt, loses all its violence at a two-second exposure. That motion blur erases exactly the energy that drew you to the location. Conversely, a wide, shallow cascade sliding over mossy granite can look genuinely ethereal at 1.3 seconds because the movement is already gentle. The water is telling you what it wants. Your job is to listen.
My working range is roughly 1/4 second to 2 seconds for most falls, but I’ll bracket through the full range before I commit. I shoot manual on everything, so I’m dialing the shutter directly while keeping ISO at base (usually 64 on my Nikon Z7 II) and adjusting with a variable ND filter. I use the Breakthrough Photography X4 10-stop ND most days. It runs about $180 and it’s earned every cent. A 10-stop ND in full midday light gets me into the 1 to 4 second range without pushing the aperture into diffraction-softening territory. I stay between f/8 and f/11. Beyond f/16, you’re trading sharpness for depth of field you usually don’t need.
Where You Stand Changes Everything
Composition advice for waterfalls tends toward the abstract. Leading lines. Rule of thirds. What nobody tells you clearly enough is that your physical position, down to the specific rock you plant your left foot on, determines whether the image has tension or not.
Get low. I mean low. Knee-level with the water if the terrain allows. This does two things. It pulls foreground elements, wet rocks, moving foam, pooled reflections, into the frame with real weight. And it creates a sense that you were inside the scene, not standing politely outside it photographing through a window. The difference between a shot taken from trail-height and one taken from twelve inches off the waterline can be the difference between a record shot and a print someone actually wants to hang on a wall.
I also move laterally more than most photographers do. A waterfall you’ve seen shot head-on for years can become a completely different image from 30 degrees to the side, especially if there’s secondary cascade structure or interesting rock geometry that disappears from the obvious angle. I’ll spend the first 20 minutes of a session just walking, not shooting, letting the location show me what it has.
Light Is the Whole Conversation
Golden hour at a waterfall is not always the gift it sounds like. Direct low-angle sunlight hitting moving water creates contrast so severe that you’re blown out in the highlights and blocked up in the shadows simultaneously. Your histogram will look like a bad argument.
The light I actually prefer is open shade on an overcast day, or the soft, directional light just before the sun clears the ridgeline in the morning. That’s the window. It’s narrow, sometimes only 15 or 20 minutes, which is why I’m usually at the location an hour before I need to be. Old habit. The alarm doesn’t even wake me anymore at 4 a.m.
On sunny days, I’ll wait for a cloud to cover the sun before tripping the shutter. It sounds simple because it is. Patience is not a personality trait in this work. It’s a technical skill.
The One Setting Photographers Skip at Waterfalls
White balance. Every time.
Moving water reflects sky, and sky in the blue hour or on an overcast day will cast your whites and midtones cool in ways that feel subtle on the back of the camera and obvious on a calibrated monitor. I shoot RAW exclusively, which gives me full latitude in post, but I still set a custom Kelvin value in-camera rather than using Auto White Balance. AWB will shift between frames as clouds move or shadows change, and if you’re shooting a bracketed exposure sequence or planning a focus stack, you want those frames consistent. I typically land between 5200K and 5800K for most waterfall situations, then refine in Lightroom against a known neutral tone in the scene.
On Coming Home Without the Shot You Went For
A few years ago I drove six hours to a waterfall in northern California that had been on my list for years. I’d studied the maps, checked the flow data, timed the trip for peak spring runoff. I arrived to two days of fog so thick I couldn’t see thirty feet into the canyon.
I sat with it. I walked the creek in the fog, and eventually I started shooting what was actually there rather than what I’d planned to photograph. The image I came home with shows the waterfall almost entirely obscured by mist, just the sound of it implied by the motion in the foreground water and the soft glow where it should have been. It’s become my best-selling print.
The waterfall didn’t care what I’d driven six hours for. That lesson has made me a better photographer than any gear I’ve ever bought.
The single most important thing you can bring to a waterfall isn’t a faster lens or a better filter. It’s the willingness to read what’s in front of you and respond to that, rather than the image you already built in your head on the drive over.
Comments
Leave a Comment