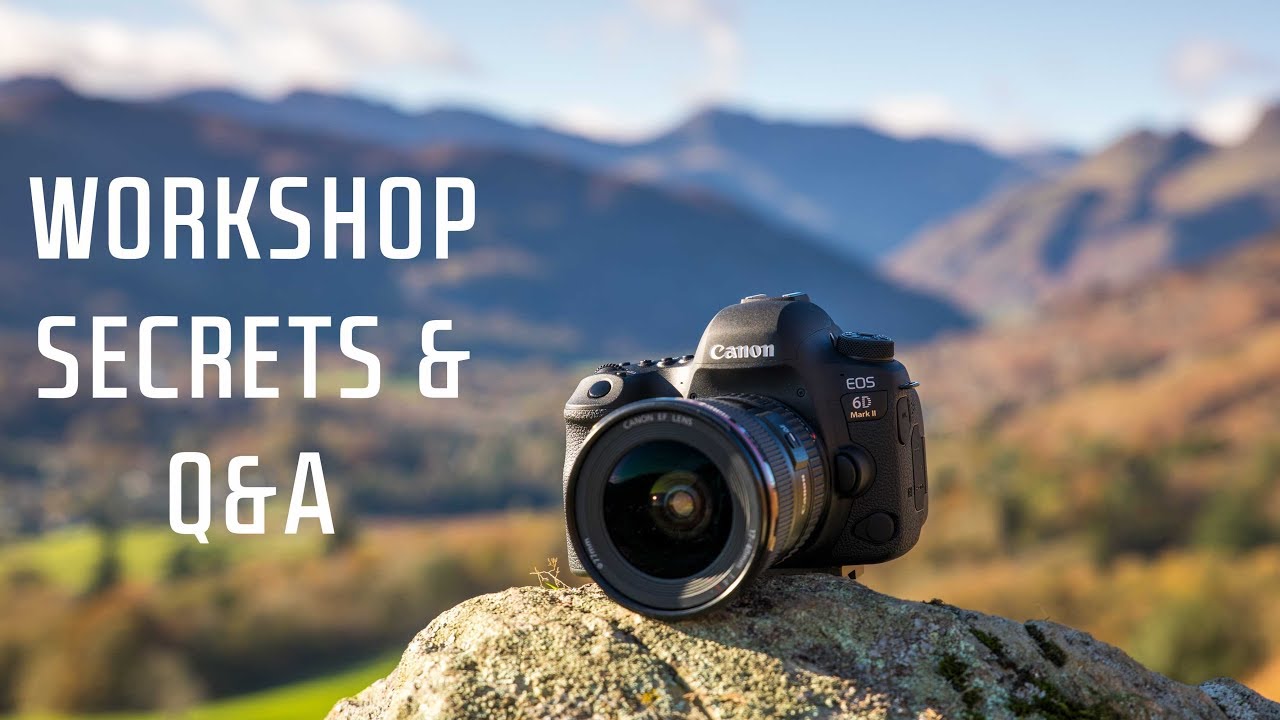
There’s a particular kind of video I find myself returning to more than the polished, location-specific gear reviews: the honest Q&A. The ones where a photographer sits down, scraps the original plan, and just answers the questions people are actually asking. Those tend to contain the real information. In this First Man Photography tutorial, Adam does exactly that. Watch the full tutorial on YouTube — he covers printing decisions, specialty photography techniques, and the kind of practical workshop knowledge that usually stays in the room.
I’ve been shooting landscapes full-time for two decades, and I still watch videos like this because someone else’s systematic answer to a common question often surfaces a consideration I’ve talked myself out of thinking about. The printing question Adam tackles here is one I get at my own workshops constantly. People want to know when it makes sense to bring printing in-house. It sounds like a simple cost question. It isn’t.
What follows is my breakdown of the key lessons from Adam’s tutorial, rewritten so you can use them without pausing and rewinding every thirty seconds.
Step 1: Ask the Real Question Before Buying a Printer
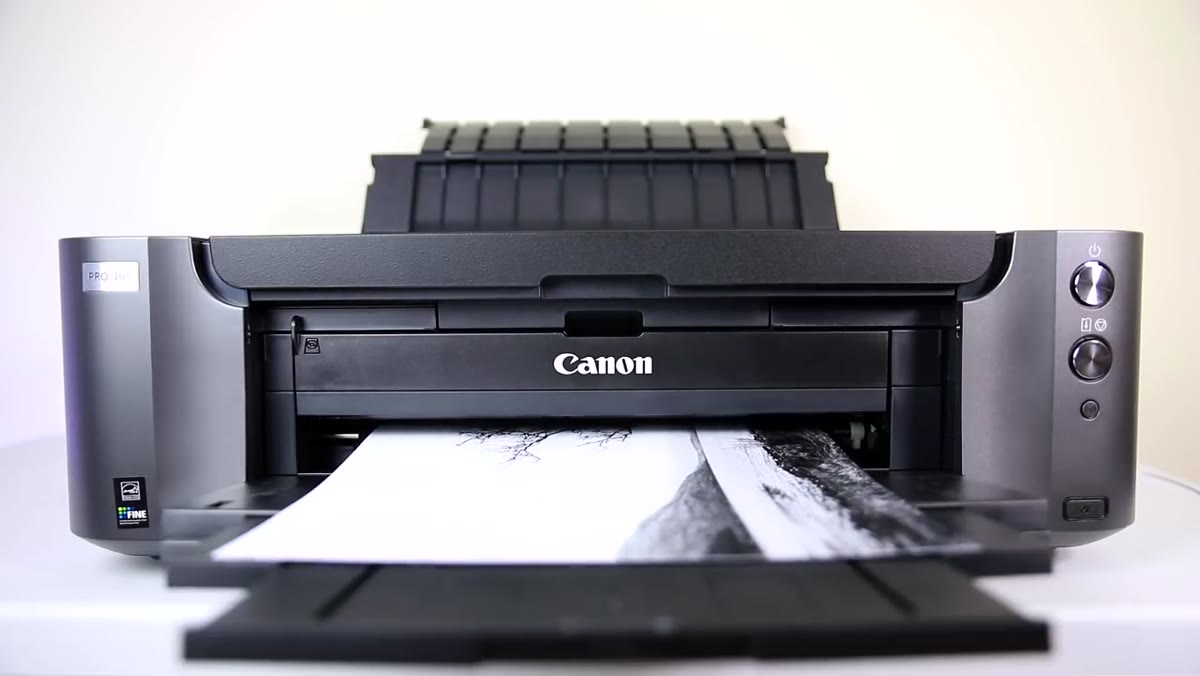 Adam explaining the cost-versus-value decision for photo printers
Before you look at a single printer spec, you need to settle one question honestly: how often will you actually print, and does any of that printing generate revenue? Online print labs are genuinely good now. Adam puts the ballpark at around ten pounds for a solid A3 print shipped to your door, and in my experience the American equivalents are comparably priced. If you’re printing a handful of times a year for personal satisfaction, that math works comfortably in favor of staying with a lab.
Adam explaining the cost-versus-value decision for photo printers
Before you look at a single printer spec, you need to settle one question honestly: how often will you actually print, and does any of that printing generate revenue? Online print labs are genuinely good now. Adam puts the ballpark at around ten pounds for a solid A3 print shipped to your door, and in my experience the American equivalents are comparably priced. If you’re printing a handful of times a year for personal satisfaction, that math works comfortably in favor of staying with a lab.
Where the calculation shifts is volume and flexibility. When you’re selling prints, fulfilling orders on your own timeline, and experimenting with paper stocks, owning your own printer stops being a luxury and starts being a workflow tool. I waited longer than I should have to make that move, and the moment that changed my mind wasn’t a sale. It was standing in a lab’s online queue at 11pm trying to get a print ready for a gallery deadline.
Step 2: Understand the True Running Cost Before You Commit
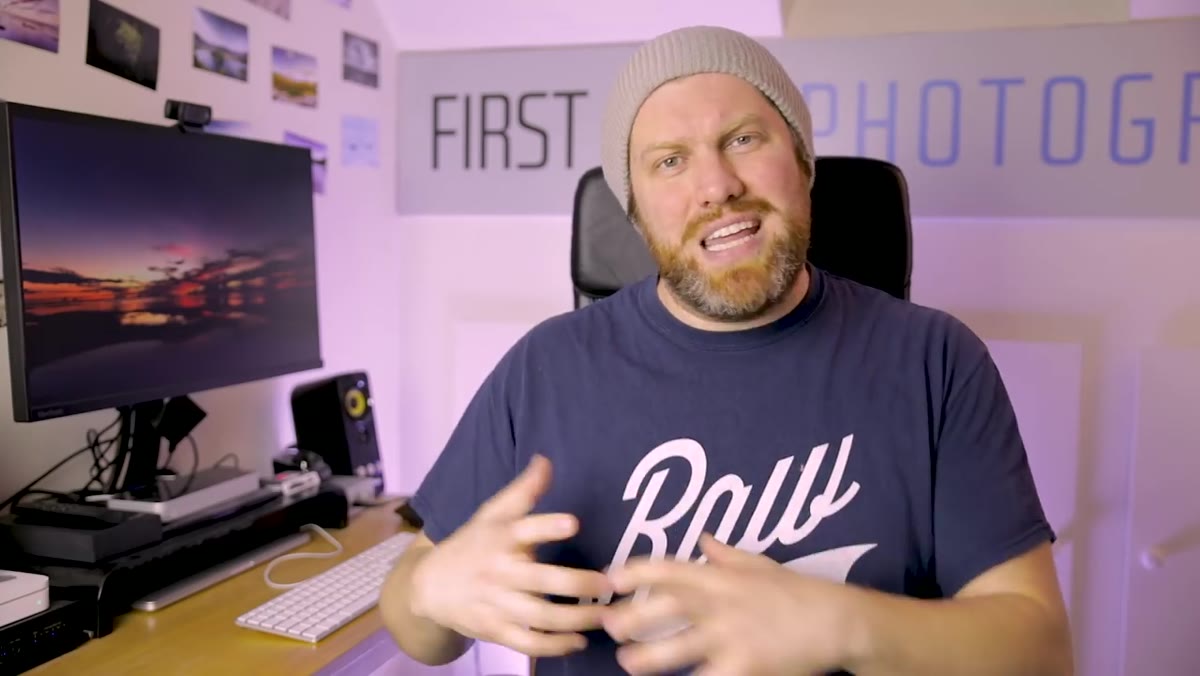 Discussion of ink cartridge costs and ongoing printer expenses
The sticker price on a quality photo printer is only the beginning of the conversation. Adam is direct about this: the inks are expensive, and in a printer like the Canon Pro 10s, you’re managing ten separate cartridges. Each one runs roughly ten pounds. That cost compounds quickly if you’re doing high-volume printing, and it can catch photographers off guard who budget for the hardware but not the consumables.
Discussion of ink cartridge costs and ongoing printer expenses
The sticker price on a quality photo printer is only the beginning of the conversation. Adam is direct about this: the inks are expensive, and in a printer like the Canon Pro 10s, you’re managing ten separate cartridges. Each one runs roughly ten pounds. That cost compounds quickly if you’re doing high-volume printing, and it can catch photographers off guard who budget for the hardware but not the consumables.
The honest framing is this: a home photo printer is not cheaper than a lab per print, especially early on. It becomes cost-competitive when the value of control and speed outweighs the per-print premium. Factor in paper costs too. Specialty fine art papers are not cheap, and running test prints to calibrate a new paper profile adds up before you ever produce a finished piece.
Step 3: Know What the Chroma Optimizer Actually Does
 Explaining the chroma optimizer ink and its effect on print quality
Adam draws a clear line between the Canon Pro 10s and the less expensive Pro 100s, and the key difference is a single ink: the chroma optimizer. This is not a color ink. It’s a clear coating that goes down over the entire print surface and serves two purposes. First, it evens out the sheen across the image so that areas of heavy ink saturation don’t look different from lighter areas under certain lighting. Second, it contributes to print longevity by providing a more consistent protective layer.
Explaining the chroma optimizer ink and its effect on print quality
Adam draws a clear line between the Canon Pro 10s and the less expensive Pro 100s, and the key difference is a single ink: the chroma optimizer. This is not a color ink. It’s a clear coating that goes down over the entire print surface and serves two purposes. First, it evens out the sheen across the image so that areas of heavy ink saturation don’t look different from lighter areas under certain lighting. Second, it contributes to print longevity by providing a more consistent protective layer.
If you’re printing work that goes on a wall and needs to hold up over years, that difference is real. If you’re printing reference sheets for a workshop binder, it’s not. Match the tool to what you’re actually producing. I print for collectors and for my own wall, so the chroma optimizer matters to me. Your situation may be genuinely different.
Step 4: Use the Canon Print Studio Pro Plugin Instead of Lightroom’s Native Print Module
 Overview of Canon Print Studio Pro plugin for Lightroom and Photoshop
This is the practical tip from Adam’s tutorial that I think gets glossed over most often. Canon includes a Lightroom and Photoshop plugin called Print Studio Pro with both the Pro 10s and the Pro 100s, and it handles the printer’s paper profiles and color management more cleanly than Lightroom’s native print module does.
Overview of Canon Print Studio Pro plugin for Lightroom and Photoshop
This is the practical tip from Adam’s tutorial that I think gets glossed over most often. Canon includes a Lightroom and Photoshop plugin called Print Studio Pro with both the Pro 10s and the Pro 100s, and it handles the printer’s paper profiles and color management more cleanly than Lightroom’s native print module does.
The native Lightroom print workflow asks you to juggle whether color management is handled by Lightroom or by the printer driver, and it’s easy to double-correct and end up with muddy output. Print Studio Pro removes that ambiguity. It comes with presets loaded for Canon’s own paper types, and you can add ICC profiles for third-party papers. If you’ve ever printed something that looked significantly worse than your screen preview, switching to this workflow is the first troubleshooting step I’d try.
Step 5: Consider Specialty Techniques Like Water Drop Photography Systematically
 Introduction to water drop photography and setup discussion
Adam fields a recurring question about water drop photography, specifically where to add xanthan gum in the setup. It’s a niche technique, but the underlying principle applies broadly: when you’re working with any kind of specialty or macro setup, the additive or modifier goes into the source material, not the receiving surface. In water drop work, xanthan gum thickens the water so drops hold their shape longer on impact and create those distinct crown formations. It goes into the dropper reservoir, not the bath below.
Introduction to water drop photography and setup discussion
Adam fields a recurring question about water drop photography, specifically where to add xanthan gum in the setup. It’s a niche technique, but the underlying principle applies broadly: when you’re working with any kind of specialty or macro setup, the additive or modifier goes into the source material, not the receiving surface. In water drop work, xanthan gum thickens the water so drops hold their shape longer on impact and create those distinct crown formations. It goes into the dropper reservoir, not the bath below.
This kind of specificity matters in field photography too. Knowing not just what a technique requires but where in the process each element belongs is what separates a setup that works from one that fails at the worst moment. If you’re exploring water drop photography, Adam’s dedicated video on the subject is worth watching alongside this one.
What Twenty Years Behind a Tripod Adds to This
I’ve never been casual about printing. My mentor, who taught me more about patience than about photography, used to say that a print is where a photograph stops being yours and starts belonging to whoever’s looking at it. That stuck with me, and it’s shaped how seriously I take output quality.
The practical extension I’d add to Adam’s advice: before investing in a printer, order the same image from three different online labs at A3 size. Compare them to each other and to your calibrated screen. That exercise will tell you more about whether you need more control over the process than any spec sheet will. If you look at those prints and feel like you could do better, that feeling is worth acting on. If you’re satisfied, stay with the lab and spend the money on glass or a flight to somewhere worth shooting.
The single most important thing Adam conveys in this tutorial, underneath all the specifics, is that every gear decision in photography is a cost-benefit analysis against your actual working practice, not against some imagined ideal workflow. Printing in-house made sense for him at a specific point in his career. It will make sense for you at a specific point in yours, not before.
Watch the full tutorial on YouTube for Adam’s complete answers, including the water drop photography deep dive and additional workshop questions that didn’t make it into this breakdown.
Comments
Leave a Comment