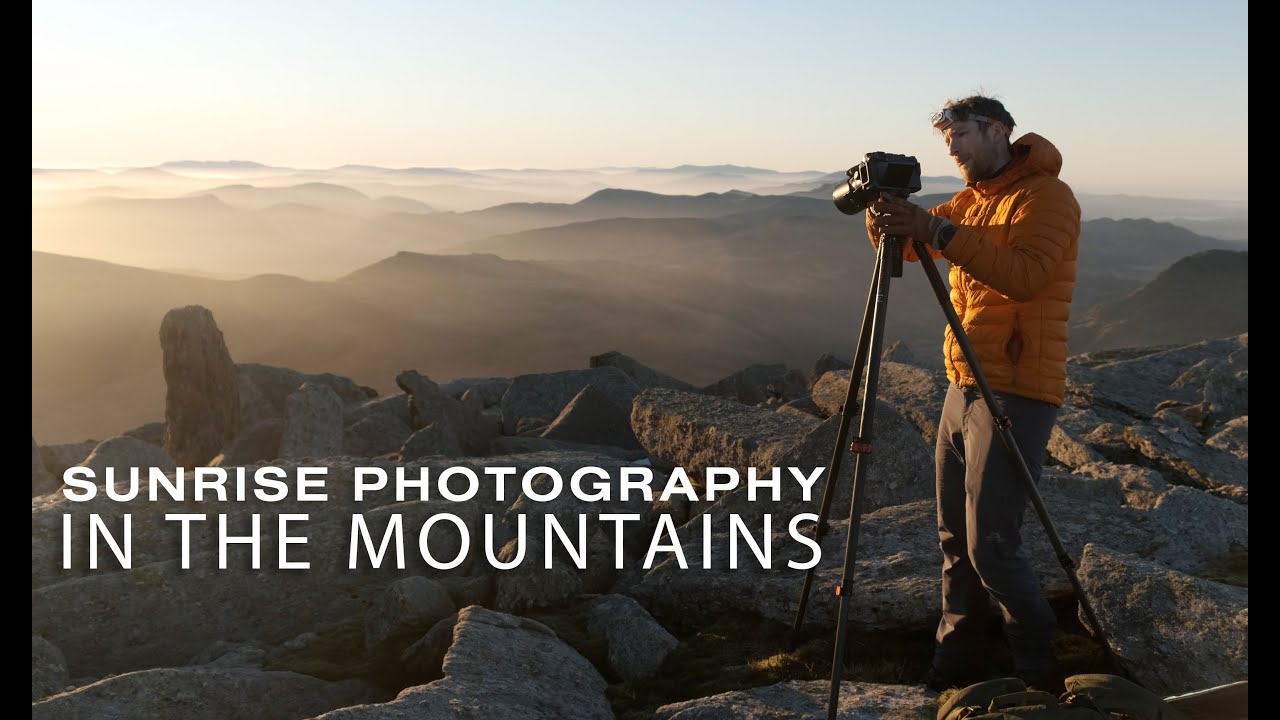
There is a particular kind of pressure that arrives in the dark, about halfway up a mountain, when you are racing an invisible clock. The light is coming whether you are ready or not. After two decades of pre-dawn starts, I still feel it every single time. What separates a good sunrise shoot from a forgettable one usually has nothing to do with gear. It comes down to planning, movement, and the ability to make fast compositional decisions when everything is changing at once. That is exactly what makes Watch the full tutorial on YouTube this Thomas Heaton tutorial such a useful study. Heaton hauls himself up nearly a thousand meters of Welsh mountain terrain before first light, and what follows is a raw, honest document of how a working landscape photographer thinks in the field.
What I appreciate most is that Heaton doesn’t clean it up for the camera. You see the uncertainty, the scrambling, the quick pivots. That mess is the job. And embedded inside it are specific, repeatable techniques worth pulling apart and examining properly.
Step 1: Plan Your Ascent Around the Light, Not the Other Way Around
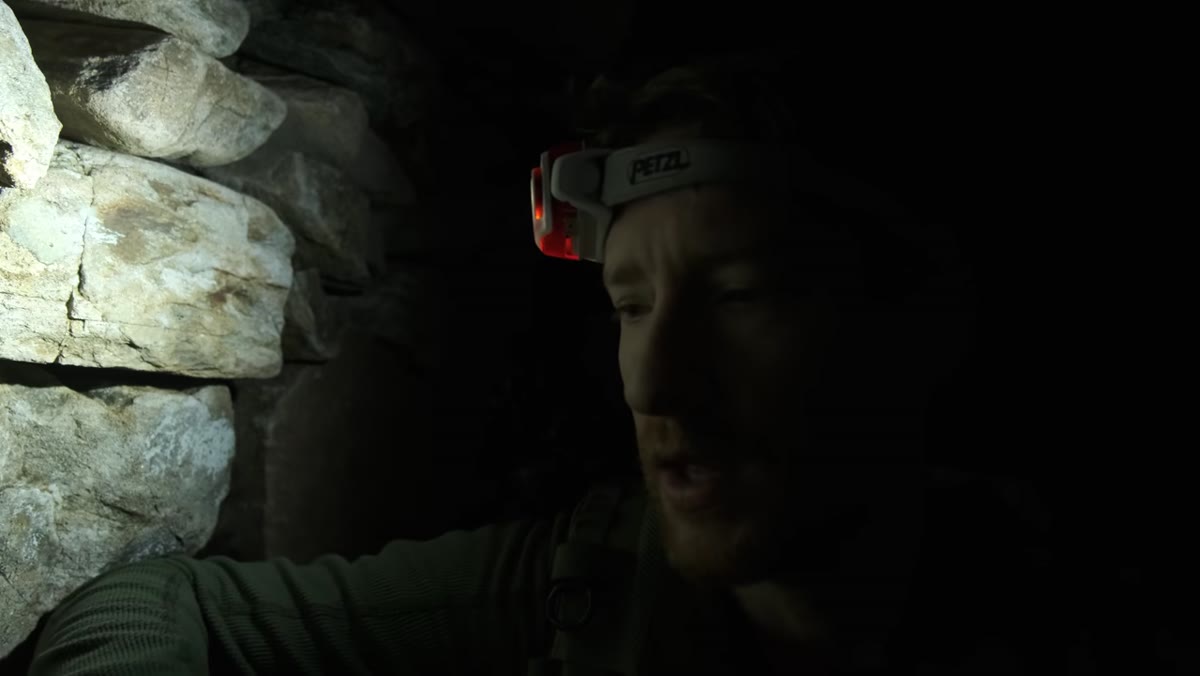
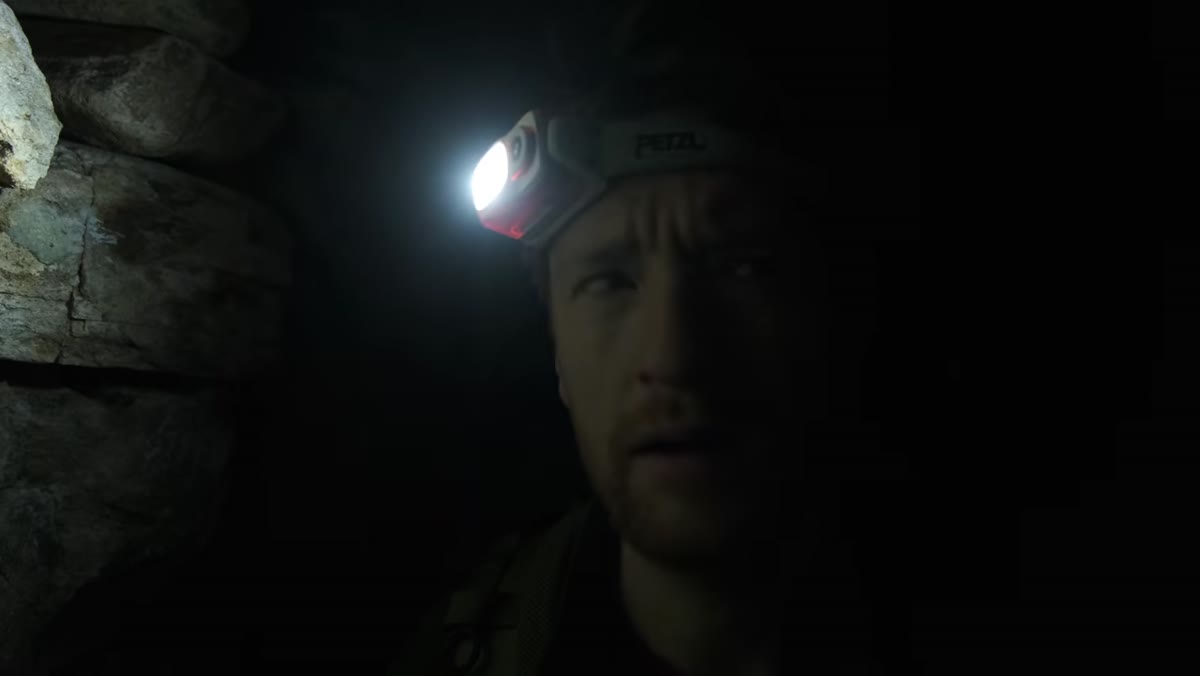 Heaton hiking at night, halfway up the mountain in the dark
Heaton is roughly halfway up, both in distance and elevation, with one hour behind him and plenty of time before sunrise. He notes that the worst thing you can do on a sunrise shoot is rush. That single observation carries a lot of weight. I learned the same lesson the hard way on a shoot in the Cascades, arriving at my composition just as the best light was already fading off the peaks.
Heaton hiking at night, halfway up the mountain in the dark
Heaton is roughly halfway up, both in distance and elevation, with one hour behind him and plenty of time before sunrise. He notes that the worst thing you can do on a sunrise shoot is rush. That single observation carries a lot of weight. I learned the same lesson the hard way on a shoot in the Cascades, arriving at my composition just as the best light was already fading off the peaks.
The fix is simple but requires discipline. Research your summit or vantage point and work backwards from golden hour. Give yourself a buffer of at least thirty minutes beyond what you think you need. That extra time is not wasted. It is the time you spend finding the composition rather than guessing at it in fading color.
Step 2: Read Temperature as a Compositional Clue
 Cold valley air visible below, climber rising above the cloud layer
Heaton mentions something easy to miss: the temperature was actually warming as he climbed higher. Cold air was pooling in the valleys below him. This is not just a comfort note. It is a landscape photography tip hiding in plain sight. Inversions and cold valley air often produce mist, fog, or atmospheric layering that can define the entire mood of a shot. If you know the air will be colder below you, you can anticipate that texture in your compositions and plan to shoot downward into it.
Cold valley air visible below, climber rising above the cloud layer
Heaton mentions something easy to miss: the temperature was actually warming as he climbed higher. Cold air was pooling in the valleys below him. This is not just a comfort note. It is a landscape photography tip hiding in plain sight. Inversions and cold valley air often produce mist, fog, or atmospheric layering that can define the entire mood of a shot. If you know the air will be colder below you, you can anticipate that texture in your compositions and plan to shoot downward into it.
Pay attention to overnight temperature readings at different elevations before your shoot. Weather apps like Mountain Forecast give elevation-specific data that can help you predict exactly this kind of atmospheric condition.
Step 3: Anchor Your Composition with a Dominant Subject
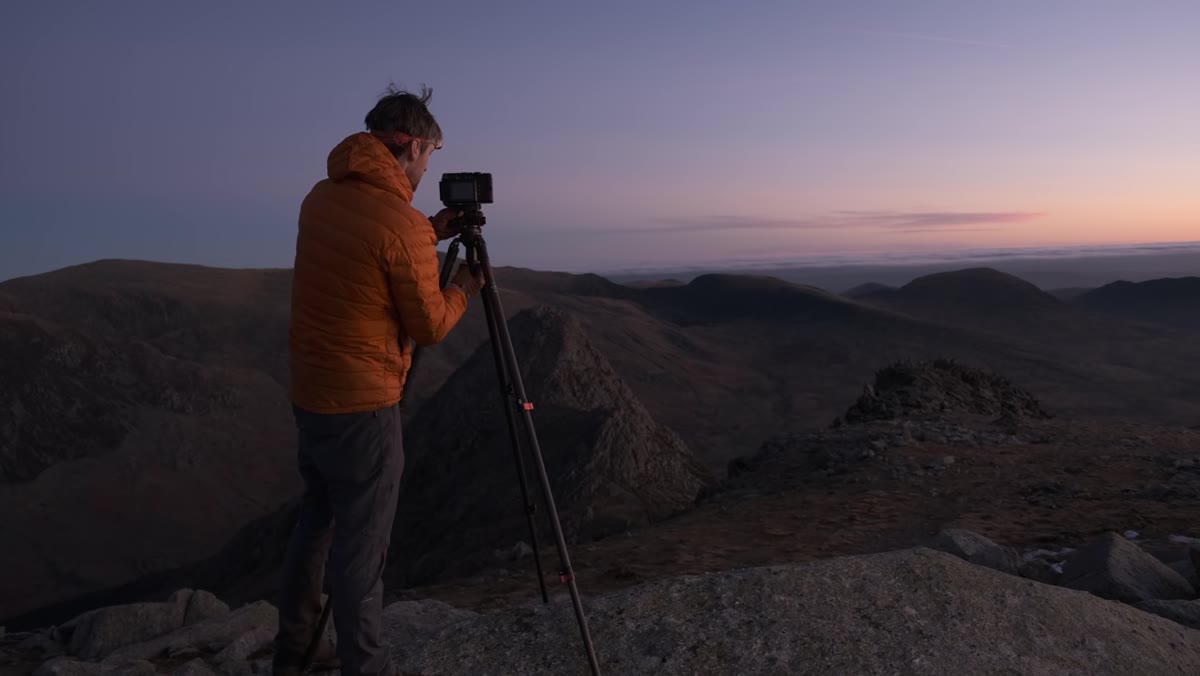 Camera pointed north toward Tryfan mountain peak with rocky outcrop at right
At this point Heaton sets up shooting north toward Tryfan, a distinctive Welsh peak, with a secondary rocky outcrop providing balance on the right side of the frame. He’s working with a classic compositional anchor: one strong, recognizable subject supported by a secondary element that adds weight without competing.
Camera pointed north toward Tryfan mountain peak with rocky outcrop at right
At this point Heaton sets up shooting north toward Tryfan, a distinctive Welsh peak, with a secondary rocky outcrop providing balance on the right side of the frame. He’s working with a classic compositional anchor: one strong, recognizable subject supported by a secondary element that adds weight without competing.
This is worth practicing deliberately. Before you press the shutter, ask yourself what the single subject of the image is. If you can’t name it in one word, the composition is probably too busy. Tryfan is the subject. Everything else is supporting cast. f/11 is his aperture here, keeping depth of field broad enough to hold both the foreground detail and the distant peak in sharp focus.
Step 4: Identify and Solve Foreground Problems Before Shooting
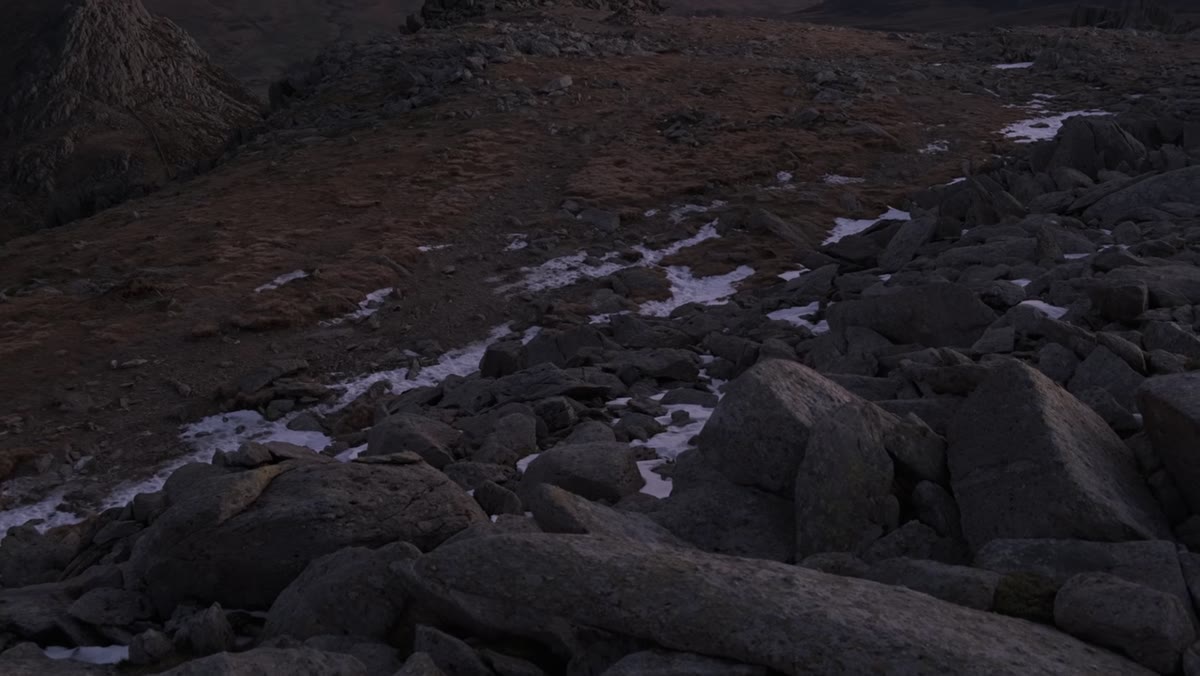 Patchy snow in the lower foreground disrupting the frame
Heaton pauses before shooting to flag a problem: patchy, irregular snow in the immediate foreground. He doesn’t love it, but he works through it rather than moving on immediately. This is the right instinct. A distracting foreground can ruin an otherwise strong image, and the time to deal with it is before you shoot, not in post.
Patchy snow in the lower foreground disrupting the frame
Heaton pauses before shooting to flag a problem: patchy, irregular snow in the immediate foreground. He doesn’t love it, but he works through it rather than moving on immediately. This is the right instinct. A distracting foreground can ruin an otherwise strong image, and the time to deal with it is before you shoot, not in post.
Your options in the field are to reframe by raising or lowering the tripod, shift your position laterally, or wait briefly to see if light changes the way the foreground reads. Heaton ultimately keeps the composition and works quickly, knowing the light is changing faster than his hesitation is worth.
Step 5: Stay Mobile Between Compositions
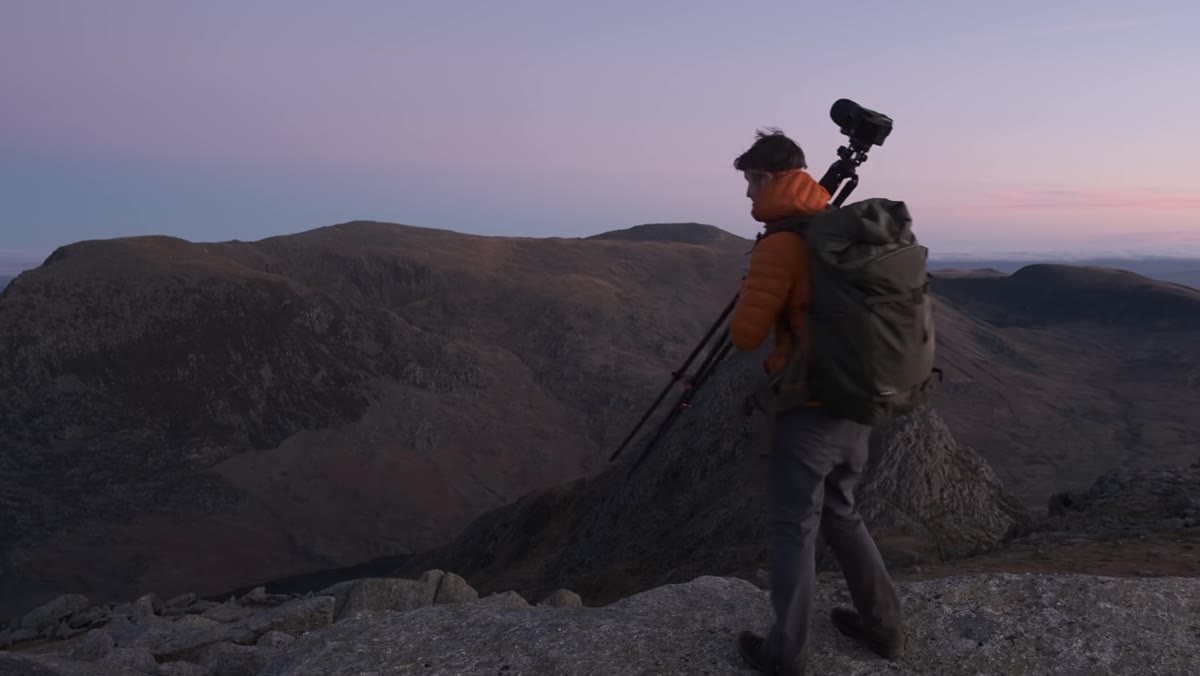 Heaton moving to a new position along a rocky scramble ridge
Rather than locking in on one spot, Heaton moves along a grade-one scramble to find a new angle that frames Tryfan differently, this time with jagged rock formations on the right leading the eye across to the mountain. He’s making a real-time editorial decision: the second composition might be better, or he might return to the first. He decides to work both.
Heaton moving to a new position along a rocky scramble ridge
Rather than locking in on one spot, Heaton moves along a grade-one scramble to find a new angle that frames Tryfan differently, this time with jagged rock formations on the right leading the eye across to the mountain. He’s making a real-time editorial decision: the second composition might be better, or he might return to the first. He decides to work both.
This is the habit I try to build in my workshop students. Never treat your first composition as final. Spend the first fifteen minutes of any shoot exploring. Your feet are part of your lens kit.
Step 6: Respond to the Sun as It Rises, Not Before
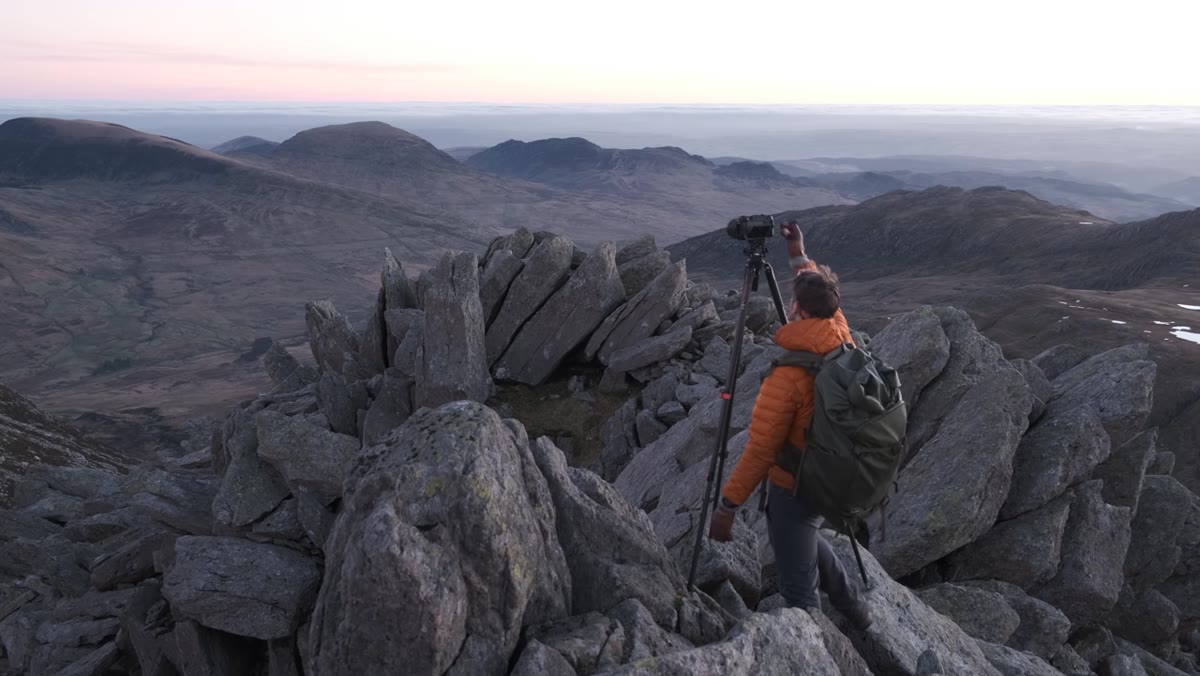 First sunlight striking the foreground rocks on the right side of frame
When sunlight begins hitting the foreground rocks, Heaton stops moving and commits to the shot. The light is now doing compositional work for him, pulling the eye into the right side of the frame and creating warmth against the cooler sky. He shifts to f/16 for maximum depth of field and adds a lens hood to manage flare as the sun clears the horizon.
First sunlight striking the foreground rocks on the right side of frame
When sunlight begins hitting the foreground rocks, Heaton stops moving and commits to the shot. The light is now doing compositional work for him, pulling the eye into the right side of the frame and creating warmth against the cooler sky. He shifts to f/16 for maximum depth of field and adds a lens hood to manage flare as the sun clears the horizon.
The lesson here is to let the light dictate your final position rather than forcing a composition before the light arrives. You set up your candidates in advance, then let the sun choose your winner.
Step 7: Switch Focal Lengths When the Scene Changes
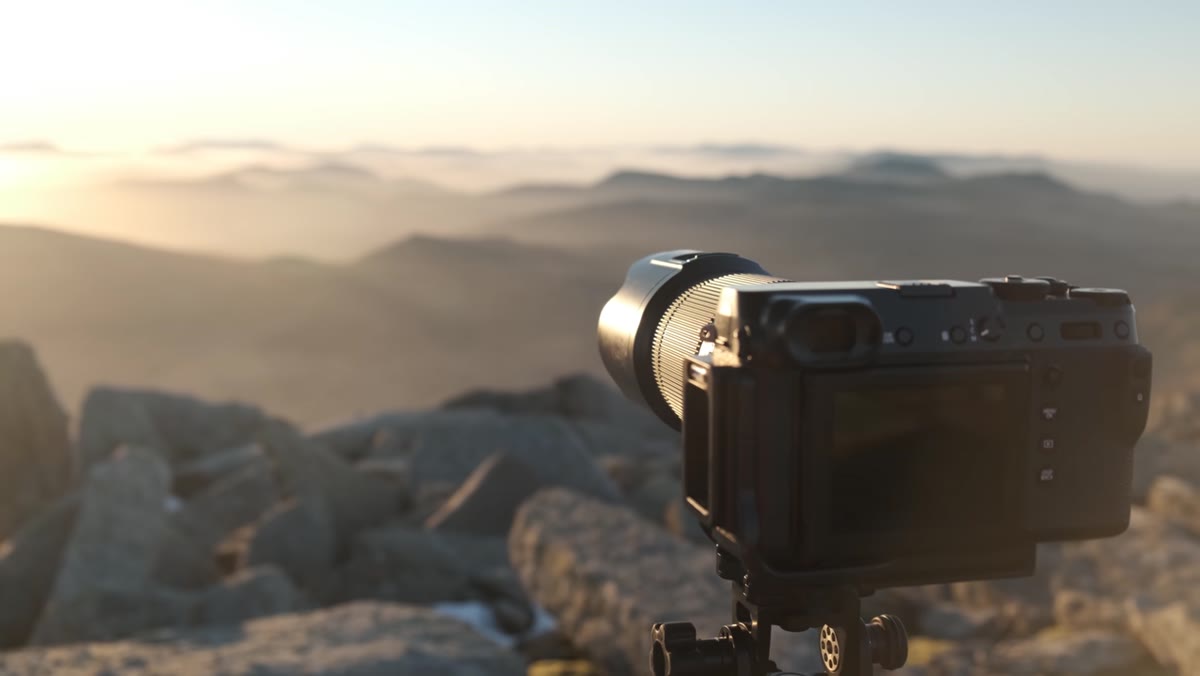 Heaton switching to a 100-200mm lens for the layered mountain scene
As the sun rises fully and the mountains stack into receding layers of light and atmosphere, Heaton reaches for a longer lens. He notes that in bright conditions, using the viewfinder rather than live view gives a more accurate read of the scene. A telephoto here compresses those atmospheric layers into something far more dramatic than a wide angle could manage.
Heaton switching to a 100-200mm lens for the layered mountain scene
As the sun rises fully and the mountains stack into receding layers of light and atmosphere, Heaton reaches for a longer lens. He notes that in bright conditions, using the viewfinder rather than live view gives a more accurate read of the scene. A telephoto here compresses those atmospheric layers into something far more dramatic than a wide angle could manage.
This is a moment many photographers miss because they are already packing up. The post-sunrise light, especially in mountain terrain with atmospheric haze, is worth staying for. The landscape is still working.
What I’d Add: The Buffer Shot Before the Money Shot
In my own practice, I shoot what I call a buffer frame before I’m fully satisfied with the composition. It’s a habit left over from the days when I shot film and couldn’t afford to miss the moment while fussing with settings. The buffer frame forces you to commit, and more often than I’d like to admit, it turns out to be the keeper. Heaton is doing something similar here: working fast, making decisions, and trusting that motion beats hesitation when the light is moving.
The mountain doesn’t care about your schedule. It will do what it does, and your job is to be ready before it starts.
The single most important thing this tutorial demonstrates is that timing is a planning problem, not a luck problem. Every beautiful moment Heaton captures on that ridge was made possible by being there an hour early, moving efficiently, and knowing what he was looking for before the sky lit up. Watch the full tutorial on YouTube to see how every one of these decisions plays out in real time across the full shoot.
Comments (3)
I keep coming back to this article. It's that useful.
I tried this on a client project yesterday and the results were way better than expected.
Couldn't agree more. I've seen this make a huge difference in color grading work specifically.
Leave a Comment