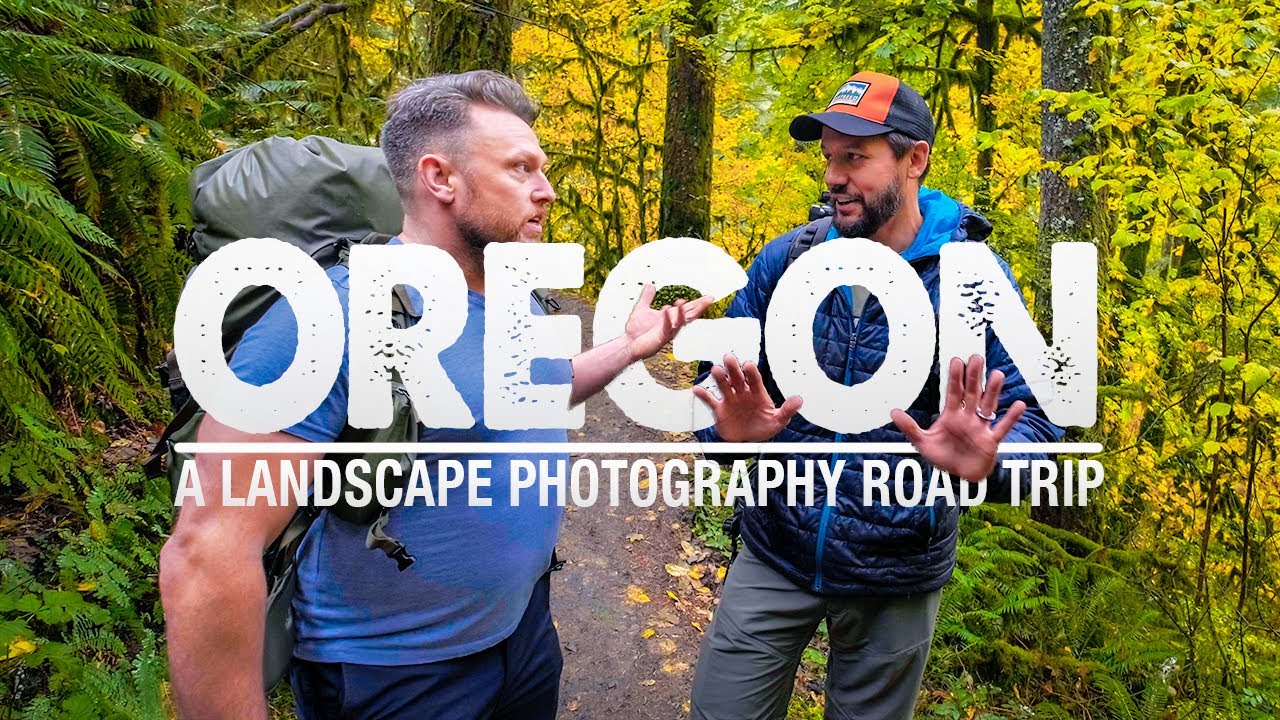
There’s a particular kind of shoot I know well: you’re working with imperfect light, questionable weather, and a location you’ve never stood in before. No scouting notes, no golden-hour guarantee. Just you, your gear, and whatever the coast decides to hand you. Those shoots are the ones that sharpen your instincts faster than any ideal morning ever could. That’s exactly why I keep coming back to tutorials filmed in real conditions, not staged ones.
In this Mark Denney tutorial, he documents a solo road trip down the Oregon coast after teaching at a landscape photography conference in Newport. He’s not chasing a perfect forecast. He’s working with overcast skies, rain, patchy fog, and coastal light that keeps threatening to show up without fully committing. Watch the full tutorial on YouTube and then come back here for the breakdown, because there’s a lot happening beneath the surface of what looks like a casual wander.
What makes this worth studying is that Denney makes decisions out loud. He tells you why he’s moving, why he’s stopping, and why he’s abandoning a composition he was just excited about. That kind of honest field thinking is rare, and it maps almost exactly onto problems I hear from photographers in my workshops every season.
Step 1: Arrive Without a Fixed Agenda
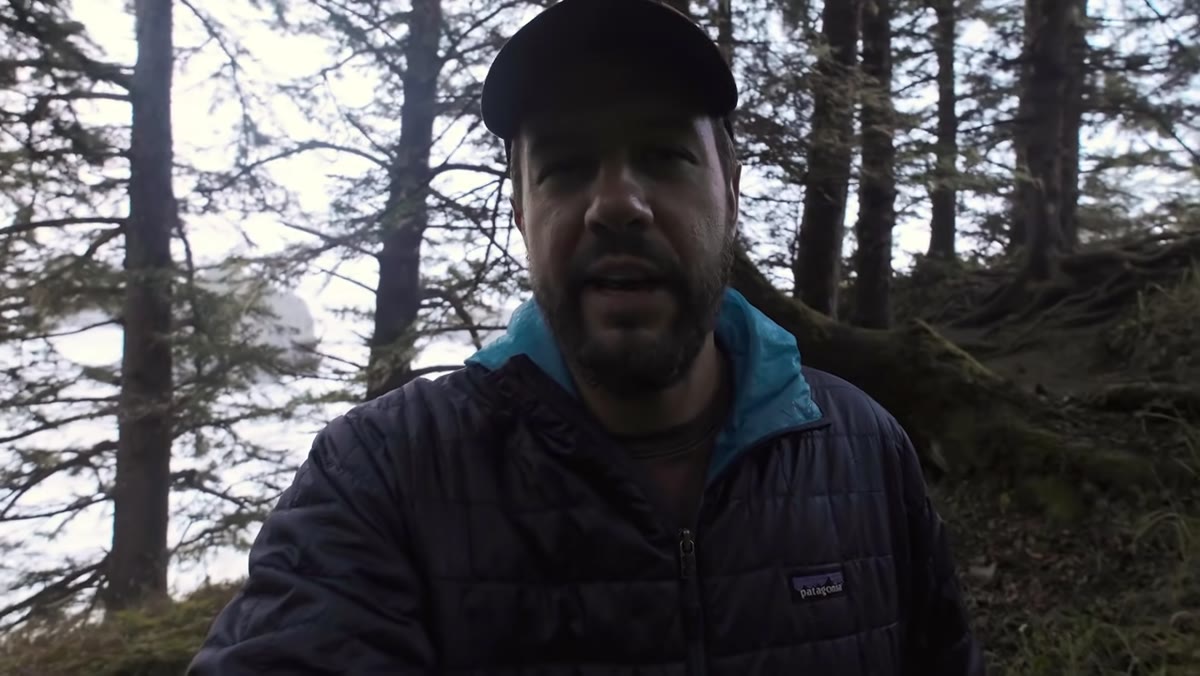 Mark walking coastal overlook in overcast, rainy conditions
Denney pulls up to a dramatic stretch of Oregon coast without a pre-planned composition in mind. Sea stacks, crashing waves, and trees growing out of rocks dominate the scene, but the clouds are locked in tight and the light is flat. His response is not to pack up and wait. He wanders.
Mark walking coastal overlook in overcast, rainy conditions
Denney pulls up to a dramatic stretch of Oregon coast without a pre-planned composition in mind. Sea stacks, crashing waves, and trees growing out of rocks dominate the scene, but the clouds are locked in tight and the light is flat. His response is not to pack up and wait. He wanders.
This is harder than it sounds. Most photographers arrive at a location with an image already half-formed in their head, pulled from someone else’s Instagram or a scouting app. When reality doesn’t match that mental image, they freeze or get frustrated. Arriving with curiosity instead of expectations lets you actually read the scene in front of you. Walk first. Shoot second.
Step 2: Scout the Sketchy Angles First
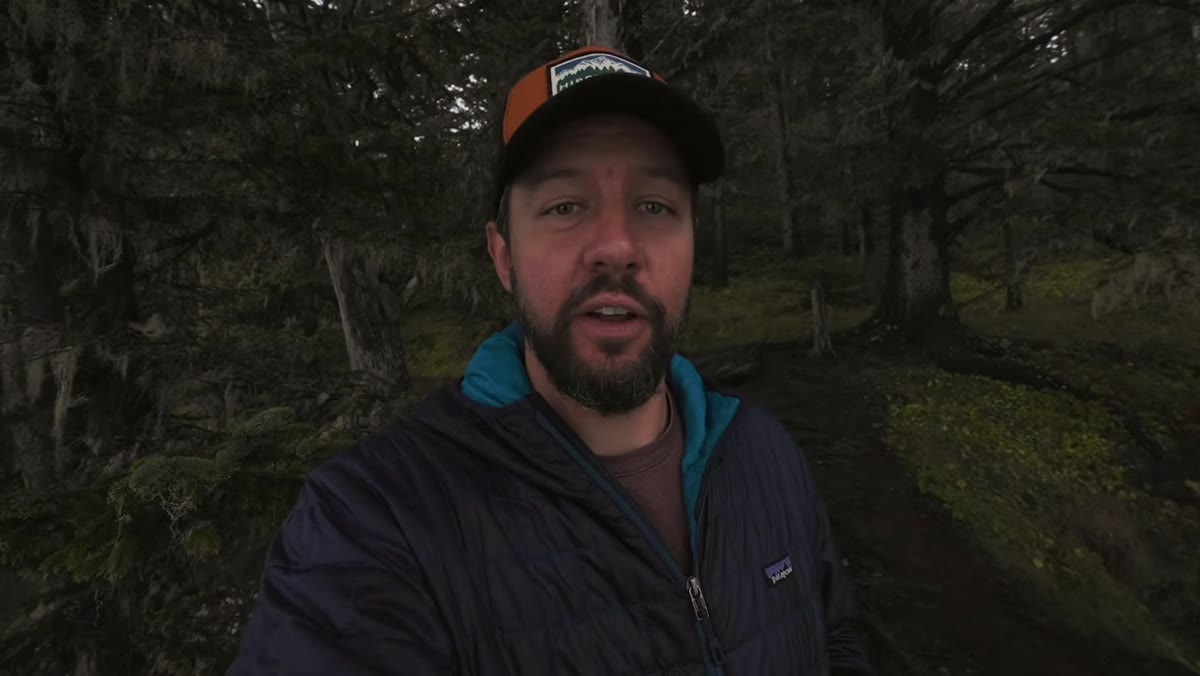 Overlooking sea stacks from a narrow, slippery coastal ledge
Denney finds a viewpoint that requires navigating exposed roots, slippery mud, and a narrow landing that he describes as too sketchy to film while walking. He goes anyway. The payoff is a composition with sea stacks framing both the left and right edges of the frame, with open ocean beyond and waves driving hard against the rocks.
Overlooking sea stacks from a narrow, slippery coastal ledge
Denney finds a viewpoint that requires navigating exposed roots, slippery mud, and a narrow landing that he describes as too sketchy to film while walking. He goes anyway. The payoff is a composition with sea stacks framing both the left and right edges of the frame, with open ocean beyond and waves driving hard against the rocks.
The lesson here is physical: the best angles at coastal locations are almost never the safe, paved ones. I wear trail runners on shoots like this specifically because I know I’ll be pushing into wet grass, soft shoulders, and rock scrambles. Bring poles if your knees object. But don’t let comfort anchor you to mediocre foregrounds. The composition is almost always better ten feet off the marked path.
Step 3: Use Shutter Speed to Control Water Texture
 Camera on tripod, waves washing over dark sea stack rocks
Once the clouds start to break slightly and a thin slice of blue opens up with the moon still visible, Denney gets to work on the water. He’s not locked into one shutter speed. He’s cycling through multiple exposures, deliberately trying to catch waves at the moment they wash down off the dark basalt and create white streaks across the rock face.
Camera on tripod, waves washing over dark sea stack rocks
Once the clouds start to break slightly and a thin slice of blue opens up with the moon still visible, Denney gets to work on the water. He’s not locked into one shutter speed. He’s cycling through multiple exposures, deliberately trying to catch waves at the moment they wash down off the dark basalt and create white streaks across the rock face.
This is the technique most people understand in theory and botch in practice. Faster shutter speeds, around 1/60s to 1/250s, freeze individual wave forms and show raw energy. Slower speeds, from half a second to several seconds, blend the water into silky motion. The right answer depends entirely on the volume and speed of the water in front of you. Denney is bracketing exposures here, not because he necessarily needs the dynamic range, but because he’s also experimenting with timing. Let the wave commit before you fire. Watch three or four cycles first so you understand the rhythm.
Step 4: Know When to Drop Bracketing and React
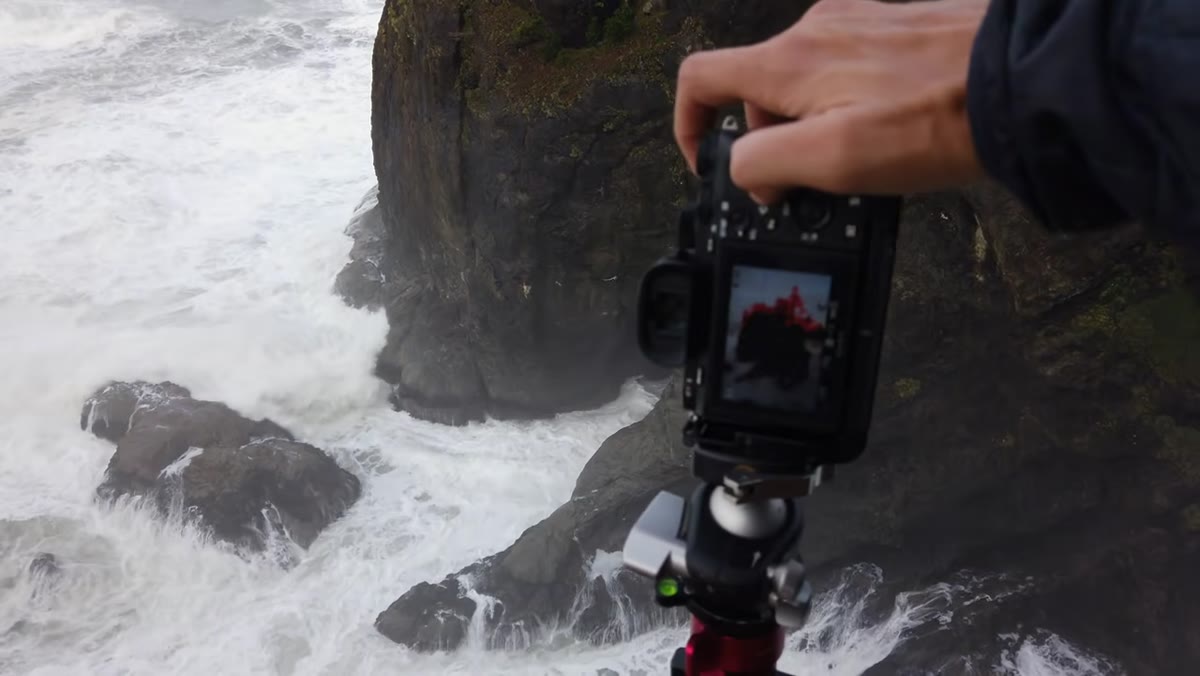 Switching camera off bracketing mode for single large wave shots
Midway through the session, Denney turns bracketing off. A set of massive waves starts moving through and he wants to be able to fire a single clean frame at exactly the right moment, without the camera stalling through a three-shot sequence. Bracketing is a tool, not a default setting.
Switching camera off bracketing mode for single large wave shots
Midway through the session, Denney turns bracketing off. A set of massive waves starts moving through and he wants to be able to fire a single clean frame at exactly the right moment, without the camera stalling through a three-shot sequence. Bracketing is a tool, not a default setting.
I’ve made this mistake more times than I want to count, including once on a sea stack shoot up near Cannon Beach where I was still in a five-shot HDR bracket when a rogue wave threw white water twenty feet into the air. By the time my camera finished the sequence, the moment was already gone. Keep your hand on the bracketing toggle. If the scene starts moving fast, get out of that mode.
Step 5: Read Fog as a Compositional Element, Not Just an Obstacle
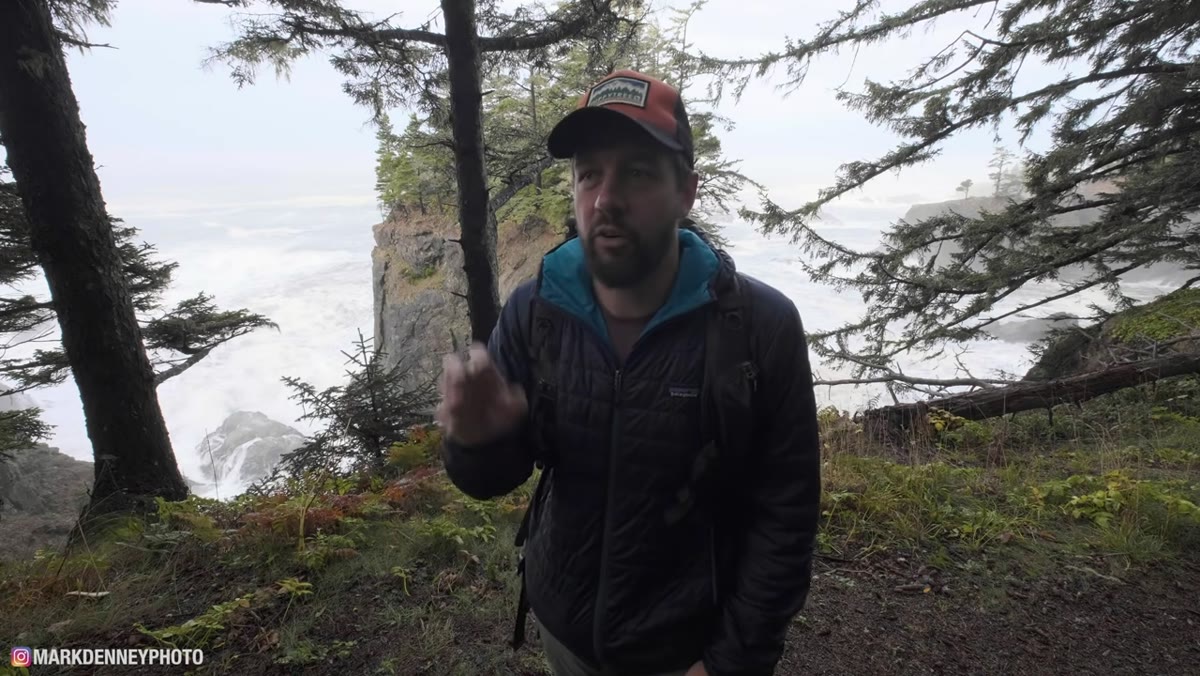 Walking into old-growth forest with pockets of coastal fog remaining
After the coastal shoot, Denney moves into a forested area where sea mist and morning fog are still clinging to the old-growth trees. He’s specifically hunting for a scene where backlight from the rising sun illuminates hanging moss, with fog acting as a separator between the subject tree and the cluttered background behind it.
Walking into old-growth forest with pockets of coastal fog remaining
After the coastal shoot, Denney moves into a forested area where sea mist and morning fog are still clinging to the old-growth trees. He’s specifically hunting for a scene where backlight from the rising sun illuminates hanging moss, with fog acting as a separator between the subject tree and the cluttered background behind it.
Fog does two things in a forest photograph. It creates atmospheric depth, that layered recession from dark foreground to pale background. And it simplifies. A chaotic forest background becomes a soft grey wash, and suddenly your subject tree reads clean and clear. The problem Denney keeps running into is that he needs two conditions simultaneously: the right fog density and the right light angle. One without the other doesn’t work. This is a useful mental checklist to carry into any woodland shoot.
Step 6: Walk Away from a Good Subject When the Conditions Aren’t There
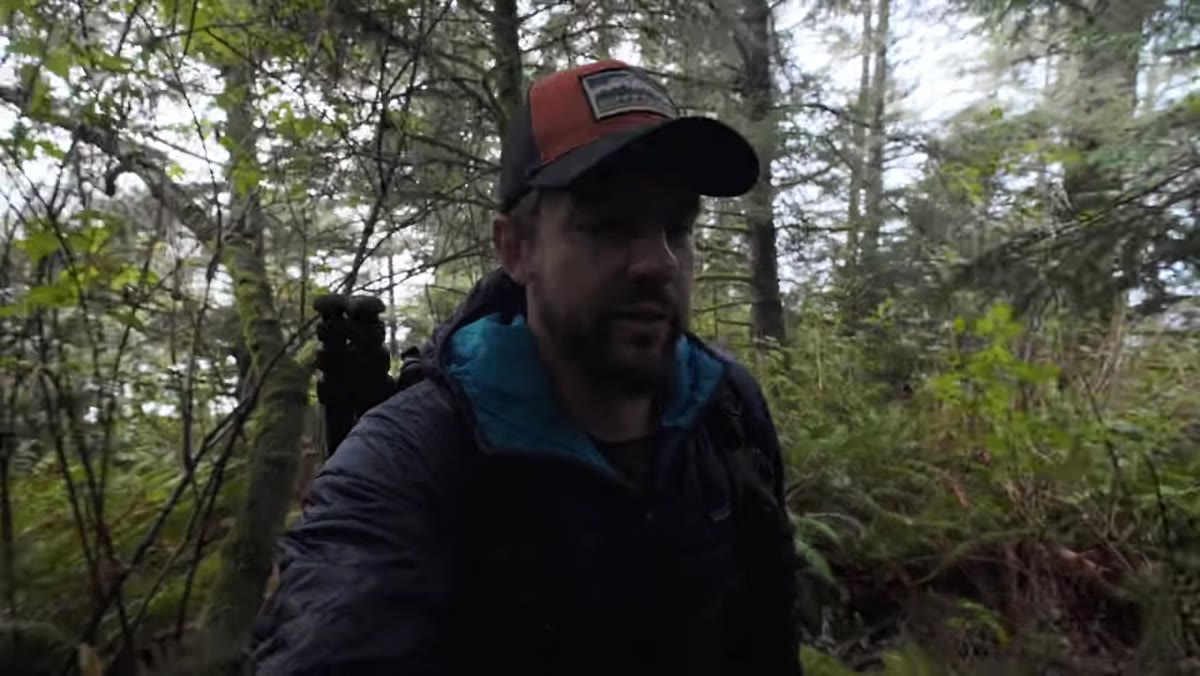 Evaluating moss-covered tree but deciding highlights in background are too distracting
Denney finds a moss-covered tree that would photograph beautifully under the right conditions. The tree is fully draped in growth and there’s some light hitting it. He spends real time evaluating it. Then he leaves it. The reason: the ocean behind the tree is creating blown-out highlights in the background that would pull attention away from the subject and couldn’t be controlled without seriously compromising the exposure.
Evaluating moss-covered tree but deciding highlights in background are too distracting
Denney finds a moss-covered tree that would photograph beautifully under the right conditions. The tree is fully draped in growth and there’s some light hitting it. He spends real time evaluating it. Then he leaves it. The reason: the ocean behind the tree is creating blown-out highlights in the background that would pull attention away from the subject and couldn’t be controlled without seriously compromising the exposure.
Walking away from a good subject is its own skill. It means you’re thinking about the final image, not just the interesting thing in front of you. I still have to remind myself that a great subject in bad light is just a note in my scouting journal, not a photograph worth making.
My Extension: Build a Conditions Checklist Before You Commit
I teach a simple three-column habit in my workshops: subject, light, separation. Before I press the shutter on any serious composition, I run through all three. Is the subject strong? Is the light doing something useful? Is there enough visual separation between the subject and everything behind it? Denney is running exactly this kind of filter in real time throughout this video, even if he never labels it that way. Building it into a conscious habit will save you from a hard drive full of images that almost worked.
The single most important thing this tutorial demonstrates is that productive field sessions are built on continuous decision-making, not on finding a perfect scene and parking in front of it. Conditions shift, angles reveal themselves, and sometimes the right call is to move on entirely. That flexibility is what separates photographers who come home with strong work from those who come home with excuses.
Watch the full tutorial on YouTube and pay attention to the moments where Denney changes his mind. That’s where the real instruction lives.
Comments
Leave a Comment