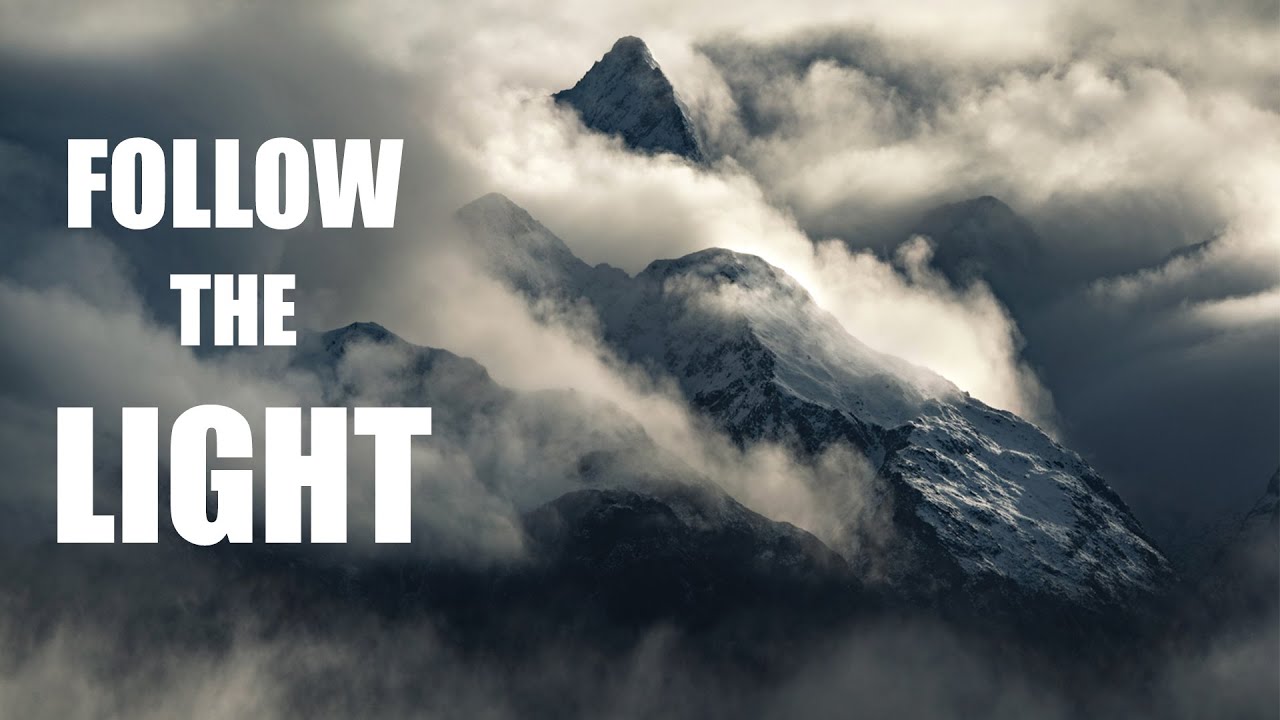
There’s a particular kind of frustration that comes with standing in front of a beautiful scene and knowing, in your gut, that it isn’t working. You see the ingredients — the light, the atmosphere, the shapes — but the frame feels cluttered, or the elements compete instead of cooperate. After twenty years of walking out before dawn, I still hit that wall regularly. What separates a productive shoot from a forgettable one isn’t luck. It’s knowing how to pivot: change direction, change focal length, change what you’re looking for entirely. That ability to reassess mid-shoot is something I’ve spent years developing, and it’s exactly what this William Patino tutorial puts on full display. Watch the full tutorial on YouTube
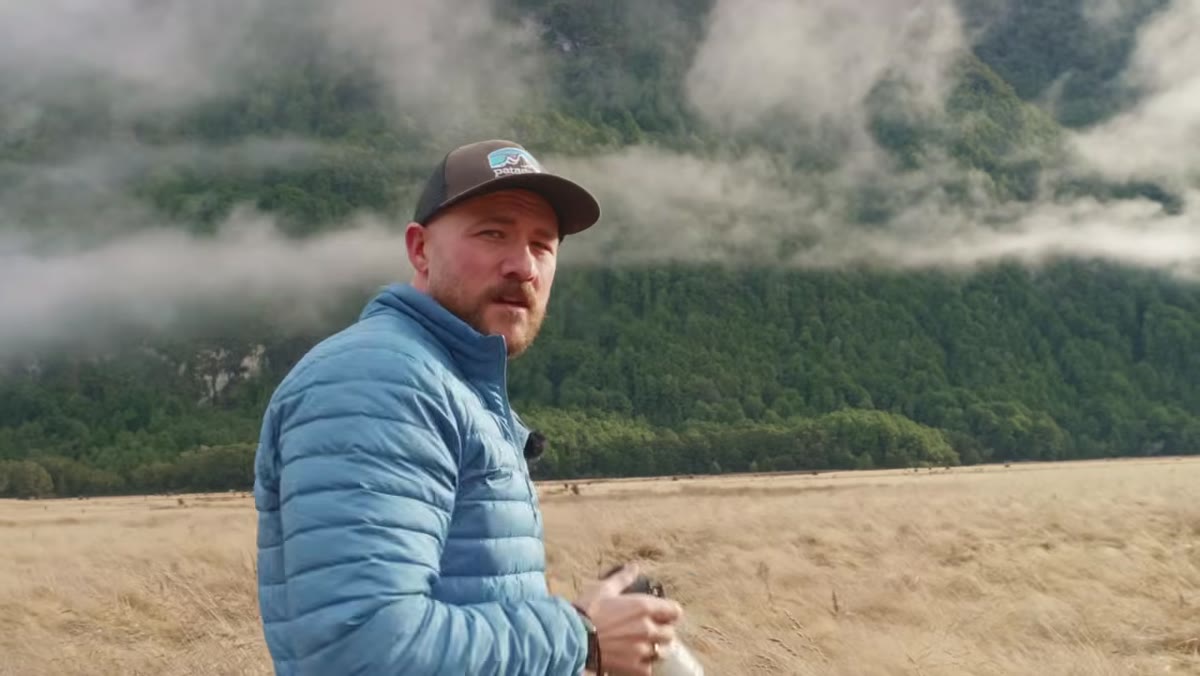
In the video, Patino takes us along for an afternoon session that spans multiple lenses and multiple scenes. What makes it worth studying isn’t the gear or the locations. It’s the thinking. He narrates his own doubts in real time, explains why certain compositions fail, and then pulls up the raw files afterward to complete the thought. That loop between field instinct and editing-desk reflection is how working photographers actually improve. I found myself nodding through most of it.
The segment I keep coming back to centers on telephoto work in misty, layered forest conditions. It addresses a problem I see constantly in workshop students: the instinct to use a wide lens on everything and hope the scene organizes itself. A telephoto forces a different discipline, one that’s closer to hunting than it is to documenting. Here’s how Patino breaks it down, step by step.
Step 1: Read the Scene Before You Commit to a Composition
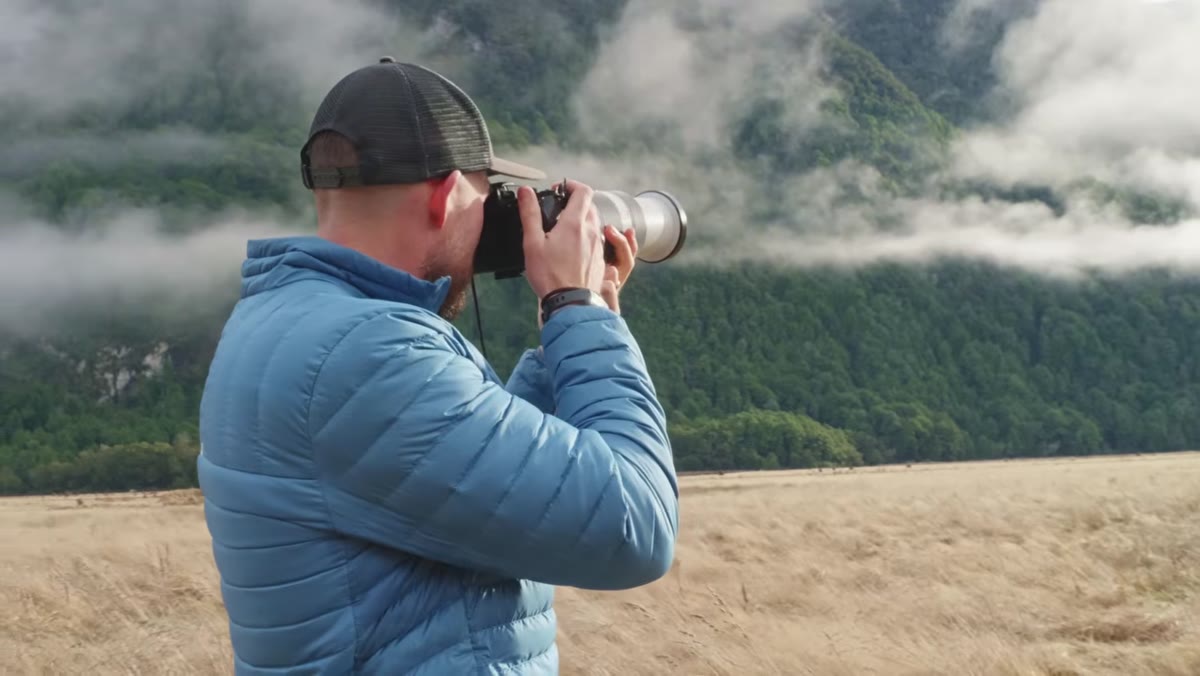
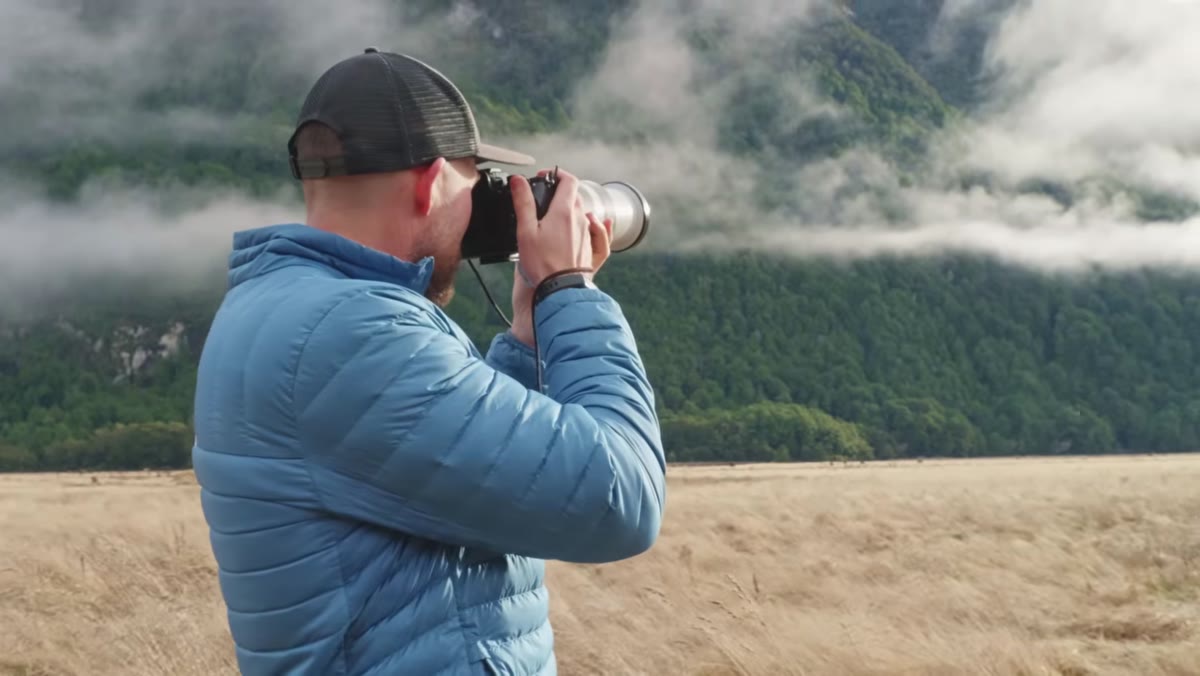
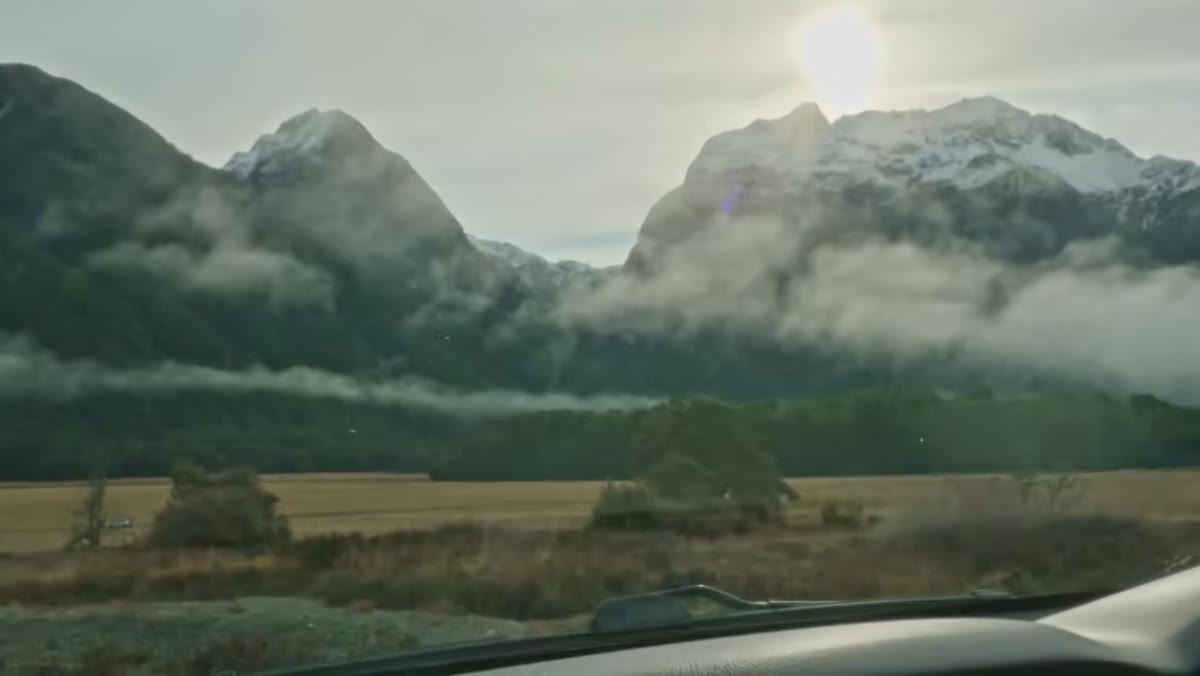 Patino scanning a misty valley with telephoto raised
Patino’s first move isn’t to shoot. He puts the lens up, looks through it, and almost immediately decides that one direction isn’t working. The issue: a row of trees in the foreground and snowcapped peaks above them with no visual bridge between the two. They exist in the frame as separate layers that refuse to speak to each other. He calls it out plainly and moves on. That editorial ruthlessness before you press the shutter is a skill worth practicing deliberately. Train yourself to ask, “What is the relationship between the elements in this frame?” If you can’t answer it clearly, the viewer won’t be able to either.
Patino scanning a misty valley with telephoto raised
Patino’s first move isn’t to shoot. He puts the lens up, looks through it, and almost immediately decides that one direction isn’t working. The issue: a row of trees in the foreground and snowcapped peaks above them with no visual bridge between the two. They exist in the frame as separate layers that refuse to speak to each other. He calls it out plainly and moves on. That editorial ruthlessness before you press the shutter is a skill worth practicing deliberately. Train yourself to ask, “What is the relationship between the elements in this frame?” If you can’t answer it clearly, the viewer won’t be able to either.
Step 2: Turn Around — The Best Composition Is Often Behind You
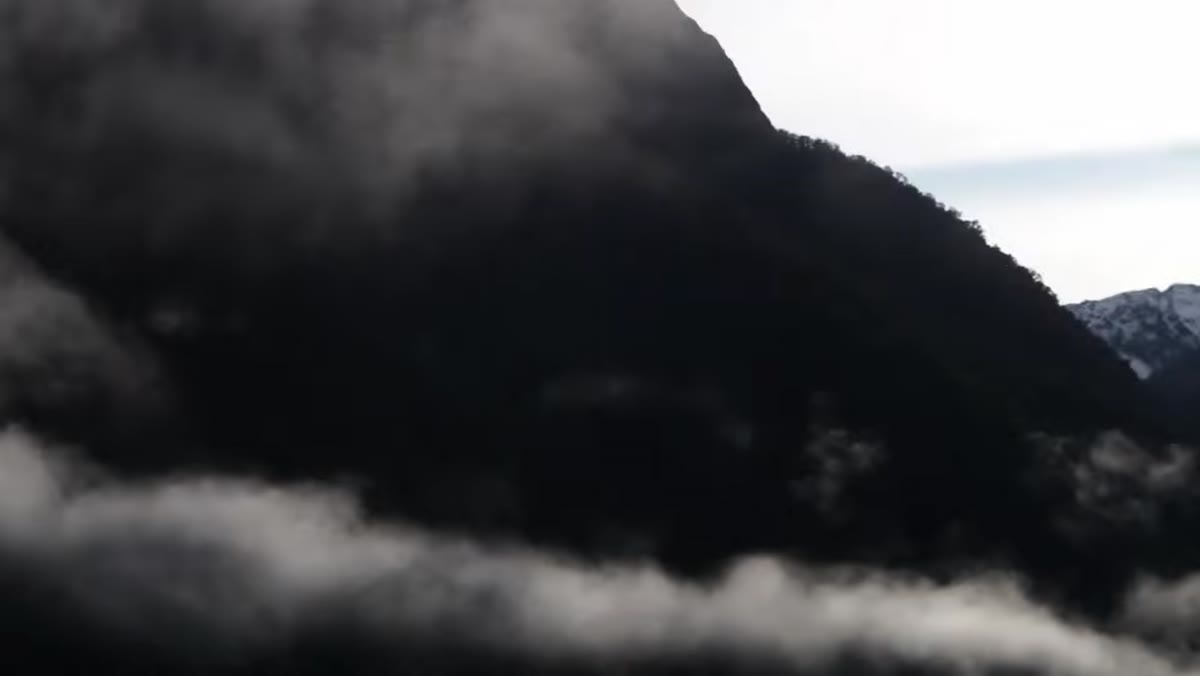 Patino pivoting to the opposite direction, lone tree visible in mist
After rejecting the valley head, Patino turns roughly 180 degrees and finds a lone tree emerging from fog on the opposite side. This happens constantly in the field, and it’s still easy to miss because we anchor ourselves to the thing that drew us to a spot in the first place. Make it a physical habit: after you’ve assessed your primary subject, stop, turn around, and look. The light that’s illuminating your intended subject is often falling on something behind you in an even more interesting way. In this case, sidelight cutting through fog and landing on a single isolated tree is a far stronger image than the busy, unresolved valley composition.
Patino pivoting to the opposite direction, lone tree visible in mist
After rejecting the valley head, Patino turns roughly 180 degrees and finds a lone tree emerging from fog on the opposite side. This happens constantly in the field, and it’s still easy to miss because we anchor ourselves to the thing that drew us to a spot in the first place. Make it a physical habit: after you’ve assessed your primary subject, stop, turn around, and look. The light that’s illuminating your intended subject is often falling on something behind you in an even more interesting way. In this case, sidelight cutting through fog and landing on a single isolated tree is a far stronger image than the busy, unresolved valley composition.
Step 3: Use Focal Length to Do the Work of Isolation
 Telephoto compressed view showing lone tree framed by mist at 300-400mm
Patino works in the 300 to 400mm range here, and the compression that focal length produces is doing real compositional labor. Fog softens and erases the surrounding forest, and the long glass narrows the field of view until only the most essential shapes remain. If you shoot this same scene at 50mm or 24mm, the tree is surrounded by competing trunks, branches, and mid-ground clutter. The telephoto doesn’t just bring a subject closer; it removes context that would otherwise distract. Think of it as your editing tool in the field, not just a reach tool.
Telephoto compressed view showing lone tree framed by mist at 300-400mm
Patino works in the 300 to 400mm range here, and the compression that focal length produces is doing real compositional labor. Fog softens and erases the surrounding forest, and the long glass narrows the field of view until only the most essential shapes remain. If you shoot this same scene at 50mm or 24mm, the tree is surrounded by competing trunks, branches, and mid-ground clutter. The telephoto doesn’t just bring a subject closer; it removes context that would otherwise distract. Think of it as your editing tool in the field, not just a reach tool.
Step 4: React Fast — Atmospheric Conditions Are Wildlife
 Mist shifting rapidly around trees as sidelight changes
Patino makes an offhand but important comparison: telephoto landscape shooting in dynamic atmospheric conditions feels like wildlife photography. You’re reacting to something that has its own schedule and doesn’t repeat. A shaft of sidelight through fog lasts seconds. The mist that isolates your subject clears and suddenly the forest fills back in. He fires multiple frames during this window, not because he expects all of them to work, but because the conditions are moving and he needs coverage. Set your camera to continuous shooting in moments like this. Don’t chimp between bursts. Review when the window closes.
Mist shifting rapidly around trees as sidelight changes
Patino makes an offhand but important comparison: telephoto landscape shooting in dynamic atmospheric conditions feels like wildlife photography. You’re reacting to something that has its own schedule and doesn’t repeat. A shaft of sidelight through fog lasts seconds. The mist that isolates your subject clears and suddenly the forest fills back in. He fires multiple frames during this window, not because he expects all of them to work, but because the conditions are moving and he needs coverage. Set your camera to continuous shooting in moments like this. Don’t chimp between bursts. Review when the window closes.
Step 5: When a Moving Element Enters the Frame, Think About Direction
 Ducks flying through the foggy scene, Patino tracking them
A group of ducks flies through the fog while Patino is shooting, and he goes for it. Some of the frames that result put the birds at the dark edge of the tree line, which kills them visually. Others place them in the open fog, which is better, but they’re moving toward the edge of the frame rather than into it. He explains the principle clearly: a moving subject should carry the viewer’s eye inward, toward the rest of the image, not outward and off the edge. This applies to birds, animals, water, or any directional element. When you’re composing on the fly, position yourself so that movement tracks toward your main subject, not away from it.
Ducks flying through the foggy scene, Patino tracking them
A group of ducks flies through the fog while Patino is shooting, and he goes for it. Some of the frames that result put the birds at the dark edge of the tree line, which kills them visually. Others place them in the open fog, which is better, but they’re moving toward the edge of the frame rather than into it. He explains the principle clearly: a moving subject should carry the viewer’s eye inward, toward the rest of the image, not outward and off the edge. This applies to birds, animals, water, or any directional element. When you’re composing on the fly, position yourself so that movement tracks toward your main subject, not away from it.
Step 6: Review Raw Files to Complete the Thought
 Patino reviewing raw files on screen, cropping one to 16x9
Back at the screen, Patino walks through a short selects session and is honest: he probably won’t keep any of it. His reason is instructive. The strongest frame has three trees in a shaft of light, good layering, reasonable atmosphere. But there’s no hero. No single element that the eye lands on and stays. A group of similar shapes is geometry; a dominant subject surrounded by supporting elements is a composition. He adds contrast to see the image more clearly, acknowledges what works, and moves on without drama. That objectivity is harder than any technical skill to develop, and watching someone model it in real time is useful.
Patino reviewing raw files on screen, cropping one to 16x9
Back at the screen, Patino walks through a short selects session and is honest: he probably won’t keep any of it. His reason is instructive. The strongest frame has three trees in a shaft of light, good layering, reasonable atmosphere. But there’s no hero. No single element that the eye lands on and stays. A group of similar shapes is geometry; a dominant subject surrounded by supporting elements is a composition. He adds contrast to see the image more clearly, acknowledges what works, and moves on without drama. That objectivity is harder than any technical skill to develop, and watching someone model it in real time is useful.
What I’d Add From My Own Experience
Patino’s point about needing a “hero” in the frame is something I’d extend beyond the telephoto. I see the same problem in ultra-wide compositions where photographers chase drama in the sky and forget to give the foreground an anchor. The wide lens makes everything feel epic and nothing feel specific. Whether you’re at 400mm in the fog or 14mm on a coastline, ask yourself: what is the one thing this image is about? If you can’t name it, the viewer can’t feel it. I’ve walked away from scenes that looked spectacular on location because I couldn’t answer that question honestly. The camera doesn’t lie about that ambiguity the way our excitement in the field sometimes does. My mentor used to say the mountain doesn’t care about your schedule. I’d add: it doesn’t care about your enthusiasm either. Only the frame does.
The single most transferable idea from this tutorial is the willingness to reject and pivot quickly, and then to be just as honest when you review what you got. Patino doesn’t treat mediocre frames as near-misses worth preserving. He treats them as useful feedback and moves to the next setup. That rhythm, field shooting followed by clear-eyed review followed by more field shooting, is the actual practice. Everything else is equipment.
Watch the full tutorial on YouTube to see the raw files, hear Patino’s live narration, and follow the rest of the afternoon as the conditions shift and the results get stronger.
Comments (2)
Tried this technique this morning. Game changer for real.
Would love to see a follow-up going deeper into this topic.
Leave a Comment