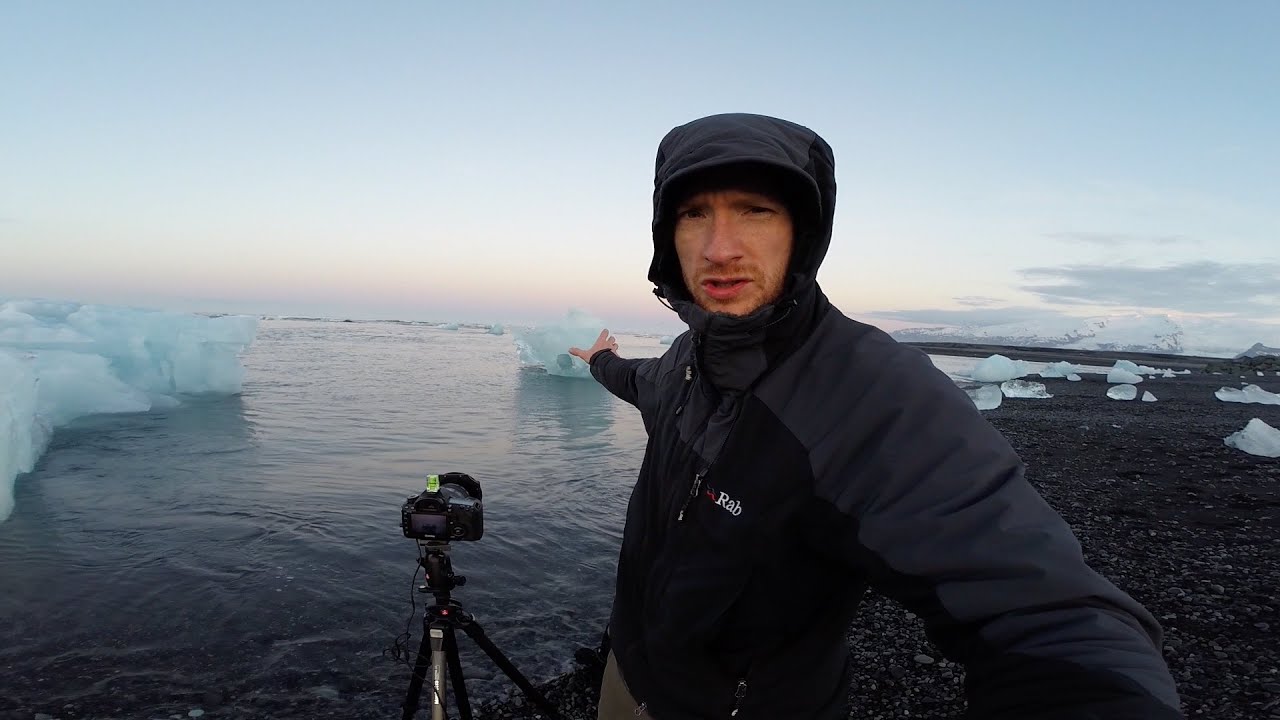
There’s a particular kind of frustration that comes from arriving at a great location and immediately trying to photograph everything at once. I’ve done it more times than I care to admit — running from foreground to foreground, swapping lenses, second-guessing every frame, and walking away with a memory card full of almost-good images. It’s the enemy of serious landscape work, and it’s a trap that gets easier to fall into the more spectacular the location. That’s exactly why I keep returning to Thomas Heaton’s on-location Iceland tutorial. Watch the full tutorial on YouTube — it covers three major locations across Iceland, shot during the midnight sun of June, and it’s less about gear than it is about the mental discipline of working a scene.
What Heaton demonstrates across the Snaefellsnes peninsula, Mývatn, and Jökulsárlón isn’t a bag of tricks. It’s a way of moving through a landscape with intention. He’s shooting in moody, unpredictable conditions, adapting constantly, and still coming away with strong, considered images. For anyone who photographs in the field, as opposed to from a carefully scouted position with a shot list, this tutorial addresses the real challenge: how do you think clearly when the light is doing something extraordinary and your instinct is to panic-shoot?
Step 1: Reframe Bad Weather as a Creative Condition
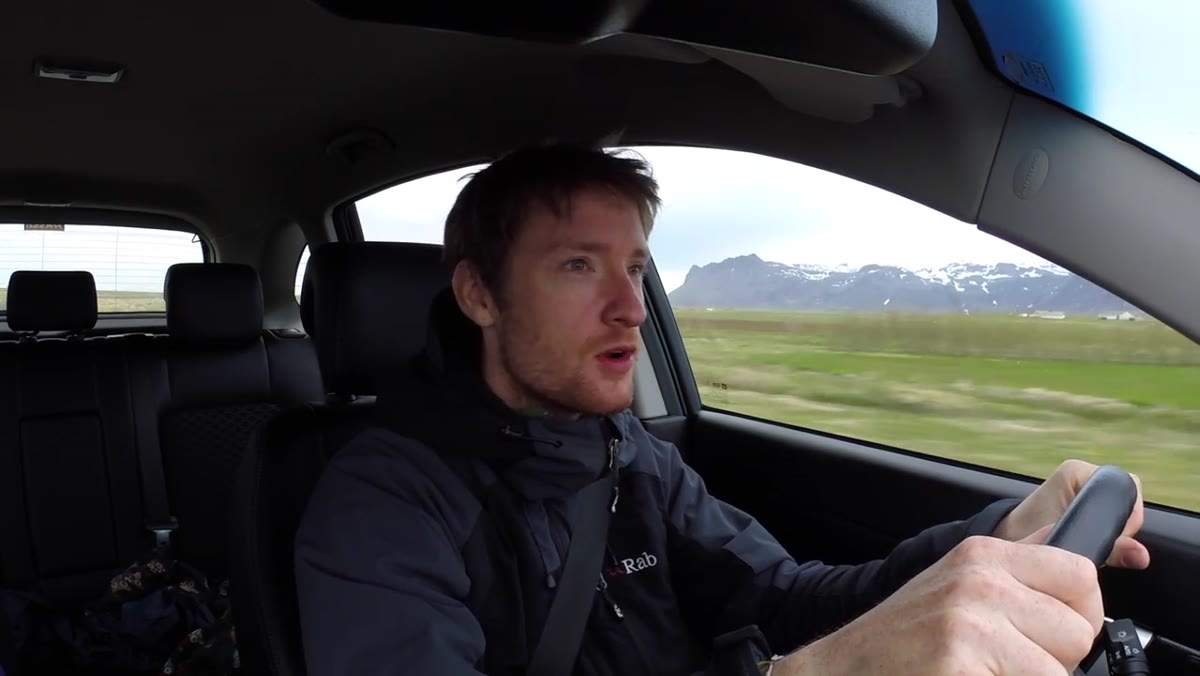 Stormy overcast sky viewed through a car windshield
Heaton is driving the Snaefellsnes peninsula under heavy cloud cover when he makes a deliberate choice to treat the stormy conditions as an asset rather than a setback. He notes that the ominous sky is going to produce moody, interesting pictures. This reframe matters. Flat gray light that falls evenly across a scene is the actual enemy. Broken storm clouds, with light pushing through in patches, create drama and tonal contrast that clear skies rarely produce.
Stormy overcast sky viewed through a car windshield
Heaton is driving the Snaefellsnes peninsula under heavy cloud cover when he makes a deliberate choice to treat the stormy conditions as an asset rather than a setback. He notes that the ominous sky is going to produce moody, interesting pictures. This reframe matters. Flat gray light that falls evenly across a scene is the actual enemy. Broken storm clouds, with light pushing through in patches, create drama and tonal contrast that clear skies rarely produce.
When you arrive at a location and the weather looks threatening, before you reach for your phone to check the forecast, look at what’s actually in front of you. What color is the underside of the cloud deck? Is there a break forming on the horizon? Stormy conditions at golden hour especially produce the kind of saturated, directional light that makes a landscape feel three-dimensional. Treat the weather as a collaborator.
Step 2: Look for Details Instead of the Obvious Wide Shot
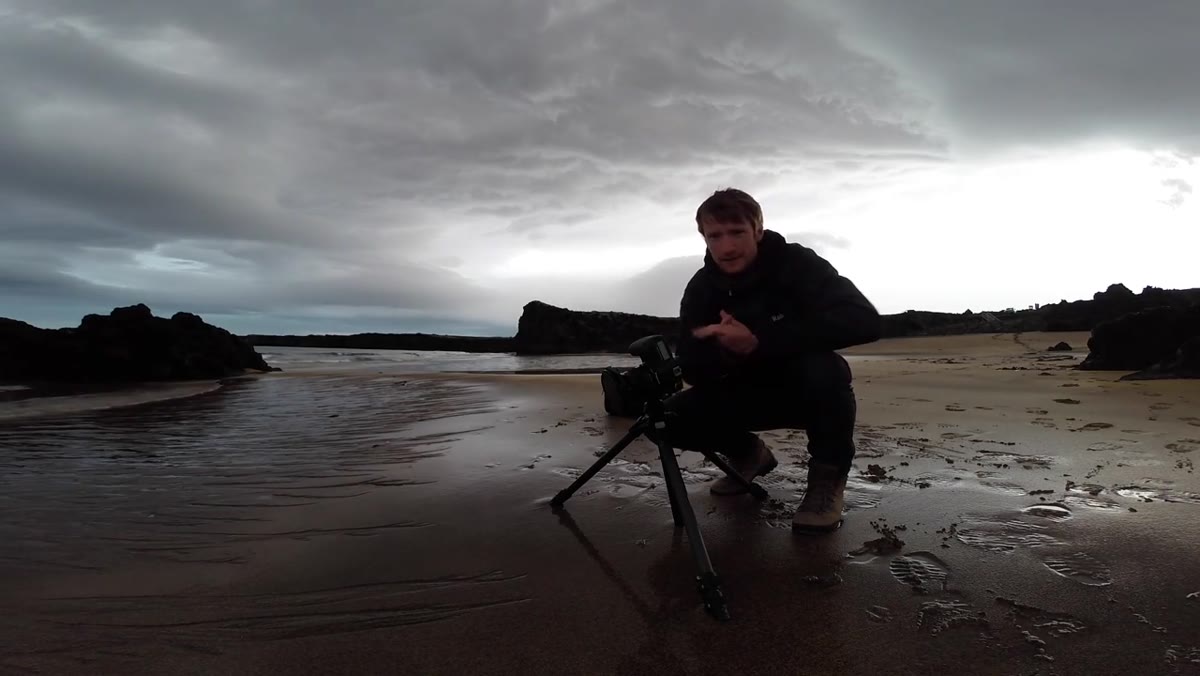 Close-up of sand patterns creating leading lines toward the sea
At a coastal location on Snaefellsnes, Heaton bypasses the broad scenic view and instead gets low over patterns in the sand. The ripple marks in the wet sand create a natural leading line toward the water. His framing is tight and specific. He says plainly that he’s trying to find the detail rather than take the obvious picture.
Close-up of sand patterns creating leading lines toward the sea
At a coastal location on Snaefellsnes, Heaton bypasses the broad scenic view and instead gets low over patterns in the sand. The ripple marks in the wet sand create a natural leading line toward the water. His framing is tight and specific. He says plainly that he’s trying to find the detail rather than take the obvious picture.
This is a discipline worth practicing deliberately. When you arrive at a new location, give yourself five minutes before you set up a tripod. Walk the foreground. Get on your knees. Look at what’s directly below the horizon line, not just beyond it. Intimate details — patterns in rock, reflections in a tide pool, compressed texture in grass or sand — often produce more original images than the classic wide composition that a hundred other photographers have already taken from the same spot.
Step 3: Use a Polarizer to Reveal Foreground Texture
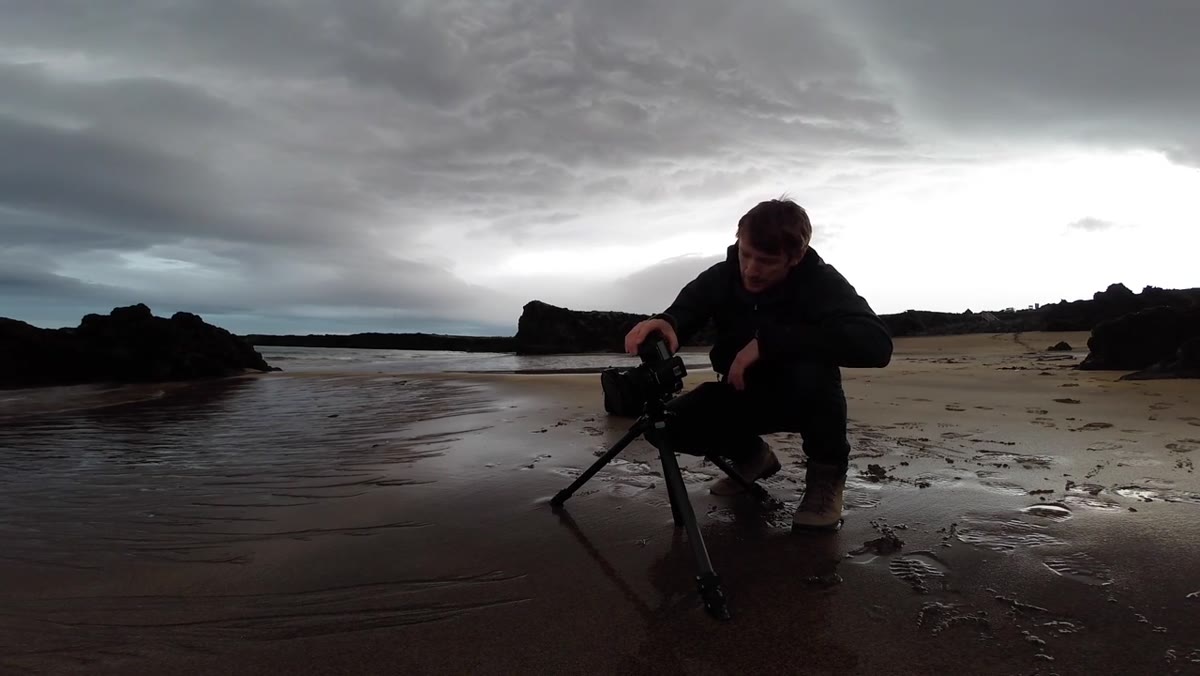 Polarizer being rotated on lens showing before-and-after glare reduction
Heaton demonstrates the polarizer’s effect directly on camera, rotating it slowly so viewers can see the reflection from the sky lifting off the wet sand. With polarization off, the wet sand surface acts like a mirror — the reflection from the sky is strong enough to blow out texture and detail. Rotate the filter into position and that glare disappears, revealing the individual grain patterns underneath.
Polarizer being rotated on lens showing before-and-after glare reduction
Heaton demonstrates the polarizer’s effect directly on camera, rotating it slowly so viewers can see the reflection from the sky lifting off the wet sand. With polarization off, the wet sand surface acts like a mirror — the reflection from the sky is strong enough to blow out texture and detail. Rotate the filter into position and that glare disappears, revealing the individual grain patterns underneath.
A polarizer works best when you’re shooting at roughly 90 degrees to the sun. On wet sand, shallow water, or any non-metallic reflective surface, it can recover detail that would otherwise be lost. The practical note here: don’t just screw it on and leave it — rotate it with the filter pressed to your eye until you see maximum effect. The ideal position changes every time you reframe. And if you’re using a wide lens, be aware that polarization can be uneven across the frame at focal lengths below 24mm on full frame, which can create gradient banding in the sky.
Step 4: Adjust ISO to Protect Against Wind Blur on a Tripod
 Camera on tripod with storm clouds visible behind the volcanic crater
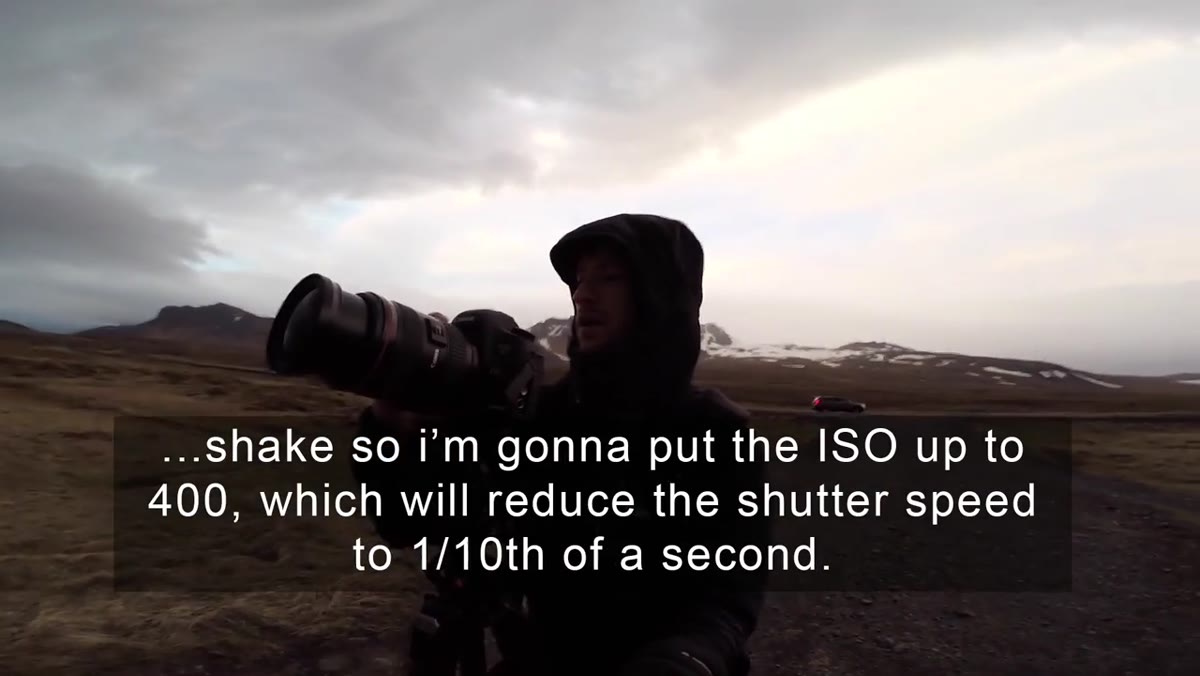
Shooting near the Saxhóll crater with a dramatic storm sky behind it, Heaton realizes the wind is strong enough to create camera shake even on a tripod. His adjustment is direct: he raises the ISO to 400 to shorten the shutter speed, trading a small amount of noise for a sharper image.
Camera on tripod with storm clouds visible behind the volcanic crater
Shooting near the Saxhóll crater with a dramatic storm sky behind it, Heaton realizes the wind is strong enough to create camera shake even on a tripod. His adjustment is direct: he raises the ISO to 400 to shorten the shutter speed, trading a small amount of noise for a sharper image.
This is a field decision that many photographers get backwards. When your tripod is threatened by wind, the instinct might be to keep ISO low for maximum quality. But a sharp image at ISO 400 is always better than a soft one at ISO 100. Raise the ISO until your shutter speed is fast enough to freeze any movement caused by the conditions. At ISO 400 he’s working around 1/6 of a second, which is enough to avoid the blur introduced by vibration in high wind. If the tripod is genuinely at risk of tipping, lower a leg, add weight to the center hook, or simply hold the tripod steady during the exposure.
Step 5: Commit to One Strong Shot Instead of Photographing Everything
 Wide view of Mývatn geothermal mud patterns with steam vents in background
At Mývatn, surrounded by geothermal steam vents and dramatic ground-level patterns in the volcanic mud, Heaton resists the urge to spray and pray. He says explicitly that going into a location with the goal of photographing everything you see leads to rushing and a collection of mediocre images. Instead, he finds one composition — a close wide-angle shot of an unusual circular mud pattern with steam vents layered into the background — and commits to it.
Wide view of Mývatn geothermal mud patterns with steam vents in background
At Mývatn, surrounded by geothermal steam vents and dramatic ground-level patterns in the volcanic mud, Heaton resists the urge to spray and pray. He says explicitly that going into a location with the goal of photographing everything you see leads to rushing and a collection of mediocre images. Instead, he finds one composition — a close wide-angle shot of an unusual circular mud pattern with steam vents layered into the background — and commits to it.
This is a philosophy I’ve come to think of as the one great image rule. It doesn’t mean you only press the shutter once. It means you pick your best foreground element, build your composition around it completely, and then wait for the conditions to come to you. Which leads directly into the next step.
Step 6: Use the Midnight Sun as a Timer-Free Advantage
 Sky showing lingering ambient light late at night over geothermal landscape
One of the most practical advantages Heaton works with is Iceland’s midnight sun in June. The sun barely dips below the horizon, which means golden hour light stretches for hours rather than minutes. He explicitly contrasts this with shooting at home in England, where a promising sky gives you ten minutes before the light dies. In Iceland, he can sit with a composition for three hours without pressure.
Sky showing lingering ambient light late at night over geothermal landscape
One of the most practical advantages Heaton works with is Iceland’s midnight sun in June. The sun barely dips below the horizon, which means golden hour light stretches for hours rather than minutes. He explicitly contrasts this with shooting at home in England, where a promising sky gives you ten minutes before the light dies. In Iceland, he can sit with a composition for three hours without pressure.
Even if you’re not shooting in Iceland, this mindset translates. Before you go out, look up your civil twilight window and your blue hour duration. Know how much time you realistically have. Pressure is what causes rushed decisions and abandoned compositions. If you know you have two hours until the window closes, you can afford to sit down, make tea, and watch how the light moves across your chosen foreground before you ever touch the shutter.
From My Own Kit Bag: Patience Has a Physical Practice
I learned a version of this lesson from a mentor years ago who told me that the mountain doesn’t care about your schedule. He meant it literally. You can plan, drive six hours, set up before dawn, and the landscape will do exactly what it was going to do anyway. Your job is to be ready when it does something good.
What I’ve added to Heaton’s approach is a physical practice: once I find my composition, I stop touching the camera. I step back. I watch the light change across the frame with my eyes, not through the viewfinder. This lets me see the whole scene rather than the tunnel of what’s in focus. When something changes that I know will improve the image, I step in and shoot. That discipline, more than any filter or setting, is what separates the images I’m proud of from the ones I’ve forgotten.
The single biggest thing this tutorial reinforces is something that sounds almost too simple: slow down, choose one subject, and wait. Every technical decision Heaton makes, from the polarizer to the ISO adjustment to the midnight sun, serves that central idea. Watch the full tutorial on YouTube and pay particular attention to how unhurried he is even when the conditions are dramatic. That calm is the technique.
Comments
Leave a Comment