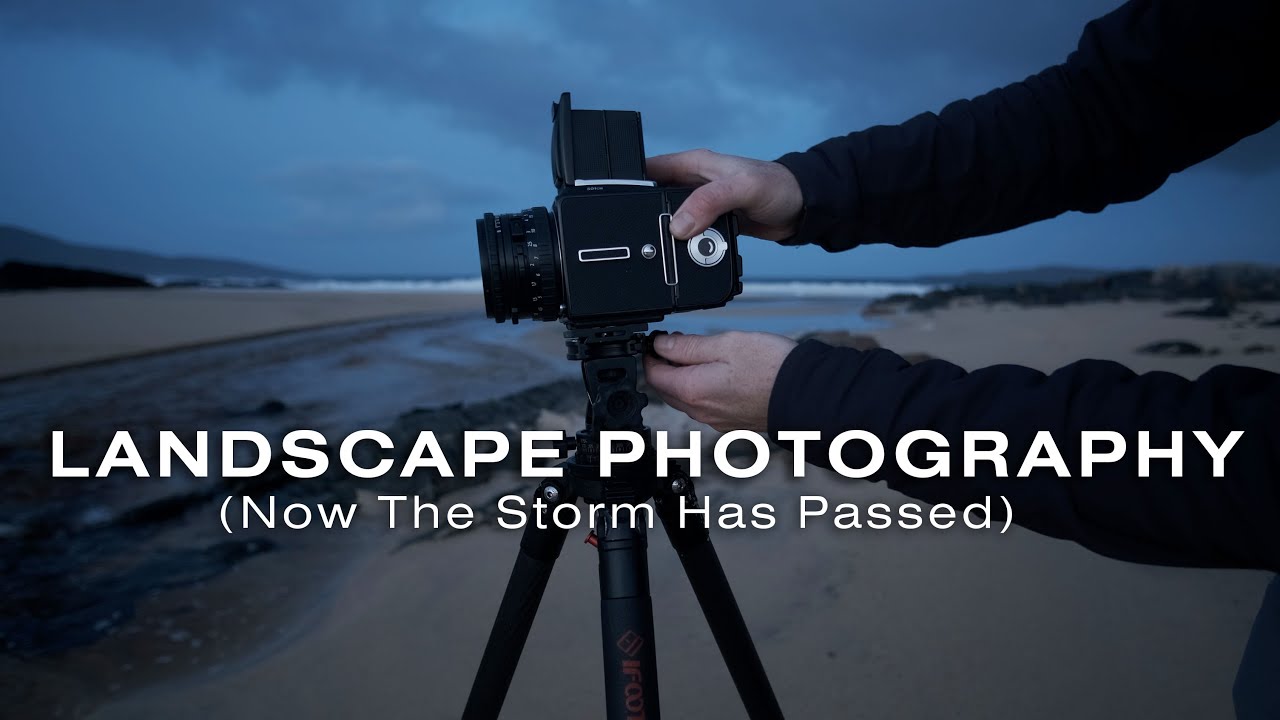
There’s a particular kind of morning I live for. No wind. No rain hammering the roof. Just silence and the knowledge that the light is going to do something worth standing in a cold river for. I’ve had maybe a hundred mornings like that in twenty years of doing this professionally, and I still feel a small jolt of adrenaline every time. That’s exactly the energy that pulls me into Watch the full tutorial on YouTube — Thomas Heaton’s landscape photography shoot on the Isle of Harris, filmed during a road trip across Scotland where he ditched his digital kit and shot entirely on film.
What makes this tutorial worth studying isn’t just the location, though the beaches on Harris are otherworldly. It’s that Heaton spends as much time on-screen dealing with problems as he does actually shooting. A lost cable release, the wrong film for a scene, a shutter left on bulb by mistake. These are real field moments, and watching a skilled photographer navigate them in real time is worth more than any perfectly edited gear review. I’ve broken down the core techniques and decisions from this shoot into steps you can apply on your next outing, whether you’re shooting film or digital.
Step 1: Protect What You’re About to Photograph
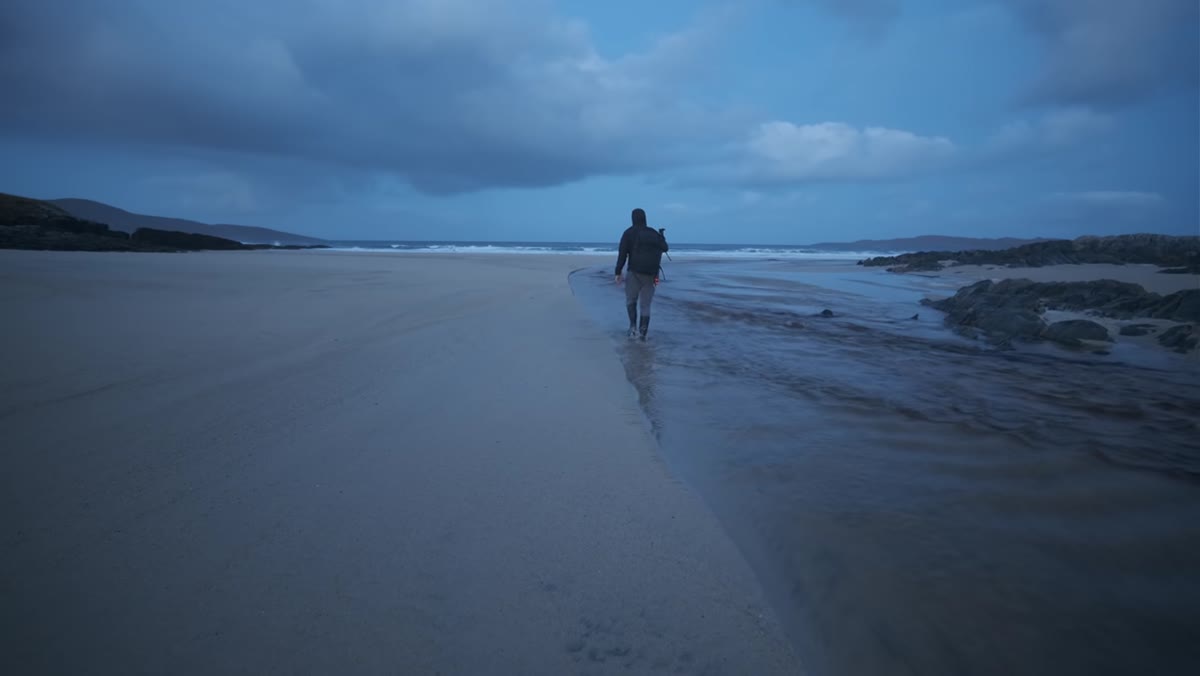 Photographer wading through river to reach pristine beach
Before you even think about composition, think about your foreground. Heaton walks through a river to reach the beach rather than crossing the sand directly. It sounds obvious when you hear it, but I still see photographers trudging straight across pristine snow or wet sand and then wondering why their foreground looks like a footpath. If the untouched surface is part of the shot, treat it that way from the moment you arrive. Plan your access route before you start walking. Sometimes that means getting your feet wet.
Photographer wading through river to reach pristine beach
Before you even think about composition, think about your foreground. Heaton walks through a river to reach the beach rather than crossing the sand directly. It sounds obvious when you hear it, but I still see photographers trudging straight across pristine snow or wet sand and then wondering why their foreground looks like a footpath. If the untouched surface is part of the shot, treat it that way from the moment you arrive. Plan your access route before you start walking. Sometimes that means getting your feet wet.
Step 2: Know Your Film’s Limits Before You Frame the Shot
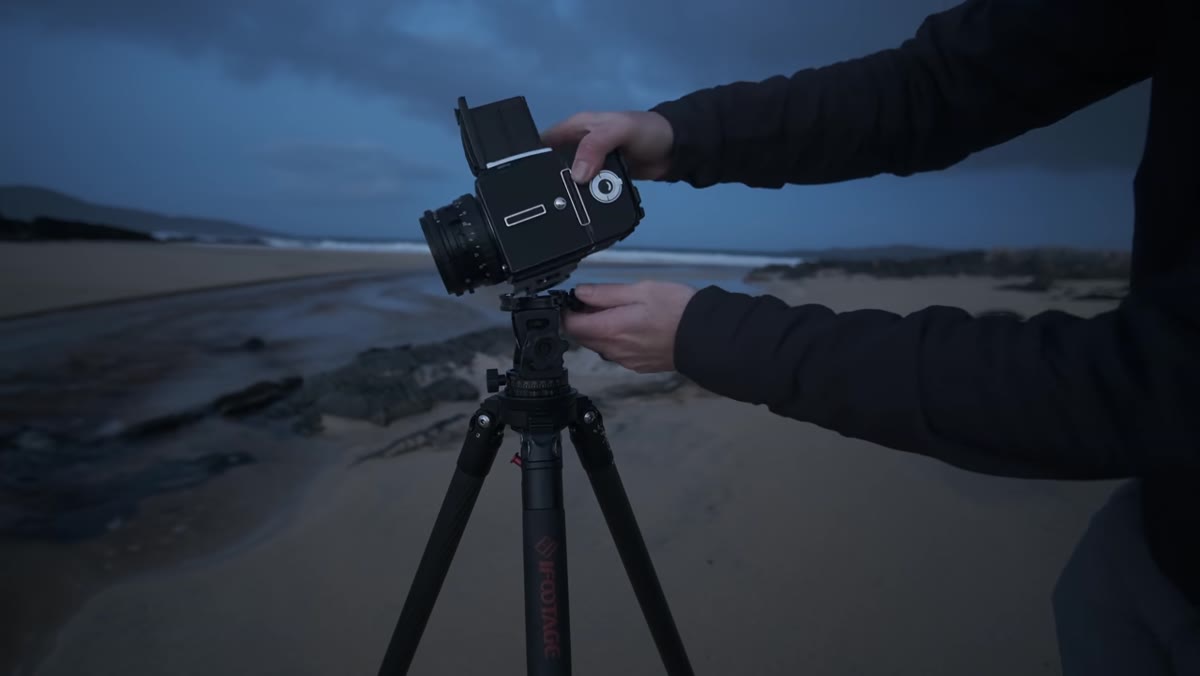 Photographer loading Fuji Provia film, discussing dynamic range
Heaton is shooting Fuji Provia, a color positive (slide) film with roughly five stops of dynamic range and very high contrast. That’s a hard ceiling, and it shapes every exposure decision he makes from this point forward. In digital shooting, we’ve grown comfortable with wide dynamic range sensors and luminosity masks that can rescue a blown sky in post. Film doesn’t forgive like that. Knowing your medium’s limits before you compose means you’re solving the right problem. If you’re shooting digitally, this same principle applies: check your histogram before you commit to a frame, not after.
Photographer loading Fuji Provia film, discussing dynamic range
Heaton is shooting Fuji Provia, a color positive (slide) film with roughly five stops of dynamic range and very high contrast. That’s a hard ceiling, and it shapes every exposure decision he makes from this point forward. In digital shooting, we’ve grown comfortable with wide dynamic range sensors and luminosity masks that can rescue a blown sky in post. Film doesn’t forgive like that. Knowing your medium’s limits before you compose means you’re solving the right problem. If you’re shooting digitally, this same principle applies: check your histogram before you commit to a frame, not after.
Step 3: Adapt When Your Gear Fails You
 Photographer realizing cable release with dog-leg is missing
Heaton discovers he’s lost the specific cable release adapter that lets him use a filter holder and a remote shutter simultaneously. He has a spare cable release but without the right fitting, he has to choose between triggering the shutter remotely and using his graduated ND and polarizer. He chooses the filters. The reasoning is sound: a one-second exposure on a calm morning with mirror lockup engaged is manageable without a cable release if your technique is disciplined. What he doesn’t do is pack up and go home. He narrows his options and keeps shooting. Gear failure is a regular part of field work. The photographers who come home with images are the ones who solve the problem on location rather than waiting for perfect conditions that may never arrive.
Photographer realizing cable release with dog-leg is missing
Heaton discovers he’s lost the specific cable release adapter that lets him use a filter holder and a remote shutter simultaneously. He has a spare cable release but without the right fitting, he has to choose between triggering the shutter remotely and using his graduated ND and polarizer. He chooses the filters. The reasoning is sound: a one-second exposure on a calm morning with mirror lockup engaged is manageable without a cable release if your technique is disciplined. What he doesn’t do is pack up and go home. He narrows his options and keeps shooting. Gear failure is a regular part of field work. The photographers who come home with images are the ones who solve the problem on location rather than waiting for perfect conditions that may never arrive.
Step 4: Build a Simple Composition, Then Polish It with Filters
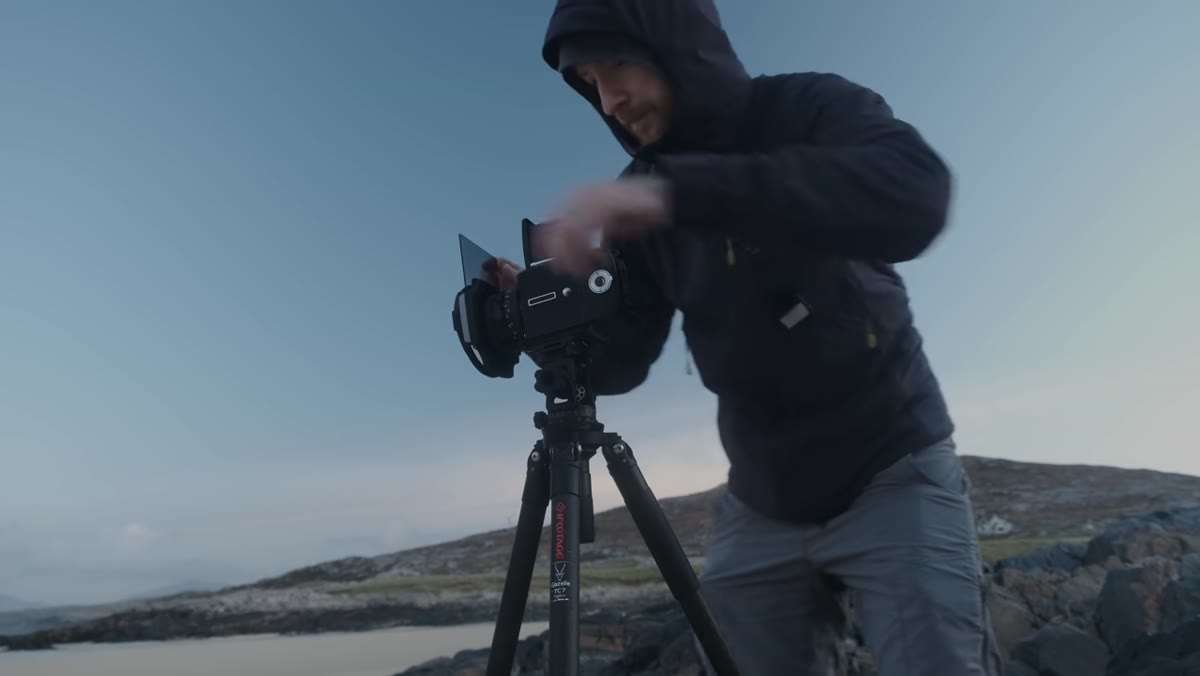 Photographer setting polarizer and graduated ND filter over beach scene
The composition Heaton locks onto is deliberate and uncluttered: textured rocks in the foreground, clean sand, a strong sky. He uses a polarizer to deepen the contrast in the wet rocks and pull out their sheen, and a graduated ND to hold the sky back within a range Provia can handle. The polarizer is doing double duty here. Yes, it’s cutting glare, but it’s also adding density and separation to surfaces that would otherwise read as flat wet stone. When you’re shooting high-contrast film, a polarizer isn’t a luxury. It’s part of your exposure strategy. Layer your filters thoughtfully rather than stacking everything you own, and understand what each one is actually contributing to the frame.
Photographer setting polarizer and graduated ND filter over beach scene
The composition Heaton locks onto is deliberate and uncluttered: textured rocks in the foreground, clean sand, a strong sky. He uses a polarizer to deepen the contrast in the wet rocks and pull out their sheen, and a graduated ND to hold the sky back within a range Provia can handle. The polarizer is doing double duty here. Yes, it’s cutting glare, but it’s also adding density and separation to surfaces that would otherwise read as flat wet stone. When you’re shooting high-contrast film, a polarizer isn’t a luxury. It’s part of your exposure strategy. Layer your filters thoughtfully rather than stacking everything you own, and understand what each one is actually contributing to the frame.
Step 5: Check Every Setting Before You Expose
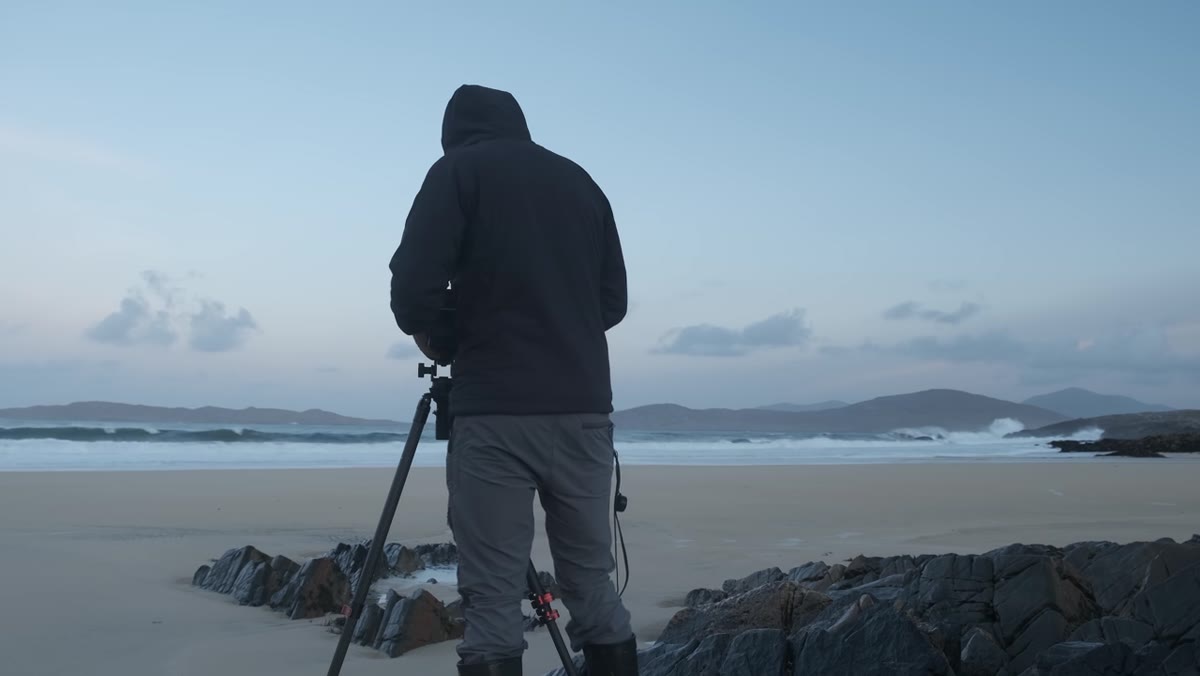 Photographer realizing shutter was set to bulb mode mid-exposure
Heaton trips the shutter and immediately knows something is wrong. The camera was left on bulb mode from a previous session. The frame is lost. This happens. I’ve done it with film, I’ve done it with digital, and I’ve done it in front of workshop students which is its own special kind of humbling. Build a pre-shot checklist into your muscle memory: shutter speed, aperture, ISO (or film speed), mirror lockup if relevant, and confirm the shutter mode. On a medium format film camera where every frame has real cost, this discipline is non-negotiable. On digital, the cost is just your time and the light you missed while reshooting.
Photographer realizing shutter was set to bulb mode mid-exposure
Heaton trips the shutter and immediately knows something is wrong. The camera was left on bulb mode from a previous session. The frame is lost. This happens. I’ve done it with film, I’ve done it with digital, and I’ve done it in front of workshop students which is its own special kind of humbling. Build a pre-shot checklist into your muscle memory: shutter speed, aperture, ISO (or film speed), mirror lockup if relevant, and confirm the shutter mode. On a medium format film camera where every frame has real cost, this discipline is non-negotiable. On digital, the cost is just your time and the light you missed while reshooting.
Step 6: Experiment at the Edge of What Should Work
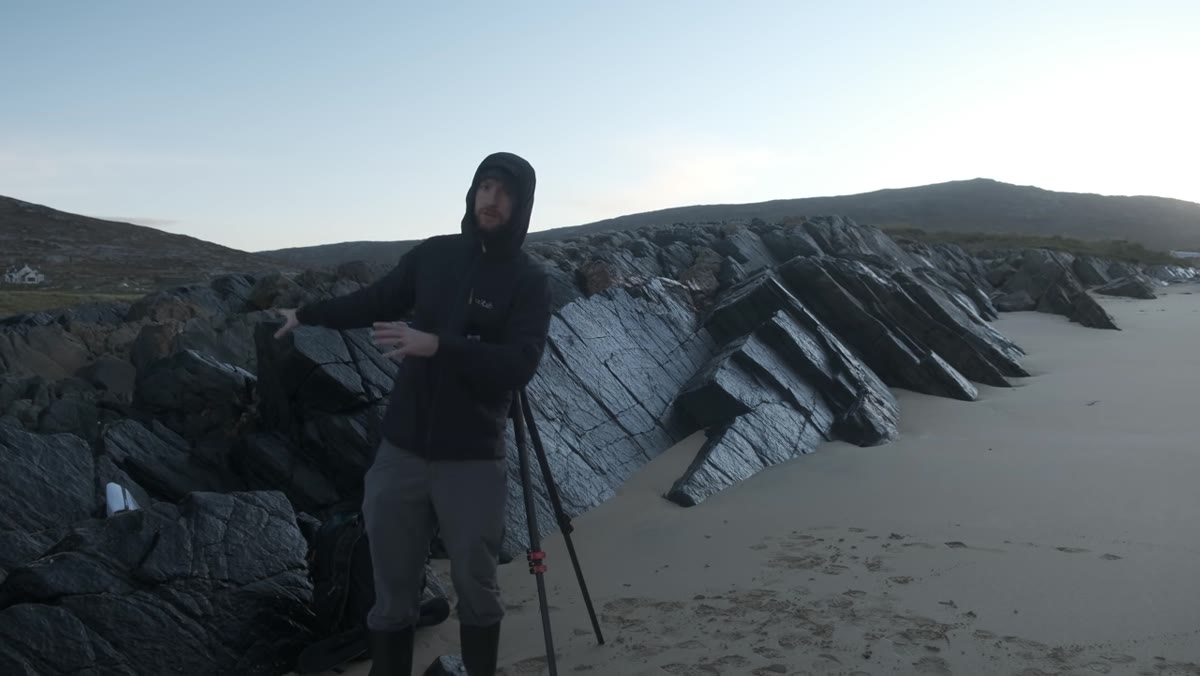 Photographer framing second composition with bright rising sun in background
After the first shot, Heaton spots a second composition with beautiful sheen on jagged rocks and clean sand. The problem is directional: the sun is rising directly behind the scene, and that bright sky area is going to be difficult for Provia’s limited dynamic range to handle. He’s skeptical. He says so out loud. But he reaches for a three-stop graduated ND instead of a two-stop and commits one frame to the experiment anyway. This is a habit worth cultivating. Not every experimental frame will work, and Heaton knows this one is a long shot. But the discipline of trying something at the edge of what’s technically feasible is how you occasionally land an image that surprises you. Keep a mental (or physical) log of what you attempted and why, even when it doesn’t pan out.
Photographer framing second composition with bright rising sun in background
After the first shot, Heaton spots a second composition with beautiful sheen on jagged rocks and clean sand. The problem is directional: the sun is rising directly behind the scene, and that bright sky area is going to be difficult for Provia’s limited dynamic range to handle. He’s skeptical. He says so out loud. But he reaches for a three-stop graduated ND instead of a two-stop and commits one frame to the experiment anyway. This is a habit worth cultivating. Not every experimental frame will work, and Heaton knows this one is a long shot. But the discipline of trying something at the edge of what’s technically feasible is how you occasionally land an image that surprises you. Keep a mental (or physical) log of what you attempted and why, even when it doesn’t pan out.
Step 7: Keep Moving to Find Balance in the Frame
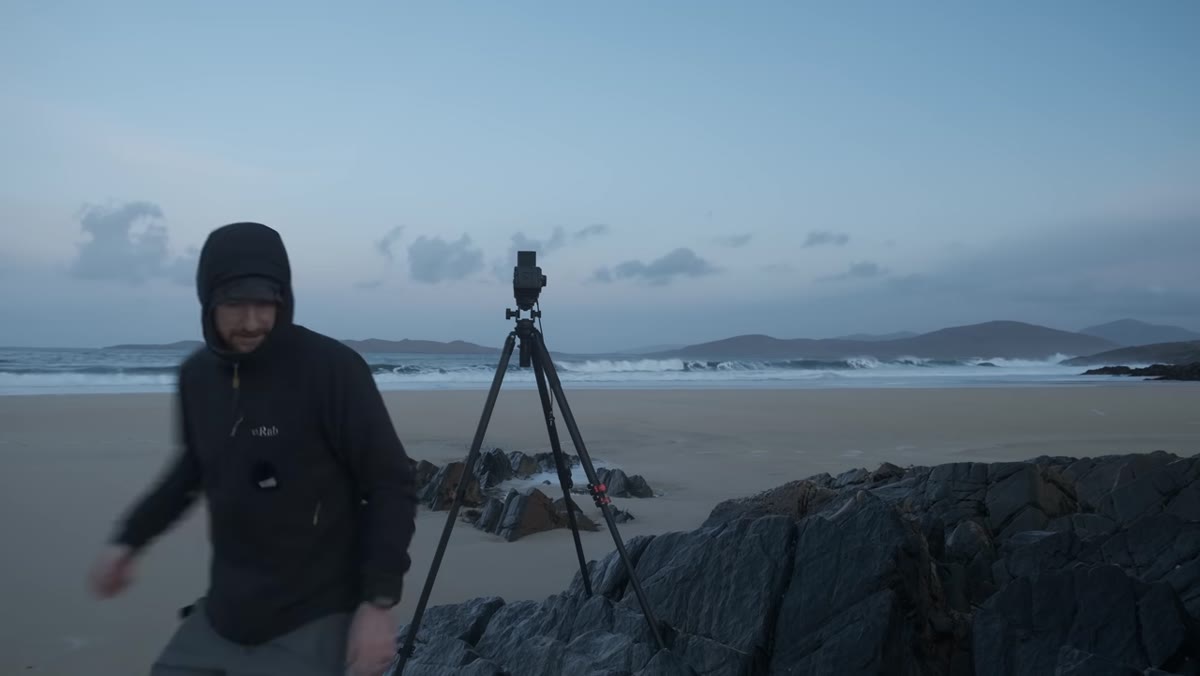
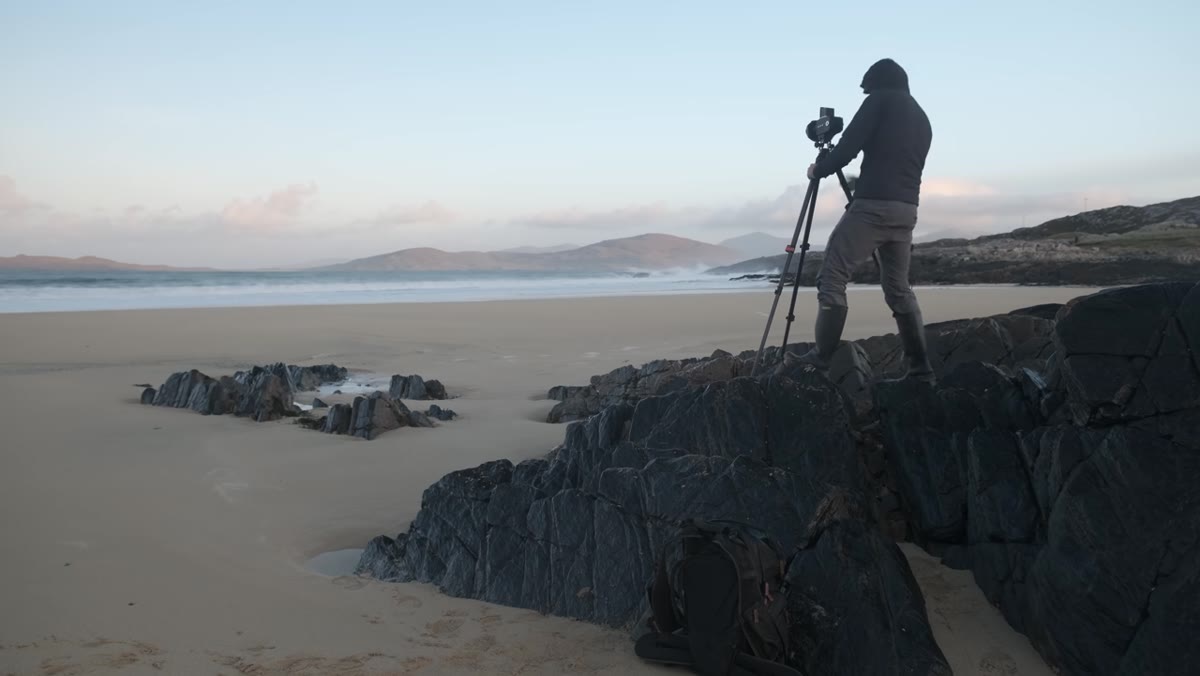 Photographer repositioning repeatedly to align foreground rocks with distant island
As the light improves and color builds in the sky, Heaton keeps adjusting his position. Not making dramatic moves, but small lateral shifts to align his foreground rocks with an island sitting in the water behind them. Compositional balance isn’t something you always see immediately from the first spot where you set up. It often reveals itself through movement. Take three steps left, look. Two steps back, look again. The tripod is not where you stop thinking about composition. It’s where you refine the thinking you’ve already done on your feet.
Photographer repositioning repeatedly to align foreground rocks with distant island
As the light improves and color builds in the sky, Heaton keeps adjusting his position. Not making dramatic moves, but small lateral shifts to align his foreground rocks with an island sitting in the water behind them. Compositional balance isn’t something you always see immediately from the first spot where you set up. It often reveals itself through movement. Take three steps left, look. Two steps back, look again. The tripod is not where you stop thinking about composition. It’s where you refine the thinking you’ve already done on your feet.
A Note from My Own Experience
I still shoot film occasionally, precisely because it slows me down. When I’m working with a limited number of frames and no instant preview, I think harder before I press the shutter. My mentor told me once that the mountain doesn’t care about your schedule, and he was right. Film enforces that lesson whether you like it or not. Even if you never load a roll of Provia, consider applying that mindset to a digital session: decide in advance how many frames you’re willing to make of a single scene, and make each one count. The artificial constraint teaches you something that unlimited buffer space tends to hide.
The single most important takeaway from Heaton’s shoot is this: conditions and gear will fail you regularly. The images come from the decisions you make inside those failures. Know your tools, have a fallback for every critical piece of kit, and keep shooting when something goes wrong.
Watch the full tutorial on YouTube and pay close attention to how Heaton narrates his doubts in real time. That transparency is the whole lesson.
Comments
Leave a Comment