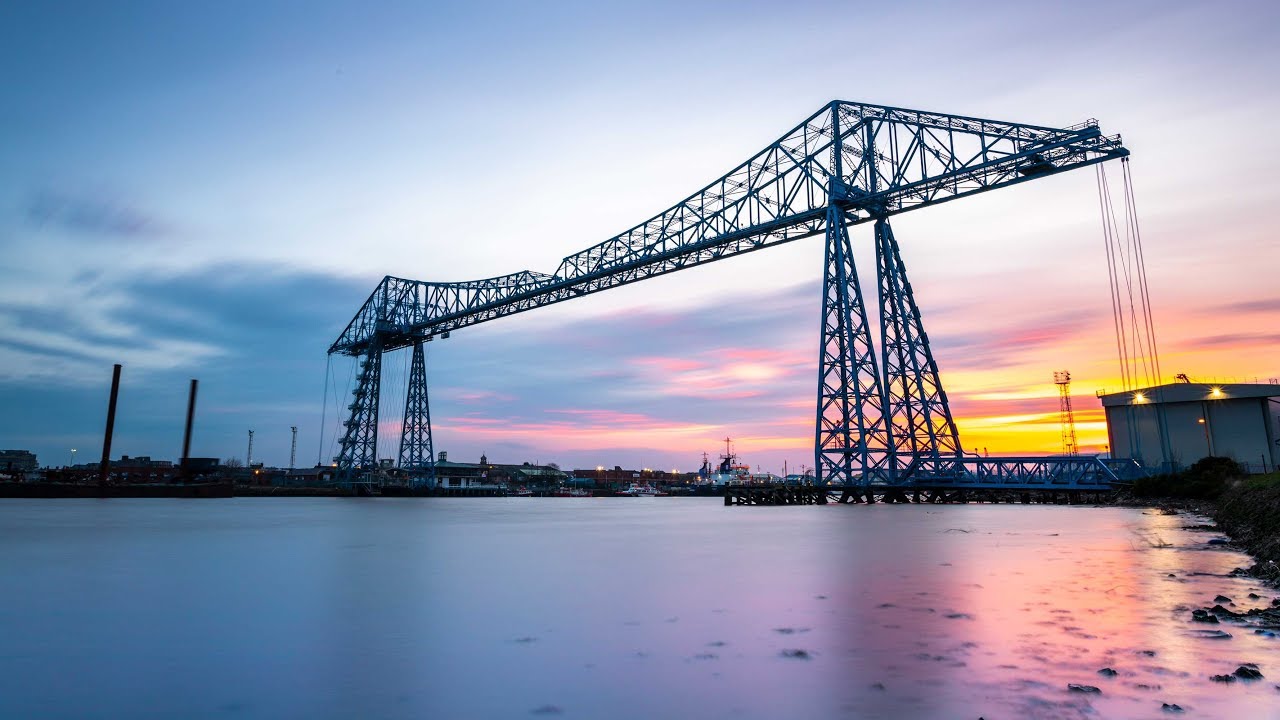
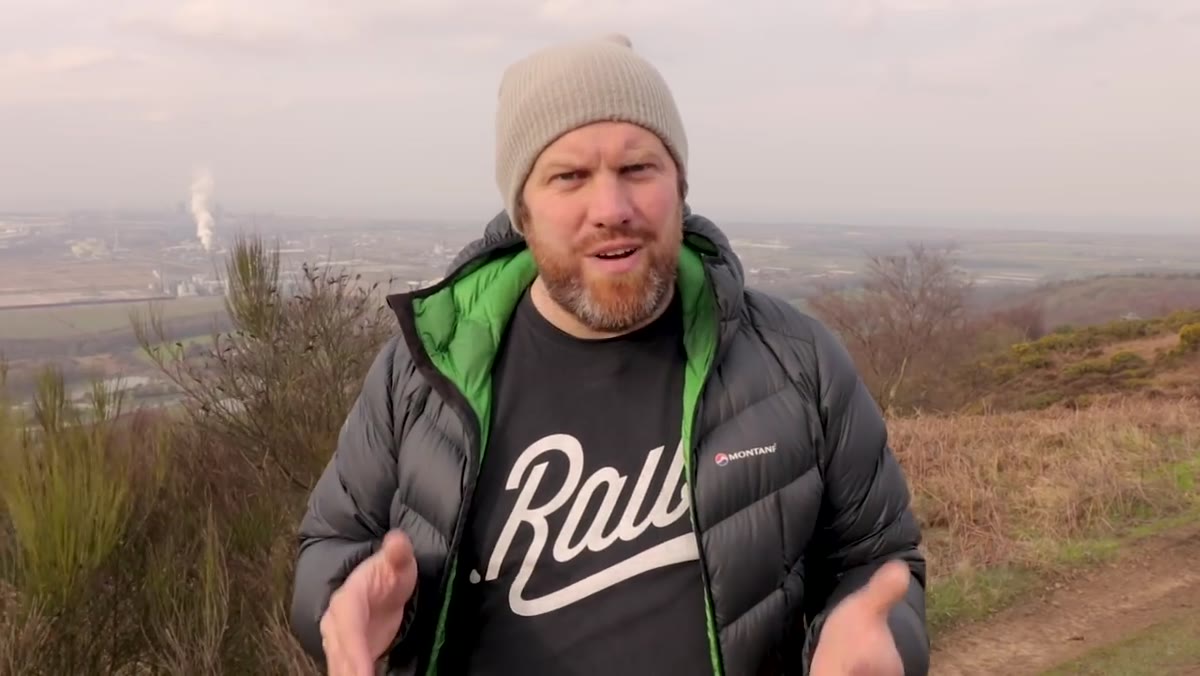
There is a particular kind of location I used to skip entirely. Power plants. Steel yards. Refineries sitting at the edge of town with their chimneys and their haze. After twenty years of chasing light across coastlines and mountain ranges, I had convinced myself that industrial scenes were somebody else’s subject matter. Then I watched Adam from First Man Photography walk up a wooded hillside toward a blast furnace site on the northeast coast of England, and something clicked. Watch the full tutorial on YouTube
In this First Man Photography tutorial, Adam heads out to Teesside, a region of northern England with deep industrial roots, to capture the steelworks and chemical plants that define the area’s character. What makes his approach worth studying isn’t just the technical execution. It’s the philosophy underneath it: that industrial scenes deserve honest, considered storytelling just as much as a mountain at golden hour does. He wants to put a positive spin on northern industry, and he uses the camera as the tool to do that. That reframe alone changed how I look at a certain category of locations I’ve been ignoring.
The specific problem this tutorial solves is one I encounter constantly: how do you take a scene that reads as harsh or chaotic and produce an image that feels intentional and atmospheric? Adam’s answer is a combination of location scouting, compositional discipline, long exposure technique, and the right filter stack. Here’s how he works through it.
Step 1: Approach From Unexpected Angles
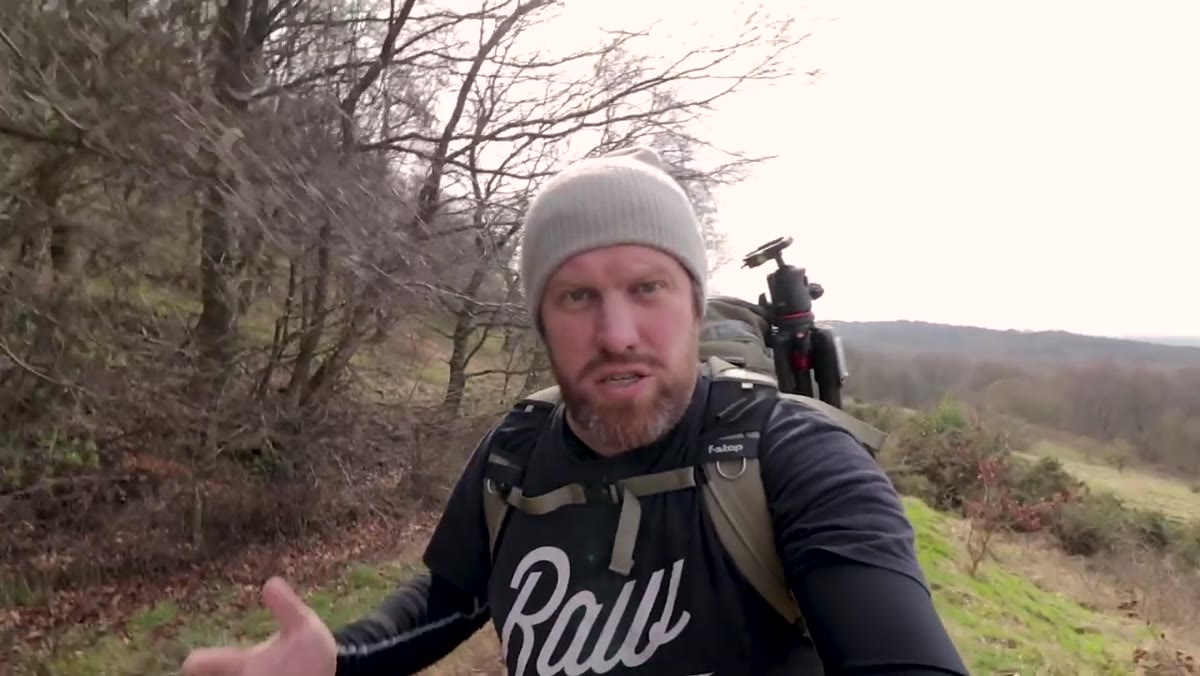 Photographer walking uphill through dense woodland toward industrial site
Adam’s first move is counterintuitive. Rather than parking next to the industrial site and shooting from street level, he climbs a wooded hill to gain elevation. The UK, he notes, has a particular quality where natural landscapes and heavy industry sit almost on top of each other. That proximity is an asset, not a problem. By gaining height through natural terrain, he earns a viewpoint that layers the scene: foreground, midground industry, and sky all become distinct visual zones. Before you set up the tripod anywhere, spend real time walking the perimeter of a site. Go up if there’s anywhere to go. The perspective you find from twenty meters of elevation often makes the difference between a record shot and a photograph.
Photographer walking uphill through dense woodland toward industrial site
Adam’s first move is counterintuitive. Rather than parking next to the industrial site and shooting from street level, he climbs a wooded hill to gain elevation. The UK, he notes, has a particular quality where natural landscapes and heavy industry sit almost on top of each other. That proximity is an asset, not a problem. By gaining height through natural terrain, he earns a viewpoint that layers the scene: foreground, midground industry, and sky all become distinct visual zones. Before you set up the tripod anywhere, spend real time walking the perimeter of a site. Go up if there’s anywhere to go. The perspective you find from twenty meters of elevation often makes the difference between a record shot and a photograph.
Step 2: Scout for Compositional Anchors Before You Shoot
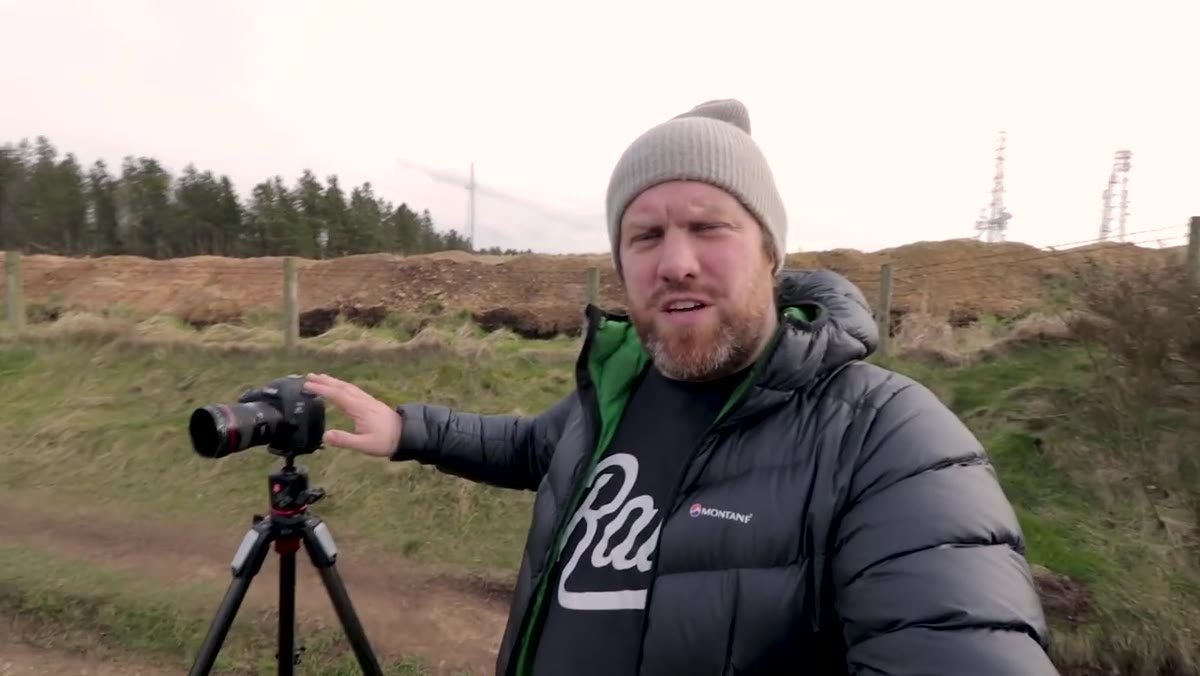 Photographer moving along hillside adjusting camera position for composition
Once Adam reaches his vantage point, he doesn’t immediately lock down the tripod. He walks the ridge line, adjusting his position and watching how the elements shift relative to each other. He’s looking for specific things: a leading line that draws the eye in, a foreground element that adds depth, and strong verticals in the industrial infrastructure that can be placed on the rule of thirds. He finds a road curving into the lower left of the frame, a small reservoir in the foreground, and two active chimneys positioned naturally along the vertical thirds lines. The chimneys matter especially because they are producing smoke or steam, which means they will do interesting things in a long exposure. Look for moving elements in industrial scenes the same way you’d look for moving water in a natural landscape. They serve the same compositional function.
Photographer moving along hillside adjusting camera position for composition
Once Adam reaches his vantage point, he doesn’t immediately lock down the tripod. He walks the ridge line, adjusting his position and watching how the elements shift relative to each other. He’s looking for specific things: a leading line that draws the eye in, a foreground element that adds depth, and strong verticals in the industrial infrastructure that can be placed on the rule of thirds. He finds a road curving into the lower left of the frame, a small reservoir in the foreground, and two active chimneys positioned naturally along the vertical thirds lines. The chimneys matter especially because they are producing smoke or steam, which means they will do interesting things in a long exposure. Look for moving elements in industrial scenes the same way you’d look for moving water in a natural landscape. They serve the same compositional function.
Step 3: Build Depth by Layering the Scene
 Camera viewfinder showing foreground water, industrial site, sea and wind turbines in distance
One thing Adam does well here is constructing genuine depth across the full frame. In his composition, there are at least four distinct planes: the foreground water, the near industrial structures, the blast furnace and wider steelworks, and then the sea with wind turbines on the horizon. Each layer gives the eye somewhere to travel. In industrial photography this matters more than in natural landscapes because the subject matter can feel flat or oppressive if everything sits at the same visual depth. The wind turbines in the distance, which are themselves a form of industry, create a nice counterpoint to the heavy infrastructure in the midground. When you’re scouting, actively count the layers in your scene. If you can only find two, keep moving.
Camera viewfinder showing foreground water, industrial site, sea and wind turbines in distance
One thing Adam does well here is constructing genuine depth across the full frame. In his composition, there are at least four distinct planes: the foreground water, the near industrial structures, the blast furnace and wider steelworks, and then the sea with wind turbines on the horizon. Each layer gives the eye somewhere to travel. In industrial photography this matters more than in natural landscapes because the subject matter can feel flat or oppressive if everything sits at the same visual depth. The wind turbines in the distance, which are themselves a form of industry, create a nice counterpoint to the heavy infrastructure in the midground. When you’re scouting, actively count the layers in your scene. If you can only find two, keep moving.
Step 4: Use Long Exposure to Soften the Scene
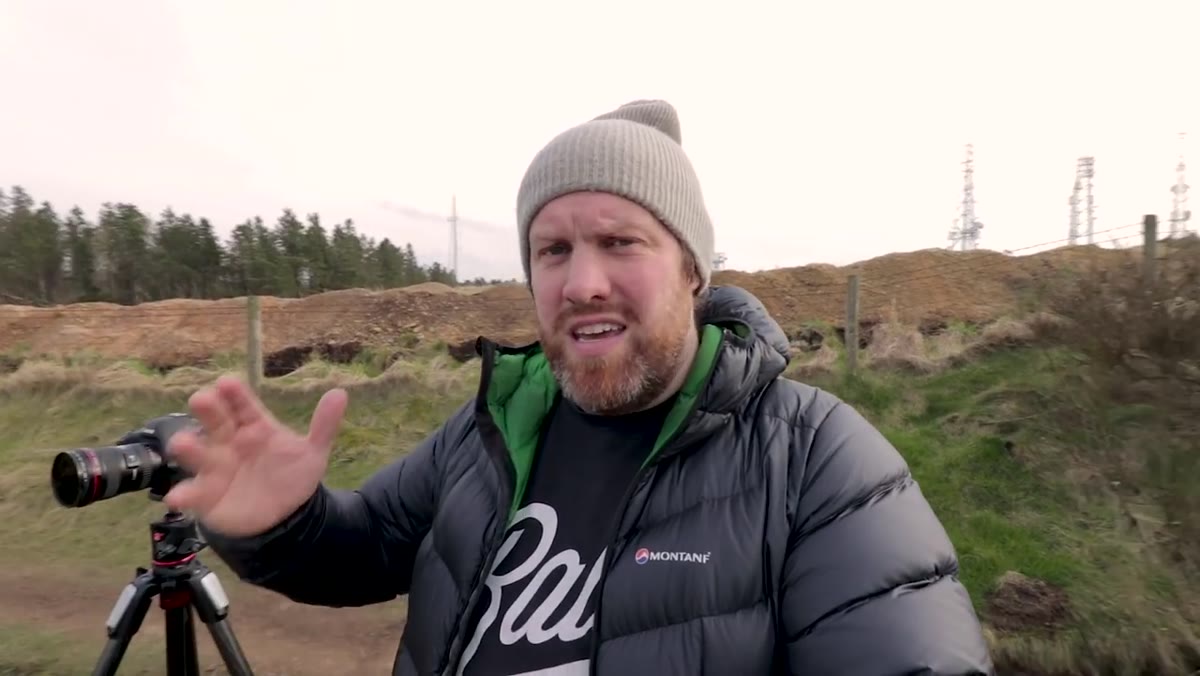
 Tripod-mounted camera set up facing industrial site, smoke rising from chimneys
This is the technical core of the tutorial. Adam shoots at f/16 with an exposure running to around 41 seconds. At that duration, the smoke and steam from the chimneys blur into soft trails rather than appearing as dense, static plumes. The harshness that makes industrial scenes feel dirty or unwelcoming in a quick snapshot gets smoothed out by time. The image becomes softer, more atmospheric, more like a painting than a document. There is a reason long exposure works so well here: it does for industry what it does for waterfalls. It replaces visual chaos with visual flow. If you’re new to long exposures, start by finding a scene where something is moving, smoke, steam, water, or clouds, and let the camera turn that movement into texture.
Tripod-mounted camera set up facing industrial site, smoke rising from chimneys
This is the technical core of the tutorial. Adam shoots at f/16 with an exposure running to around 41 seconds. At that duration, the smoke and steam from the chimneys blur into soft trails rather than appearing as dense, static plumes. The harshness that makes industrial scenes feel dirty or unwelcoming in a quick snapshot gets smoothed out by time. The image becomes softer, more atmospheric, more like a painting than a document. There is a reason long exposure works so well here: it does for industry what it does for waterfalls. It replaces visual chaos with visual flow. If you’re new to long exposures, start by finding a scene where something is moving, smoke, steam, water, or clouds, and let the camera turn that movement into texture.
Step 5: Stack Filters to Control Light and Glare
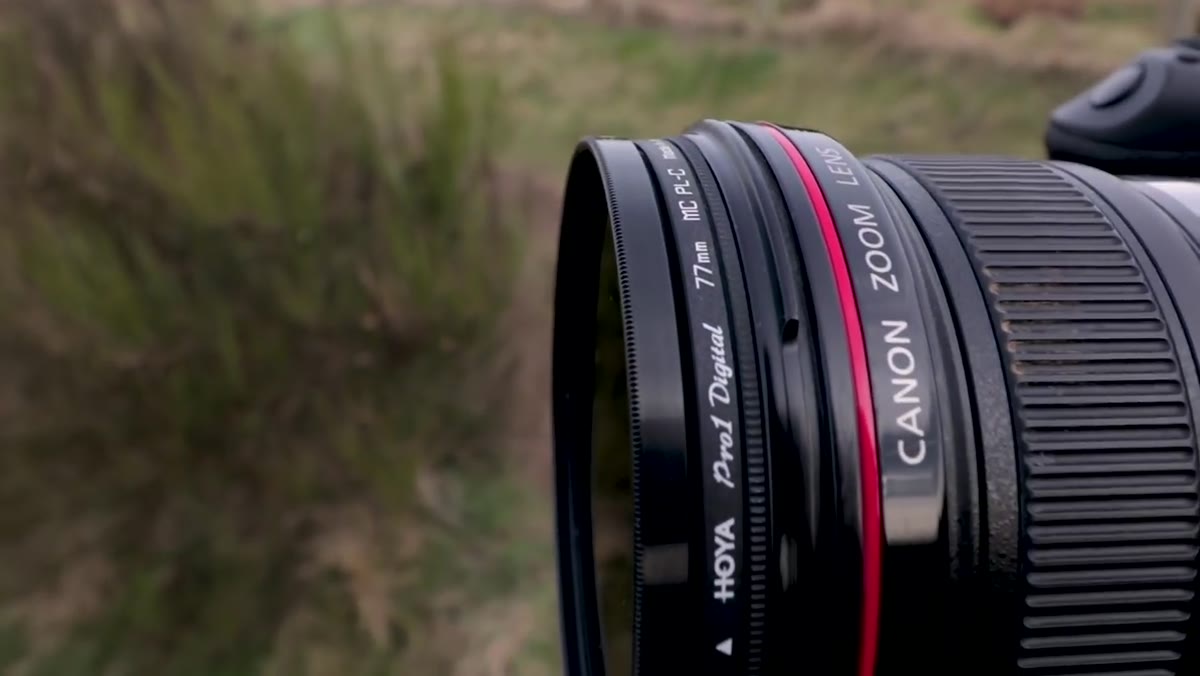 Camera front element showing 10-stop ND filter and circular polarizer mounted together
To achieve a 41-second exposure in daylight, Adam uses two filters simultaneously. A 10-stop ND filter reduces the light enough to make the long exposure viable, and a circular polarizer sits in front of that to cut atmospheric haze and surface glare. Industrial sites often sit near water or generate their own haze from emissions, and a polarizer is surprisingly effective at recovering contrast and color under those conditions. The combination of filters means you need to dial in your composition and focus before the ND goes on, because through ten stops of glass you are essentially shooting blind. Set your focus, lock it off, attach the filters, and then calculate your exposure. A simple long exposure calculator app will save you the mental arithmetic.
Camera front element showing 10-stop ND filter and circular polarizer mounted together
To achieve a 41-second exposure in daylight, Adam uses two filters simultaneously. A 10-stop ND filter reduces the light enough to make the long exposure viable, and a circular polarizer sits in front of that to cut atmospheric haze and surface glare. Industrial sites often sit near water or generate their own haze from emissions, and a polarizer is surprisingly effective at recovering contrast and color under those conditions. The combination of filters means you need to dial in your composition and focus before the ND goes on, because through ten stops of glass you are essentially shooting blind. Set your focus, lock it off, attach the filters, and then calculate your exposure. A simple long exposure calculator app will save you the mental arithmetic.
What I’d Add From My Own Experience
Adam’s tutorial is solid, but one thing he doesn’t address is timing within the day. Industrial sites are often most visually interesting at dusk or just after, when artificial lighting from the facilities starts to compete with the fading sky. The warm glow from a blast furnace against a blue-hour sky creates color contrast that you simply cannot replicate at midday. I’ve also found that overcast days, which landscape photographers often dismiss, work extremely well for industrial subjects. Soft, even light reduces harsh shadows across angular structures and lets the shapes read cleanly. The same instinct that sends me to a waterfall on a grey morning applies here. Flat light flatters complicated surfaces.
The single most important idea in this tutorial is the reframe: industrial landscapes are not a lesser form of landscape photography. They carry the same weight of place and history that any mountain or coastline does, and they respond to the same careful compositional and technical thinking. Long exposure is the tool that bridges the gap, turning a harsh scene into something with atmosphere and intention.
Watch the full tutorial on YouTube and spend some time with Adam’s approach before you write off the industrial sites near you.
Comments (1)
Clear and practical. No fluff. Appreciate that.
Leave a Comment