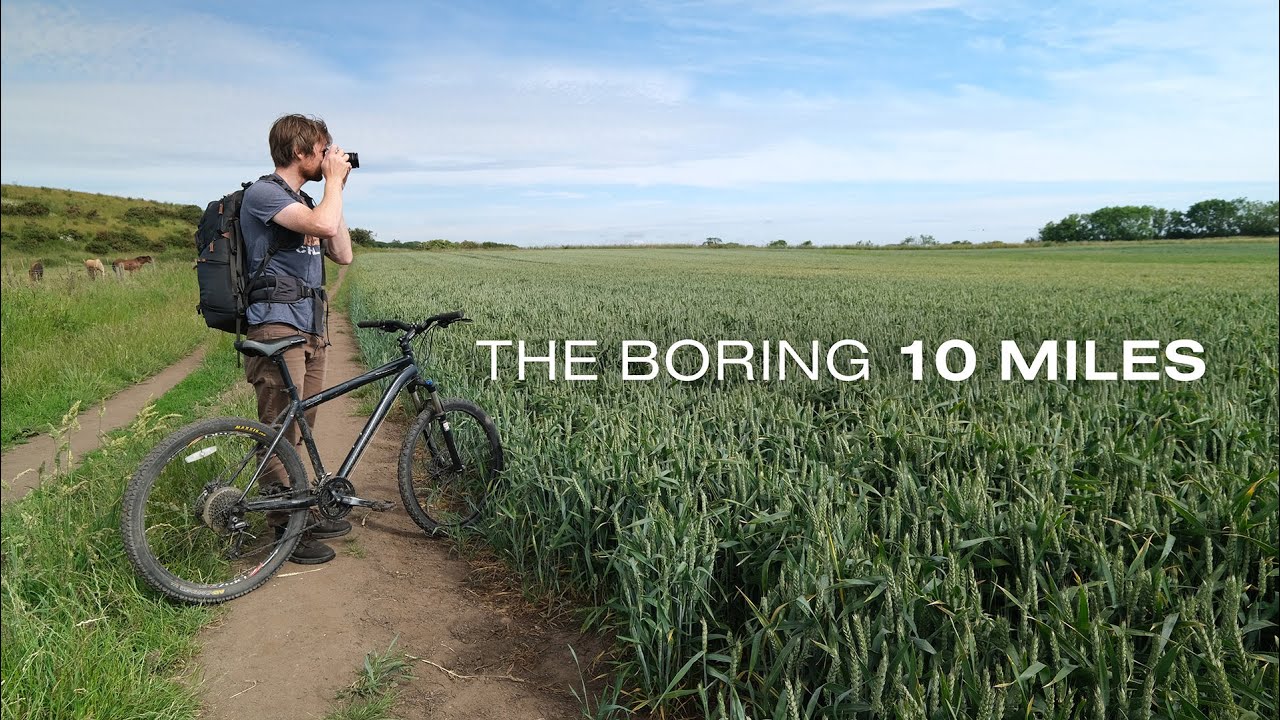
The question I get more than almost any other at my workshops is some version of this: “I live in a flat, unremarkable place. How do I practice landscape photography here?” I’ve been shooting for twenty years, and I’ll be honest, my answer used to be vague. Something about looking more carefully, being more patient. True, but not especially useful to someone staring out their window at a grid of cornfields and a highway overpass.
That’s why this tutorial from Thomas Heaton landed so hard for me when I watched it. In this Thomas Heaton tutorial on photographing ordinary landscapes, he doesn’t just talk about finding beauty in boring places. He builds a structured challenge, straps on a camera, and walks ten miles through what he openly calls the most unphotogenic landscape he knows. No mountains, no coastline, no golden arches of canyon sandstone. Just flat agricultural land, suburban sprawl, and too many streetlights. What he pulls from it is both practical and genuinely instructive.
The genius of the video isn’t the images he makes. It’s the system he builds to force himself to see differently. That system is what I want to break down here, because it’s immediately transferable to wherever you happen to live.
Step 1: Accept the Premise That Beautiful Scenes Are Not Always Photogenic
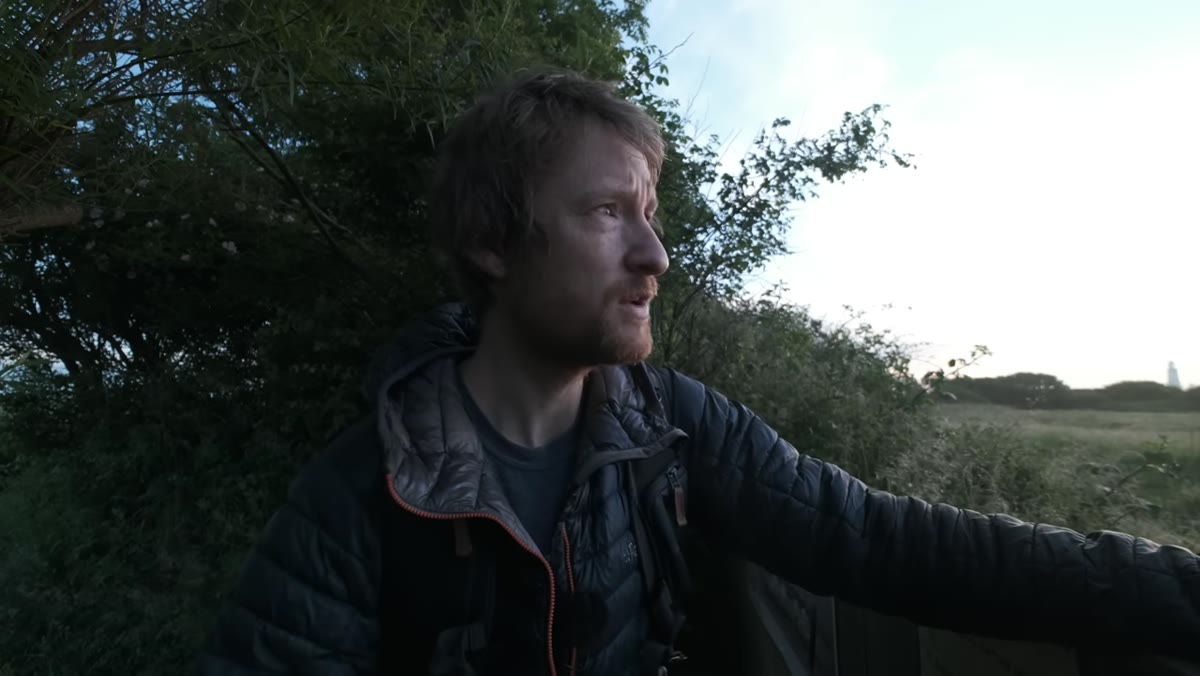 Heaton standing near nature reserve, sun rising, unable to find a shot
This is the hardest thing to internalize, and Heaton addresses it right at the start of his walk. He finds himself at a genuinely pretty nature reserve, sun rising in the east, light touching everything softly. And he can’t find a photograph. The scene stimulates the senses, but nothing composes cleanly through the viewfinder.
The lesson here is critical: beauty and photogenicity are separate qualities. A place can move you emotionally and still offer nothing structurally useful for a frame. When I shoot in central Oregon, I’ve walked away from technically gorgeous vistas because the light was flat or the foreground was a mess. Learning to separate “this is nice to look at” from “this makes a photograph” is what separates working photographers from tourists with expensive cameras.
Step 2: Create a Constraint Framework Before You Shoot
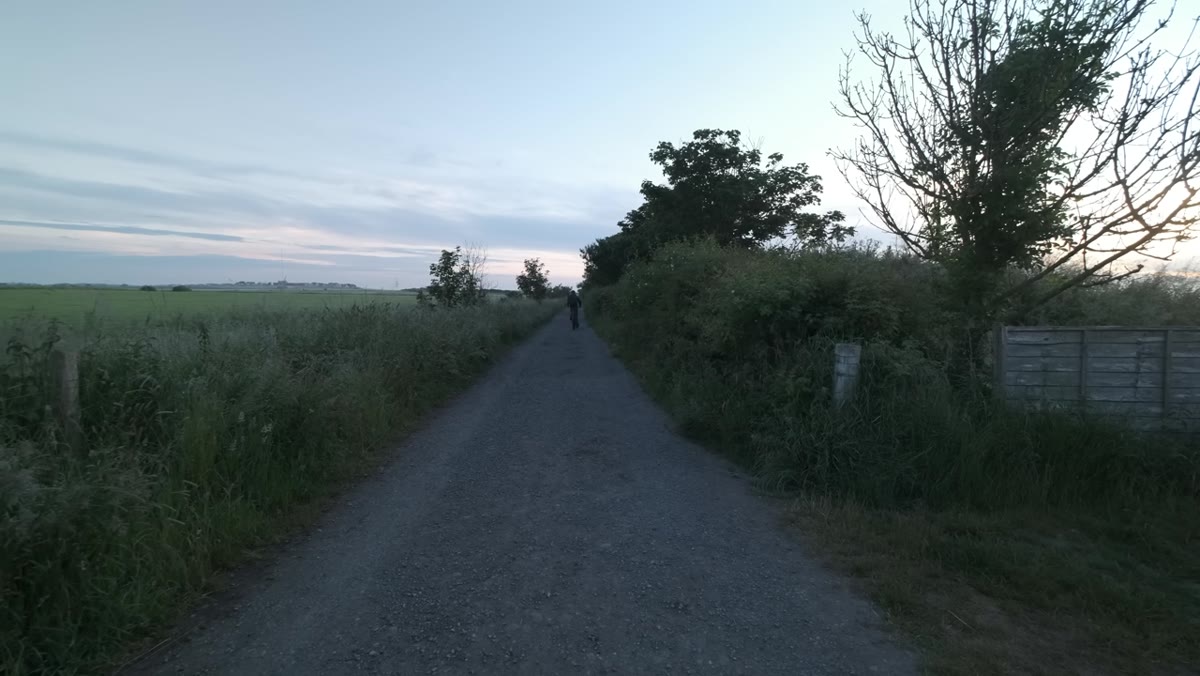 Heaton outlining his rules and structure for the challenge
Heaton builds four rules before he takes a single frame. No photographing the sea. One lens only, a Fuji XT3 with a standard 18-55mm kit zoom. One photograph per mile traveled across a ten-mile route. No complaining.
Constraints are not creative limitations. They are creative fuel. When you have infinite options, you spend most of your mental energy evaluating them. When you narrow the choices forcibly, you start actually seeing. I’ve run a version of this myself by shooting a whole session on a single prime lens. You stop walking to find the shot and start moving your body to build the composition. These self-imposed rules transform a walk into a discipline, and discipline reveals images that casual wandering misses entirely.
Step 3: Use a Longer or More Compressed Focal Length to Isolate Details
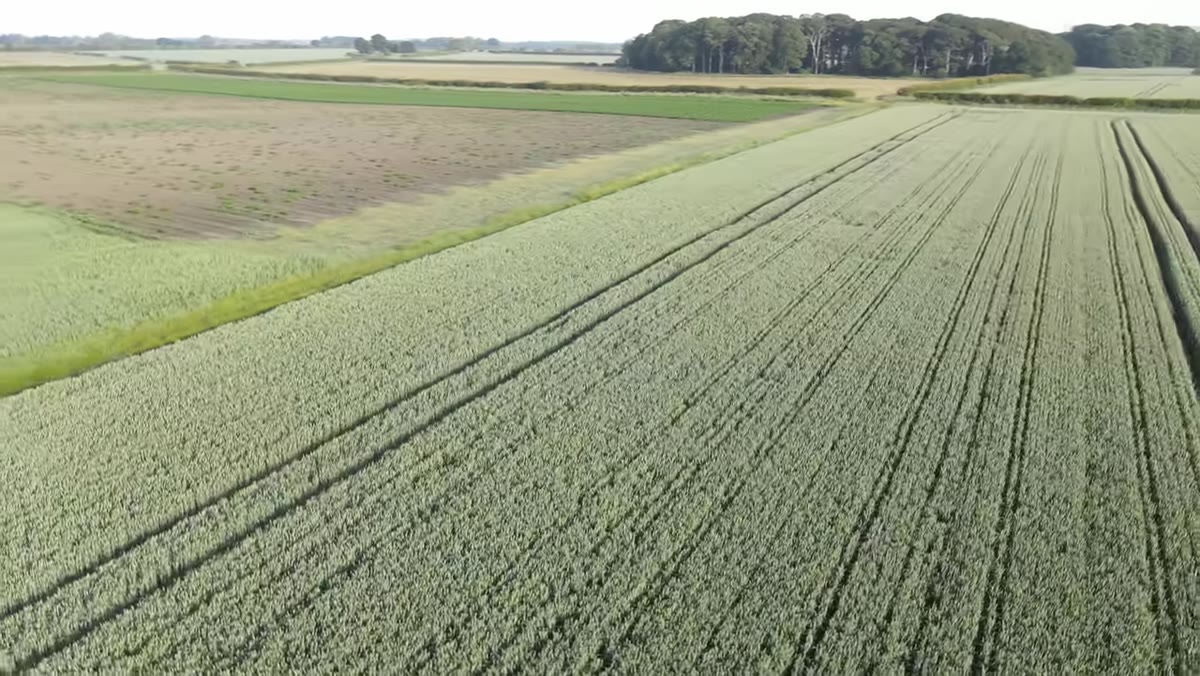 Heaton advising a viewer to try a longer lens on flat agricultural terrain
One of Heaton’s core pieces of advice, prompted by a viewer’s email about photographing agricultural plains, is to reach for a longer focal length and shift toward abstraction. A wide lens in a featureless landscape can make a mediocre scene feel even emptier. But compressing the focal length pulls elements together, flattens depth in useful ways, and lets you isolate texture, pattern, and shape that the naked eye glosses over.
In practice, this means working the far end of your zoom range before you assume there’s nothing to shoot. A plowed field looks like nothing at 18mm. At 55mm, the furrow lines become graphic. Add some side light raking across the surface and you have geometry that holds attention. Train yourself to zoom in first when a scene feels empty.
Step 4: Let Unexpected Light Be Your First Trigger to Stop
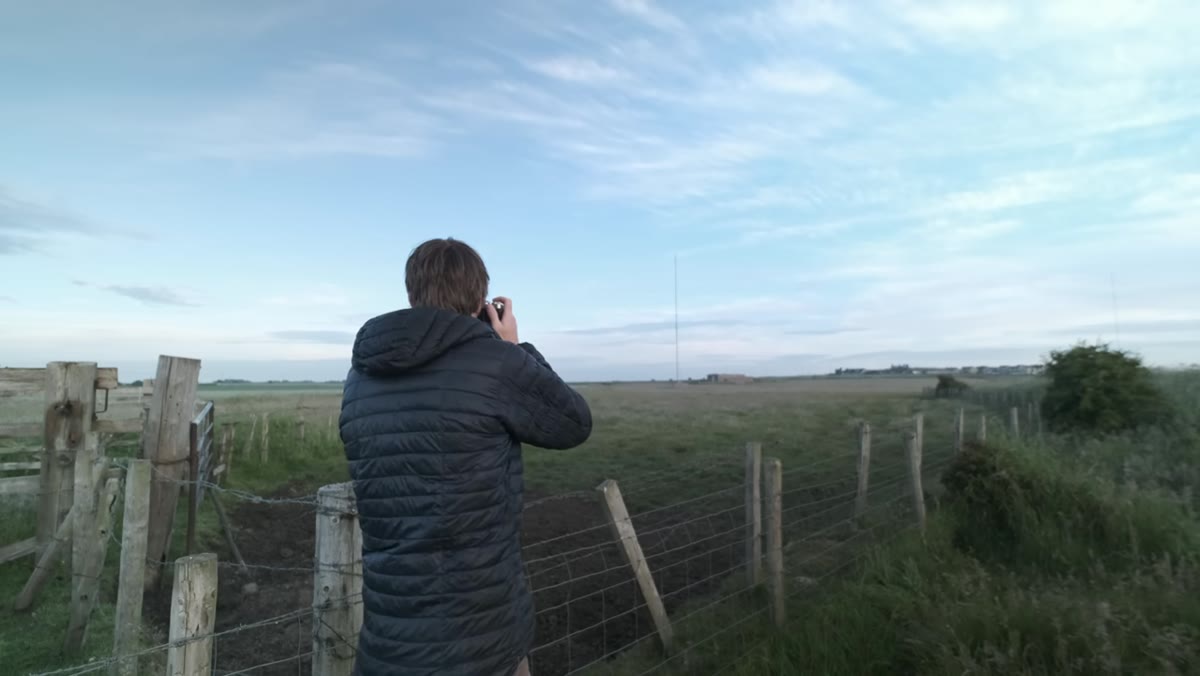 Old 1970s building catching warm sidelight from the rising sun
Heaton’s first photograph comes from an aging building from the 1970s, nothing remarkable architecturally, but it’s catching beautiful raking sidelight from the low morning sun. He adds that something about the scene caught him and he couldn’t fully explain it. A fence leads the eye into the frame. A bird sits at the top of it. He shoots it square.
This is the right instinct. Sidelight is a great equalizer. It will reveal texture and depth in the dullest surfaces: a concrete wall, a shed roof, a rusted gate post. When you’re walking through unremarkable terrain, don’t look for interesting subjects first. Look for where the light is doing something. The subject follows from the light, not the other way around. If your walk starts at or before sunrise, give every dull surface a few seconds of evaluation under that low angle. You’ll be surprised how often something plain becomes structural.
Step 5: Commit to a Specific Aspect Ratio to Discipline the Composition
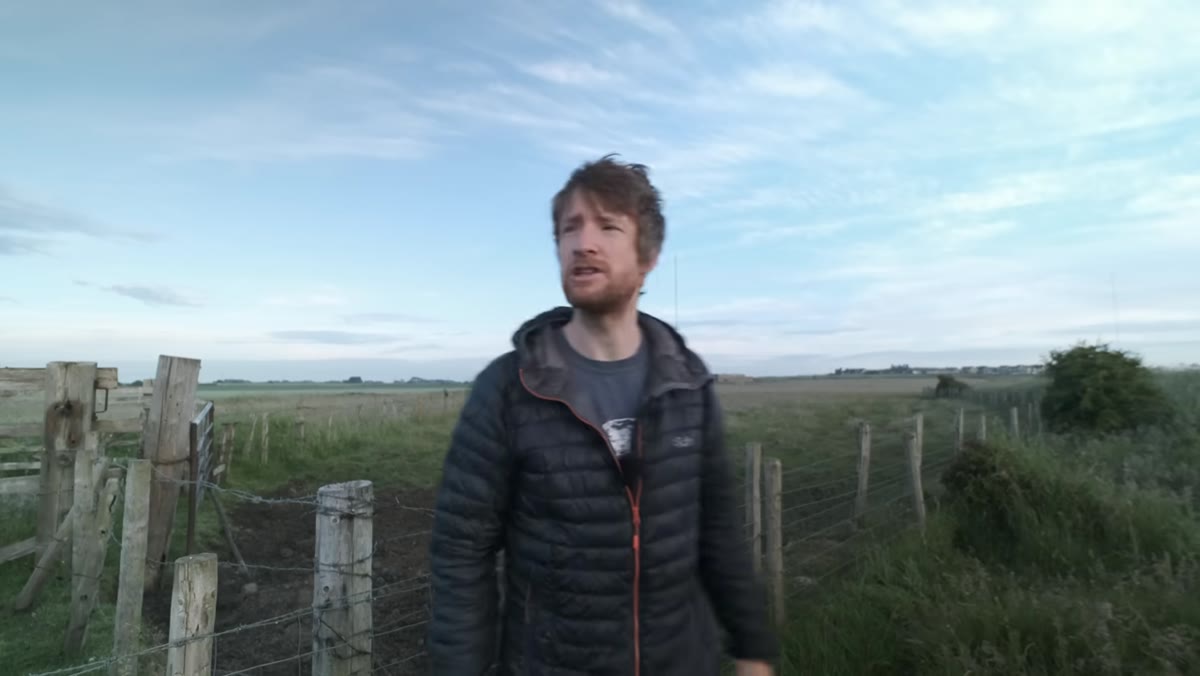 Heaton selecting 1:1 square crop for the first image
For that first shot, Heaton deliberately chooses a 1:1 square crop. This is not a casual decision. Choosing your aspect ratio in the field, before you press the shutter, forces you to think about what belongs inside the frame and what should stay out. It removes the ambiguity of “I’ll fix it in crop later,” which is usually code for “I didn’t think hard enough.”
Different ratios solve different problems. A square is excellent for symmetrical subjects or when a horizontal and vertical emphasis fight each other. A 16:9 panoramic suits sweeping horizontal lines. A 4:5 vertical can give a flat scene a sense of height when the sky is doing something interesting. Set your aspect ratio in-camera before you shoot, not after. It changes the way you physically position yourself and move through a location.
Step 6: Keep Moving and Let Mileage Generate Variety
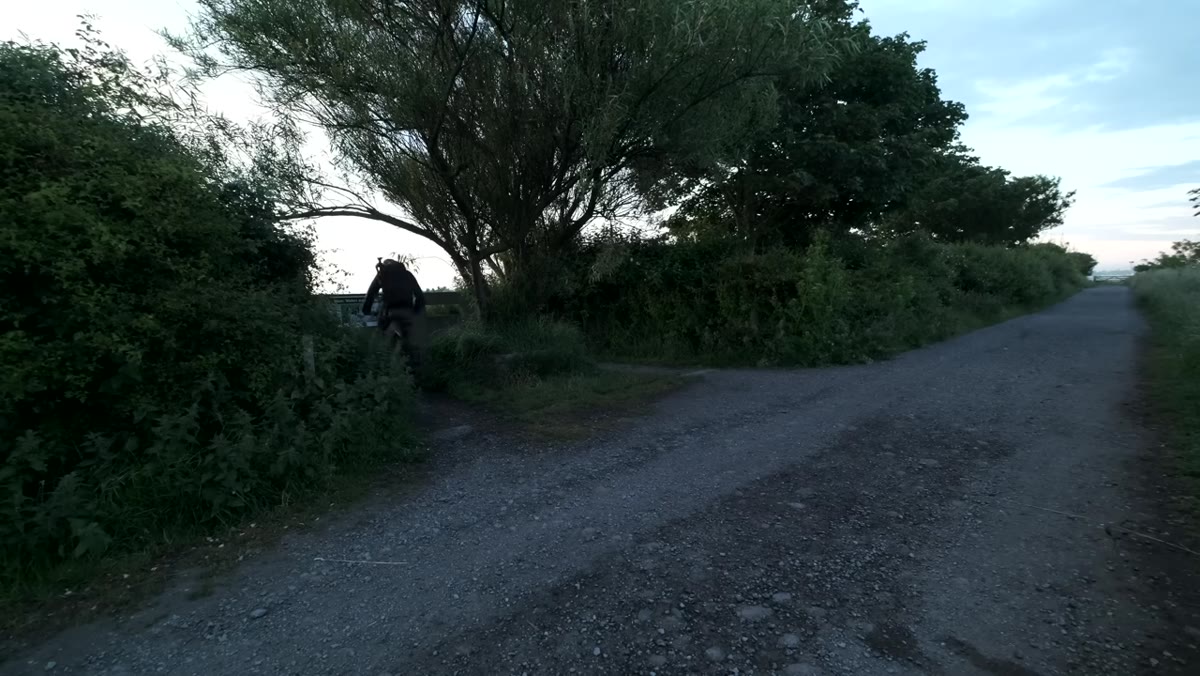 Heaton checking the mapped route on screen, 16 kilometers planned
Heaton’s one-photograph-per-mile rule does something simple and powerful. It prevents you from camping on the first interesting thing you find. It forces variety across a range of micro-environments even inside a broadly dull landscape. By committing to ten images across ten miles, you have to stay observant for the duration rather than declaring success after mile two and coasting.
When I scout a new area, I try to cover ground before I commit to a composition. The first attractive spot is rarely the best one. The rule gives you permission to pass on a scene because you know you’ll encounter something further along, and it gives you a reason to keep your eyes open once the novelty of the location has worn off.
What I’d Add: Don’t Wait for Better Conditions to Return
There’s a natural temptation, one I’ve fallen into plenty of times, to treat an exploratory walk like pre-production for the real shoot you’ll do when conditions are perfect. Heaton hints at this himself, noting that the exercise might generate ideas for future images in better light.
That’s valid. But I’d push back slightly. The ordinary conditions of a first visit often produce photographs that perfect-condition revisits never replicate. Something about the lack of pressure, the willingness to experiment without expectation, opens you up to images that a planned golden-hour return might actually close off. Bring the camera on the scout. Shoot anyway. Some of my most interesting prints came from walks I considered prep work.
The single most useful thing Heaton demonstrates in this video is not a camera technique. It’s the construction of a creative structure that makes seeing harder, more intentional, and ultimately more rewarding. If you’re stuck in a landscape that feels like it has nothing to offer, you don’t need a better location. You need better rules.
Watch the full tutorial on YouTube and pay close attention to how Heaton reacts when he can’t find a shot. That reaction, working through it rather than abandoning the location, is the whole lesson.
Comments
Leave a Comment