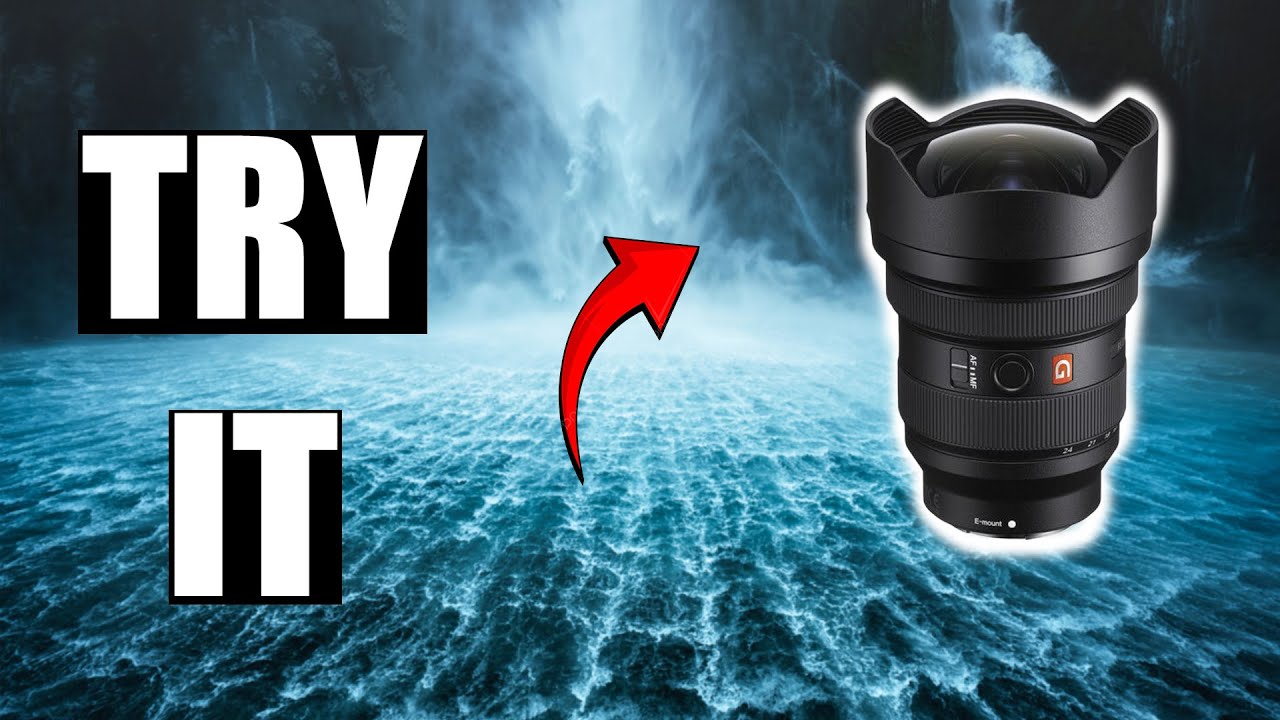
I’ve shot with a 16-35mm lens long enough that it feels like an extension of how I see. A good chunk of my portfolio — probably more than I’d like to admit — came from that one piece of glass. But here’s the thing nobody tells you early on: a wide-angle lens doesn’t automatically make a better landscape photograph. It just makes a bigger one. And bigger, without intention, is usually just messier.
That distinction is exactly what William Patino unpacks in a recent tutorial filmed in what looks like a stunning alpine river valley. It’s one of the cleaner breakdowns of wide-angle composition thinking I’ve come across, and it maps closely to how I’ve come to work in the field over the years. Watch the full tutorial on YouTube — then come back here and let’s walk through it step by step.
What I appreciate most is that Patino doesn’t just talk about gear or settings. He talks about decision-making. That’s where most wide-angle photography actually breaks down — not in the camera, but in the few minutes before you raise it to your eye.
Step 1: Understand Why the Wide-Angle Lens Is Worth the Trouble
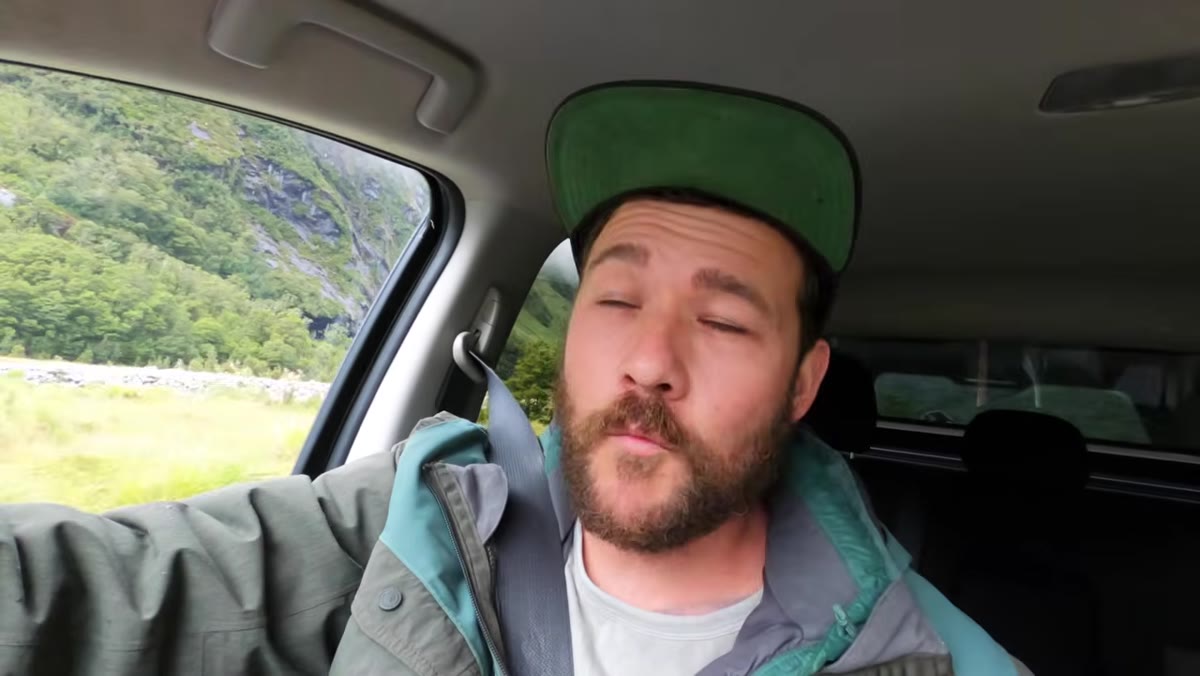 Photographer explaining the wide-angle lens as a landscape staple
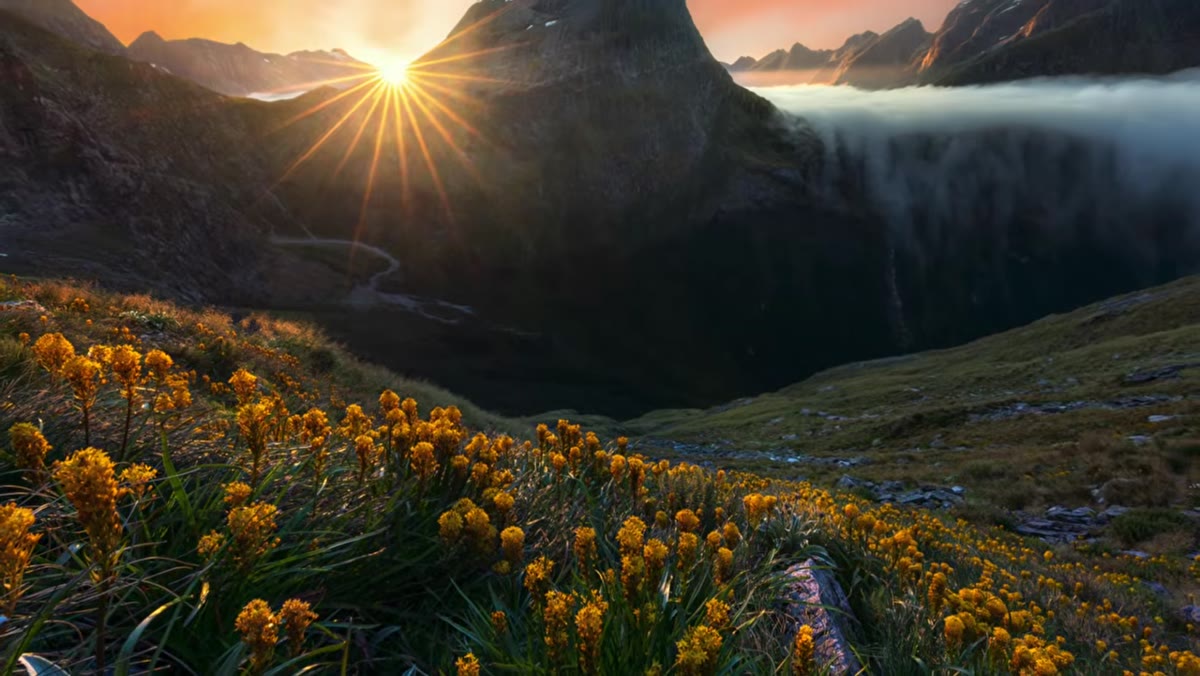
The wide-angle lens earns its place in the bag because it can hold an entire scene in a single frame. It lets you pull in a close foreground rock or a patch of wildflowers while keeping a distant ridgeline sharp. That spatial compression, or rather expansion, is something longer focal lengths simply can’t do.
Photographer explaining the wide-angle lens as a landscape staple
The wide-angle lens earns its place in the bag because it can hold an entire scene in a single frame. It lets you pull in a close foreground rock or a patch of wildflowers while keeping a distant ridgeline sharp. That spatial compression, or rather expansion, is something longer focal lengths simply can’t do.
But that strength is also the trap. The lens will happily include everything in your peripheral vision whether it helps the image or not. Before you set the tripod, recognize that you’re working with a tool that requires more editorial discipline, not less.
Step 2: Find One Dominant Subject Before You Compose Anything
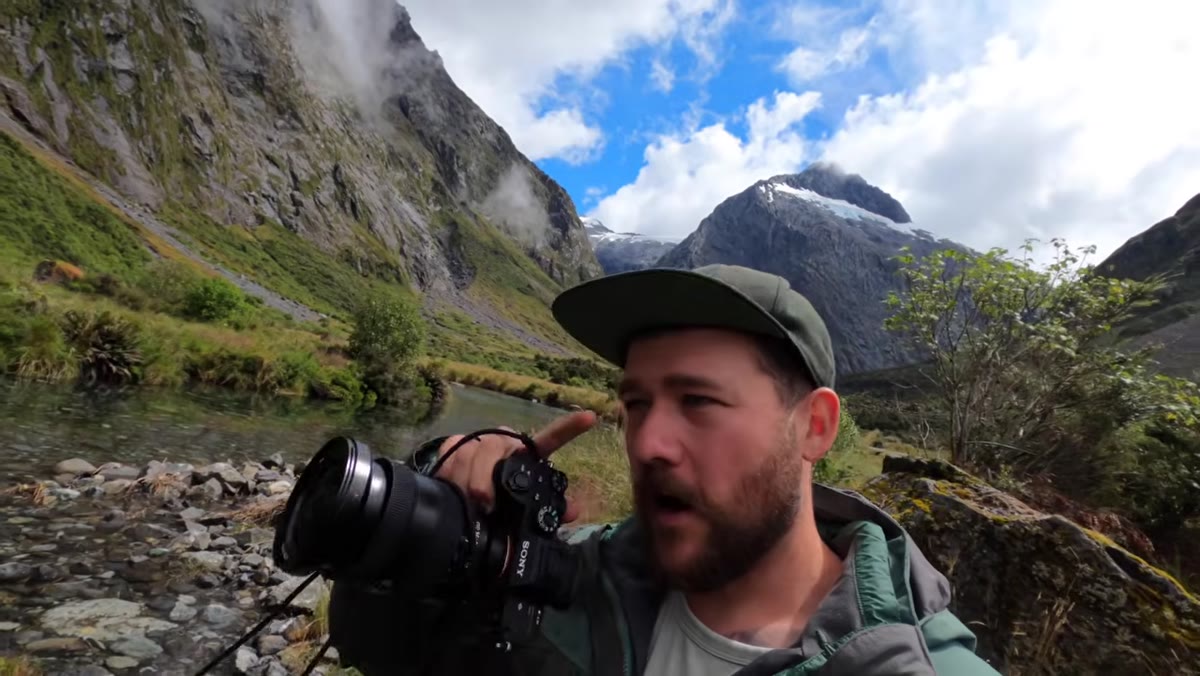 Photographer gesturing toward a mountain peak behind him in the valley
This is the step most people skip, and it’s the one that makes or breaks a wide-angle shot. Walk the location first. Look around. Ask yourself what one element genuinely stops you. It might be a mountain peak catching the first light, a lone tree standing against an open sky, or a cascade that has more visual weight than anything else around it.
Photographer gesturing toward a mountain peak behind him in the valley
This is the step most people skip, and it’s the one that makes or breaks a wide-angle shot. Walk the location first. Look around. Ask yourself what one element genuinely stops you. It might be a mountain peak catching the first light, a lone tree standing against an open sky, or a cascade that has more visual weight than anything else around it.
The goal is to identify something the eye can land on and rest. Without that anchor, a wide frame becomes a catalog of things rather than a photograph. If you can’t name your subject in a single phrase, keep looking before you shoot.
Step 3: Let the Landscape Frame That Subject Naturally
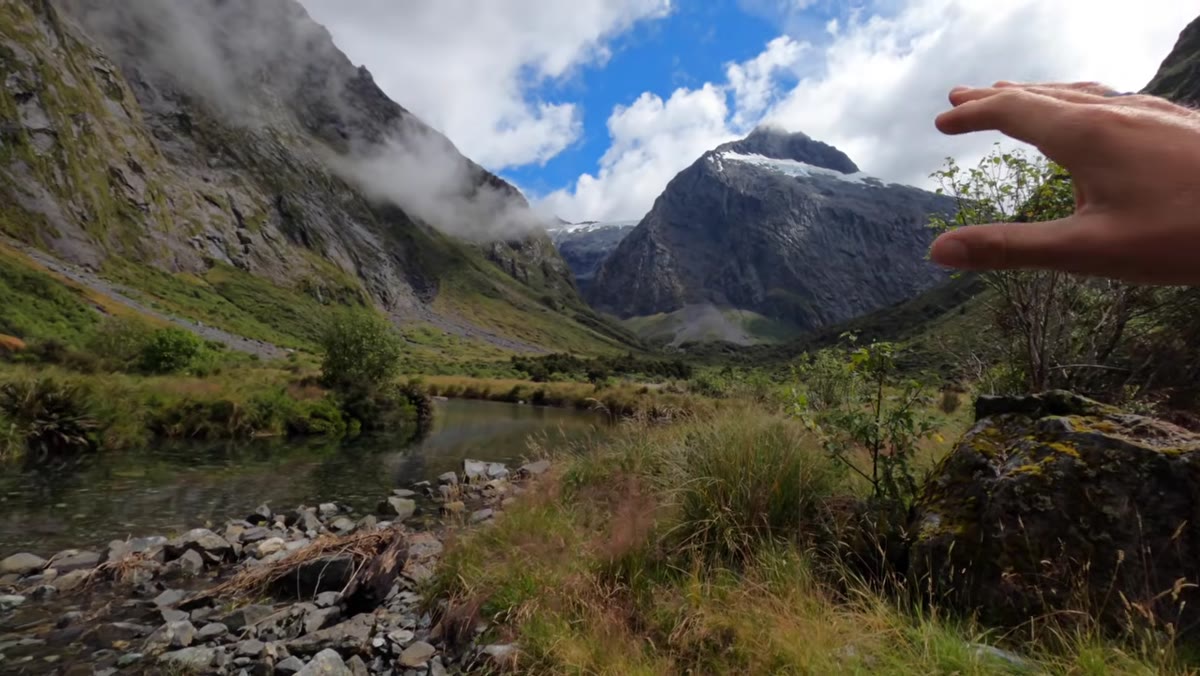 Mountain peak symmetrically framed between two valley walls
Once you know what your subject is, look for natural framing elements the landscape already provides. Valley walls, tree lines, canyon edges, converging riverbanks — these are the scene’s own built-in borders. When your primary subject sits inside a natural frame, the viewer’s eye is guided there without any effort on their part.
Mountain peak symmetrically framed between two valley walls
Once you know what your subject is, look for natural framing elements the landscape already provides. Valley walls, tree lines, canyon edges, converging riverbanks — these are the scene’s own built-in borders. When your primary subject sits inside a natural frame, the viewer’s eye is guided there without any effort on their part.
Patino points to a mountain peak that sits symmetrically between two valley walls as a textbook example. The pyramid shape of the peak, combined with the framing of the valley, makes the focal point unmistakable. You don’t need a scene this dramatic to apply the idea. Even a gap in a tree line or a break in the clouds can serve the same purpose at a quieter location.
Step 4: Take Mental Notes on What’s Drawing You In
 Photographer pausing to observe the scene rather than shooting
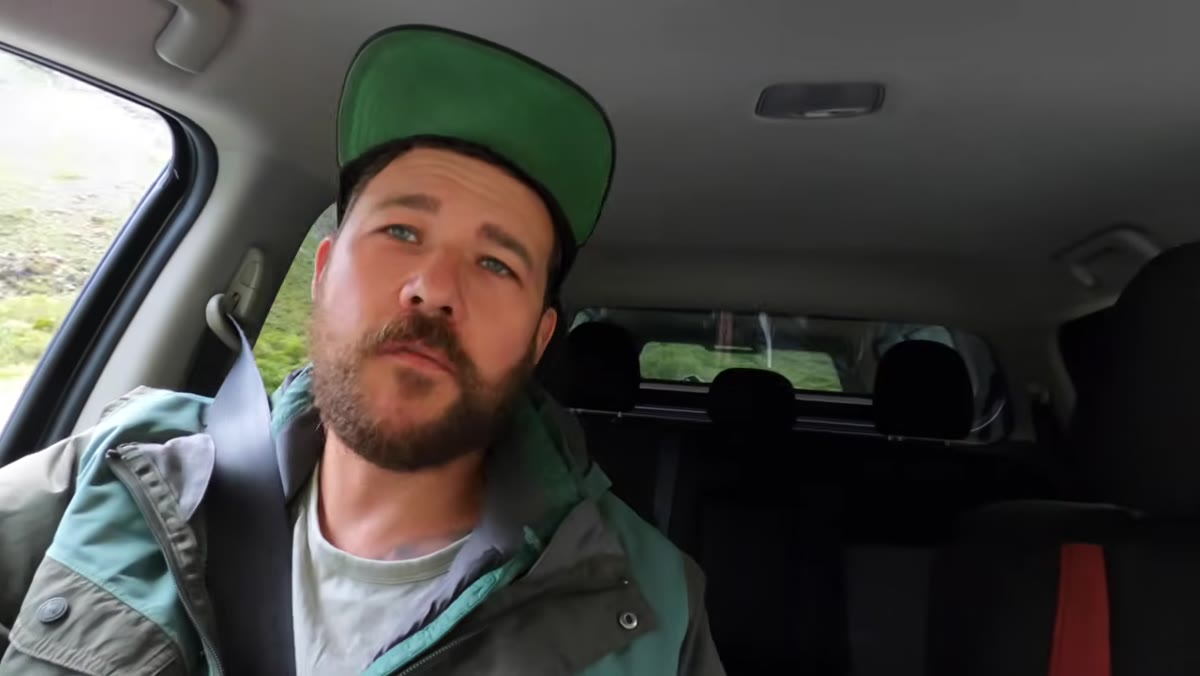
Patino uses a phrase I like: taking notes. Before the camera comes up, stand still for a moment and inventory what’s actually holding your attention. Is it the color in the lichen on the rocks? The way the light is cutting through the mist? The rhythm of boulders leading toward the water?
Photographer pausing to observe the scene rather than shooting
Patino uses a phrase I like: taking notes. Before the camera comes up, stand still for a moment and inventory what’s actually holding your attention. Is it the color in the lichen on the rocks? The way the light is cutting through the mist? The rhythm of boulders leading toward the water?
These details are the secondary layers that a wide-angle can carry alongside the main subject. The mistake is trying to include all of them. The discipline is choosing two or three that support the primary focal point rather than compete with it. What you’re doing here is editing with your eyes before you ever touch the shutter.
Step 5: Simplify the Frame by Narrowing Your Elements
 Photographer describing workflow of selecting elements for the frame
With your subject identified and your mental notes taken, the next job is subtraction. Move your feet. Change your height. Shift your angle. See what falls out of frame when you step left, crouch lower, or move closer to that foreground rock. The wide-angle’s field of view means small physical movements produce significant changes in what’s included.
Photographer describing workflow of selecting elements for the frame
With your subject identified and your mental notes taken, the next job is subtraction. Move your feet. Change your height. Shift your angle. See what falls out of frame when you step left, crouch lower, or move closer to that foreground rock. The wide-angle’s field of view means small physical movements produce significant changes in what’s included.
Work toward a frame that has your main subject, one or two supporting elements, and as little visual clutter as possible. This is counterintuitive because the lens tempts you to fill every corner. Resist it. The strongest wide-angle images tend to feel spacious and intentional, not stuffed.
Step 6: Use Proximity to Create Depth and Layers
 Demonstrating how wide-angle connects near and far elements in one frame
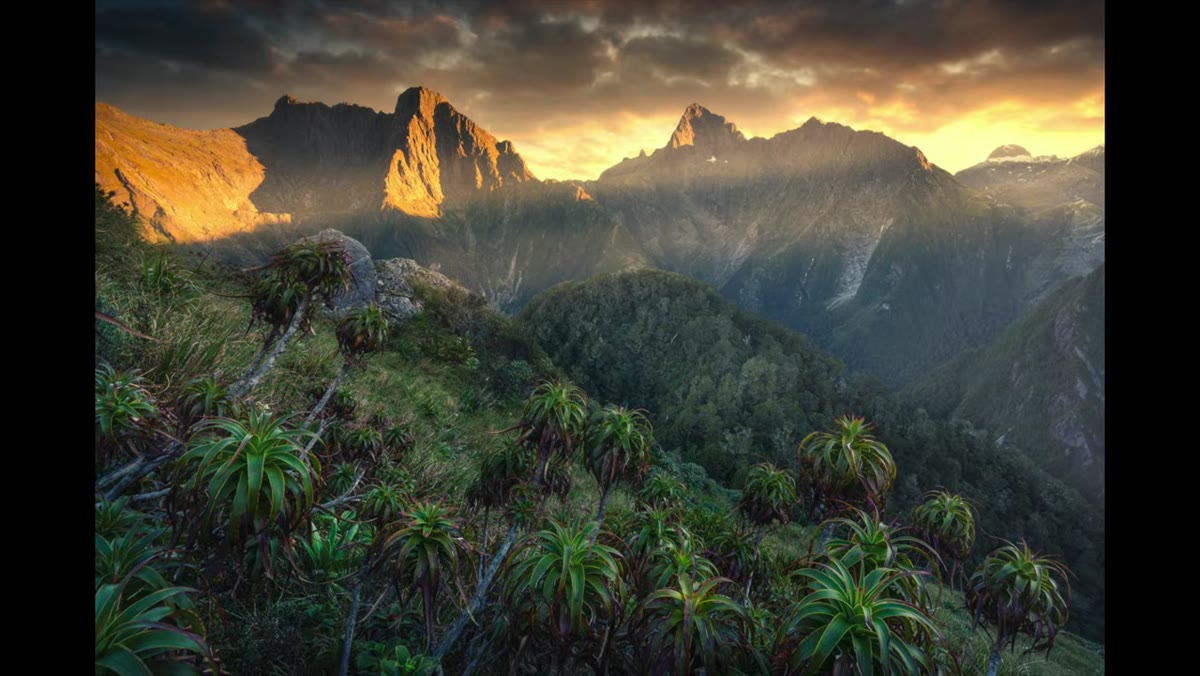
One of the real advantages of shooting wide is the ability to make near and far feel connected in the same frame. Get physically close to a foreground element and you’ll see it loom large while the background still holds detail and context. That sense of depth, of being pulled into the scene, is something a telephoto compression can’t replicate.
Demonstrating how wide-angle connects near and far elements in one frame
One of the real advantages of shooting wide is the ability to make near and far feel connected in the same frame. Get physically close to a foreground element and you’ll see it loom large while the background still holds detail and context. That sense of depth, of being pulled into the scene, is something a telephoto compression can’t replicate.
This works especially well with leading lines. A river curving away from the camera, a trail of stones, a row of reeds bending in wind - these lead the viewer from the foreground into the midground and on toward the subject. The wide-angle lens makes that journey feel immersive rather than flat.
What I’d Add From My Own Field Work
After two decades of getting up before sunrise and standing in places that are cold or wet or both, the thing I’d layer onto Patino’s advice is this: the wide-angle lens punishes impatience more than any other focal length.
When I work a location, I spend the first twenty minutes not shooting at all. I walk, I look, I figure out what the scene is actually offering rather than what I hoped it would offer before I arrived. A mentor told me early in my career that the mountain doesn’t care about your schedule, and that’s still the truest thing I know about this work. The composition tips here only function when you slow down enough to actually apply them. Rushing to shoot while the light is good usually means shooting before you’ve done the thinking that makes good light worth capturing.
The single most important idea in this tutorial is the one Patino puts first: identify your dominant subject before you compose, not after. Every other decision, framing, depth, layering, simplification, flows from that. If you can’t answer “what is this photograph of?” in one clear phrase, you’re not ready to press the shutter yet.
Watch the full tutorial on YouTube to see Patino work through these ideas in a real location — watching him physically move through the scene and describe what he’s seeing in real time makes the whole framework click in a way that’s hard to get from text alone.
Comments (3)
Love how you break down complex stuff into manageable steps.
Would love to see a follow-up going deeper into this topic.
Excellent tutorial. I'd add that from a workflows standpoint, this technique is incredibly versatile.
Leave a Comment