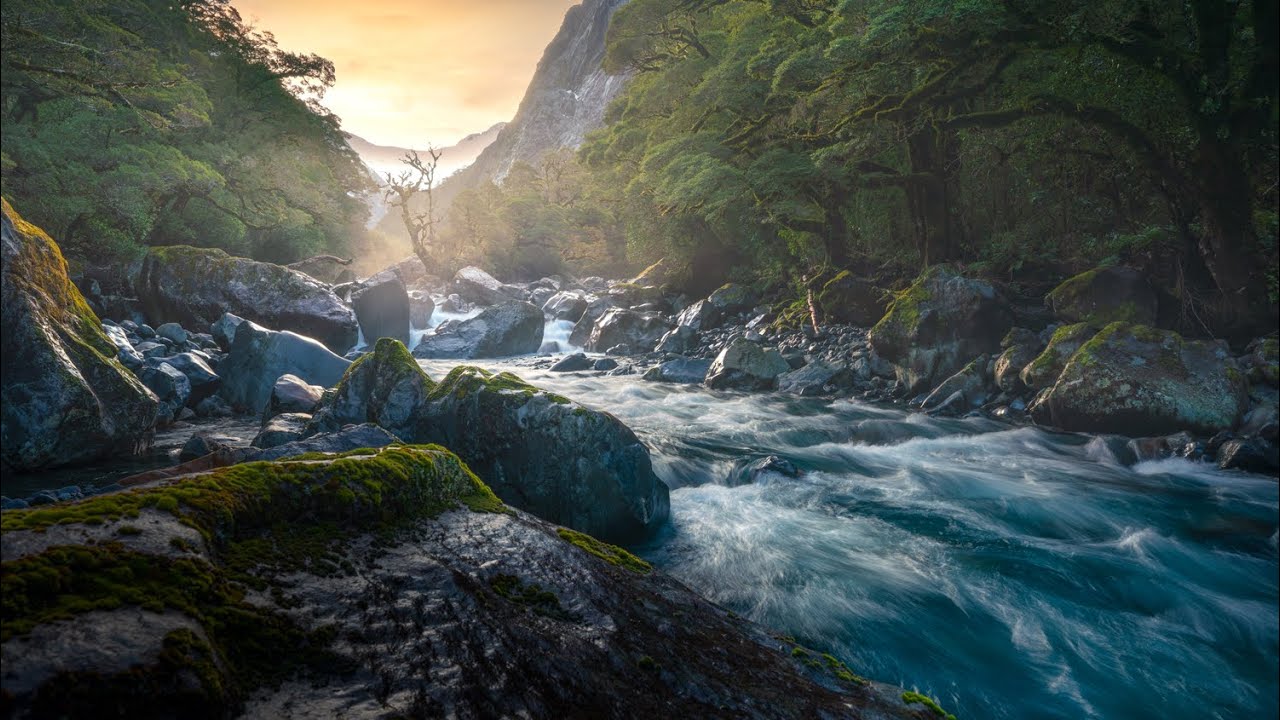
There’s a kind of shoot I’ve done hundreds of times: I show up somewhere dramatic, the sky is flat blue, the light is harsh, and everything that made the location worth the drive looks completely dead on a sensor. For years, my instinct was to pack up and wait for better conditions. What I’ve learned since then, slowly and sometimes painfully, is that a flat-light day isn’t a failed shoot day. It’s a forest day.
In this William Patino tutorial shot in Fiordland, New Zealand, he works through exactly this situation: clear skies, no drama, but a lush rainforest valley nearby with streams, ferns, and beech trees waiting to be found. Watch the full tutorial on YouTube and follow along here, because what Patino demonstrates is less about technical settings and more about a specific way of thinking in the field that took me years to develop on my own.
What strikes me most watching this is how transferable his approach is. It doesn’t matter if you’re in Fiordland or the Cascades outside my door in Bend. The principles of reading forest light, identifying a subject worth committing to, and understanding why the forest demands a slower pace than an alpine scene, those translate anywhere trees grow close together over moving water.
Step 1: Use Bad Weather Days to Work the Forest
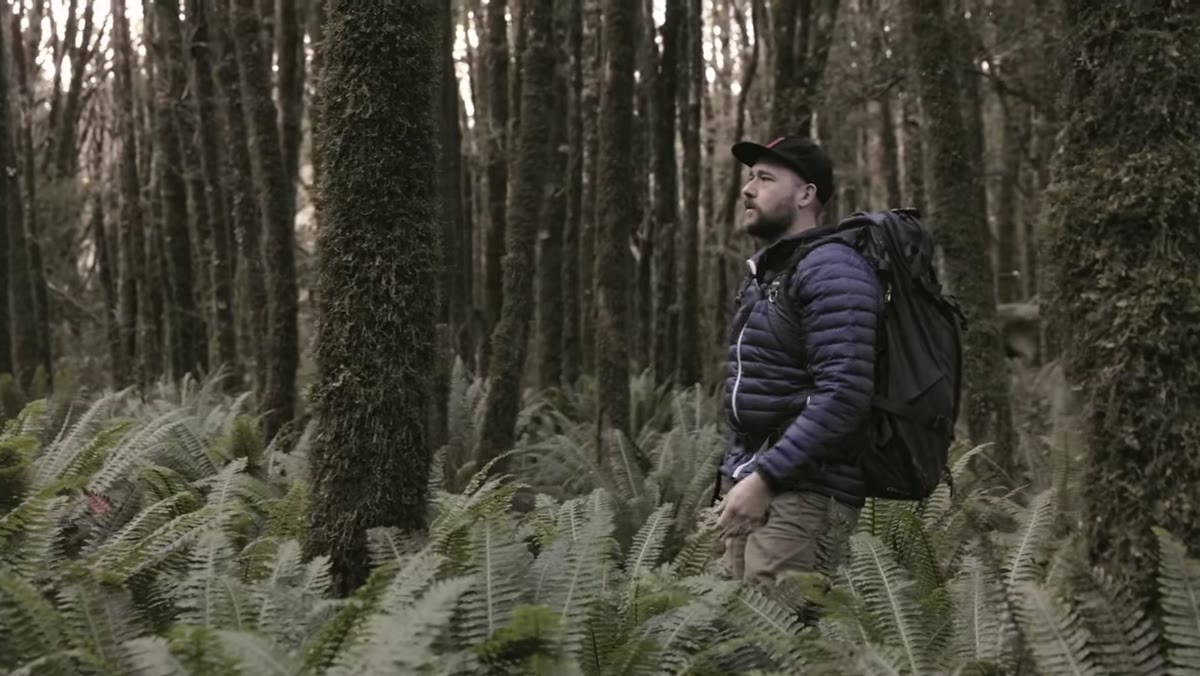
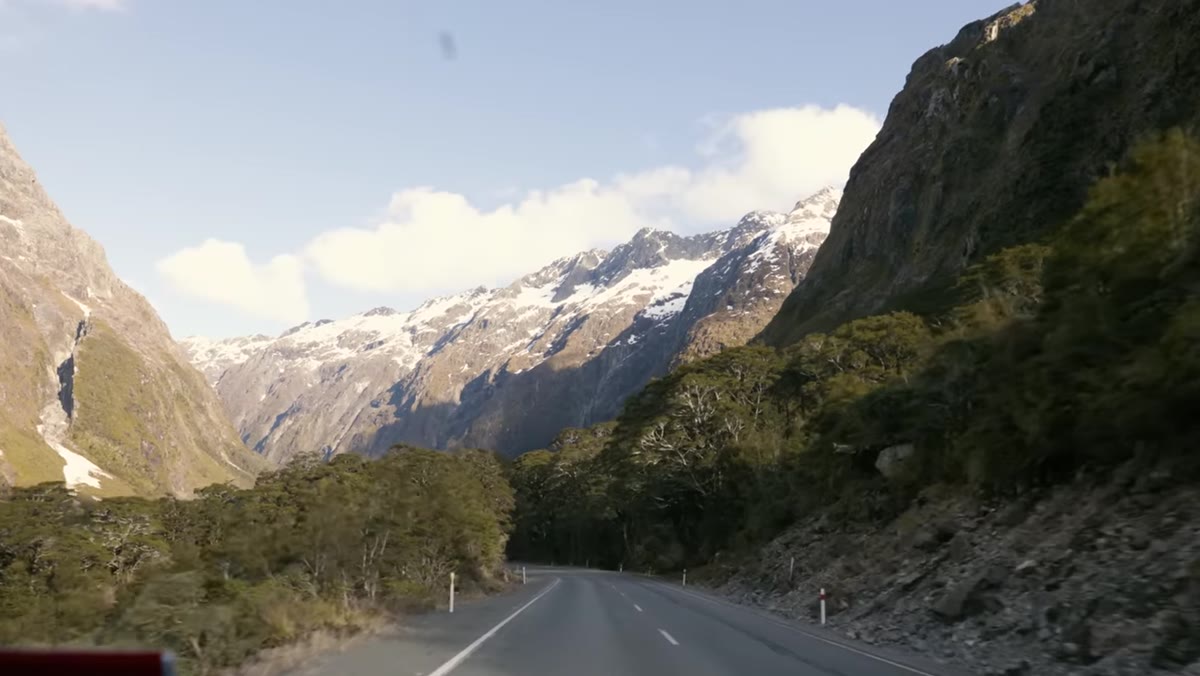 Photographer walking toward a forested valley under blue sky
When conditions outside are flat, bright, and atmospherically boring, that’s your cue to get into the trees. Patino makes this decision early: a blue-sky day with no mood in the open landscape pushes him toward a shaded forest valley he visits regularly. The logic is simple. Dense canopy creates its own light environment. What’s harsh and directionless overhead becomes manageable, even beautiful, once you’re surrounded by trees filtering and softening it.
Photographer walking toward a forested valley under blue sky
When conditions outside are flat, bright, and atmospherically boring, that’s your cue to get into the trees. Patino makes this decision early: a blue-sky day with no mood in the open landscape pushes him toward a shaded forest valley he visits regularly. The logic is simple. Dense canopy creates its own light environment. What’s harsh and directionless overhead becomes manageable, even beautiful, once you’re surrounded by trees filtering and softening it.
Don’t wait for the perfect overcast. If you have access to a steep-sided valley, a gorge, or any mature forest where the canopy closes overhead, a clear day can actually work in your favor. The shade is reliable, and you avoid the blown-out highlights that plague open landscape shooting in midday sun.
Step 2: Avoid Front-Lit Scenes Inside the Forest
 Direct sunlight falling unevenly across forest floor and tree trunks
This is the piece of advice I wish someone had given me fifteen years ago. Patino is direct about it: when you see direct front light hitting trees inside a forest, walk away. The problem isn’t the brightness, it’s the scatter. Front light creates dozens of competing bright spots across the frame, ferns, bark, leaf surfaces, moss patches, all lit with roughly equal intensity. Your eye has nowhere to land. The scene looks lively in person but falls apart as a photograph.
Direct sunlight falling unevenly across forest floor and tree trunks
This is the piece of advice I wish someone had given me fifteen years ago. Patino is direct about it: when you see direct front light hitting trees inside a forest, walk away. The problem isn’t the brightness, it’s the scatter. Front light creates dozens of competing bright spots across the frame, ferns, bark, leaf surfaces, moss patches, all lit with roughly equal intensity. Your eye has nowhere to land. The scene looks lively in person but falls apart as a photograph.
What you’re looking for instead is side light, which carves dimension into bark and moss texture, or backlight, which turns ferns and leaves luminous while keeping the forest floor in deeper shadow. Both of those light directions give the viewer a path through the image. Front light gives them a puzzle. If the scene in front of you is a mess of bright patches with no clear hierarchy, move deeper into the shade and find a different angle.
Step 3: Bring Every Lens You Own
 Photographer carrying camera bag along a creek through dense vegetation
This is one of those field habits that sounds inefficient until you’ve been burned enough times. Patino mentions that the forest is the one environment where he brings his full kit, because unlike shooting a mountain or a coastline where you can often predict your focal length from the car, the forest constantly surprises you. A compression shot through trunks with a 70-200. A wide composition pulling in the stream, the ferns, and the canopy overhead. A tight detail of moss on a root. All of those can appear within fifty meters of each other.
Photographer carrying camera bag along a creek through dense vegetation
This is one of those field habits that sounds inefficient until you’ve been burned enough times. Patino mentions that the forest is the one environment where he brings his full kit, because unlike shooting a mountain or a coastline where you can often predict your focal length from the car, the forest constantly surprises you. A compression shot through trunks with a 70-200. A wide composition pulling in the stream, the ferns, and the canopy overhead. A tight detail of moss on a root. All of those can appear within fifty meters of each other.
I shoot with a 24-70 as my default, but I’ve learned to carry my 16-35 and my 100-400 on forest walks specifically. The weight is annoying. Coming home without the shot you saw because you left the wrong lens in the car is more annoying.
Step 4: Look for a Characteristic Subject Before Committing to a Composition
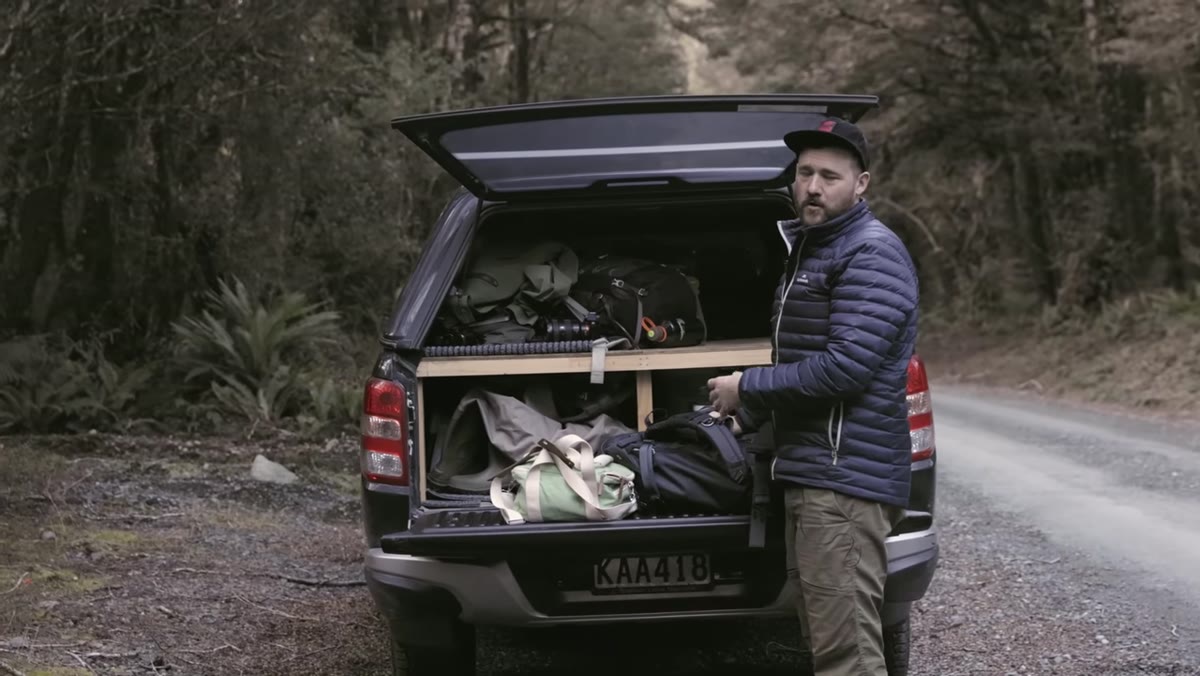
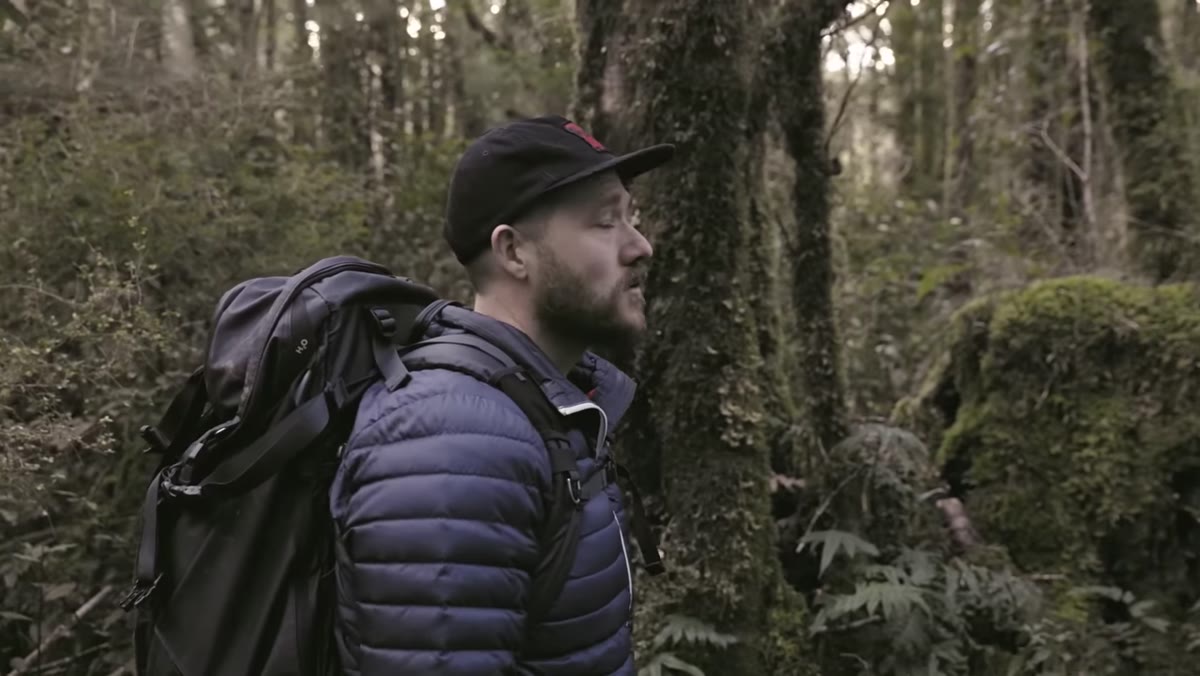
 Patino scanning beech forest, moving past uniform tree trunks
Patino walks a stretch of the creek and explicitly holds off from setting up a shot because nothing has distinguished itself as a main subject. The beech trees are all similar in character, nothing is pulling rank. This is an important discipline. It’s tempting to shoot whatever’s in front of you because the forest generally looks beautiful, but “the forest generally looks beautiful” doesn’t make a photograph. A photograph needs something to anchor it.
Patino scanning beech forest, moving past uniform tree trunks
Patino walks a stretch of the creek and explicitly holds off from setting up a shot because nothing has distinguished itself as a main subject. The beech trees are all similar in character, nothing is pulling rank. This is an important discipline. It’s tempting to shoot whatever’s in front of you because the forest generally looks beautiful, but “the forest generally looks beautiful” doesn’t make a photograph. A photograph needs something to anchor it.
What you’re searching for is a tree with a distinctive lean, a silhouette, unusual root structure, or scale that sets it apart from its neighbors. A mossy boulder that creates a visual break. A bend in the stream that pulls the eye toward something specific. Walk until you find it, then build your composition around it rather than arranging the composition first and hoping something steps into the role of subject.
Step 5: Slow Down and Treat the Forest as an Observational Exercise
 Wide view of crown ferns covering the forest floor between trees
Patino draws a direct contrast between the forest and the kind of dramatic landscape work that draws most photographers outdoors. In open terrain, the subject often announces itself. You see a mountain, a coastline, a peak at golden hour, and you know immediately what the photograph is. The forest doesn’t work that way. There’s no single dominant thing demanding your attention. The rewards go to whoever slows down long enough to actually look.
Wide view of crown ferns covering the forest floor between trees
Patino draws a direct contrast between the forest and the kind of dramatic landscape work that draws most photographers outdoors. In open terrain, the subject often announces itself. You see a mountain, a coastline, a peak at golden hour, and you know immediately what the photograph is. The forest doesn’t work that way. There’s no single dominant thing demanding your attention. The rewards go to whoever slows down long enough to actually look.
He makes the point that you can pass ten distinct compositions in ten meters without seeing any of them if you’re moving too fast or too mentally preoccupied with finding the perfect scene. I try to treat forest walks like I’m looking for something I dropped, deliberate, methodical, covering ground slowly. The forest also rewards returning to the same location across seasons and rainfall levels. A creek that’s messy from flood debris in summer might be perfect in winter. Building familiarity with a place pays off.
What I’d Add: Shoot Tethered to Your Instincts, Not Your Expectations
I made a version of Patino’s mistake for a long time: walking into a forest with a specific shot in my head, usually something I’d seen another photographer make, and then being frustrated when the location didn’t match the mental image. The forest is genuinely resistant to being pre-planned. Unlike a waterfall you can scout on satellite imagery or a ridge you can time with a sun calculator, the forest reveals itself on its own terms.
The shift that helped me most was arriving with a mood I wanted to capture rather than a composition I wanted to replicate. Something like “stillness and depth” or “the feeling of a forest after rain.” That’s vague enough to stay open to what the forest actually offers, but specific enough to keep you from shooting everything indiscriminately. It keeps you selective without making you rigid.
The single most useful thing this tutorial reinforces is that light direction matters more in the forest than almost anywhere else in landscape photography. You can forgive a lot of compositional messiness in a dramatic mountain scene because the scale carries it. The forest gives you no such cover. Finding your light direction, and walking away from anything that isn’t side lit or back lit, is the foundation everything else gets built on.
Watch the full tutorial on YouTube and pay close attention to the moments where Patino chooses to keep walking rather than set up a shot. That restraint is the real lesson.
Comments
Leave a Comment