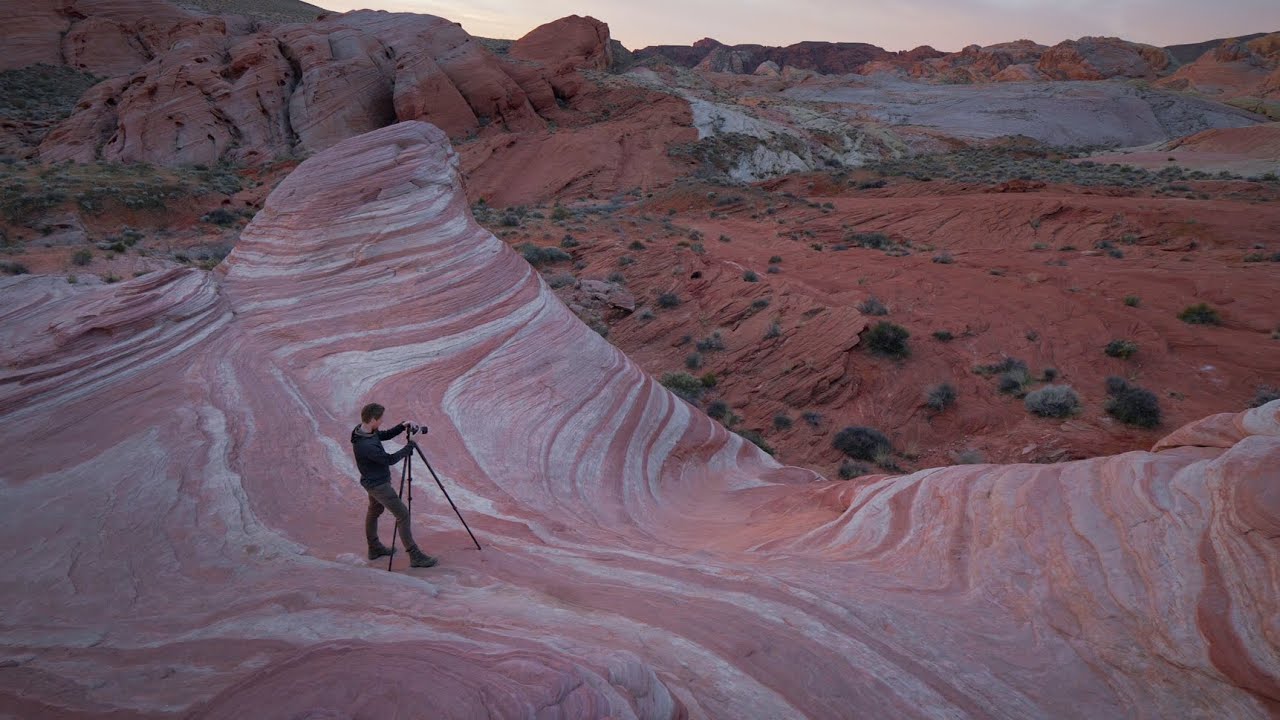
There’s a particular kind of paralysis that hits you in visually loud landscapes. You’ve driven hours to get there, the light is doing something extraordinary, and you cannot find a single frame worth shooting. Everything competes. The eye has nowhere to land. I’ve stood in places like Zion, like the Oregon badlands near home, like the painted hills at noon, and felt genuinely defeated by abundance. Too much texture, too many colors, no obvious anchor. It’s one of the strangest feelings in photography, being surrounded by beauty and unable to make a single good image.
In this Thomas Heaton tutorial shot in Valley of Fire, Nevada, Watch the full tutorial on YouTube, Heaton works through exactly that problem in real time. He’s shooting handheld on a Canon 5D Mark IV with a GoPro running as his vlog camera after his main filming rig fails entirely. The conditions aren’t romantic. There’s no careful pre-dawn setup, no tripod, no scouted location. What you get instead is a working photographer thinking out loud, and that rawness is precisely what makes it useful.
What follows is a breakdown of the method Heaton uses, distilled into steps you can carry into any unfamiliar landscape.
Step 1: Resist the urge to immediately shoot
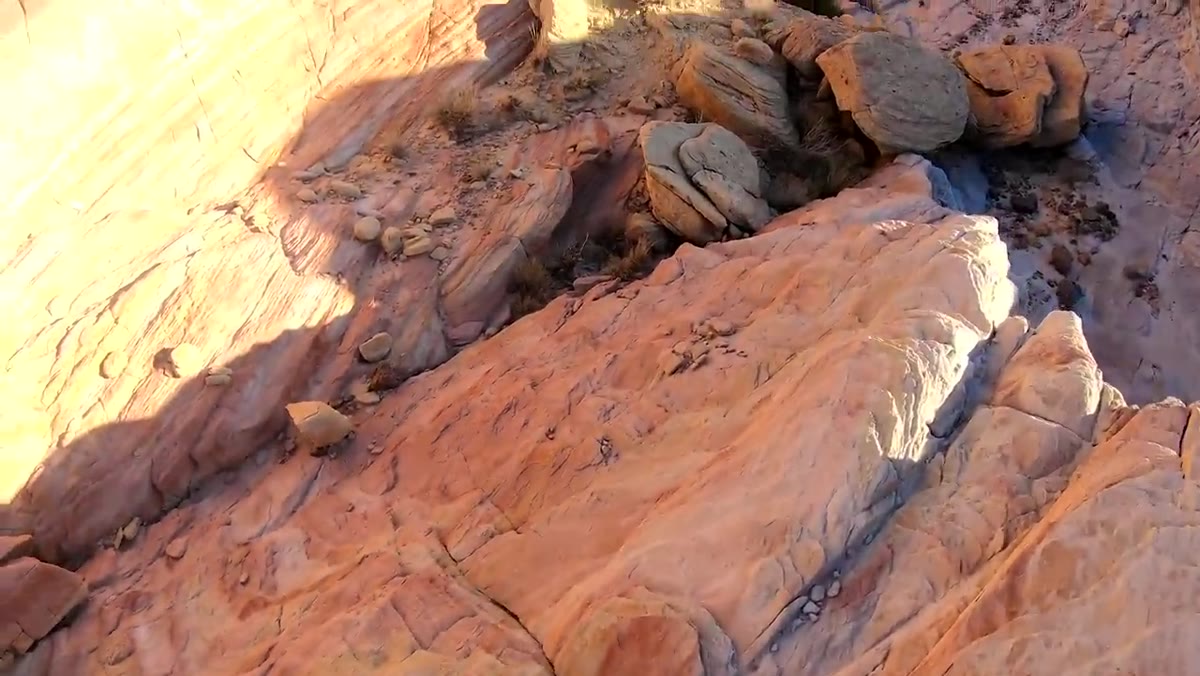 Heaton scrambling across red rocks without camera raised
The first thing Heaton does when he enters the Valley of Fire is nothing. He looks. He scrambles around. He describes the approach as playing like a kid, just exploring without an agenda. For photographers who bill their time, this can feel expensive. It isn’t. The worst images I’ve ever made came from raising the camera within the first five minutes of arrival. When you shoot immediately, you photograph what you see first, which is almost never the best the location has to offer.
Heaton scrambling across red rocks without camera raised
The first thing Heaton does when he enters the Valley of Fire is nothing. He looks. He scrambles around. He describes the approach as playing like a kid, just exploring without an agenda. For photographers who bill their time, this can feel expensive. It isn’t. The worst images I’ve ever made came from raising the camera within the first five minutes of arrival. When you shoot immediately, you photograph what you see first, which is almost never the best the location has to offer.
Give yourself a defined period of pure looking. Ten minutes minimum. Walk the terrain, identify the direction the light is moving, notice what’s catching your eye emotionally rather than intellectually. Your gut will flag something before your brain can articulate why.
Step 2: Accept that a great view is not automatically a great photograph
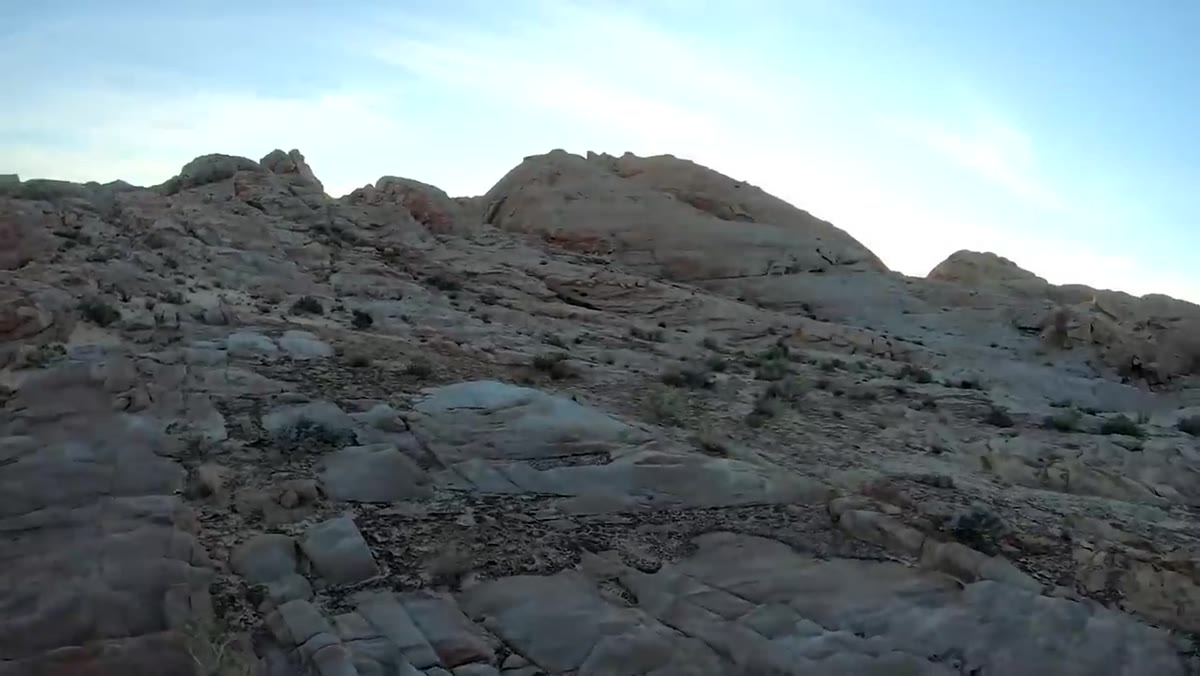 Wide landscape of canyon and rocks with no clear focal point
Heaton says this plainly while looking out over stunning canyon formations: the view is magnificent, but there’s nowhere for the eye to land. No fixed focal point. This is a distinction I come back to constantly when I’m running workshops. Students point at gorgeous scenery and ask why their images feel flat. It’s usually because they photographed a feeling instead of a composition.
Wide landscape of canyon and rocks with no clear focal point
Heaton says this plainly while looking out over stunning canyon formations: the view is magnificent, but there’s nowhere for the eye to land. No fixed focal point. This is a distinction I come back to constantly when I’m running workshops. Students point at gorgeous scenery and ask why their images feel flat. It’s usually because they photographed a feeling instead of a composition.
A great landscape photograph needs a visual anchor, something that stops the eye before it wanders off the frame. In desert terrain especially, where scale is extreme and color is everywhere, you need to be ruthless about identifying that anchor before you lift the camera. If you can’t name what the subject is in one sentence, keep walking.
Step 3: Use foreground elements to frame the middle and background
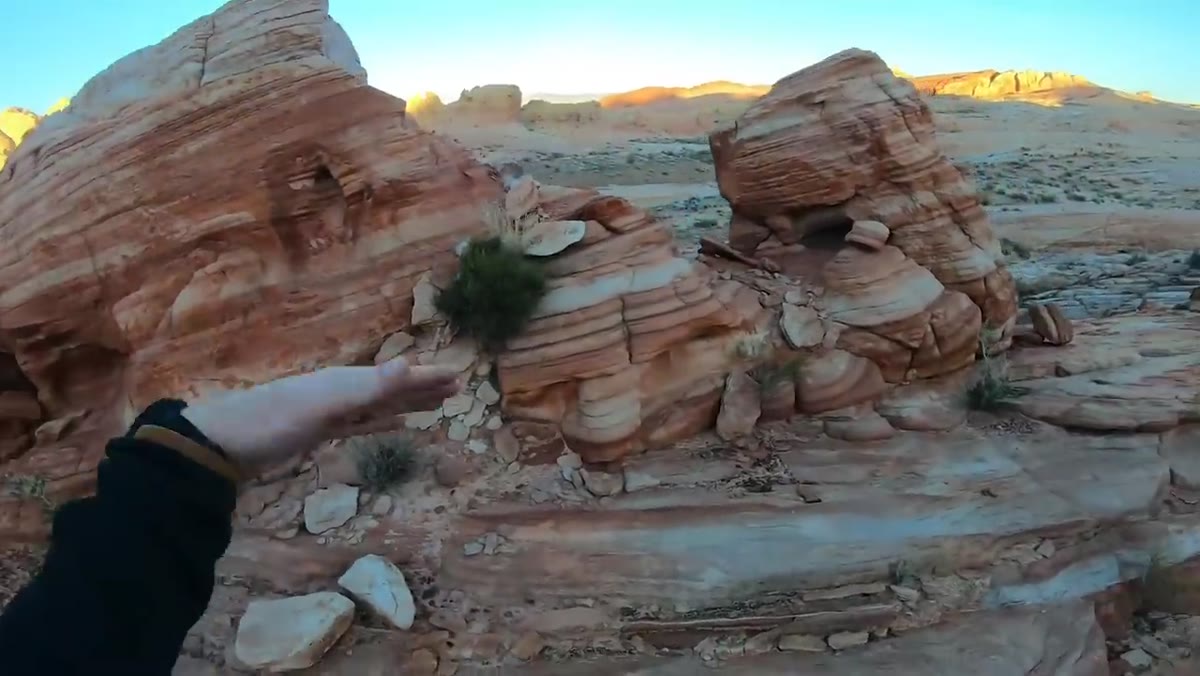 Heaton framing striped rock layers against distant lit hills
When Heaton does settle on a potential composition, he describes using banded, striped rocks in the immediate foreground to frame the illuminated hills further back. He’s also noting a green desert shrub as a secondary point of interest. This is a classic layering technique, foreground, midground, background, but what matters here is that each layer is doing specific work. The foreground stripes provide geometry and lead the eye. The shrub adds color contrast. The backlit hills give the frame its light source and emotional weight.
Heaton framing striped rock layers against distant lit hills
When Heaton does settle on a potential composition, he describes using banded, striped rocks in the immediate foreground to frame the illuminated hills further back. He’s also noting a green desert shrub as a secondary point of interest. This is a classic layering technique, foreground, midground, background, but what matters here is that each layer is doing specific work. The foreground stripes provide geometry and lead the eye. The shrub adds color contrast. The backlit hills give the frame its light source and emotional weight.
In practice, get low when you’re working with banded rock or textured foreground. Even a foot of height difference changes how much of those layers you see versus sky. Move laterally until the foreground elements frame rather than crowd the distant subject.
Step 4: When the light fails on one layer, move vertically
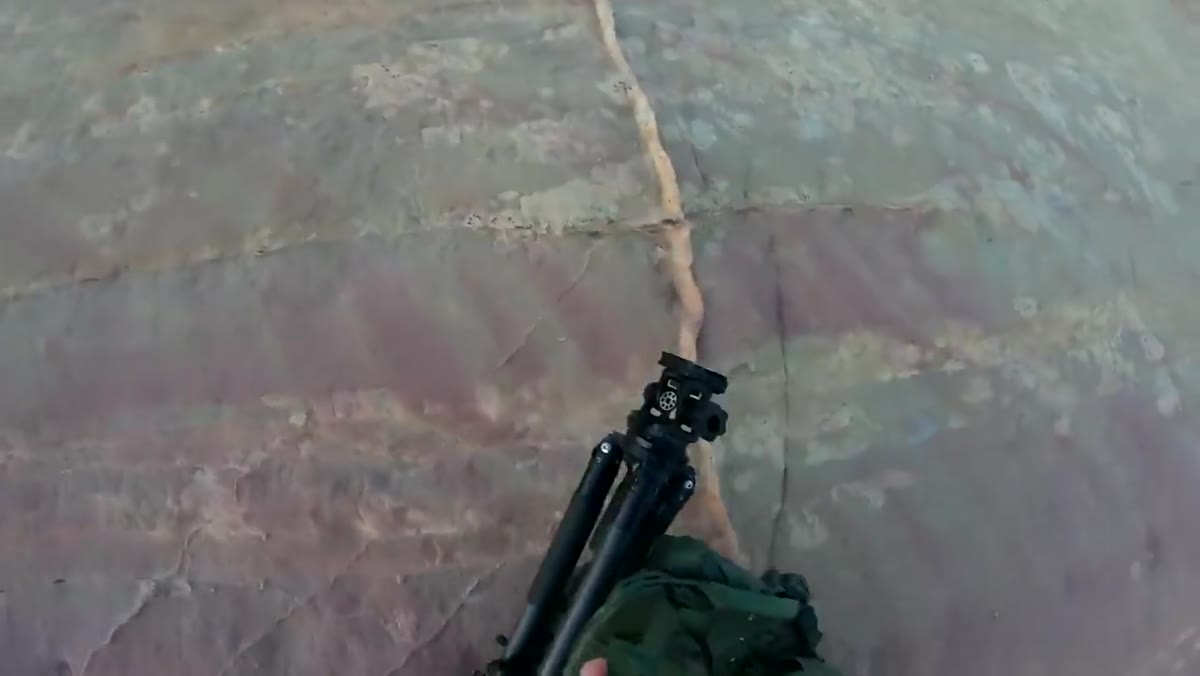 Heaton climbing to higher vantage point as light drops
As golden hour fades, Heaton’s ground-level compositions stop working because the direct light disappears from the canyon walls. His solution is immediate: get high. He climbs a rock formation to gain elevation, looking for a vantage point where he can see multiple layers of the landscape at once. This is a move I’ve made hundreds of times and it still surprises me how much a ten-foot gain in elevation can open up a scene.
Heaton climbing to higher vantage point as light drops
As golden hour fades, Heaton’s ground-level compositions stop working because the direct light disappears from the canyon walls. His solution is immediate: get high. He climbs a rock formation to gain elevation, looking for a vantage point where he can see multiple layers of the landscape at once. This is a move I’ve made hundreds of times and it still surprises me how much a ten-foot gain in elevation can open up a scene.
When the light you planned on disappears, your composition probably needs to change too. Elevation gives you depth and separation. It lets you see the transitions between landforms instead of being buried inside them. Always scout for your high points early so you can move there quickly when conditions shift.
Step 5: Let the post-sunset light do the color work
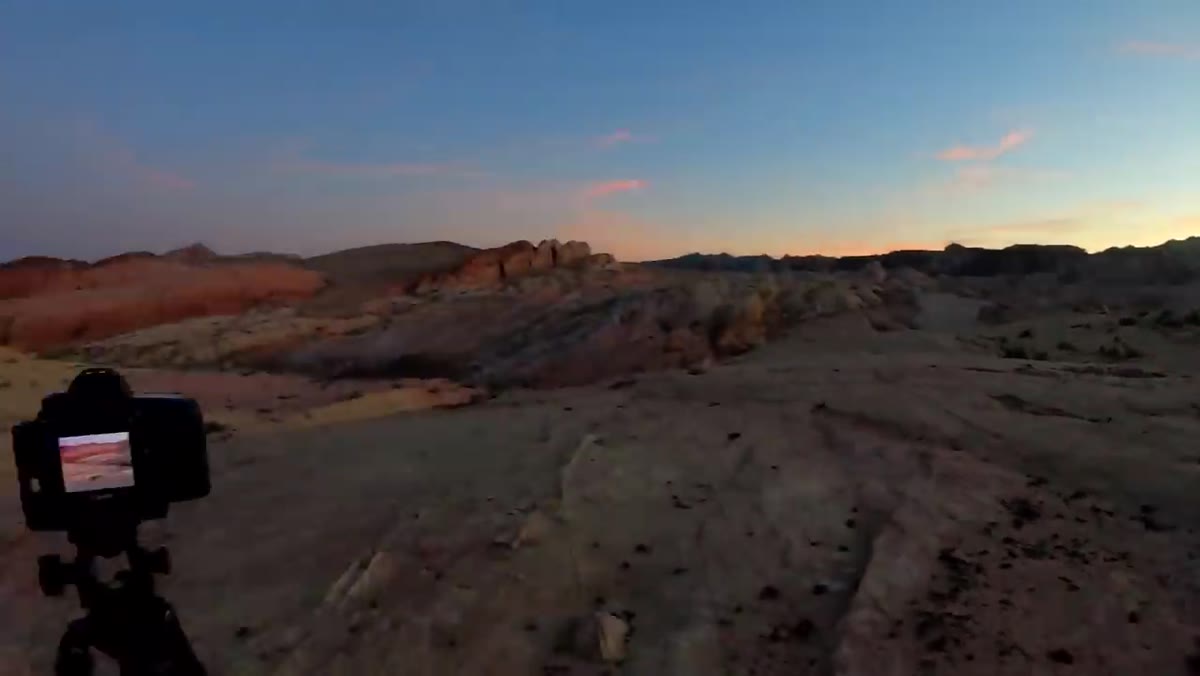 Purple and orange sky reflecting warm tones across canyon rock
The composition Heaton ultimately commits to comes after the sun has dropped below the horizon. What he describes seeing, and what becomes the real subject of the image, is the reflected warm light bouncing back down onto the canyon walls. The reds and oranges in the rock become saturated, the purples in the sky deepen, and the whole scene reads like layers of color rather than layers of rock.
Purple and orange sky reflecting warm tones across canyon rock
The composition Heaton ultimately commits to comes after the sun has dropped below the horizon. What he describes seeing, and what becomes the real subject of the image, is the reflected warm light bouncing back down onto the canyon walls. The reds and oranges in the rock become saturated, the purples in the sky deepen, and the whole scene reads like layers of color rather than layers of rock.
This is blue hour behavior in a desert setting, and it’s worth understanding the mechanism. After sunset, the sky acts as a giant diffused light source, eliminating harsh shadows and wrapping color across the landscape evenly. In red rock terrain, those warm tones become dramatically more vivid than they were during direct sunlight. If you pack up at sunset, you’re leaving your best twenty minutes on the table.
Step 6: Read the zigzag and build your exposure around the peak
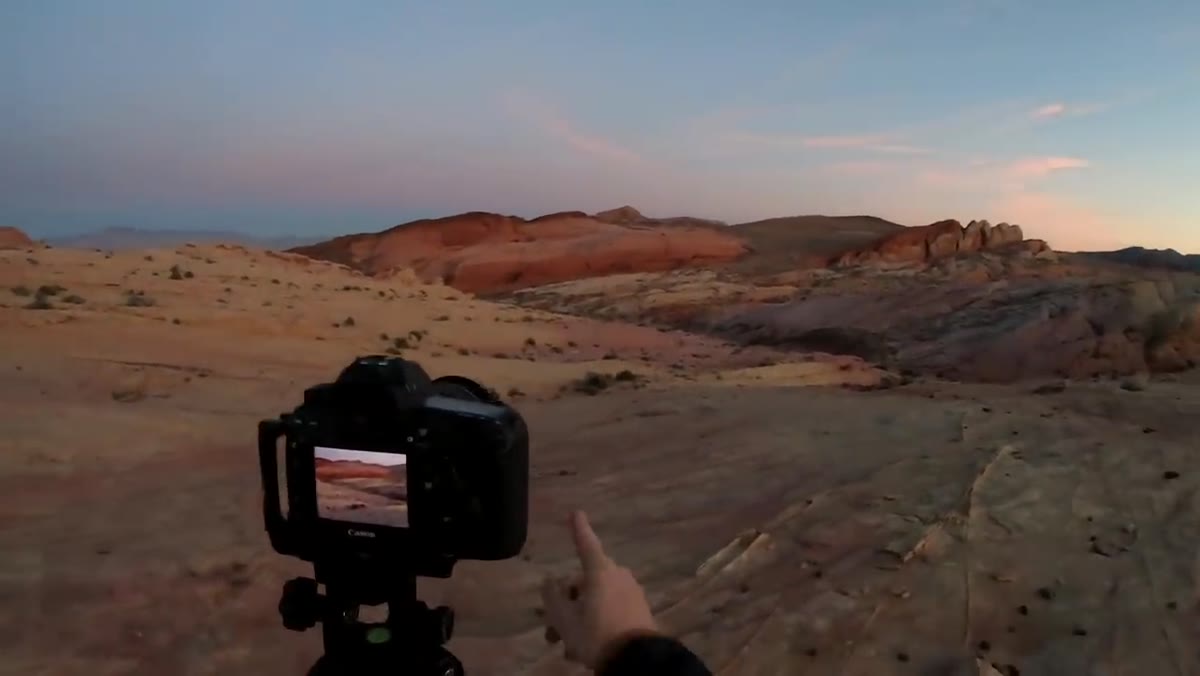 Canyon zigzag lines leading to a red rock peak in fading light
Heaton’s final composition is organized around a visual zigzag, the way the canyon lines turn back and forth through the scene, pulling the eye upward toward a single red rock peak. He notes that this layered movement combined with the color banding creates an almost graphic quality. The zigzag matters because it gives the eye a path to travel, which is exactly what the earlier chaotic compositions lacked.
Canyon zigzag lines leading to a red rock peak in fading light
Heaton’s final composition is organized around a visual zigzag, the way the canyon lines turn back and forth through the scene, pulling the eye upward toward a single red rock peak. He notes that this layered movement combined with the color banding creates an almost graphic quality. The zigzag matters because it gives the eye a path to travel, which is exactly what the earlier chaotic compositions lacked.
He shoots handheld because there’s no time to set a tripod. For exposure in this light, prioritize keeping the highlights in the sky from blowing out, and let the shadows open up in post. The quality of that post-sunset color is fragile and brief, typically eight to twelve minutes. Know your camera’s exposure compensation before you need it, not while the light is fading.
From My Own Field Experience: The Chaos Is the Location
I’ve shot in similar terrain in the Owyhee Canyonlands and across eastern Oregon. What Heaton demonstrates without naming it explicitly is that certain landscapes are designed to overwhelm. They’re geologically complex, visually dense, and resist the tidy compositions that work in calmer environments. The instinct is to fight that chaos and impose order. The better approach is to look for the one element the chaos is organized around, a single peak, a color transition, a leading line, and build outward from there.
My mentor told me once that the mountain doesn’t care about your schedule. Desert rock formations don’t care about your compositional preferences either. You find what the landscape is offering that day, not what you hoped it would offer.
The single most transferable idea from this tutorial is that finding a composition in a difficult landscape is an active physical process, not a mental one. You have to move, climb, get low, look from twelve different positions, and accept that the image you make might look nothing like what you planned. Heaton finds his best frame of the day only after the light he originally wanted is completely gone.
Watch the full tutorial on YouTube and pay particular attention to the real-time decision making in the final ten minutes. That’s where the actual craft lives.
Comments
Leave a Comment