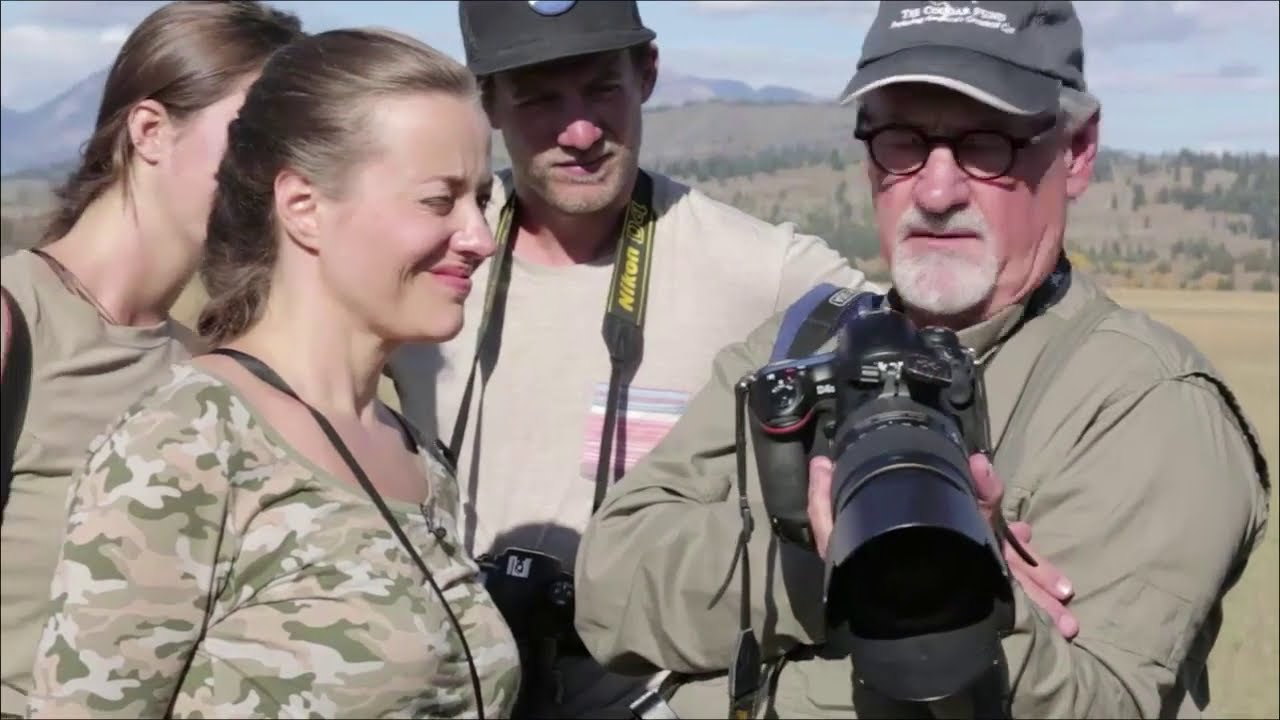
There’s a particular kind of frustration that comes from standing fifty yards from a beautiful mule deer buck and walking away with nothing usable. The light was wrong, or the background was a mess of competing branches, or the animal’s ears were pinned back and it looked like it was bracing for a fight. I’ve had that experience more times than I care to count, and most of those failures came down to not knowing what to look for or how to respond quickly when a scene started coming together. That’s why I keep returning to this kind of field-based tutorial from working professionals who think out loud while they shoot.
In this CreativeLive tutorial, Watch the full tutorial on YouTube, a photographer works through an unscripted morning encounter with mule deer and pronghorn in what appears to be Grand Teton country. The value here isn’t in polished studio advice. It’s in watching someone make real-time decisions about gear, movement, positioning, and patience while the animals do exactly what animals always do: nothing on cue.
What follows is a breakdown of the core techniques demonstrated, translated into steps you can carry into your own field sessions.
Step 1: Approach Slowly and Get Out Quietly
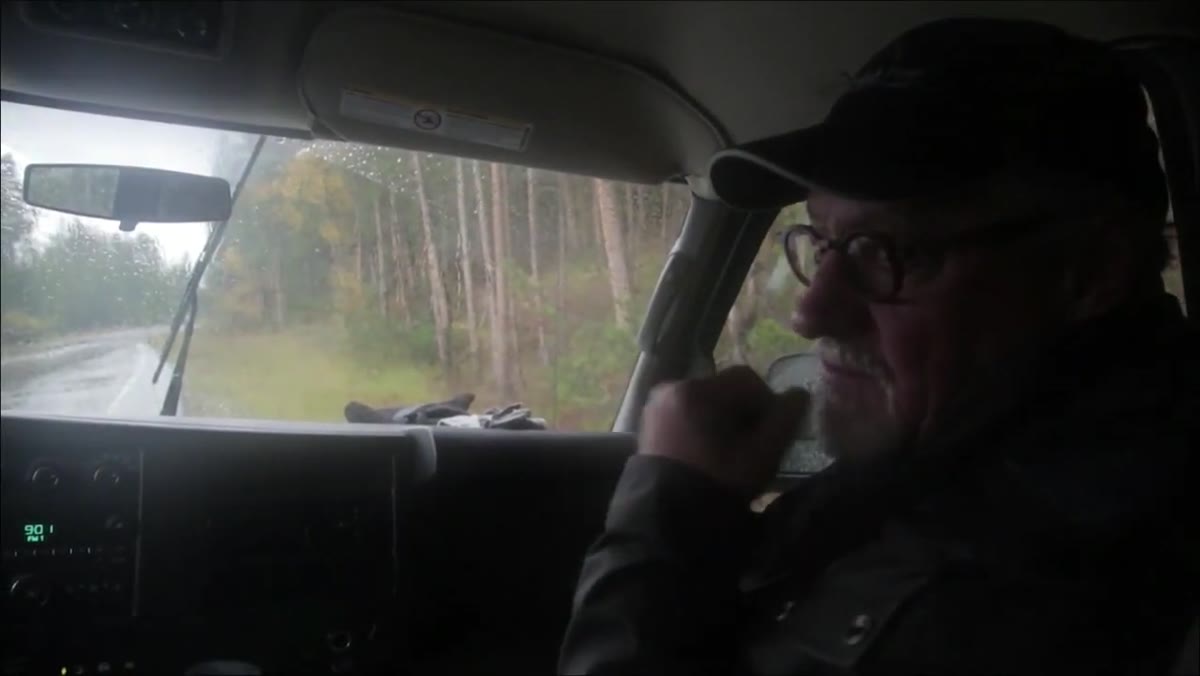 Photographer describing quiet exit from vehicle near deer
The moment you spot bedded animals, your instinct might be to rush. Don’t. The tutorial opens with two mule deer bucks lying together uphill, and the immediate response is to plan a slow, deliberate exit from the vehicle. Slamming doors, talking at normal volume, or moving with urgency will put ears back and feet moving within seconds. Treat your car as a blind and leave it the same way you’d lower yourself into a hunting position - slowly, with purpose, watching the animals the entire time.
Photographer describing quiet exit from vehicle near deer
The moment you spot bedded animals, your instinct might be to rush. Don’t. The tutorial opens with two mule deer bucks lying together uphill, and the immediate response is to plan a slow, deliberate exit from the vehicle. Slamming doors, talking at normal volume, or moving with urgency will put ears back and feet moving within seconds. Treat your car as a blind and leave it the same way you’d lower yourself into a hunting position - slowly, with purpose, watching the animals the entire time.
Distance is your first tool. Staying far enough back that the animals remain relaxed means you have time to think, adjust, and wait for the shot to develop. Closing that distance too fast collapses your options.
Step 2: Choose a Long Focal Length and Dial In Your ISO for Low Light
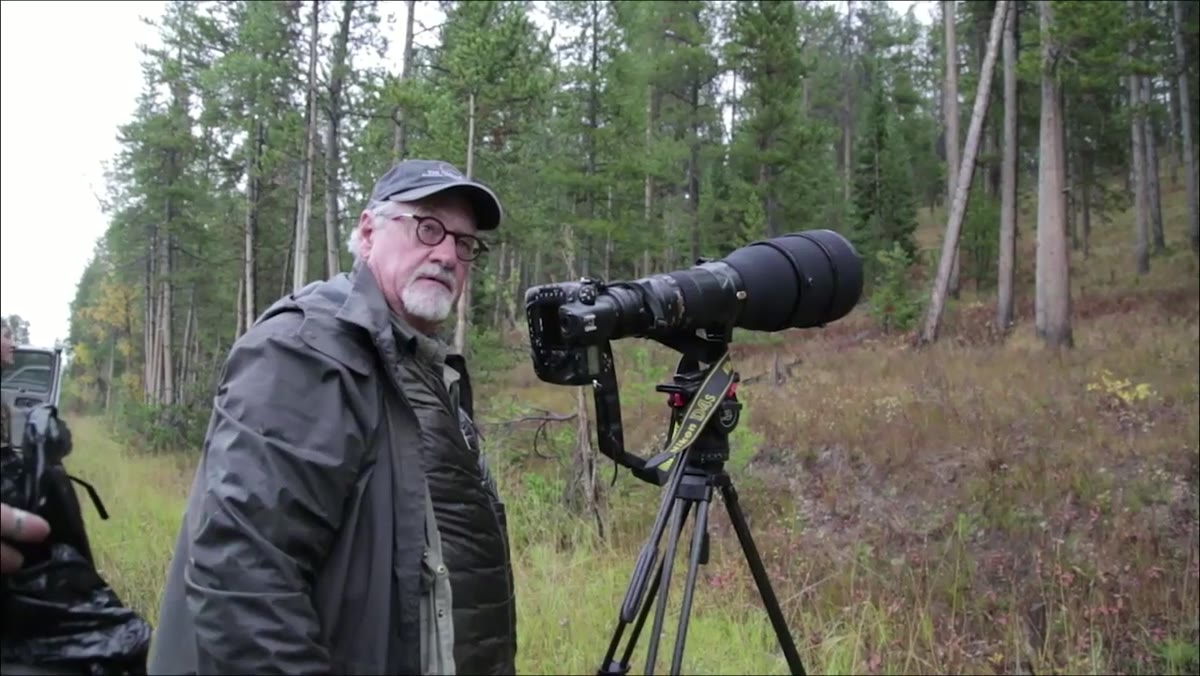
 Shooter recommending 200-400mm lens range in low morning light
For bedded deer in shaded, early-morning conditions, the tutorial recommends a 200-400mm lens range. This gives you enough reach to fill the frame without pressuring the animals, and it naturally compresses the background into something more manageable. At those focal lengths, even a moderately busy hillside starts to soften.
Shooter recommending 200-400mm lens range in low morning light
For bedded deer in shaded, early-morning conditions, the tutorial recommends a 200-400mm lens range. This gives you enough reach to fill the frame without pressuring the animals, and it naturally compresses the background into something more manageable. At those focal lengths, even a moderately busy hillside starts to soften.
Because the scene is dark, ISO needs to go up. The recommendation here is 3200 to 6400 depending on conditions. I used to resist pushing ISO that high, worried about noise, but modern sensors handle it well enough that a slightly grainy frame of a perfectly composed deer portrait beats a clean frame of a blurry mess. Get the exposure right first. Worry about noise in post.
Step 3: Use a Wide Aperture to Separate Subject from Background
 Discussing shallow depth of field to reduce busy background grass
This is one of the most practical pieces of advice in the tutorial and one that gets overlooked when photographers are rushing. Shoot at f/5.6 to f/7.1 to blur the background without sacrificing too much sharpness on the subject. With a long focal length and that aperture range, cluttered hillside grass, branches, and rocks fall into soft, neutral tones that stop competing with the animal.
Discussing shallow depth of field to reduce busy background grass
This is one of the most practical pieces of advice in the tutorial and one that gets overlooked when photographers are rushing. Shoot at f/5.6 to f/7.1 to blur the background without sacrificing too much sharpness on the subject. With a long focal length and that aperture range, cluttered hillside grass, branches, and rocks fall into soft, neutral tones that stop competing with the animal.
The tutorial specifically notes keeping the shutter speed high enough - around 1/500th of a second - to freeze any head movement. Animals shift, twitch, and turn constantly. A slow shutter in that context gives you a soft face on an otherwise well-composed frame, and that’s a hard thing to fix in Lightroom.
Step 4: Watch the Ears - They Tell You When to Shoot
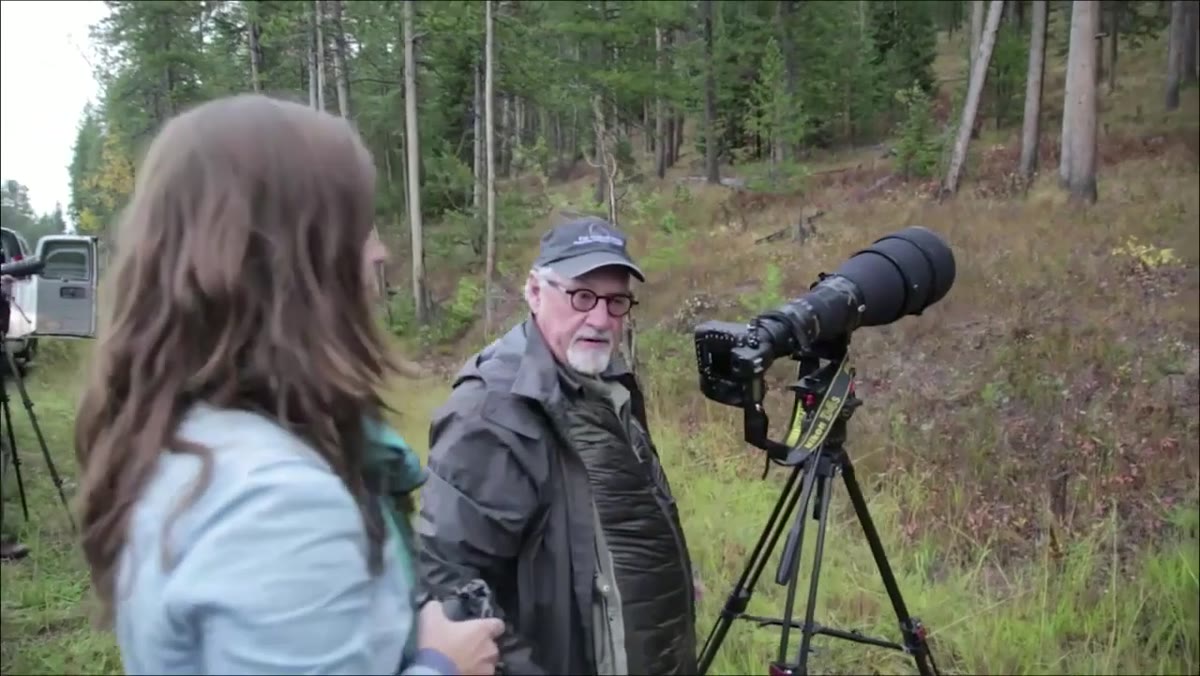 Comparing ears-back versus ears-forward positions on bedded deer
This is the behavioral insight that separates good wildlife portraits from forgettable snapshots. The tutorial spends real time on ear position, and rightly so. When a deer’s ears are forward, the animal looks alert, curious, and alive. When the ears are back, the animal looks flat and slightly defensive. The difference in the final image is significant enough that it’s worth waiting several minutes to catch that moment.
Comparing ears-back versus ears-forward positions on bedded deer
This is the behavioral insight that separates good wildlife portraits from forgettable snapshots. The tutorial spends real time on ear position, and rightly so. When a deer’s ears are forward, the animal looks alert, curious, and alive. When the ears are back, the animal looks flat and slightly defensive. The difference in the final image is significant enough that it’s worth waiting several minutes to catch that moment.
What causes ears to come forward? Sound in front of them. Other people talking nearby, a car stopping, anything that draws the animal’s attention toward the camera direction. In the tutorial, a group of tourists stops and talks, and the deer’s ears immediately swing forward. That kind of opportunistic patience - letting the environment work for you - is something you develop over time, but you can start practicing it on your next outing.
Step 5: Evaluate the Background Before Committing to a Position
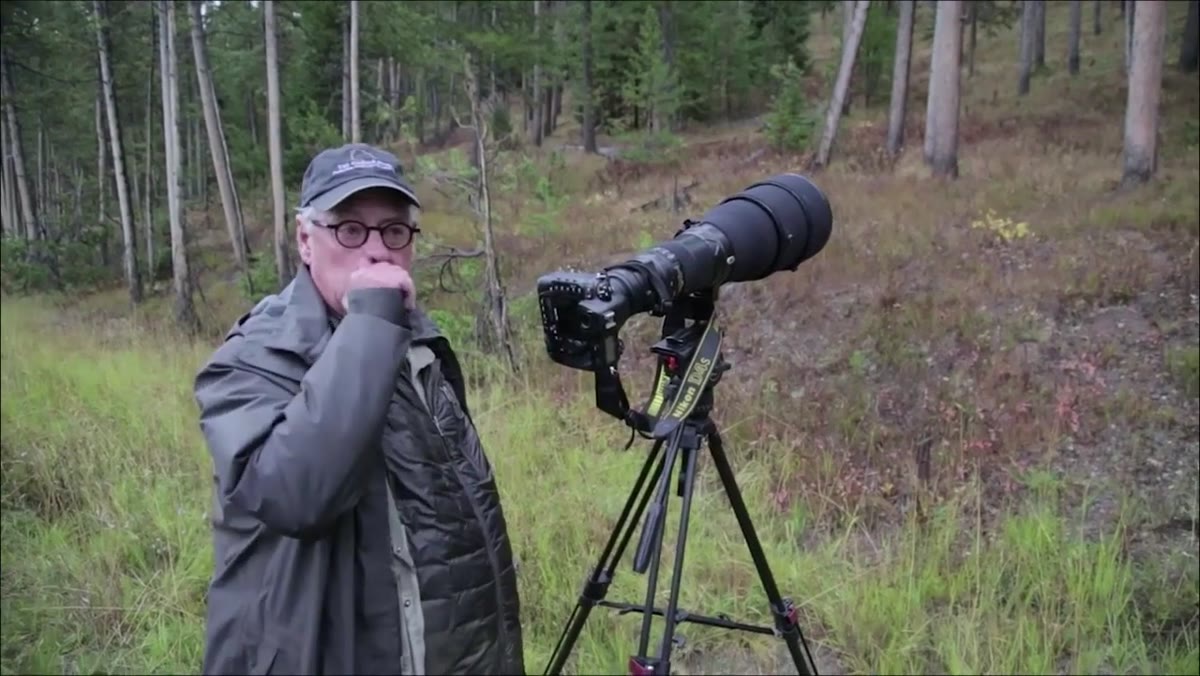
 Assessing pronghorn scene with hills and color in background
When the tutorial moves to pronghorn lying near a dirt road, the first instinct isn’t to shoot. It’s to assess. The grass is short, the background is flat, and the scene doesn’t have enough visual depth to justify a portrait. The decision is made to keep looking rather than force a mediocre frame.
Assessing pronghorn scene with hills and color in background
When the tutorial moves to pronghorn lying near a dirt road, the first instinct isn’t to shoot. It’s to assess. The grass is short, the background is flat, and the scene doesn’t have enough visual depth to justify a portrait. The decision is made to keep looking rather than force a mediocre frame.
This kind of editorial discipline is harder than it sounds. When you’ve driven a long way and the animals are right there, the temptation to fire anyway is strong. But a pronghorn against a plain, boring background isn’t a compelling image. Mountains, rolling hills with fall color, or even a line of sagebrush can lift a portrait from documentary to something worth printing. Look for background before you set your tripod.
Step 6: Be Willing to Wait and Return
 Deciding to leave deer and return after animals possibly reposition
The tutorial ends one deer sequence with a note that the animals might be up and in a better position in an hour. So the plan is to drive on, check for moose near the river, and loop back. This is standard operating procedure for serious wildlife work, and it’s a habit worth building into your field routine.
Deciding to leave deer and return after animals possibly reposition
The tutorial ends one deer sequence with a note that the animals might be up and in a better position in an hour. So the plan is to drive on, check for moose near the river, and loop back. This is standard operating procedure for serious wildlife work, and it’s a habit worth building into your field routine.
Bedded animals are in a fixed location. They’ll eventually stand, move, or reposition in ways that give you better light angles or cleaner backgrounds. Knowing when to leave and when to come back requires reading animal behavior and light direction together. It also requires accepting that sometimes the better shot is the one you haven’t taken yet.
A Note from My Own Experience
I’ll add one thing the tutorial doesn’t address directly: the value of pre-scouting the same locations across seasons. I’ve photographed pronghorn in similar open terrain near Bend, and what changed my results wasn’t gear or settings. It was knowing where the animals rested at specific times of day and positioning myself with the light already at my back before they arrived. You can’t manufacture that knowledge in a single visit. It comes from returning to the same places enough times that the landscape starts to feel predictable. The tutorial’s advice on settings and behavior is solid. The layer underneath it is familiarity with place.
The single most important thing I took from this tutorial is the emphasis on ear position as a decisive moment. Settings can be dialed in advance. Backgrounds can be scouted. But catching that split second when an animal turns alert and curious toward you - that’s timing, and timing comes from watching behavior closely and keeping your finger close to the shutter.
Watch the full tutorial on YouTube to see the unscripted decision-making in real time. It’s a good reminder that field photography is mostly waiting, a little bit of reading the scene, and one or two moments where everything lines up.
Comments
Leave a Comment