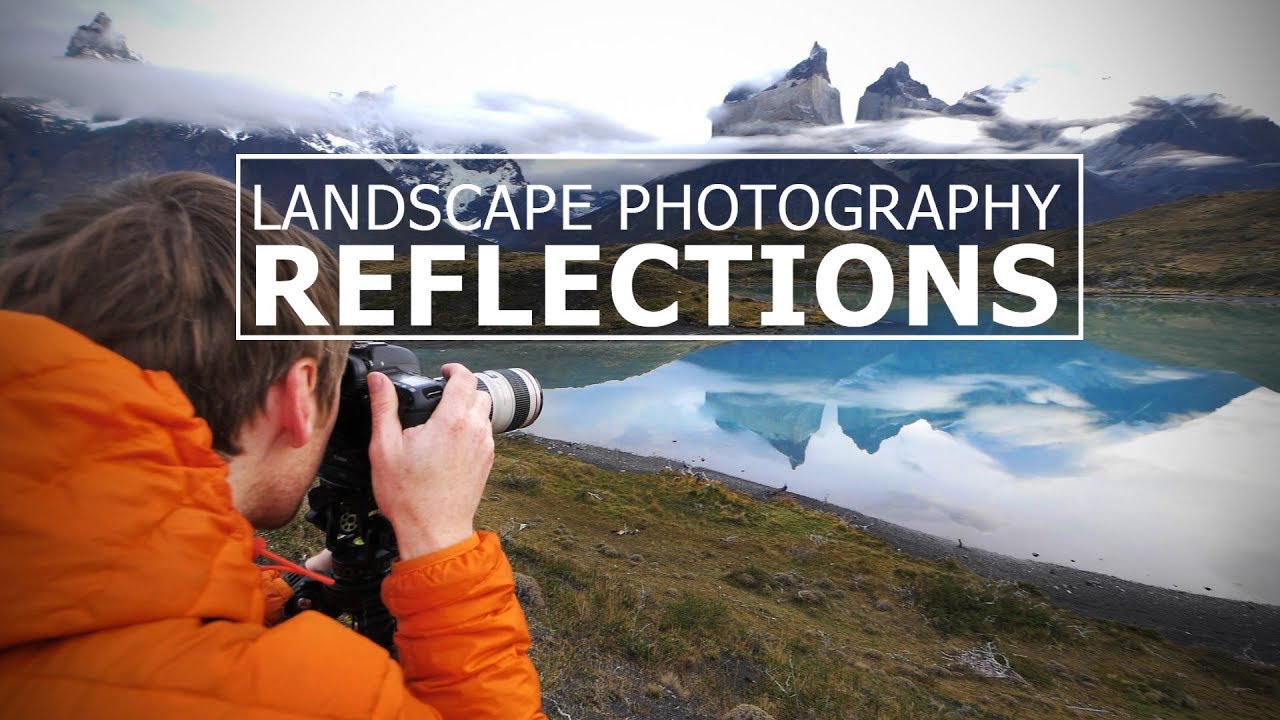
There is a particular kind of morning that every landscape photographer chases but rarely catches. Wind at zero. Water like poured glass. The world holding its breath. I have stood at the edge of alpine lakes in the Cascades at 4am more times than I can count, hoping for that stillness, and walked away more often than not with rippled water and a good story. That is exactly why I keep coming back to Thomas Heaton’s Patagonia reflection video. In this Thomas Heaton tutorial, he stumbles into one of those rare mornings at Lago Pehoé, and rather than just shooting quietly for himself, he walks through every decision he makes in real time. Watch the full tutorial on YouTube
What makes this video worth studying is that Heaton doesn’t have perfect light. He has mist, flat overcast sky, and zero-wind stillness. He shows you that atmosphere can carry an image when golden hour doesn’t show up, which is a lesson I had to learn the hard way. Conditions don’t have to be photogenic in the obvious sense. They have to be interesting. This tutorial is a clinic in reading a scene quickly and pulling out multiple images from a single location without taking a single step.
Step 1: Read the Conditions Before You Set Up
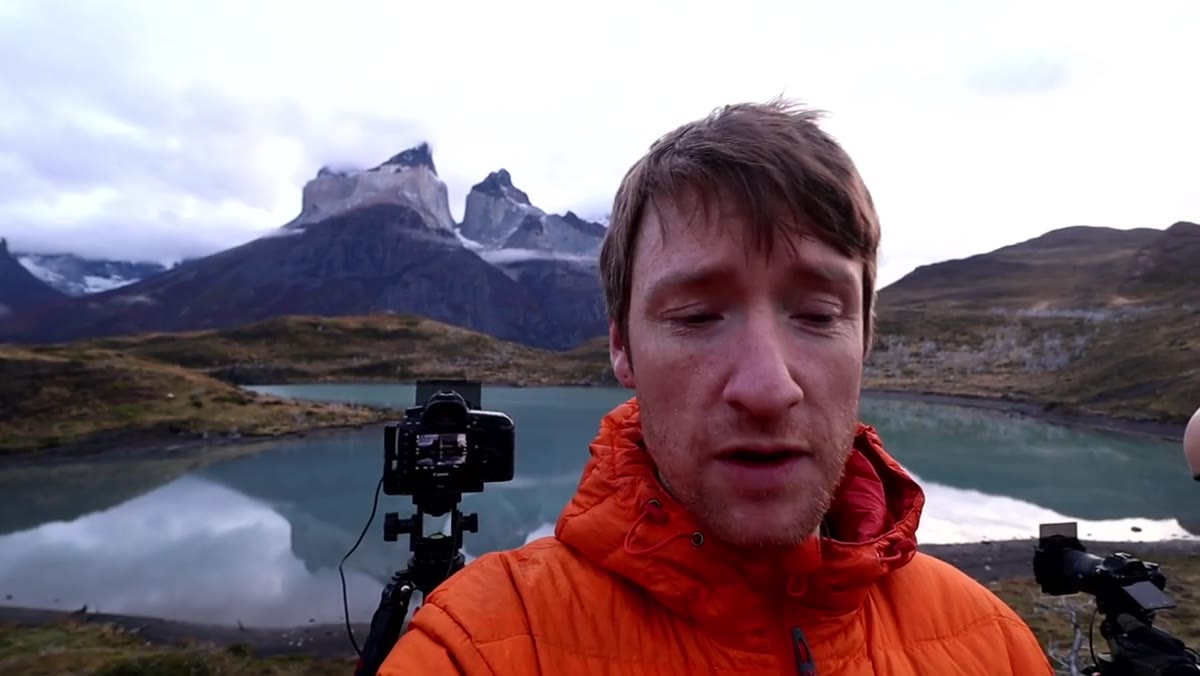 Thomas filming the still lake with mountains reflecting perfectly
When Heaton arrives at the lake, the first thing he does is not reach for his filters. He reads what the scene is offering. He notes the wind is completely calm, which is apparently so unusual for Patagonia that he felt compelled to film despite having shot this location many times before. The flat overcast light and low mist clinging to the mountain faces were creating mood rather than drama, and he recognized that as its own kind of opportunity.
Thomas filming the still lake with mountains reflecting perfectly
When Heaton arrives at the lake, the first thing he does is not reach for his filters. He reads what the scene is offering. He notes the wind is completely calm, which is apparently so unusual for Patagonia that he felt compelled to film despite having shot this location many times before. The flat overcast light and low mist clinging to the mountain faces were creating mood rather than drama, and he recognized that as its own kind of opportunity.
The practical habit here is to spend two or three minutes just looking before you attach anything to your camera. Ask yourself what the scene is doing, not what you wish it were doing. On an overcast morning, the answer might be soft, diffused color and long tonal gradients. Let that guide your setup rather than fighting it with filters designed for a scene that isn’t there.
Step 2: Choose Your Grad Filter to Balance Sky and Water
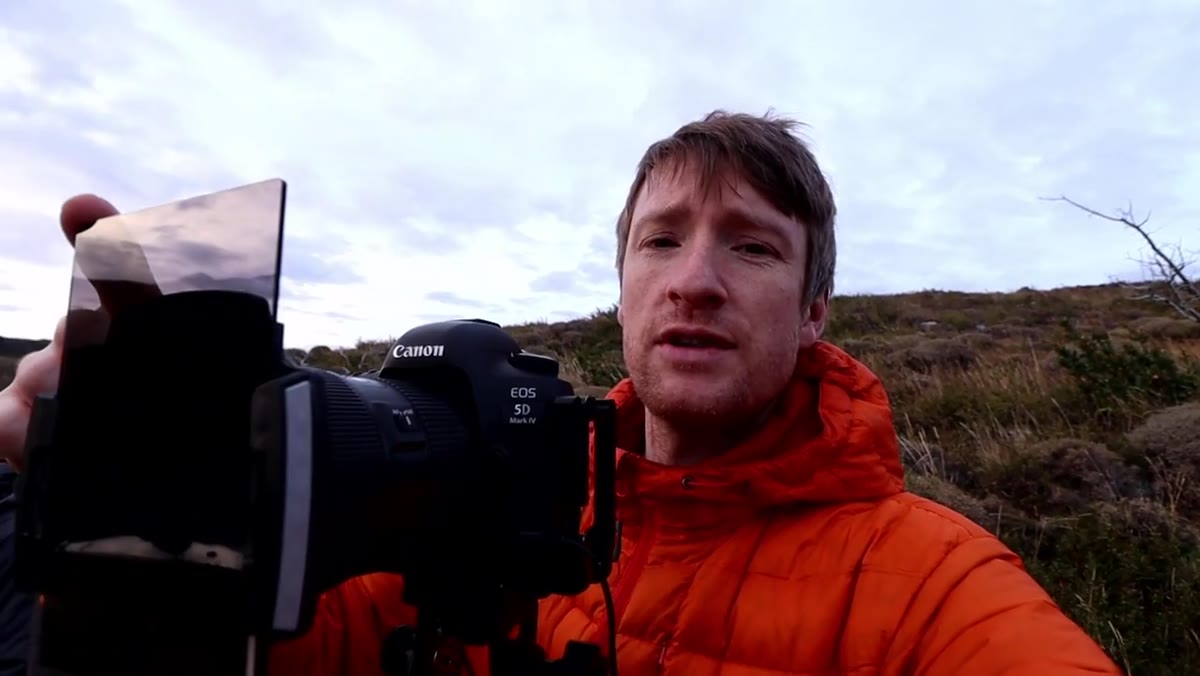 Camera with grad ND filter mounted, shooting toward the mountains
Because the sky and the reflective water surface are both relatively bright and flat, Heaton mounts a two-stop graduated ND filter to hold back the sky. This keeps the exposure from blowing out the cloud detail while letting the water and mid-tones breathe. He also tests between a four-stop and a ten-stop ND for the overall exposure, experimenting with shutter speed to find the right balance of cloud movement and water stillness.
Camera with grad ND filter mounted, shooting toward the mountains
Because the sky and the reflective water surface are both relatively bright and flat, Heaton mounts a two-stop graduated ND filter to hold back the sky. This keeps the exposure from blowing out the cloud detail while letting the water and mid-tones breathe. He also tests between a four-stop and a ten-stop ND for the overall exposure, experimenting with shutter speed to find the right balance of cloud movement and water stillness.
The key principle: a graduated ND is not just for sunny-sky situations. On an overcast day with a bright, low-contrast sky, even a soft-edge two-stop grad can prevent the sky from going gray-white and killing the mood. Meter your scene, check your histogram, and add only as much filtration as the difference between sky and foreground actually requires. More is not always more.
Step 3: Use Long Exposure to Transform Cloud Movement Into Texture
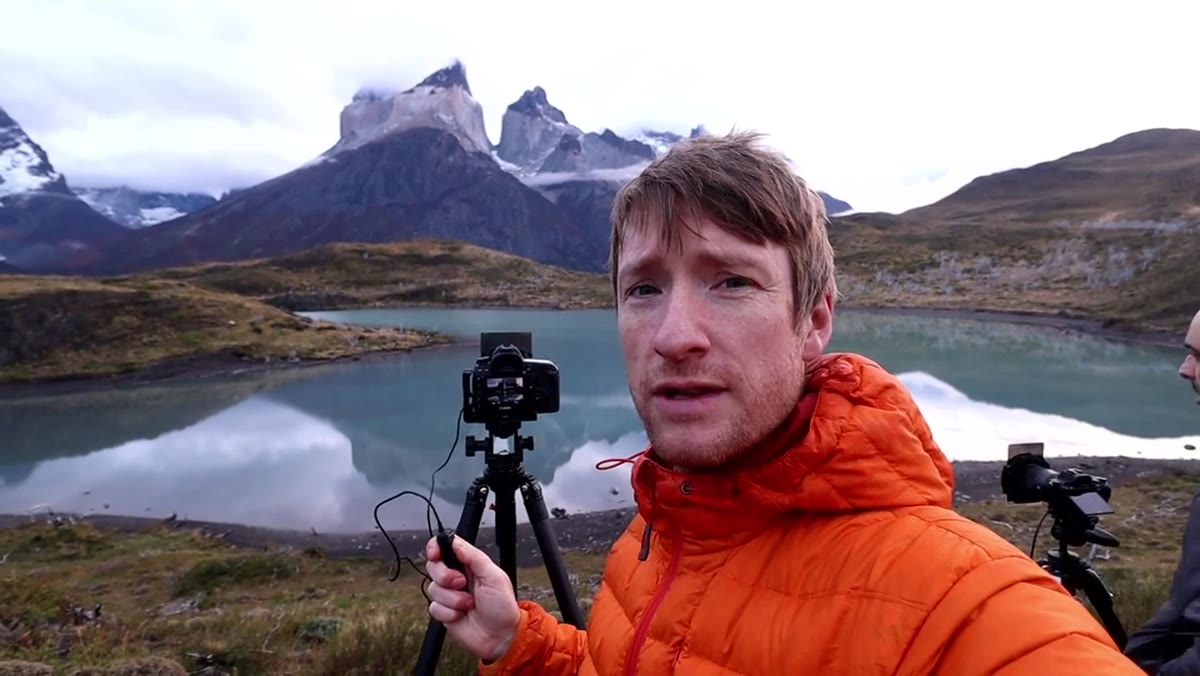 Camera on tripod, long exposure being taken of misty mountains
Heaton settles on exposures in the three-to-four minute range. At those durations, the slow-moving low cloud becomes a smooth, painterly wash across the upper frame rather than a patchy, distracting layer. He describes the result as ethereal, and that word is exactly right. Long exposure doesn’t just extend time. It simplifies the frame by averaging out everything that is restless.
Camera on tripod, long exposure being taken of misty mountains
Heaton settles on exposures in the three-to-four minute range. At those durations, the slow-moving low cloud becomes a smooth, painterly wash across the upper frame rather than a patchy, distracting layer. He describes the result as ethereal, and that word is exactly right. Long exposure doesn’t just extend time. It simplifies the frame by averaging out everything that is restless.
For exposures this long, your tripod needs to be planted solidly. Use a cable release or your camera’s two-second timer to eliminate any vibration at the shutter press. If there is any wind on the trees or surface movement on the water, a four-minute exposure will smooth those as well, which can actually help a reflection shot by removing small surface ripples that break up the mirror effect.
Step 4: Shoot the Wide Establishing Frame First
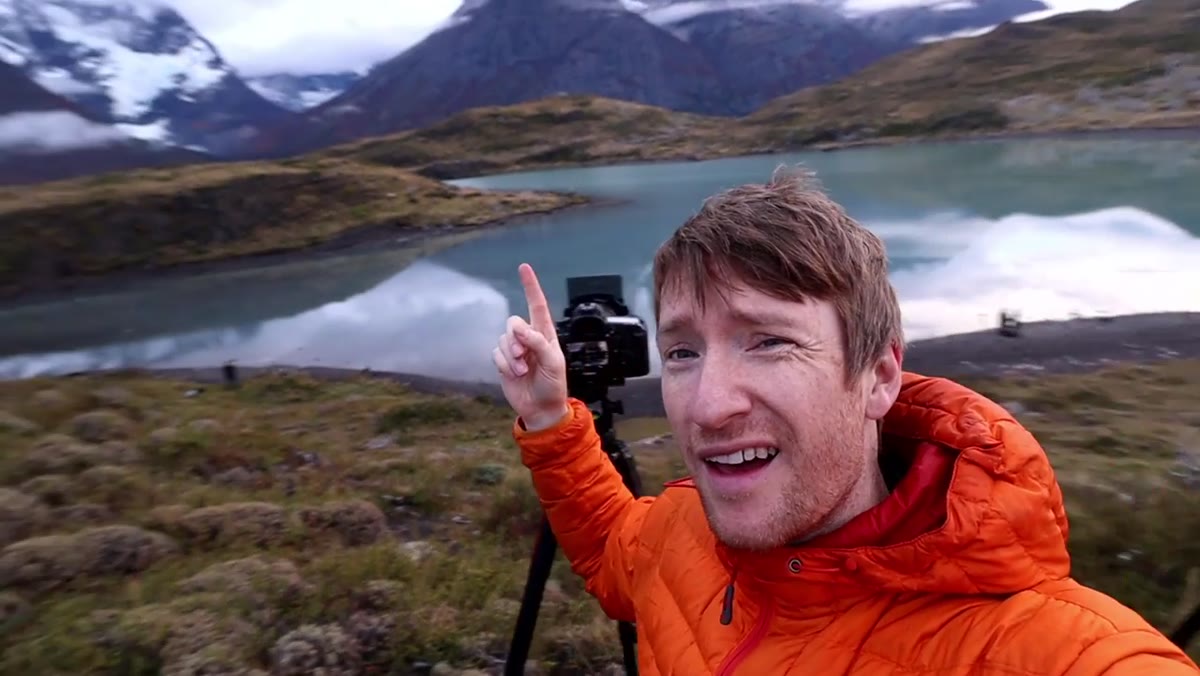 Wide shot of lake with full mountain reflection visible
Before he moves to any detail work, Heaton captures the full scene. Mountains, reflection, the sweep of the lake, the misty lower slopes. This is your anchor image and it earns its place in the sequence, but it is also the frame that will feel most familiar to viewers. Get it, get it right, then start looking for what else the scene is offering.
Wide shot of lake with full mountain reflection visible
Before he moves to any detail work, Heaton captures the full scene. Mountains, reflection, the sweep of the lake, the misty lower slopes. This is your anchor image and it earns its place in the sequence, but it is also the frame that will feel most familiar to viewers. Get it, get it right, then start looking for what else the scene is offering.
The wide frame also helps you see the light and color relationships across the whole scene before you zoom in. Once I switch to a longer lens, I find I can lose track of how the colors in a small detail relate to the broader palette. Shoot wide first, orient yourself, then compress.
Step 5: Switch to a Telephoto Lens and Look for Vignettes Within the Scene
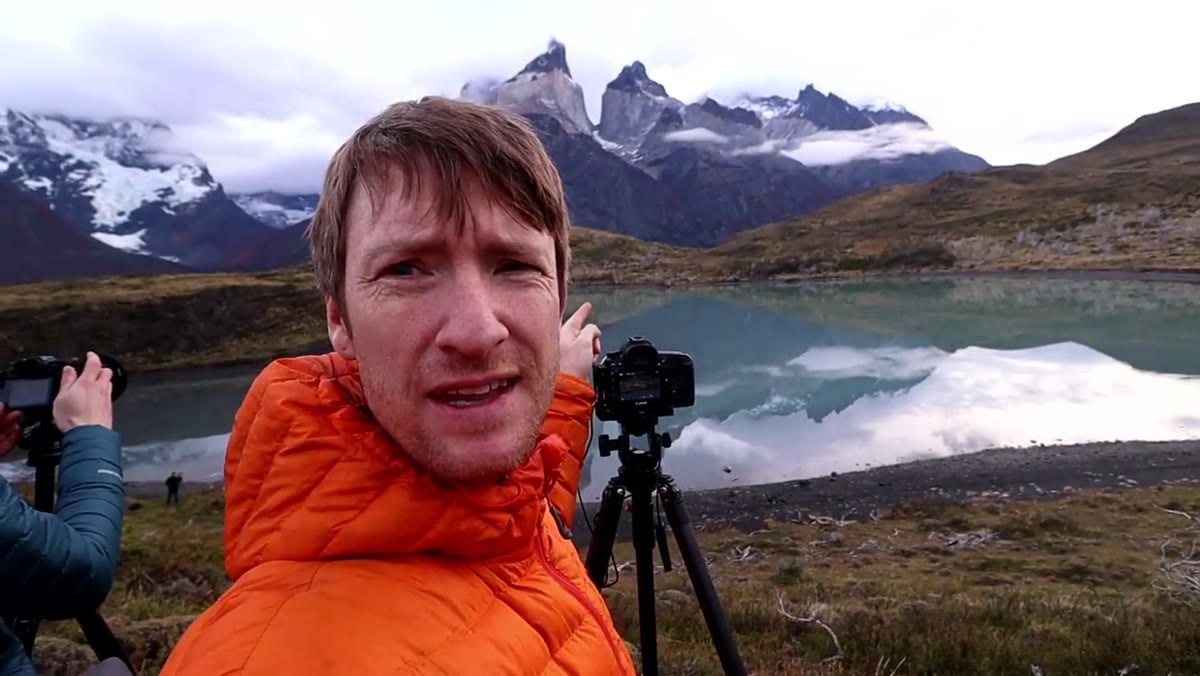 Telephoto lens mounted, trees on spit of land filling the frame
After the wide shot, Heaton swaps to a 70-200mm without moving his feet. He spots a small spit of land with sparse, bare trees reflecting in the turquoise water and frames it tightly. The telephoto compresses the background mountains into the frame and creates a layered scene, warm yellow-green grasses in front, skeletal trees in the middle, cool water and reflection below.
Telephoto lens mounted, trees on spit of land filling the frame
After the wide shot, Heaton swaps to a 70-200mm without moving his feet. He spots a small spit of land with sparse, bare trees reflecting in the turquoise water and frames it tightly. The telephoto compresses the background mountains into the frame and creates a layered scene, warm yellow-green grasses in front, skeletal trees in the middle, cool water and reflection below.
This is the habit that separates productive shoots from single-image shoots. After your main composition, scan the scene in sections as if you are reading a page. Look for color contrast, geometric lines, or any element that could anchor a tighter composition. A 70-200 is not just a wildlife lens. On a still-water morning, it is your tool for finding the quiet, strange images that live inside the obvious one.
Step 6: Shoot the Reflection Itself as the Subject
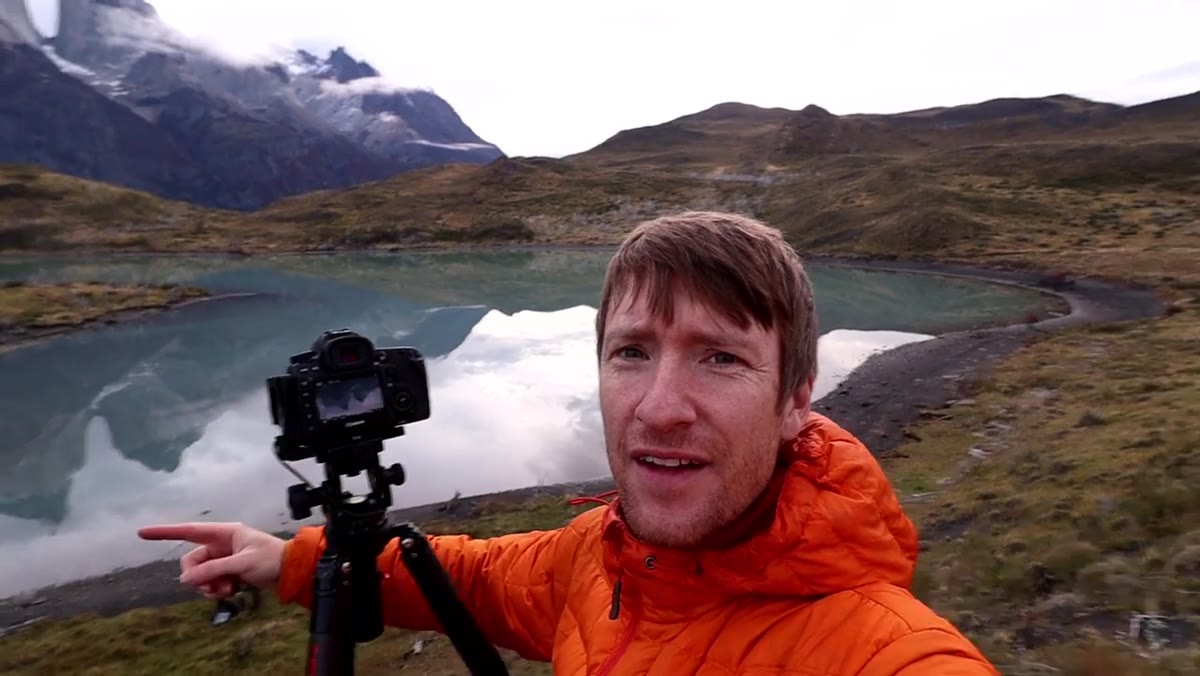 Telephoto pointed at water, shooting only the mountain reflection
Heaton’s final move is the one I find most interesting. He points the telephoto down at the water surface and shoots the reflection of the Cuernos peaks rather than the peaks themselves. He notes he will likely flip the image in post so the mountains read the right way up, but shooting the reflection adds a quality he describes as painterly. A true mirror reflection has depth and surface texture that a direct photograph of rock and snow does not.
Telephoto pointed at water, shooting only the mountain reflection
Heaton’s final move is the one I find most interesting. He points the telephoto down at the water surface and shoots the reflection of the Cuernos peaks rather than the peaks themselves. He notes he will likely flip the image in post so the mountains read the right way up, but shooting the reflection adds a quality he describes as painterly. A true mirror reflection has depth and surface texture that a direct photograph of rock and snow does not.
The idea here is worth sitting with. When the reflection is this clean, it almost reads as the real thing but with a quality that feels slightly dreamlike. Try both. Photograph the mountains directly, then rotate your composition and photograph only what the water is showing you. Compare them. You might prefer the version that doesn’t show the sky at all.
My Caveat: You Cannot Force These Conditions, But You Can Be Ready
I have chased still-water mornings across the high desert lakes of central Oregon and waited out fog and wind for two solid days just to earn one usable frame. That patience is not a personality flaw. It is the job. A mentor of mine once said, “the mountain doesn’t care about your schedule,” and I have never forgotten it. Conditions like Heaton finds in this video cannot be manufactured. What you can control is whether you are standing at the water’s edge when they happen, with a tripod already planted and filters already in your bag.
Check local wind forecasts the night before. Apps like Windy will show you when a calm window is coming. Set your alarm, even if you didn’t sleep much. The reflection shot of a lifetime has a very short window.
The single biggest takeaway from this tutorial is deceptively simple: when conditions are rare and beautiful, stop moving your feet and start changing your lenses. Heaton built three distinct images from one position on a single morning. The location was the same. The seeing changed. That is the work.
Watch the full tutorial on YouTube to see Heaton’s real-time decision making and the actual images on the back of his camera.
Comments (1)
Finally someone explains this in a way that actually makes sense.
Leave a Comment