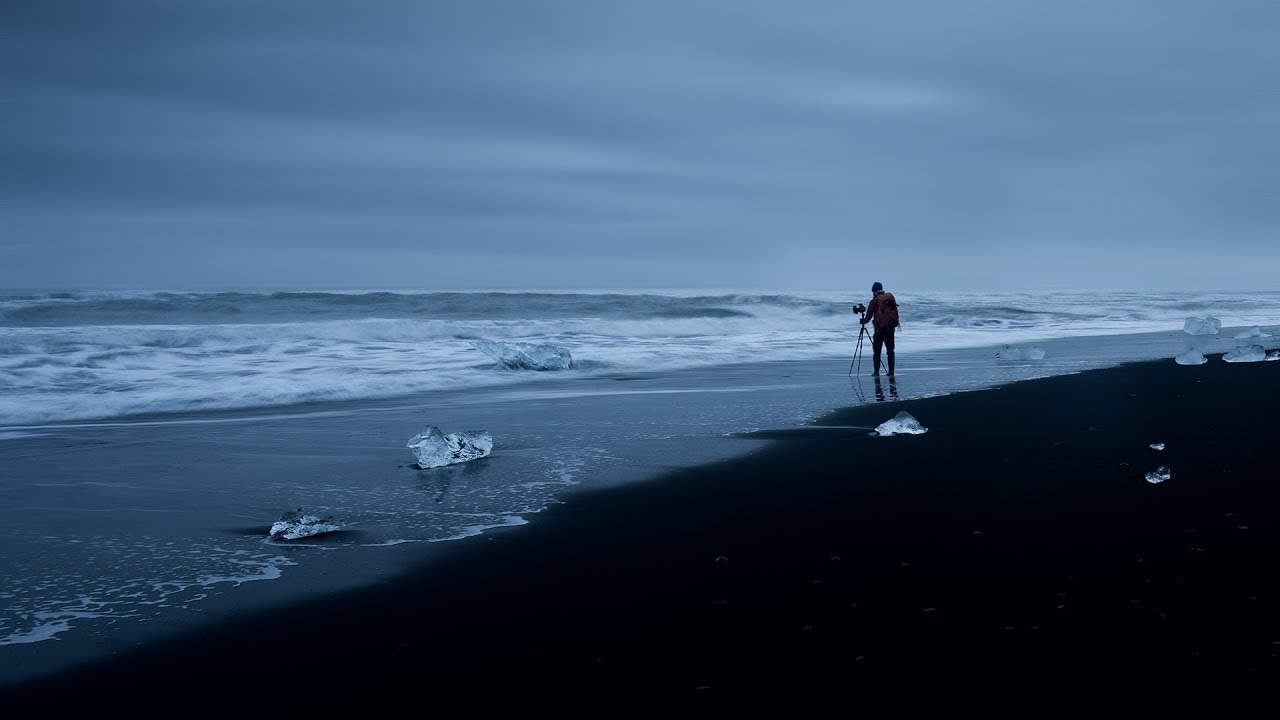
There’s a pull that every landscape photographer knows. You’re standing in front of something enormous and alive, and your instinct is to grab all of it. Every rock, every wave, every cloud. Pack the frame until nothing is left out. I’ve done it thousands of times in twenty years of shooting, and I still have to actively talk myself down from it. The problem is that a cluttered frame rarely communicates the feeling of being somewhere. It just documents it.
That tension between capturing everything and saying something is exactly what Thomas Heaton works through in a recent tutorial filmed on the south coast of Iceland. Watch the full tutorial on YouTube. He’s shooting at Vik and later at the glacier lagoon, and the technical side is straightforward enough, but what makes this worth studying is the underlying philosophy: that negative space and restraint can produce a stronger emotional response than visual abundance ever could. That idea has shaped how I approach a scene, and hearing it articulated clearly against those dramatic Icelandic backdrops is a useful reminder.
What follows is a breakdown of the technique Heaton demonstrates, step by step, with the settings and decisions translated into something you can carry into the field without needing to replay the video.
Step 1: Choose a Location with Natural Negative Space
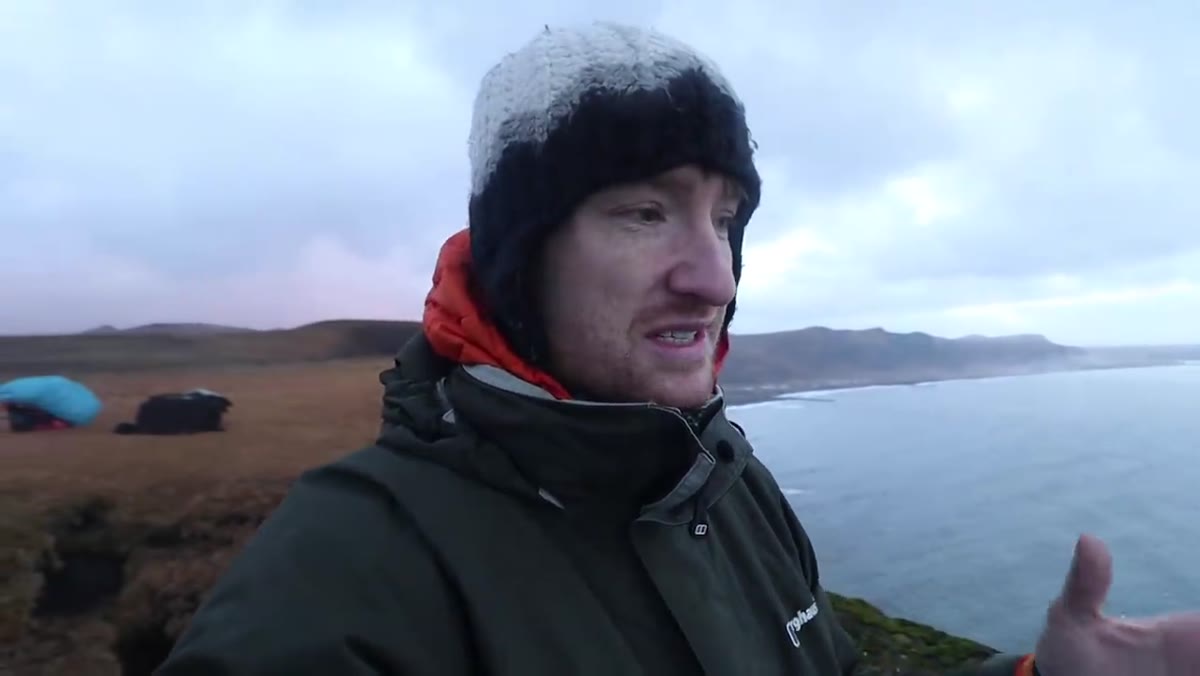
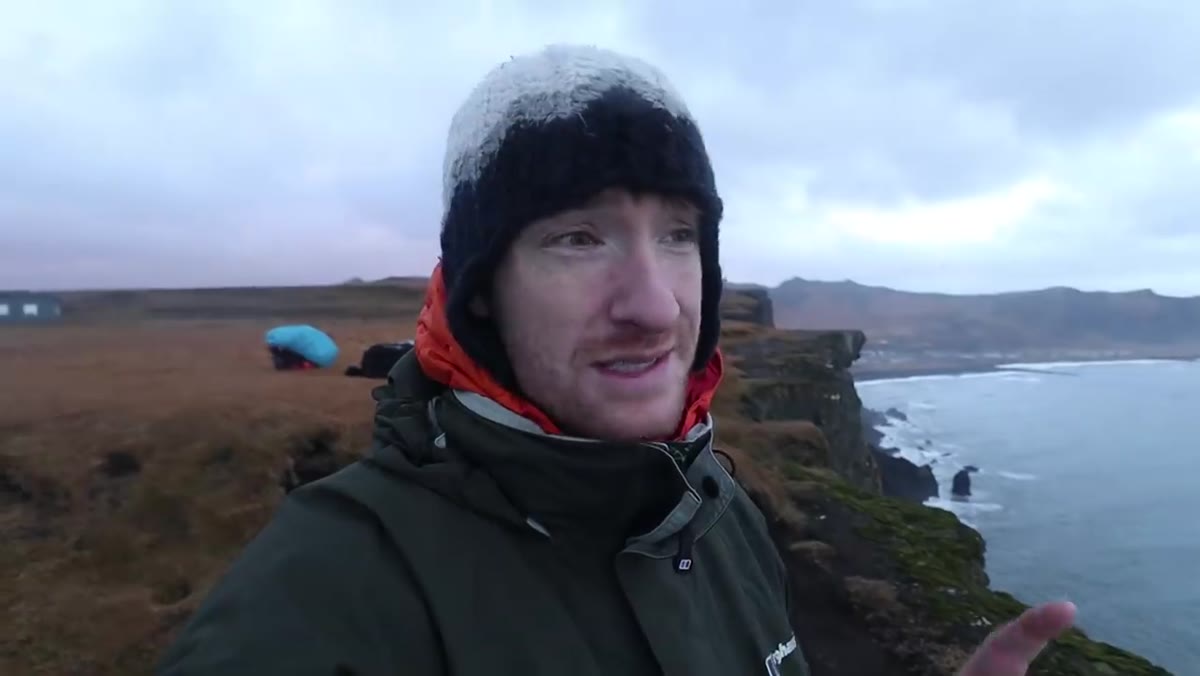
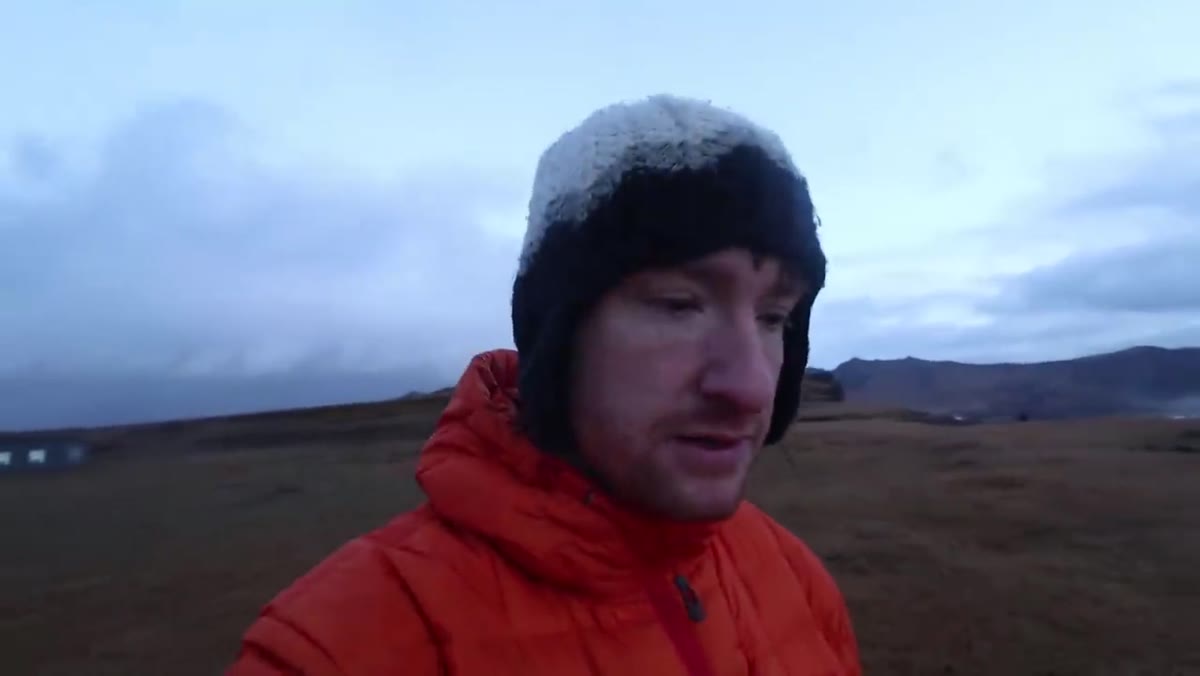 Heaton looking out over black cliffs above Vik beach
Heaton positions himself high above the beach at Vik, on cliff tops hundreds of feet above sea level. This is a deliberate compositional choice before the camera even comes out. Looking down on a scene or finding a wide, uncluttered plane, an open sky, a flat ocean, a fog-filled valley, gives you the raw material for minimalism. You cannot manufacture negative space in post if the scene itself is visually chaotic. Spend time reading the landscape before you set up, and ask yourself what can be removed simply by changing your angle or elevation.
Step 2: Commit to a Vertical Composition
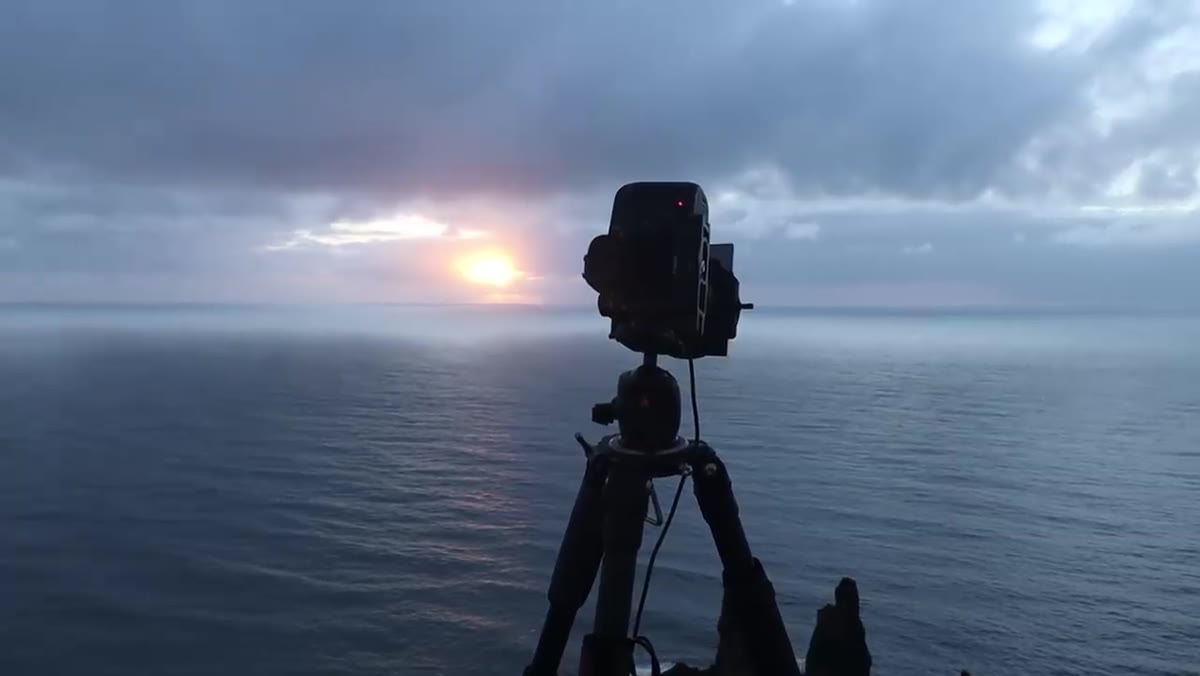
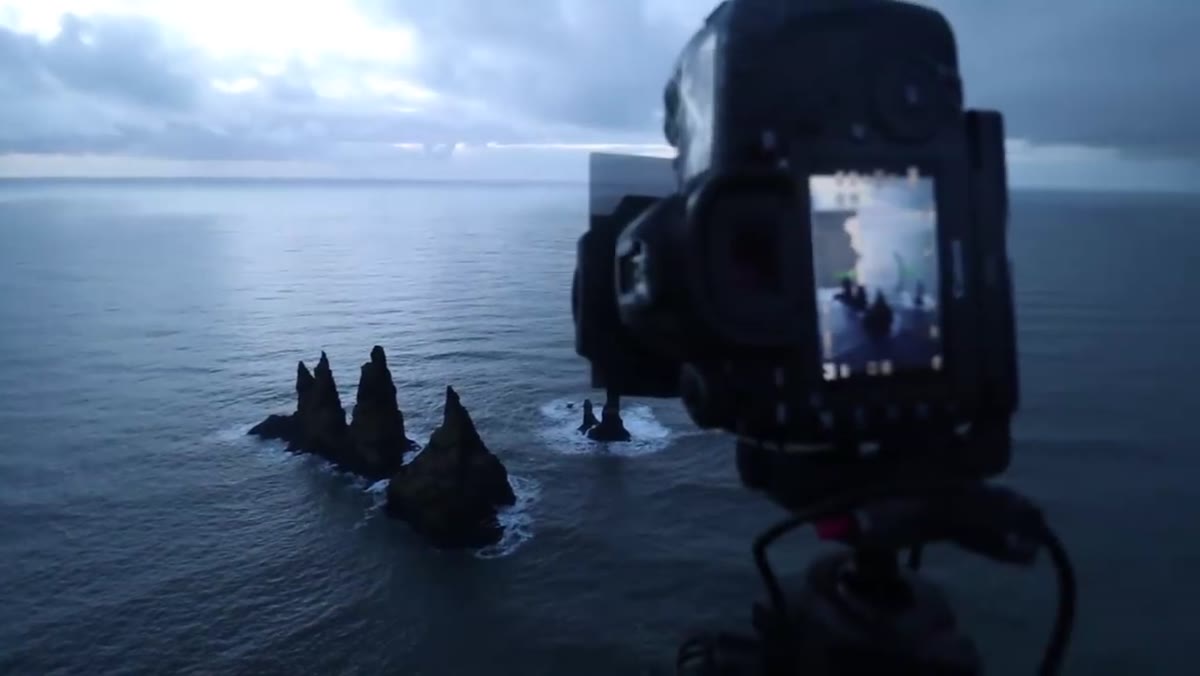 Camera set up vertically on tripod at cliff edge
Heaton opts for a vertical frame here rather than the default wide horizontal that most landscape photographers default to. Shooting vertically elongates the foreground-to-sky relationship and forces a kind of visual discipline. You have less real estate to fill, which means every element that makes it into the frame carries more weight. For minimalist work, portrait orientation often serves the image better because it creates a natural path from earth to sky without encouraging you to sweep the frame with detail. Try it even when it feels counterintuitive.
Step 3: Identify and Eliminate Distracting Elements
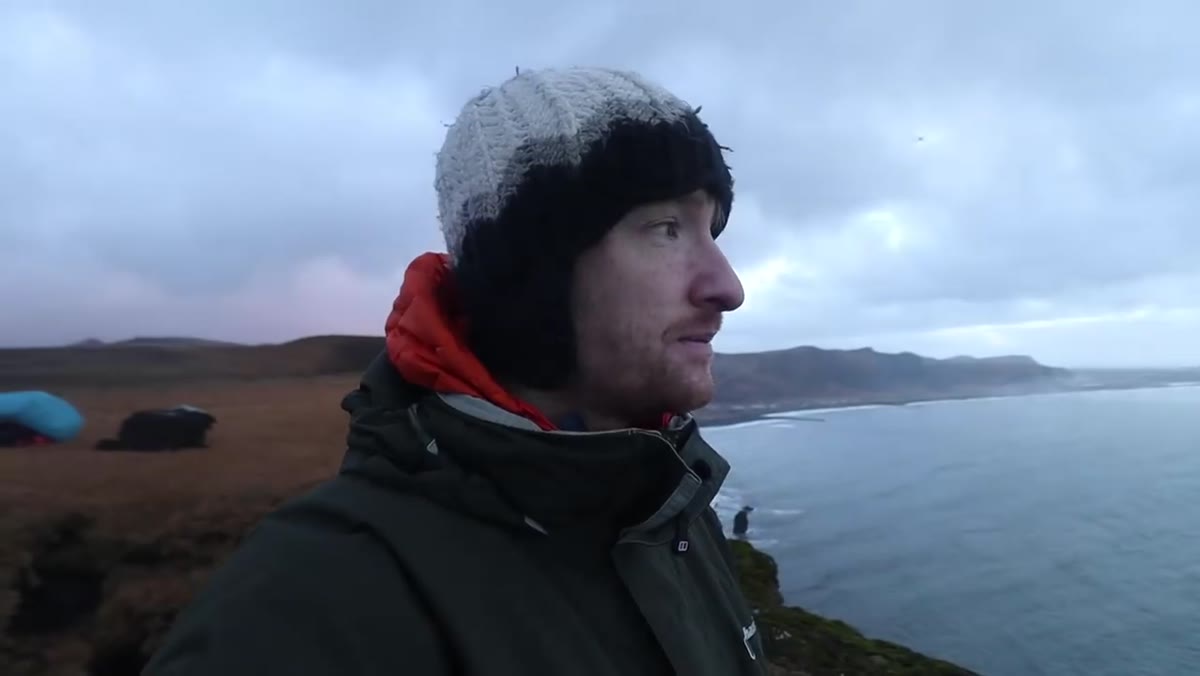
 Seabirds visible circling the sea cliffs
This is a step photographers skip too often. Heaton notices that seabirds are circling the cliffs continuously. In a standard exposure they would appear as scattered marks across the sky, pulling the eye in several directions and breaking the quiet mood he’s after. Rather than accepting that as part of the scene, he decides to eliminate them entirely through technique. Before you expose a single frame, look hard at your scene and ask what’s moving, what’s transient, and what will read as visual noise rather than visual interest.
Step 4: Use a 10-Stop ND Filter for Long Exposure
 Heaton attaching ND filter to lens on tripod
The tool Heaton reaches for is a 10-stop neutral density filter, which reduces the light entering the lens enough to push exposure times into the minutes rather than fractions of a second. At these settings, anything that moves continuously, birds, waves, blowing clouds, simply averages out of existence. Heaton lands on an eight-minute exposure. The birds disappear entirely. The ocean surface smooths to something closer to mist. The resulting image has a stillness that no single-frame capture of that scene could have produced. If you’re new to 10-stop filters, use an ND calculator app to convert your base exposure. A scene that meters at 1/125s at f/8 and ISO 100 becomes roughly 81 seconds with a 10-stop filter, though Heaton was working in lower light and arrived at eight minutes.
Step 5: Add a Graduated ND Filter for Sky Balance
 Graduated ND filter positioned on lens filter holder
Running alongside the solid ND is a three-stop soft graduated neutral density filter. The graduated ND darkens the sky progressively toward the top of the frame, balancing the exposure between bright overcast sky and darker foreground cliffs. Heaton describes this as a soft transition, meaning the gradient is gradual rather than a hard line, which suits a horizon with irregular features like cliff edges. Without this, the sky would likely blow out during an eight-minute exposure, and you’d lose the cloud texture that gives a minimalist image its atmosphere. Position the transition line at or just above the actual horizon, then adjust to taste.
Step 6: Embrace the Waiting and Watch the Light
 Sun beginning to rise in background, Heaton watching
One of the quieter lessons in this tutorial happens while Heaton is simply waiting out the exposure. He notices the sun starting to push through behind him. He doesn’t panic and change his settings. He watches and trusts the frame that’s already accumulating. Long exposures require a different kind of attention than reactive shooting. You’re not hunting; you’re tending. Use that time to observe the light shifting, consider your next composition, or simply be present in the place. My mentor told me once that the mountain doesn’t care about your schedule, and it’s the truest thing I’ve heard about landscape photography. The eight minutes Heaton stands there while his shutter is open are as much a part of the process as any technical decision.
Step 7: Apply the Same Principles to a New Location
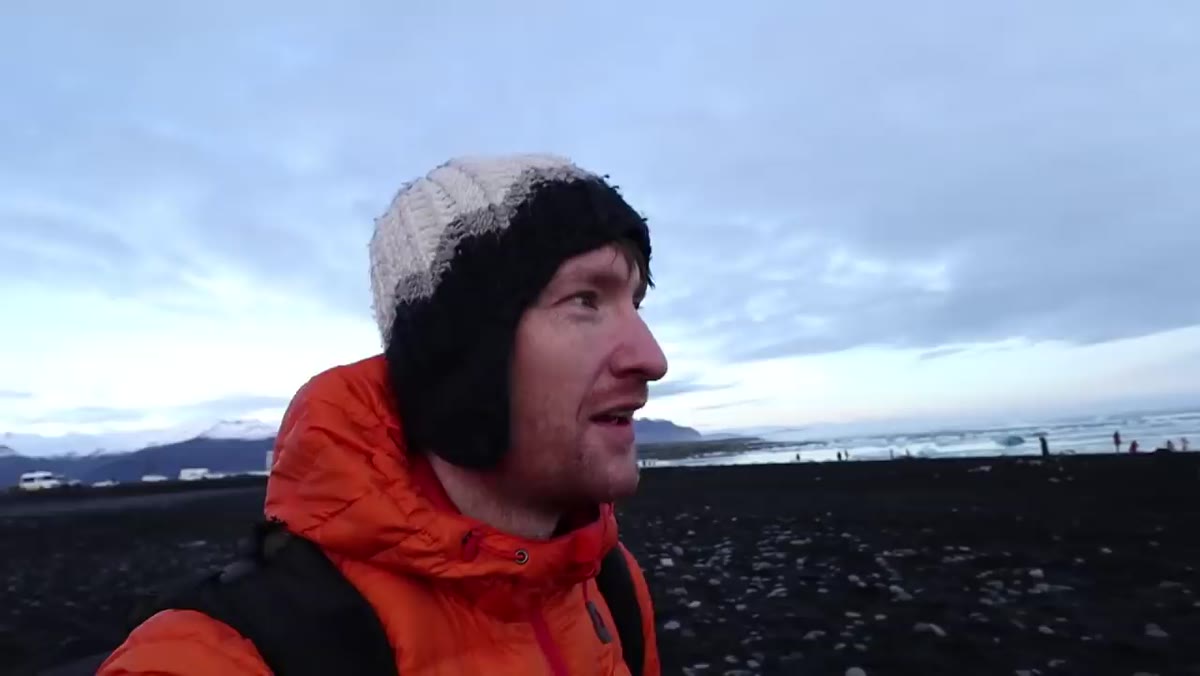 Heaton arriving at glacier lagoon beach in southeast Iceland
At the glacier lagoon later in the tutorial, Heaton applies the same thinking to a completely different type of minimalist scene. The black sand beach, ice, and wide open sky create a naturally sparse composition. The lesson here is that minimalism is a mindset you carry between locations, not a trick tied to one type of geography. Whether you’re at a fog-covered lake in Oregon or a volcanic beach in Iceland, the question is always the same: what’s essential, and what can be removed?
What I’d Add: Shoot One Composition Before the Filter Goes On
Before I commit to a long exposure, I always shoot a clean reference frame at base settings with no filters. This isn’t just for backup. It forces me to evaluate the composition on its own terms, without the magic of motion blur doing any of the heavy lifting. If the image doesn’t hold up as a straight shot, the long exposure is covering for a weak composition rather than elevating a strong one. Film photography trained that habit into me; there’s no room for lazy framing when each frame costs you money. The discipline translates whether you shoot digital or not.
The single idea worth carrying out of Thomas Heaton’s tutorial is this: what you leave out of a frame is a creative decision as deliberate and powerful as what you put in. Negative space isn’t empty. It’s doing work. It creates the stillness and the questions that keep someone looking at an image longer than a few seconds.
Watch the full tutorial on YouTube to see how Heaton moves through Iceland and hear his thinking in real time.
Comments (3)
Love how you break down complex stuff into manageable steps.
Great breakdown. The step-by-step approach really helps.
Clear and practical. No fluff. Appreciate that.
Leave a Comment