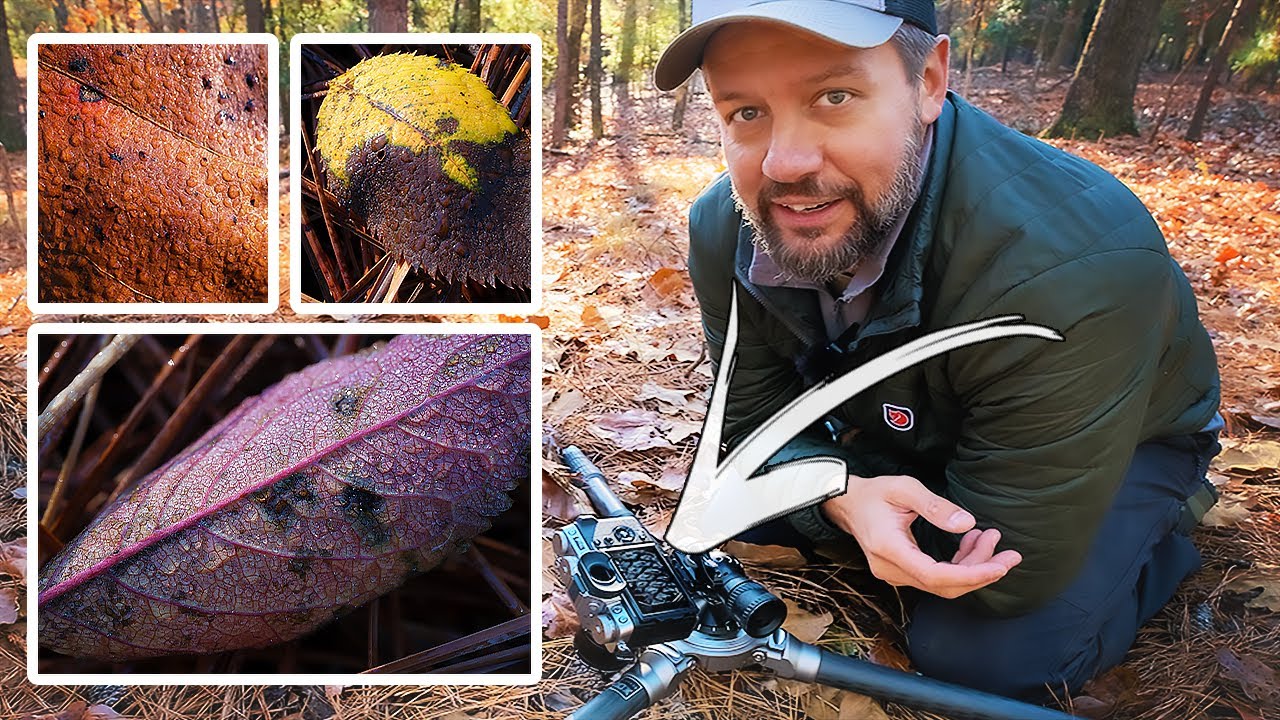
There’s a particular kind of restlessness that sets in when you’ve been shooting the same way for a long time. I know it well. After two decades of waking before dawn and hauling gear through the dark outside Bend, Oregon, I still hit patches where everything I produce feels like a variation on something I’ve already made. The cure, almost every time, is to pick up a tool or technique I’ve never used and let the learning process drag me out of my own habits. That’s exactly what drew me to this tutorial from Mark Denney, where he takes the new Fujifilm X-T5 and a dedicated macro lens into an autumn woodland for the first time and figures it out in real time.
Watch the full tutorial on YouTube
What makes this tutorial worth your time isn’t just the gear. It’s watching a working landscape photographer reason through an unfamiliar technique on location, with damp leaves and imperfect light and no safety net of a practiced workflow. Denney is honest about not knowing exactly what he’s doing, and that honesty makes the instruction more useful, not less. If you’ve been curious about macro work as a legitimate part of your landscape practice, this is a practical and grounded place to start.
The central problem this tutorial solves for me is one I’ve bumped against for years: how do you bring the intimacy of close-up natural detail into a landscape photography practice without it feeling like a completely separate discipline? Macro work, done well in natural environments, is landscape photography at a different focal length. This video makes that case through demonstration.
Step 1: Choose a Camera That Earns the Crop
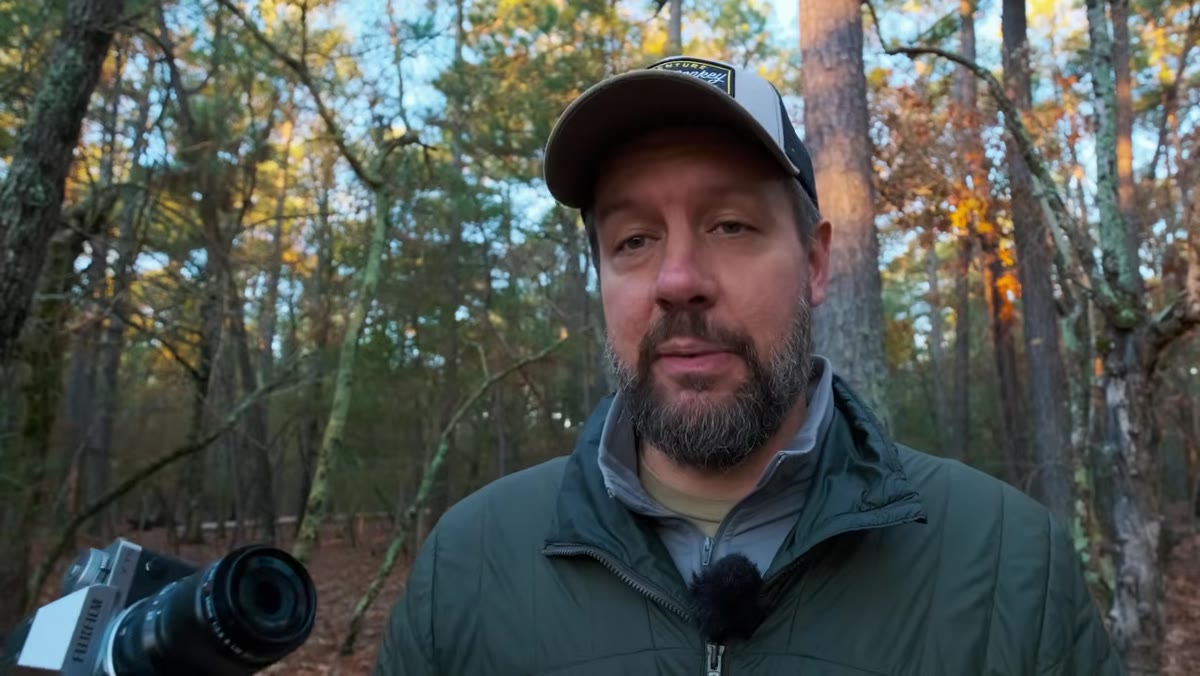 Fujifilm X-T5 body held up showing its compact size
Denney is working with the Fujifilm X-T5, which at 40 megapixels sits in unusual territory: it’s an APS-C sensor camera with resolution that competes with many full-frame systems. For macro landscape work, resolution matters in a specific way. When you’re photographing a single wet leaf or a cluster of frost crystals, you’re working with a subject that rewards enormous prints. You need the pixel count to support that.
Fujifilm X-T5 body held up showing its compact size
Denney is working with the Fujifilm X-T5, which at 40 megapixels sits in unusual territory: it’s an APS-C sensor camera with resolution that competes with many full-frame systems. For macro landscape work, resolution matters in a specific way. When you’re photographing a single wet leaf or a cluster of frost crystals, you’re working with a subject that rewards enormous prints. You need the pixel count to support that.
If you’re evaluating whether your current camera body is suited for this kind of work, think in terms of how much you can crop before image quality degrades. Denney notes that his previous X-T bodies at 26 megapixels were capable but limiting. The jump to 40 megapixels changes what’s possible in post, particularly when you’re still learning macro framing and might not nail composition perfectly in camera every time.
Step 2: Use a Dedicated Macro Lens Rather Than Simulating One
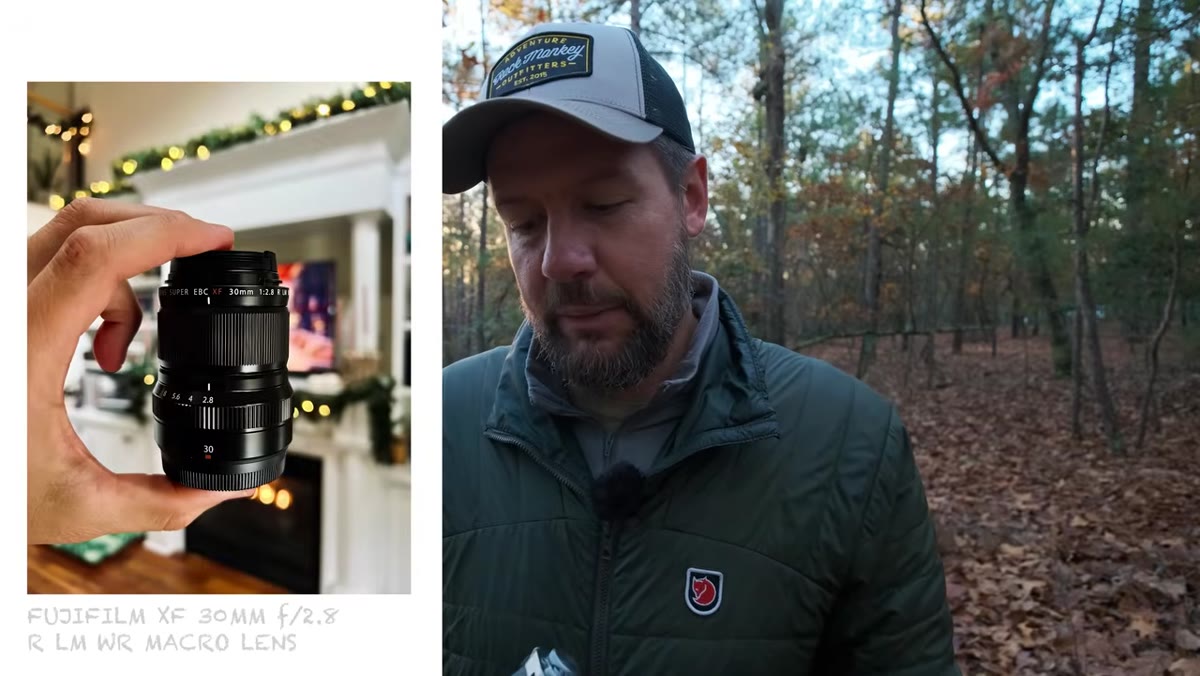 Small 30mm macro lens held next to the X-T5 body
Denney pairs the X-T5 with Fujifilm’s 30mm f/2.8 macro lens, and he’s candid that this is his first time using a true macro lens. Before this, he’d been getting close-focus results by pushing non-macro lenses to their minimum focus distance and cropping aggressively in post. It works as an approximation, but it’s not the same thing.
Small 30mm macro lens held next to the X-T5 body
Denney pairs the X-T5 with Fujifilm’s 30mm f/2.8 macro lens, and he’s candid that this is his first time using a true macro lens. Before this, he’d been getting close-focus results by pushing non-macro lenses to their minimum focus distance and cropping aggressively in post. It works as an approximation, but it’s not the same thing.
A dedicated macro lens achieves a 1:1 reproduction ratio, meaning the subject is rendered on the sensor at its actual size. That’s a fundamentally different relationship between camera and subject than cropping into a telephoto shot. The 30mm focal length on APS-C gives a moderate wide-to-normal field of view, which means you can include some environmental context around your close subject. That’s particularly useful in landscape work where you want the macro detail to feel embedded in a place, not isolated from it.
Step 3: Scout for Light Before You Scout for Subject
 Woodland scene with light breaking through tree canopy
Denney’s first move on location isn’t to find an interesting subject. It’s to find where the light is doing something worth photographing. He identifies a gap in the canopy where directional light is falling, and only then does he start looking at what’s growing or lying at ground level in that patch.
Woodland scene with light breaking through tree canopy
Denney’s first move on location isn’t to find an interesting subject. It’s to find where the light is doing something worth photographing. He identifies a gap in the canopy where directional light is falling, and only then does he start looking at what’s growing or lying at ground level in that patch.
This is the correct order of operations for outdoor macro work, and it took me longer than I’d like to admit to internalize it. The light determines the mood. Damp autumn leaves under flat grey sky look flat and grey. Those same leaves with a beam of low morning light raking across them look like something worth printing large. Find the light first, then hunt for a subject inside it.
Step 4: Embrace Imperfect Conditions as Part of the Image
 Damp fallen leaves on forest floor with saturated color
Denney arrives hoping for frost and finds dampness instead. His response is instructive: he notes that moisture on leaves actually intensifies color saturation and adjusts his expectations accordingly. He doesn’t treat the conditions as a failure of planning. He treats them as the raw material he has to work with today.
Damp fallen leaves on forest floor with saturated color
Denney arrives hoping for frost and finds dampness instead. His response is instructive: he notes that moisture on leaves actually intensifies color saturation and adjusts his expectations accordingly. He doesn’t treat the conditions as a failure of planning. He treats them as the raw material he has to work with today.
In macro landscape photography, environmental conditions like dew, frost, rain, and mist aren’t obstacles. They’re often the subject. Water on a surface creates specular highlights, deepens color, and adds texture that dry conditions don’t offer. If you show up and the conditions aren’t what you planned for, spend five minutes asking what the actual conditions give you that you couldn’t have anticipated.
Step 5: Jump In Before You Feel Ready
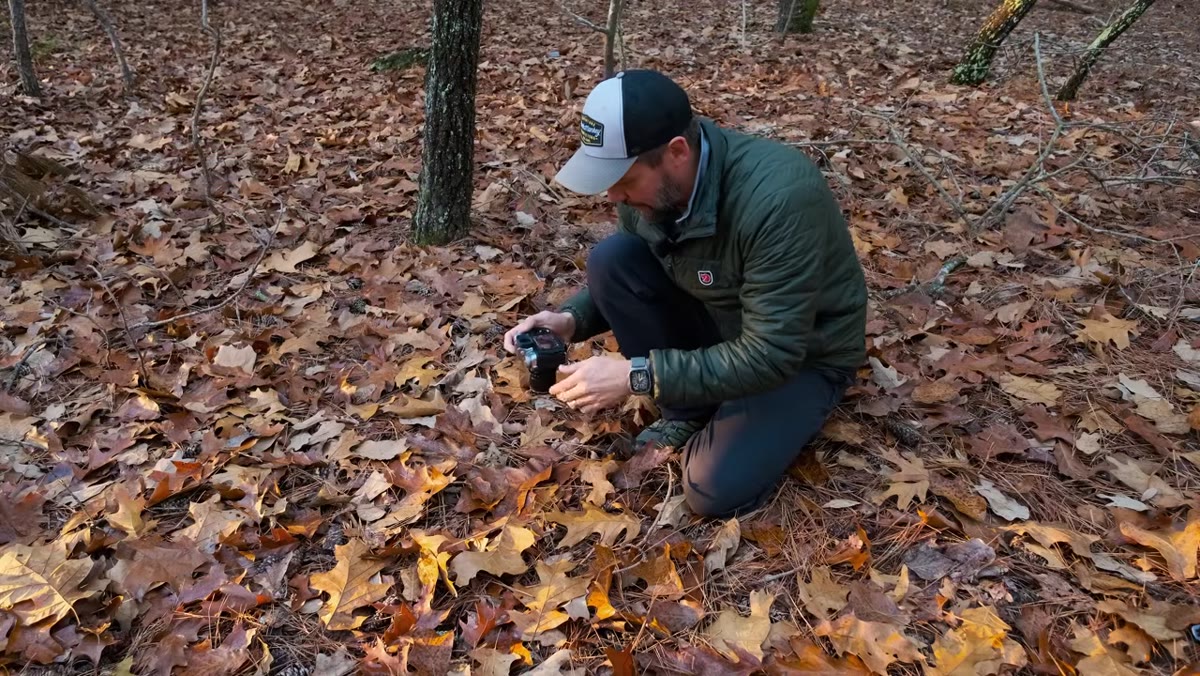
 Photographer moving through woodland with camera raised
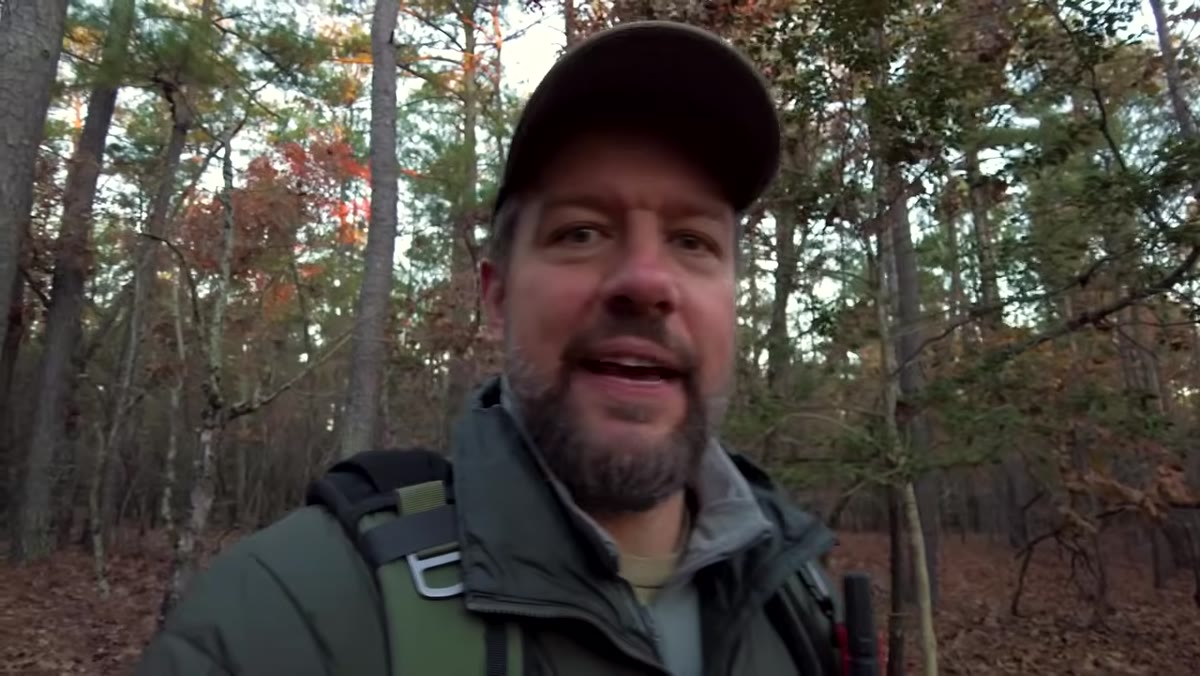
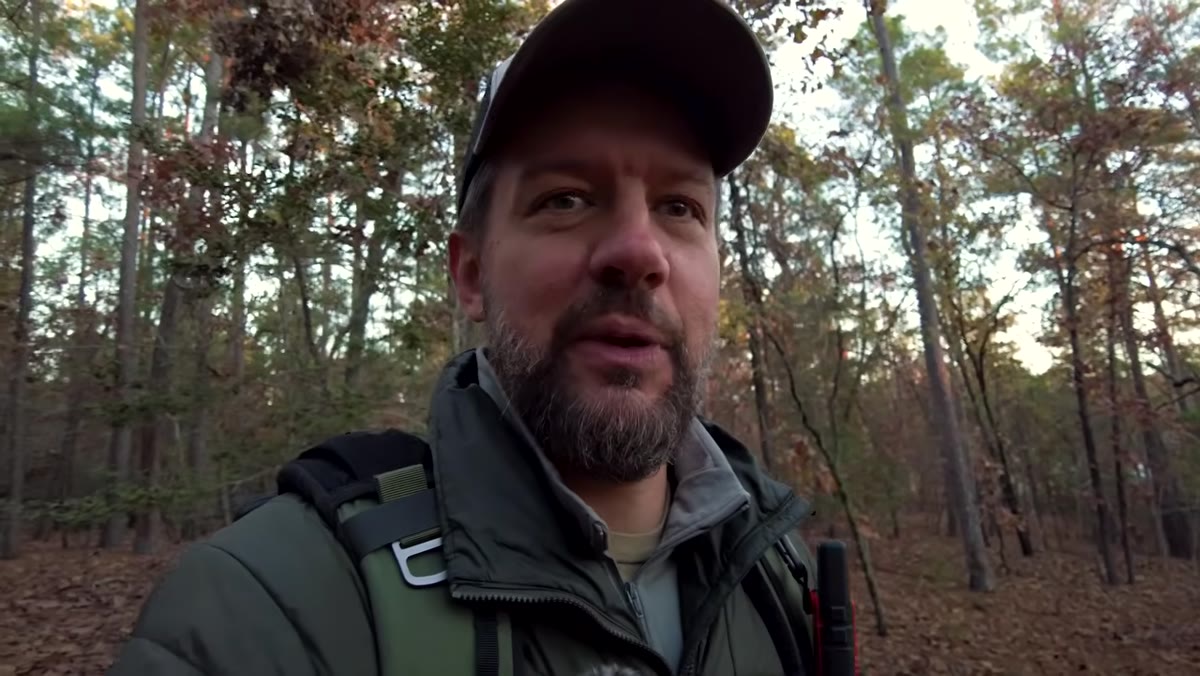
There’s a moment in the tutorial where Denney essentially says he’s not sure what he’s doing but he’s going to start shooting and figure it out. For anyone who’s spent hours reading about macro techniques before touching a macro lens, this is useful permission.
Photographer moving through woodland with camera raised
There’s a moment in the tutorial where Denney essentially says he’s not sure what he’s doing but he’s going to start shooting and figure it out. For anyone who’s spent hours reading about macro techniques before touching a macro lens, this is useful permission.
Macro photography has a technical learning curve around depth of field, focus distance, and camera stability, but those things are learned fastest by doing them wrong a few times and understanding why. Set your aperture between f/5.6 and f/11 to start: wide enough to let in workable light, narrow enough to give you a sliver of depth to work with. Get close. Fire a shot. Look at what’s in focus and what isn’t, then adjust. The feedback loop on location is faster than any amount of preparation at home.
What I’d Add From the Field
The tutorial doesn’t get deep into one thing that becomes critical fast in macro landscape work: wind. At close focus distances, even a slight breeze moves your subject enough to destroy sharpness. I’ve lost more macro shots to wind than to any other variable. My workaround on exposed or breezy days is to use a higher ISO to support a faster shutter speed, accepting a little noise rather than guaranteed blur. On a 40-megapixel sensor with good noise performance, ISO 800 or even 1600 is a reasonable trade. Shooting in the first hour after dawn also tends to mean calmer air, which is one more reason the early alarm is worth it.
The single most important thing this tutorial reinforces is something Denney states implicitly rather than directly: expanding your practice doesn’t require a radical change of location or subject. The woodland he’s standing in is the same woodland a landscape photographer might walk through every autumn. What changes is the focal length, the distance to the subject, and the willingness to look at the ground instead of the horizon.
If macro landscape photography is something you’ve been curious about but haven’t seriously tried, this tutorial is a low-pressure and honest entry point from someone figuring it out alongside you. Watch the full tutorial on YouTube and let Mark Denney talk you into picking up a macro lens.
Comments (2)
This is going in my reference folder. Incredibly useful.
Just used this on a wedding shoot edit. Client was thrilled.
Leave a Comment