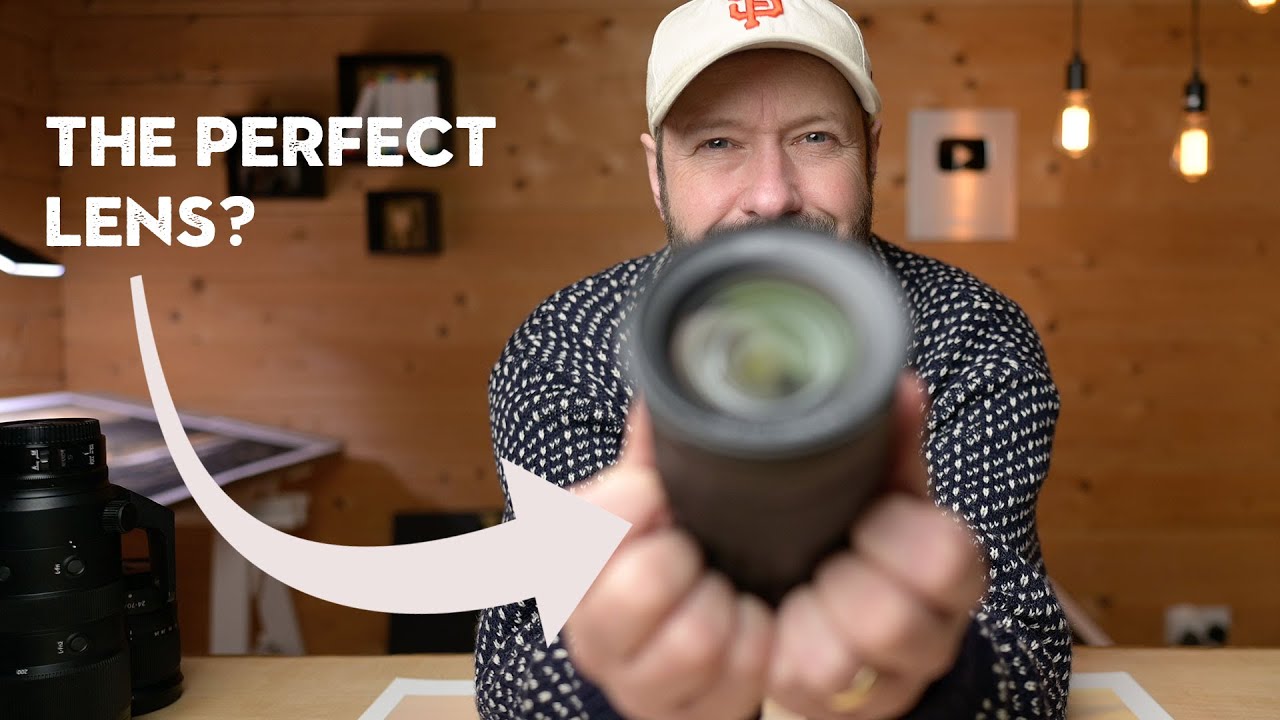
There’s a version of this problem I’ve lived a hundred times. You’re standing at the trailhead at 4:30 in the morning, headlamp on, pack already too heavy, and you’re staring at two lenses trying to decide which one gets left in the car. Take the sharpest glass and your shoulders pay for it by mile six. Take the lighter zoom and you spend the whole walk home wondering what the image could have been on better glass. For twenty years I’ve been making that call, and I still don’t love any of my answers.
So when I came across this Nigel Danson tutorial reviewing the Nikon Z 24-120mm f/4 S lens in the field, I watched it twice. Watch the full tutorial on YouTube. Danson is a working landscape photographer whose thinking I respect precisely because he tests gear in real conditions, not on brick walls in a studio. Here he’s walking a frosty woodland with his dog, evaluating whether this lens genuinely changes the weight-versus-quality equation or just shifts it around.
What he found matters, and I want to walk through his reasoning step by step, because the real lesson isn’t about this one lens. It’s about understanding your own shooting patterns well enough to make smarter gear decisions in the field.
Step 1: Know What Focal Range You Actually Use
 Nigel reviewing photos on camera, discussing focal length data
Before Danson ever picks up the 24-120mm, he does something most photographers skip entirely: he looks at his archive and measures it. He found that roughly 60 percent of his images were captured in the 70-120mm range, with the remaining 40 percent out toward 200mm. That’s not a gut feeling. That’s data.
Nigel reviewing photos on camera, discussing focal length data
Before Danson ever picks up the 24-120mm, he does something most photographers skip entirely: he looks at his archive and measures it. He found that roughly 60 percent of his images were captured in the 70-120mm range, with the remaining 40 percent out toward 200mm. That’s not a gut feeling. That’s data.
Pull up your last three months of shots in Lightroom and sort by focal length. Most of us have a gravitational center we don’t consciously recognize. Mine sits stubbornly around 85mm. Knowing that number tells you whether a given lens covers your real work or just your theoretical work.
Step 2: Map the Weight Tradeoffs Honestly
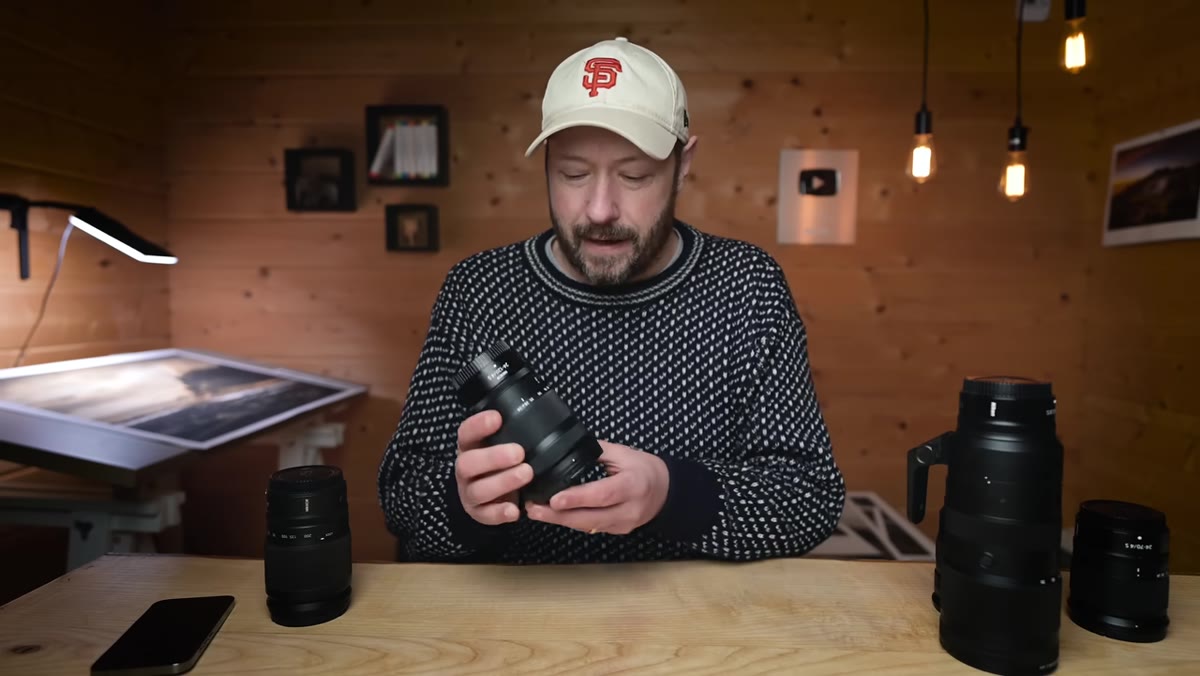
 Danson holding two large lenses, comparing weight in hands
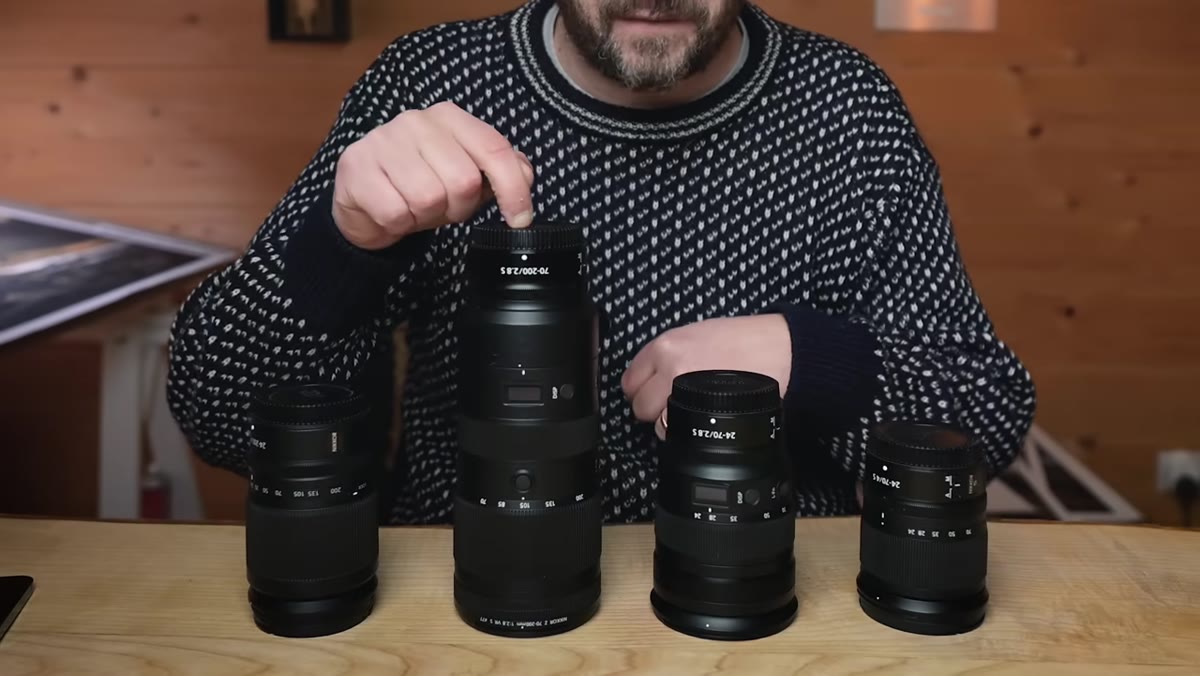
Danson lays out his full lens kit and puts actual numbers to it. His two f/2.8 workhorses, a 24-70mm and a 70-200mm, together weigh 2.3 kilograms. Swapping to an f/4 version of the 24-70 gets him to about 2 kilograms. His lightweight 24-200mm travel zoom drops the load dramatically but introduces image quality compromises he describes as just noticeable enough to sting on a strong shot.
Danson holding two large lenses, comparing weight in hands
Danson lays out his full lens kit and puts actual numbers to it. His two f/2.8 workhorses, a 24-70mm and a 70-200mm, together weigh 2.3 kilograms. Swapping to an f/4 version of the 24-70 gets him to about 2 kilograms. His lightweight 24-200mm travel zoom drops the load dramatically but introduces image quality compromises he describes as just noticeable enough to sting on a strong shot.
The 24-120mm f/4 S sits in between: S-line optical quality in a body that won’t wreck a long day on the trail. That’s the proposition. Write down your own numbers. Weight matters differently depending on whether you’re shooting from a car park or eight miles into the backcountry, and gear choices should reflect the specific hike, not some abstract ideal kit.
Step 3: Test in Familiar Territory First
 Danson entering a woodland he describes as one he knows well
Danson deliberately chooses a woodland he knows well for the field test. That’s smart methodology, not laziness. When you test new gear in an unfamiliar location, you can’t separate what the lens is doing from what your own uncertainty is doing. You second-guess compositions you’d normally commit to.
Danson entering a woodland he describes as one he knows well
Danson deliberately chooses a woodland he knows well for the field test. That’s smart methodology, not laziness. When you test new gear in an unfamiliar location, you can’t separate what the lens is doing from what your own uncertainty is doing. You second-guess compositions you’d normally commit to.
Go somewhere you’ve photographed before. A location you can work confidently means any limitations you notice belong to the equipment, not to your hesitation. I keep a short list of spots near Bend that I’ve shot in every season for this exact reason. New lens, known ground.
Step 4: Push Both Ends of the Focal Range Deliberately
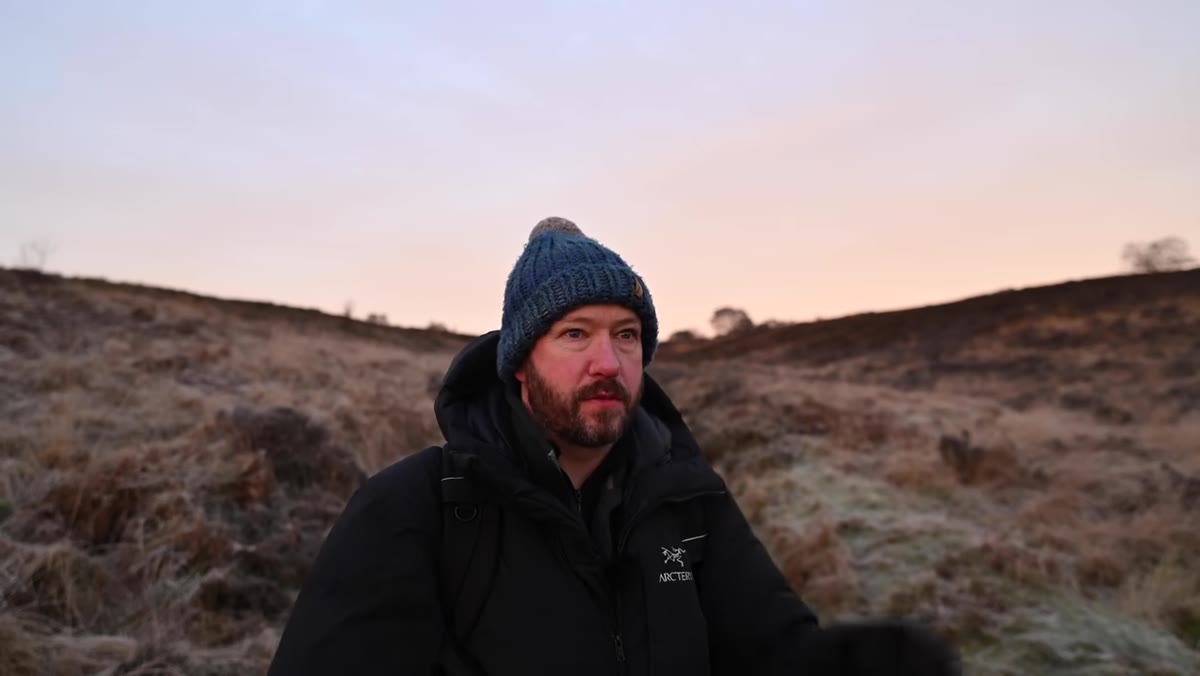 Walking deeper into woodland, discussing close-up detail shots at 120mm
One mistake people make when testing a zoom is spending all their time at the wide end because that’s where landscapes feel comfortable. Danson specifically sets out to use the 120mm end to isolate intimate woodland details, frost-covered undergrowth, the geometry inside a cluster of trees. He’s testing the full range, not just confirming what he already expects from the 24mm end.
Walking deeper into woodland, discussing close-up detail shots at 120mm
One mistake people make when testing a zoom is spending all their time at the wide end because that’s where landscapes feel comfortable. Danson specifically sets out to use the 120mm end to isolate intimate woodland details, frost-covered undergrowth, the geometry inside a cluster of trees. He’s testing the full range, not just confirming what he already expects from the 24mm end.
When you take a zoom into the field, build yourself a simple constraint: shoot at least one-third of your frames at the longest focal length. Force yourself to see what the telephoto end compresses, isolates, and simplifies. The 24mm images will largely take care of themselves. The 120mm end is where you’ll discover whether the lens earns its keep.
Step 5: Account for the Absence of In-Lens Stabilization
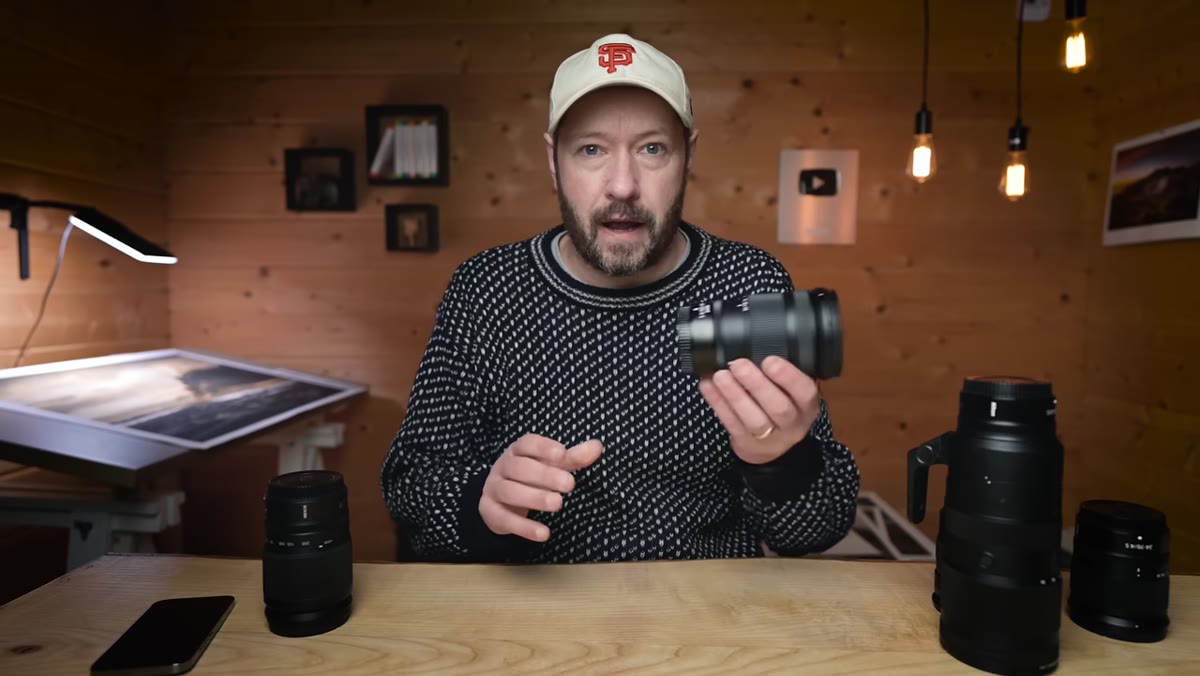 Danson mentioning no VR on the lens, plans for handheld testing
This is the caveat Danson flags early and returns to at the end of the video. The 24-120mm f/4 S has no optical stabilization built in. On a Nikon Z body with in-body image stabilization, this is less critical than it sounds, but it’s not nothing. He was curious enough about it to go out specifically for a separate round of handheld shooting to evaluate real-world performance.
Danson mentioning no VR on the lens, plans for handheld testing
This is the caveat Danson flags early and returns to at the end of the video. The 24-120mm f/4 S has no optical stabilization built in. On a Nikon Z body with in-body image stabilization, this is less critical than it sounds, but it’s not nothing. He was curious enough about it to go out specifically for a separate round of handheld shooting to evaluate real-world performance.
If you’re shooting on a tripod 90 percent of the time, this barely registers. If you shoot handheld in low dawn light, which I do more than I’d like to admit, test your keeper rate carefully before you trust this lens for critical work without a tripod. Know your body’s IBIS limits at the focal lengths you actually use.
Step 6: Ask Whether the Gap in Focal Range Is One You’d Actually Feel
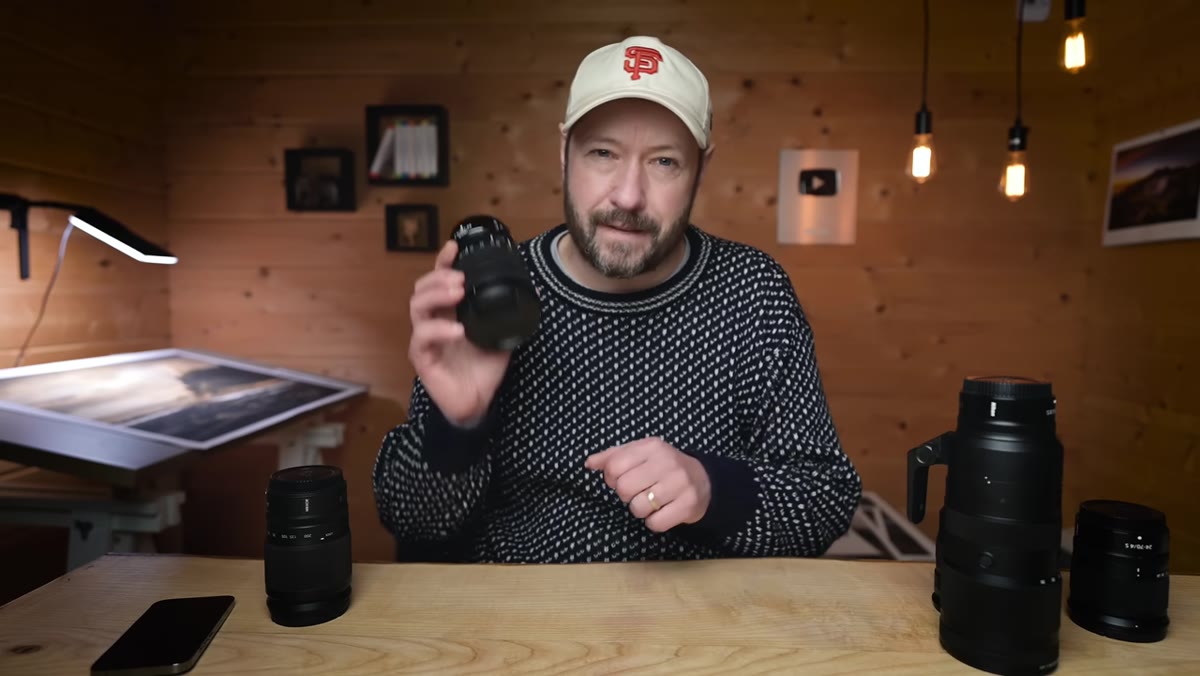 Danson discussing the 120-200mm range as a real but quantified compromise
Danson is honest that moving from a 24-200mm to a 24-120mm means leaving something behind. The question he asks himself is whether what he’s giving up is actually costing him shots, or whether it’s mostly theoretical coverage. Based on his own archive analysis, 40 percent of his images sat in that 120-200mm range. That’s real.
Danson discussing the 120-200mm range as a real but quantified compromise
Danson is honest that moving from a 24-200mm to a 24-120mm means leaving something behind. The question he asks himself is whether what he’s giving up is actually costing him shots, or whether it’s mostly theoretical coverage. Based on his own archive analysis, 40 percent of his images sat in that 120-200mm range. That’s real.
His answer is to keep a teleconverter available for days when he knows he’ll be reaching for longer compression. It’s a practical compromise rather than a denial of the gap. Be specific with yourself about what the missing range would mean on your last ten shoots. If the answer is “not much,” the compromise is probably livable.
What I’d Add From Twenty Years of Making This Call
The 24-120mm conversation is really a proxy for a larger question: what is the cost of weight on your photography, not just your back? I’ve made the mistake of bringing the heavy kit on exhausting hikes and arriving at the location too tired to think carefully about light or composition. A slightly softer image made from a calm, present mind often beats a technically perfect file made in a state of exhaustion. Gear that gets you moving, keeps you moving, and still delivers professional results is doing real work. Lighter glass that you actually carry to the good light beats premium glass in the car.
The single sharpest takeaway from Danson’s approach is that gear decisions should follow data from your own archive, not from spec sheets. Before you buy anything new, pull your last thousand frames and measure where you actually live as a photographer. That number will tell you more than any review.
Watch the full tutorial on YouTube to see the actual images Danson pulls from this woodland session and his final verdict on the handheld performance. The field footage alone is worth the time.
Comments
Leave a Comment