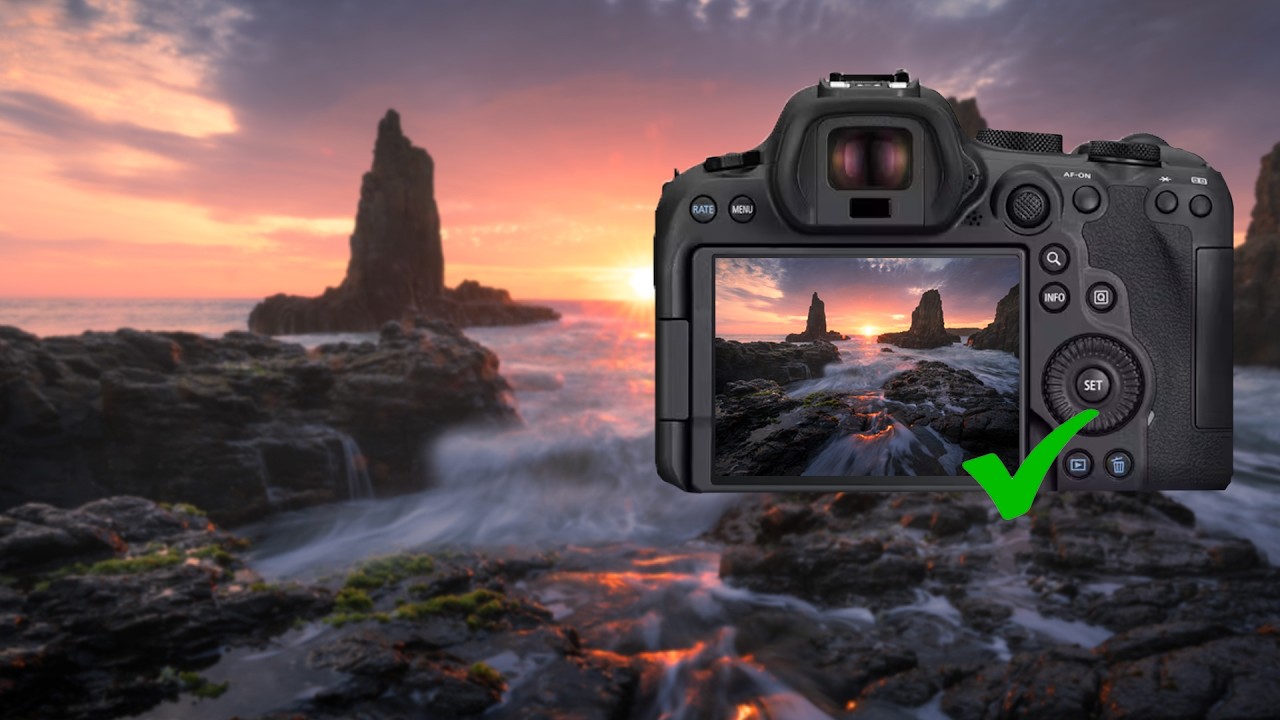
There’s a particular problem that humbles coastal photographers more than almost any other situation: you arrive at a beautiful rocky shoreline at first light, the sky does something extraordinary, and you freeze. Not from cold, though that’s real too, but from indecision. Where do you stand? Which way do you point? Do you wait for the wave to come in or let it pull back? I’ve been making images for twenty years and I still feel that paralysis sometimes. It’s why I keep returning to tutorials from photographers who have genuinely solved these problems in the field, not on a YouTube set.
Watch the full tutorial on YouTube
In this William Patino tutorial, he returns to Cathedral Rocks at Kiama on the New South Wales coast, the place where his photography career began, and works through a sunrise seascape session in real time. His daughter Aurora is with him. The light is extraordinary. And watching him make decisions under pressure, about lens choice, water direction, body position, foreground gaps, is genuinely instructive. What follows is my breakdown of the key techniques, reframed for anyone who wants to bring sharper intention to their next coastal shoot.
Step 1: Choose Your Focal Length Before You Arrive
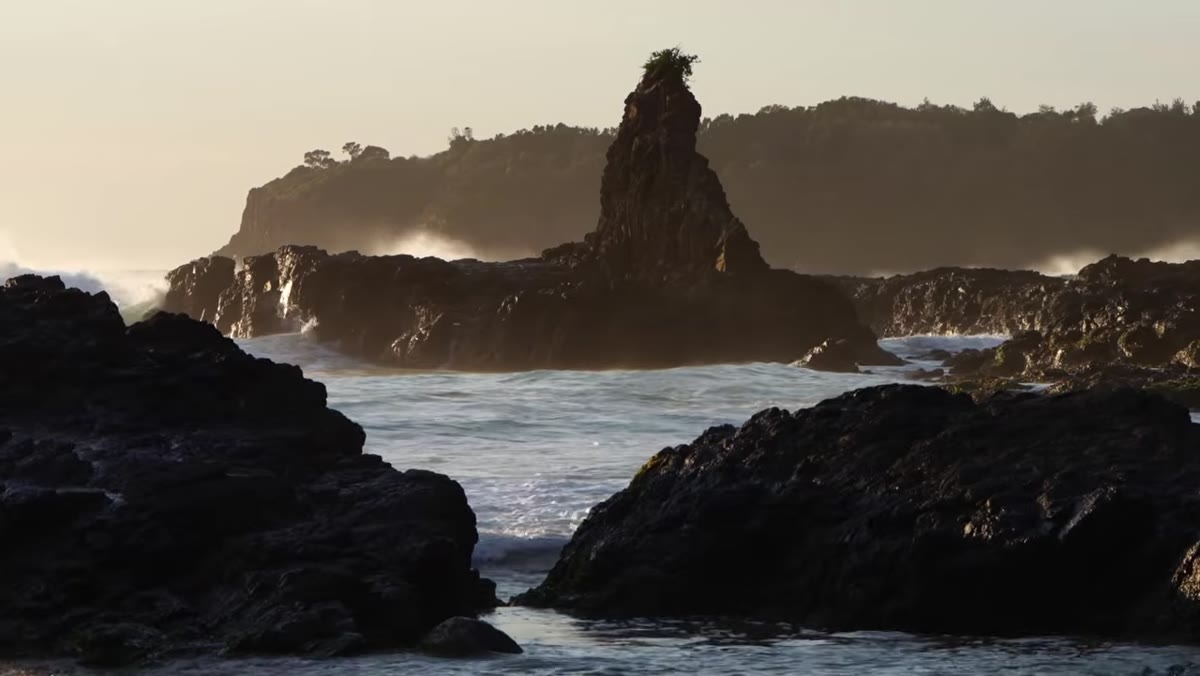 Patino discussing choice between 100-400mm and 12-24mm lens
Patino mentions he had already shot this location the previous morning with a 100-400mm, hunting compression and abstract details from the beach. This morning he came back with a 12-24mm wide angle for a completely different visual language. That’s the decision most photographers skip, and it costs them time they don’t have at sunrise.
Patino discussing choice between 100-400mm and 12-24mm lens
Patino mentions he had already shot this location the previous morning with a 100-400mm, hunting compression and abstract details from the beach. This morning he came back with a 12-24mm wide angle for a completely different visual language. That’s the decision most photographers skip, and it costs them time they don’t have at sunrise.
Before you leave the car, commit to a lens based on what story you’re telling. A telephoto isolates, simplifies, and flatters distant stacks or headlands. A wide angle demands a strong foreground and rewards proximity. They’re not interchangeable tools at dawn. Pick one, go deep on it, and leave the zoom kit in the bag.
Step 2: Locate the Water Channels in Your Foreground
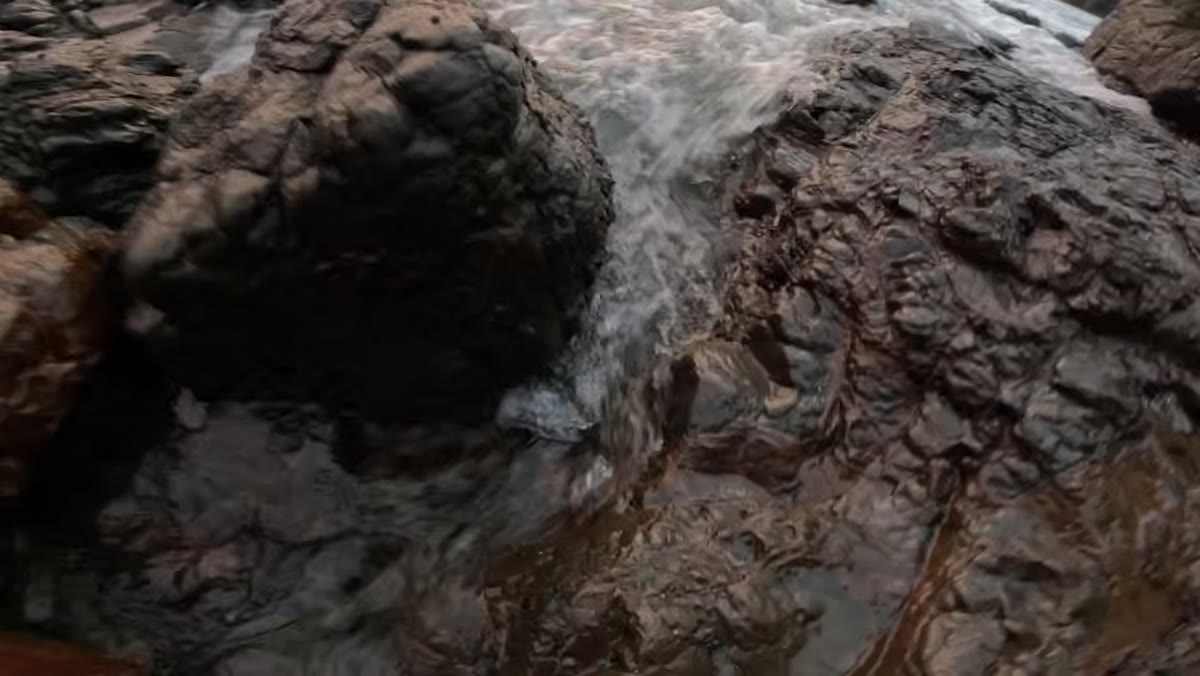 Patino crouching low, identifying a gap between rocks where water flows
This is the single most transferable technique in the video. Patino studies the rocks carefully before he plants his tripod, specifically looking for the natural channels where water moves in and out between the formations. What looks like a minor crack in the rock shelf from standing height becomes a dynamic leading line when you get low with a wide angle.
Patino crouching low, identifying a gap between rocks where water flows
This is the single most transferable technique in the video. Patino studies the rocks carefully before he plants his tripod, specifically looking for the natural channels where water moves in and out between the formations. What looks like a minor crack in the rock shelf from standing height becomes a dynamic leading line when you get low with a wide angle.
Walk the location before you commit to a spot. Watch two or three wave cycles and trace where the water actually goes. Those channels are your compositional infrastructure. A gap of eight inches between two rocks can anchor an entire frame if your camera is six inches off the ground.
Step 3: Decide on Water Direction, Then Set Your Shutter Speed
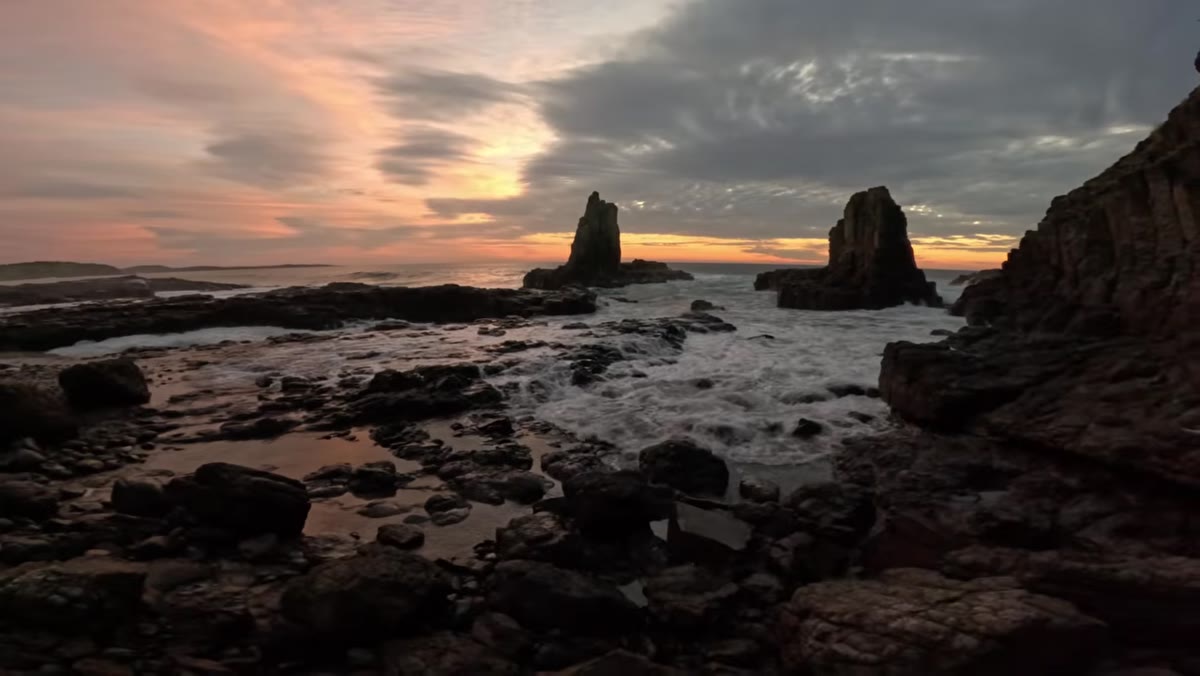 Patino explaining preference for water receding from camera toward background
Patino makes an honest confession here. Early in his career, he always captured water rushing toward the camera. Over time, he shifted to preferring the receding motion, water pulling back away from the lens toward the subject. The reason is visual: the retreating water drags the viewer’s eye into the frame and toward the background rocks or light source, rather than pushing attention toward the camera position.
Patino explaining preference for water receding from camera toward background
Patino makes an honest confession here. Early in his career, he always captured water rushing toward the camera. Over time, he shifted to preferring the receding motion, water pulling back away from the lens toward the subject. The reason is visual: the retreating water drags the viewer’s eye into the frame and toward the background rocks or light source, rather than pushing attention toward the camera position.
For receding water with that silky draw effect, you’re generally working in the half-second to two-second range depending on wave energy. In sunrise light with your aperture around f/11 and ISO 100, you may land there naturally. If not, reach for a three-stop or six-stop neutral density filter. The goal is enough motion blur to suggest movement and direction without turning the water into flat white milk.
Step 4: Solve the Wide-Angle Juggling Act
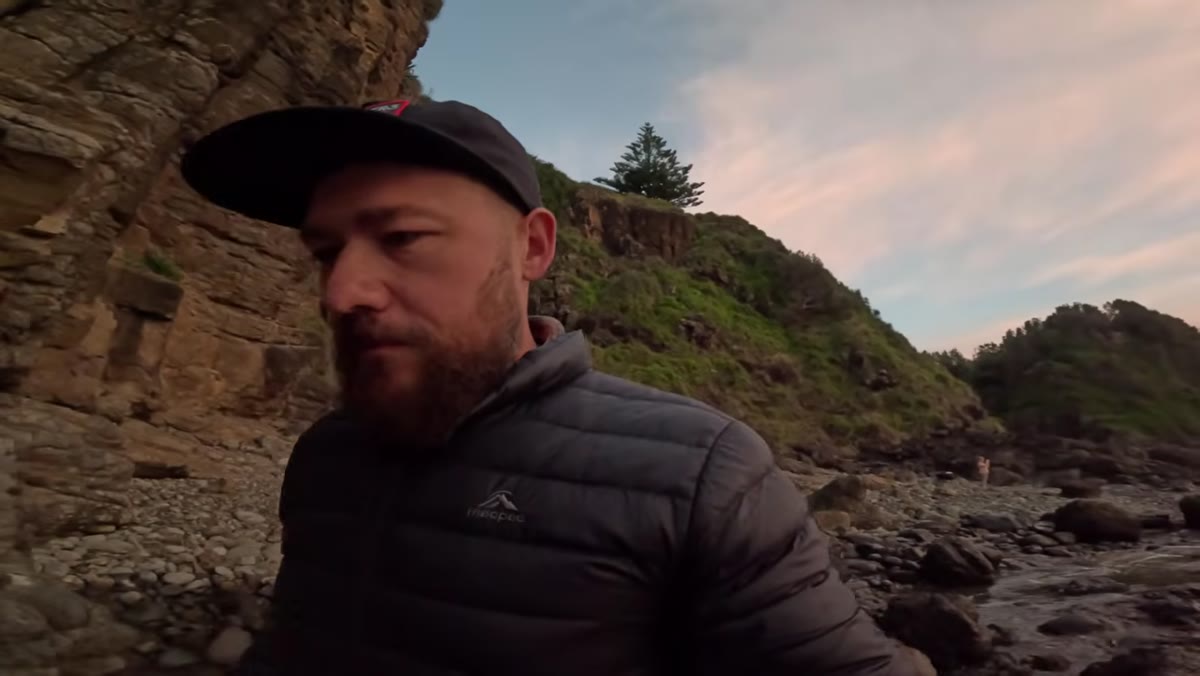 Patino adjusting position to balance foreground rocks, midground water, and background stacks
Patino names the core tension of wide-angle seascape work plainly: you need foreground, midground, and background, but with a 12mm or 14mm lens, it’s easy to win the foreground and lose the subject in the distance, or vice versa. He specifically notes that moving from a 16-35mm to a 12mm lens opened compositional options that simply weren’t available before.
Patino adjusting position to balance foreground rocks, midground water, and background stacks
Patino names the core tension of wide-angle seascape work plainly: you need foreground, midground, and background, but with a 12mm or 14mm lens, it’s easy to win the foreground and lose the subject in the distance, or vice versa. He specifically notes that moving from a 16-35mm to a 12mm lens opened compositional options that simply weren’t available before.
The practical fix is physical. Move closer to your foreground element than feels comfortable, then check whether the background is still prominent enough. If the stacks or horizon feel small and weak, you’re too close. If the foreground rocks feel cropped and arbitrary, you’re too far back. This back-and-forth repositioning is active work, not something you dial in from a standing position. Get on your knees. Check the corners of your frame. The compression of a wide angle punishes lazy footwork.
Step 5: Track the Sun Position and Move with It
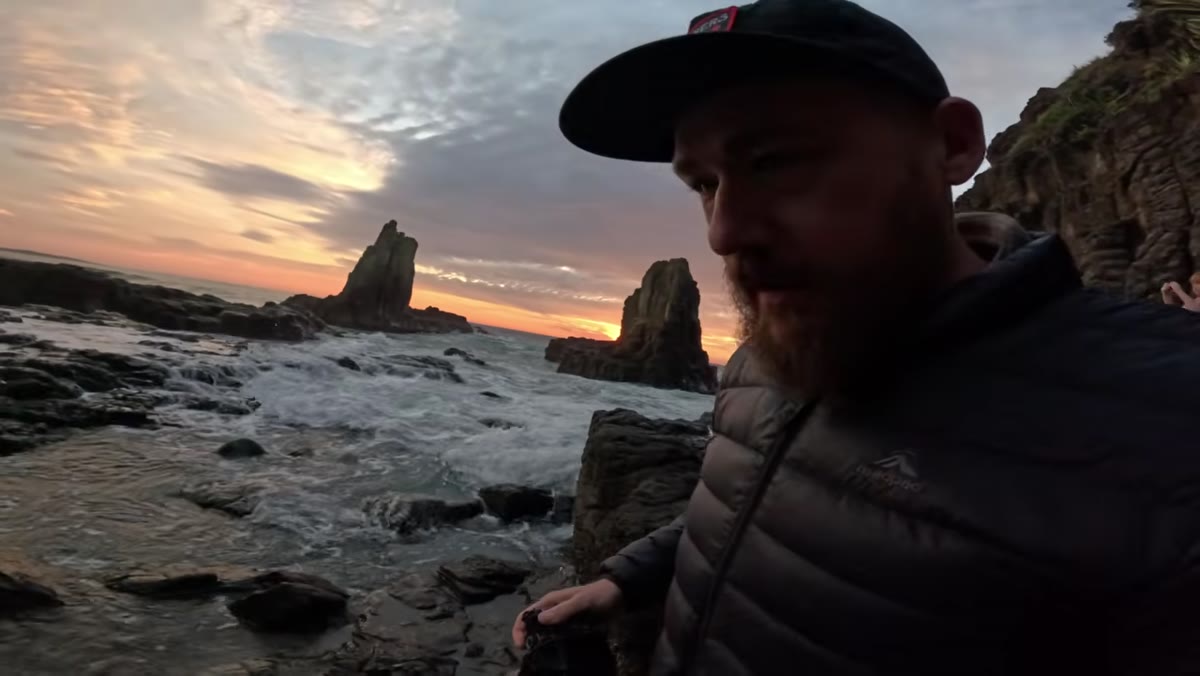 Patino repositioning to face more directly toward the rising sun between rock stacks
As the sun clears the horizon, Patino moves. He repositions to face it more directly, chasing the alignment between the sun and the gaps in the Cathedral Rocks formations. He notes that the time of year affects where the sun rises relative to the stacks, and that this particular morning the geometry is favorable.
Patino repositioning to face more directly toward the rising sun between rock stacks
As the sun clears the horizon, Patino moves. He repositions to face it more directly, chasing the alignment between the sun and the gaps in the Cathedral Rocks formations. He notes that the time of year affects where the sun rises relative to the stacks, and that this particular morning the geometry is favorable.
This is active shooting, not tripod-and-wait photography. Know where the sun rises at your location on your target date before you arrive. Apps like PhotoPills or The Photographer’s Ephemeris give you the azimuth and will show you visually whether the sun will align with a specific feature. Then, on location, be willing to pick up the tripod and relocate mid-shoot. The light changes fast and the optimal position shifts with it.
Step 6: Manage Risk Without Killing the Shot
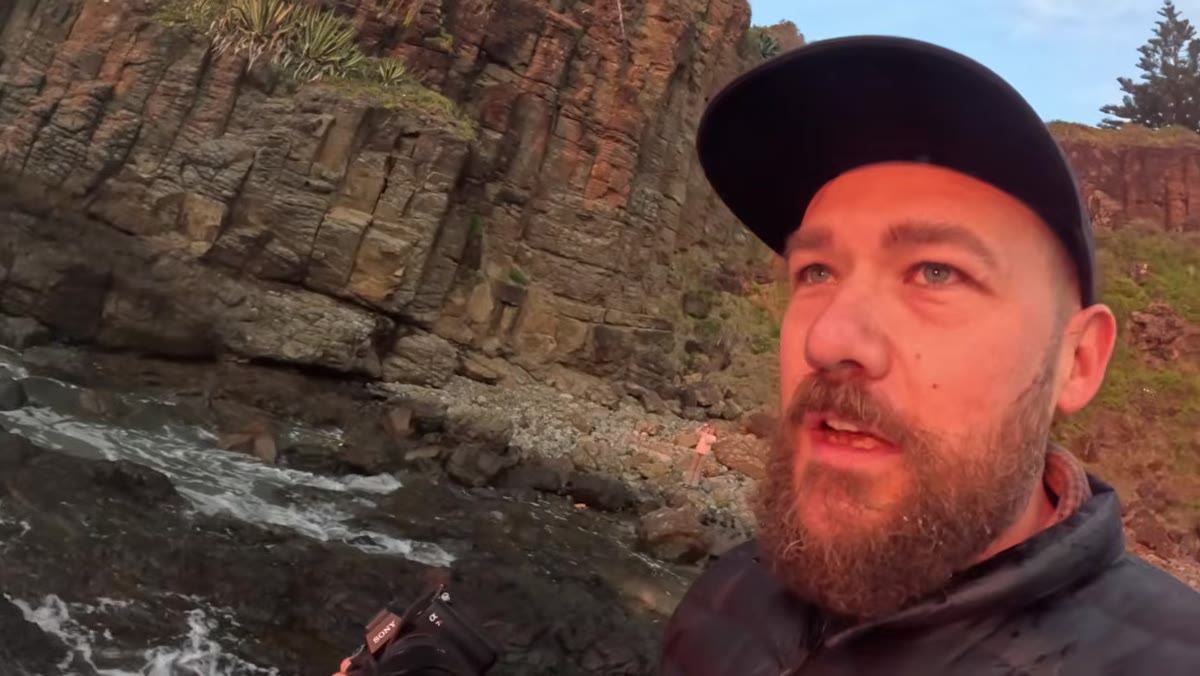 Patino shielding his 12mm lens from incoming wave spray
Patino gets wet. Several times. He’s deliberate about it but also clear that keeping the front element of the wide-angle dry is a hard constraint. A telephoto can be cleaned between waves. At 12mm with your lens inches from the water, salt spray on the front element is effectively a lost frame.
Patino shielding his 12mm lens from incoming wave spray
Patino gets wet. Several times. He’s deliberate about it but also clear that keeping the front element of the wide-angle dry is a hard constraint. A telephoto can be cleaned between waves. At 12mm with your lens inches from the water, salt spray on the front element is effectively a lost frame.
Keep a clean microfiber cloth accessible, not buried in your bag. Develop a rhythm: shoot as the wave recedes, cover or angle the lens as the next wave builds, wipe quickly if needed. Work with a UV filter so you’re protecting the glass. And honestly, know when to pull back. A great foreground position that guarantees a soaked lens element every cycle isn’t worth it if you can’t clean it fast enough to keep shooting.
What I’d Add from My Own Experience
I’ve never shot Cathedral Rocks, but I’ve stood on basalt shelves in the Pacific Northwest at 5am with a wide angle and the same set of choices. The thing Patino demonstrates that I think photographers undervalue is time investment in observation before the first frame. He watches the water. He reads the rocks. He makes compositional decisions on foot before the tripod legs touch the ground.
My kids think I’m crazy for arriving at coastal locations an hour before shooting light just to walk around with no camera, but that time is where the photograph gets made. The actual pressing of the shutter is almost administrative by then. If you arrive at golden hour and immediately start shooting, you’re making random decisions under time pressure. If you arrive in the blue hour beforehand and study the space, you’re executing a plan.
The most important thing Patino shows in this session is not a setting or a filter choice. It’s the relationship between physical positioning and compositional result. Every decision, foreground channel, water direction, sun alignment, lens proximity, is solved by moving your body. Seascape photography rewards the photographer who treats the location as something to navigate, not just observe.
Watch the full tutorial on YouTube and pay particular attention to how he reads the water before he ever sets up the shot.
Comments (1)
Quality content like this is rare. Keep it up.
Leave a Comment