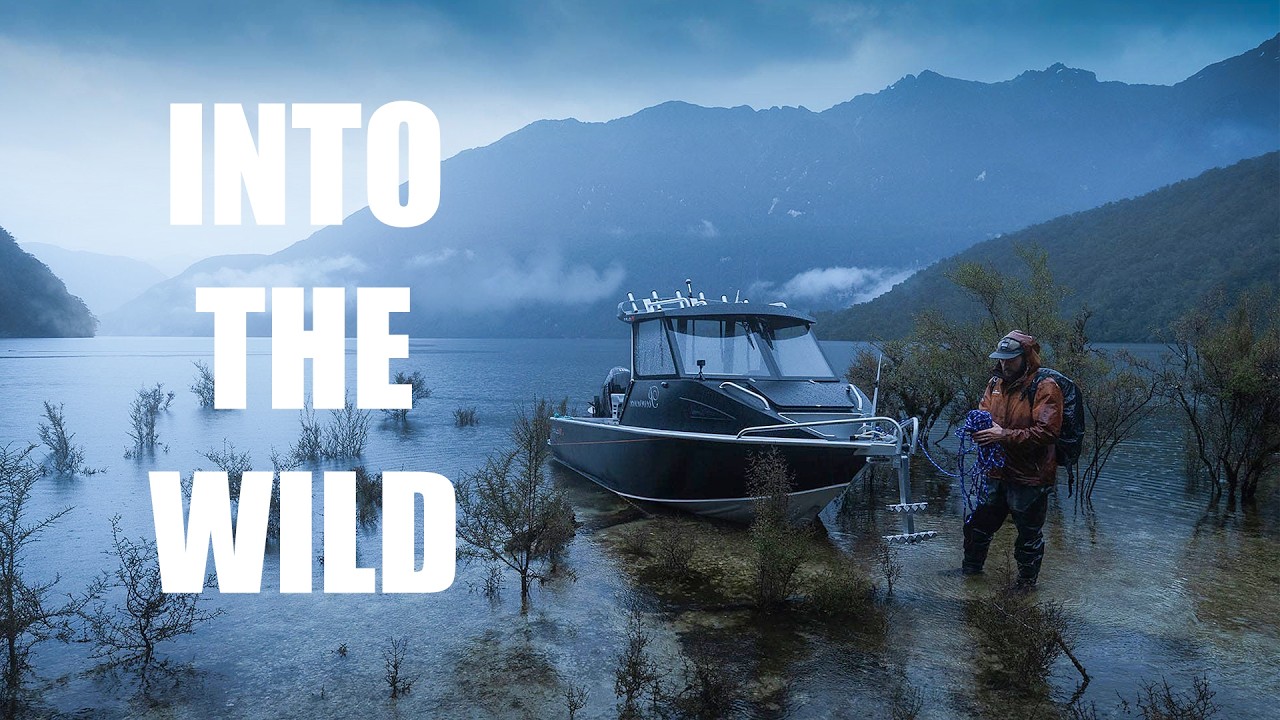
There’s a particular kind of anxiety that hits when you arrive at a location you’ve never scouted and the light is already moving. You’re standing in front of something genuinely beautiful, and instead of working methodically, you freeze or lunge at the obvious shot right in front of your boots. I’ve been photographing landscapes for twenty years and I still catch myself doing it. It’s the reason I keep returning to tutorials from photographers who think out loud on camera, because watching someone else’s decision-making process is one of the fastest ways to debug your own.
In this William Patino tutorial, Watch the full tutorial on YouTube, Will takes a boat across a lake in New Zealand, follows a creek deep into a lush temperate rainforest, and works his way up to a waterfall entirely on instinct and map reading. No pre-scouted angles, no golden hour guarantee. Just a topo map, a 10mm prime, and good field judgment. What he demonstrates across that single session is a complete, repeatable system for reading and shooting an unfamiliar wild location. I’ve pulled it apart step by step below.
Step 1: Commit to Exploration Before Committing to Shots
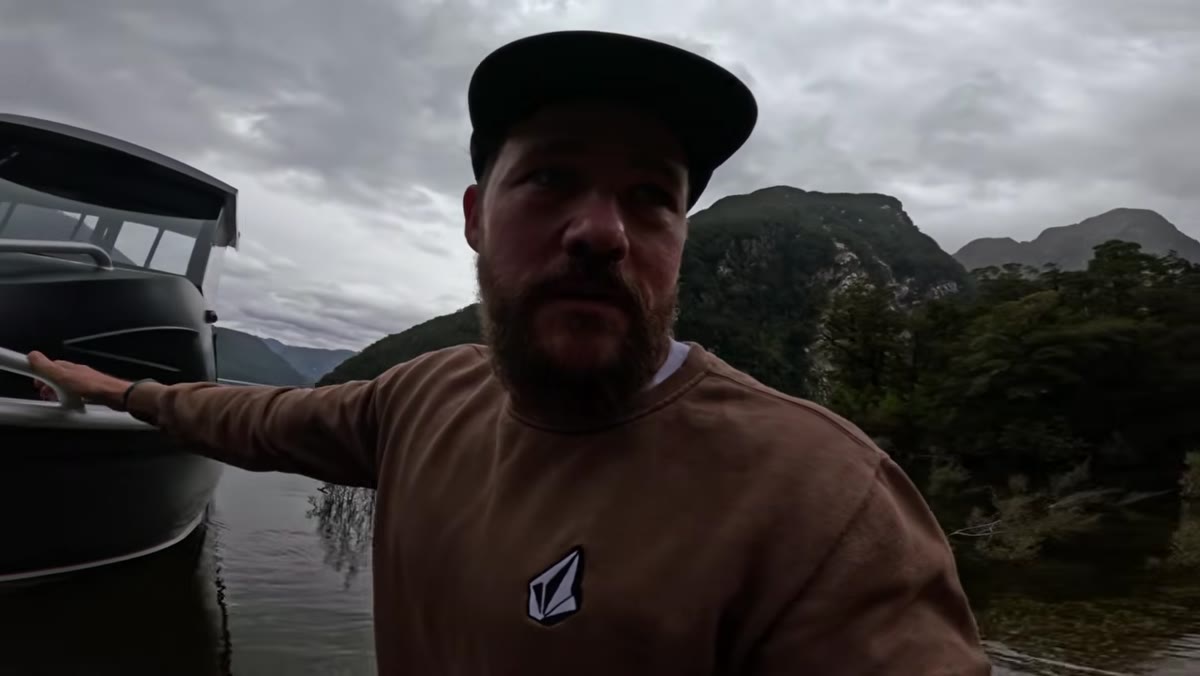 Will parking boat at flooded shoreline with no beach visible
When Will arrives, the lake level is unusually high. The beach he expected is gone, swallowed by water. Rather than treating that as a setback, he treats it as information and moves on. This is the first discipline: don’t let changed conditions stall you at the entry point. Get into the location before you pull out a camera.
Will parking boat at flooded shoreline with no beach visible
When Will arrives, the lake level is unusually high. The beach he expected is gone, swallowed by water. Rather than treating that as a setback, he treats it as information and moves on. This is the first discipline: don’t let changed conditions stall you at the entry point. Get into the location before you pull out a camera.
The temptation, especially somewhere this immediately stunning, is to shoot what you see the moment you see it. Resist it. Give yourself five to ten minutes to simply walk and observe. Your brain needs time to calibrate to a new environment, to notice light direction, water movement, and the shapes that will matter compositionally. Will walks the length of the creek before he frames a single shot, and that reconnaissance pays off in every image he makes afterward.
Step 2: Identify Your Anchors — Foreground, Flow, and Canopy
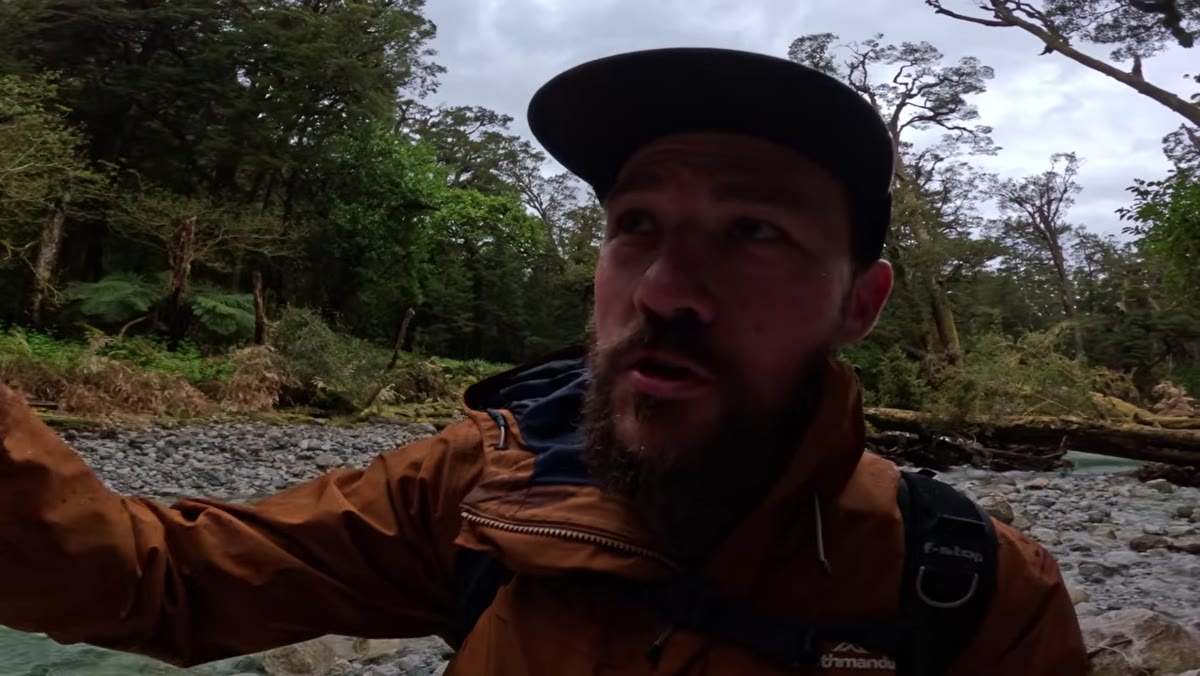 Lush arching trees over creek, ferns framing the water
Once he’s moving through the forest, Will starts narrating what he’s reading visually. He’s looking for three things working together: fern-covered foreground that leads the eye into the frame, the creek itself as a natural line pulling toward the background, and arching canopy overhead that adds scale and enclosure. Each of those elements does a specific compositional job.
Lush arching trees over creek, ferns framing the water
Once he’s moving through the forest, Will starts narrating what he’s reading visually. He’s looking for three things working together: fern-covered foreground that leads the eye into the frame, the creek itself as a natural line pulling toward the background, and arching canopy overhead that adds scale and enclosure. Each of those elements does a specific compositional job.
With a wide angle, and particularly with something as short as a 10mm prime, you need anchors at multiple depth planes or the image collapses into chaos. The ferns give you something solid and textured in the near field. The creek provides the movement from wide to narrow that pulls the eye upstream, the same visual logic as standing in the middle of a road looking toward the horizon. The canopy closes the top of the frame and prevents the image from feeling like it has no ceiling. Find all three before you put the camera to your eye.
Step 3: Use the Wide-to-Narrow Creek Structure as a Built-In Composition
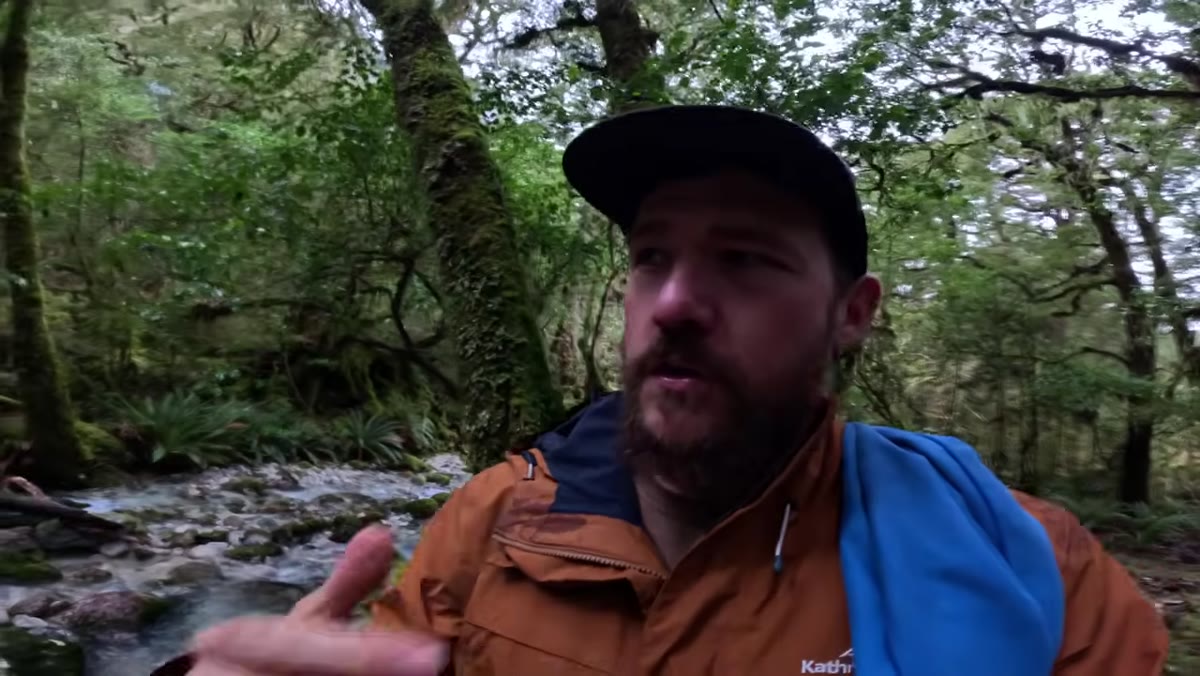 Looking upstream along creek, showing natural narrowing perspective
Will makes a point that’s easy to overlook: when you’re photographing upstream along a creek or river, perspective does a lot of the compositional work for you. The water widens toward you and narrows into the distance, which creates a natural vanishing point. That convergence moves the eye through the frame almost automatically.
Looking upstream along creek, showing natural narrowing perspective
Will makes a point that’s easy to overlook: when you’re photographing upstream along a creek or river, perspective does a lot of the compositional work for you. The water widens toward you and narrows into the distance, which creates a natural vanishing point. That convergence moves the eye through the frame almost automatically.
Your job with a composition like this is not to create the flow, it’s to manage the edges. Make sure nothing is clipping awkwardly at the frame’s border, no stray branch, no blown highlight, no dark corner that stops the eye before it reaches the background. Once the center of the frame is working, spend your time cleaning up the perimeter. That’s where most wide-angle creek shots quietly fall apart.
Step 4: Scout for the Waterfall Before You Settle Into Any Single Composition
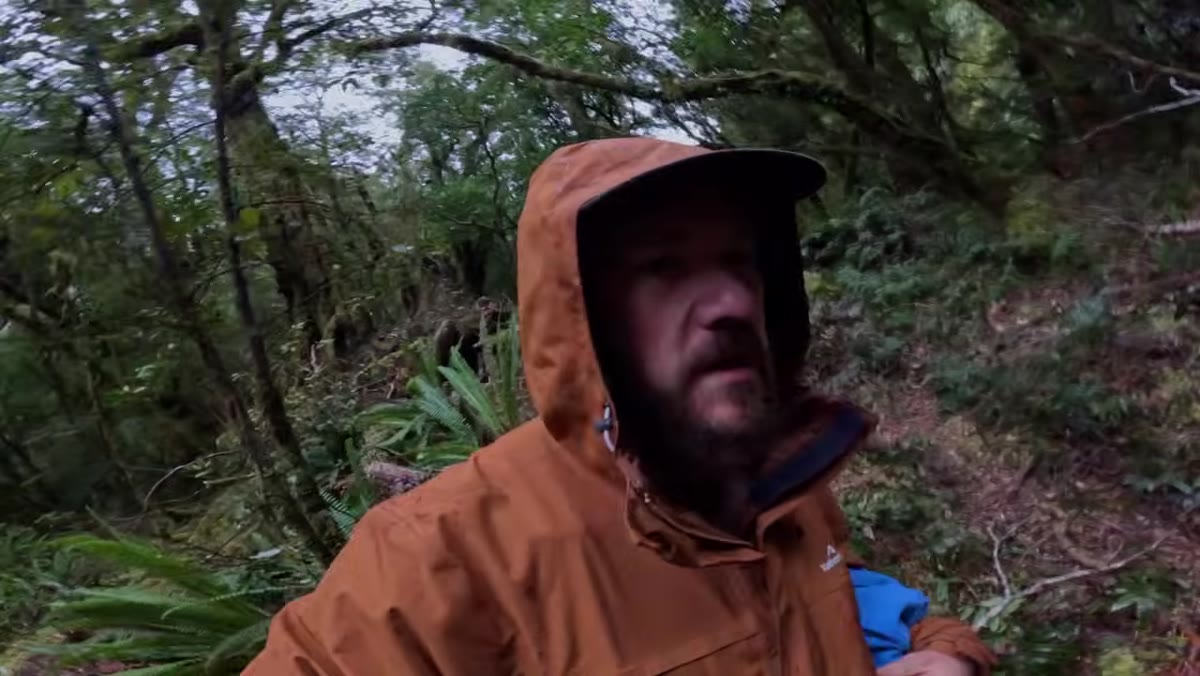 Will moving quickly along creek toward waterfall
When Will senses there might be a waterfall at the head of the creek, he stops photographing and pushes forward. Curiosity wins over comfort. This is a practical field habit worth building: don’t get locked into a good composition when a great one might be fifty meters ahead. You can always return to what you found on the way in.
Will moving quickly along creek toward waterfall
When Will senses there might be a waterfall at the head of the creek, he stops photographing and pushes forward. Curiosity wins over comfort. This is a practical field habit worth building: don’t get locked into a good composition when a great one might be fifty meters ahead. You can always return to what you found on the way in.
Topo maps and satellite imagery will show you the general shape of a drainage, but they won’t tell you about the quality of the light hitting the plunge pool or whether the surrounding vegetation is intact. The only way to know is to go. Will uses the map as a reason to keep moving, not as a guarantee of what he’ll find.
Step 5: Work the Waterfall Scene Methodically, Not Emotionally
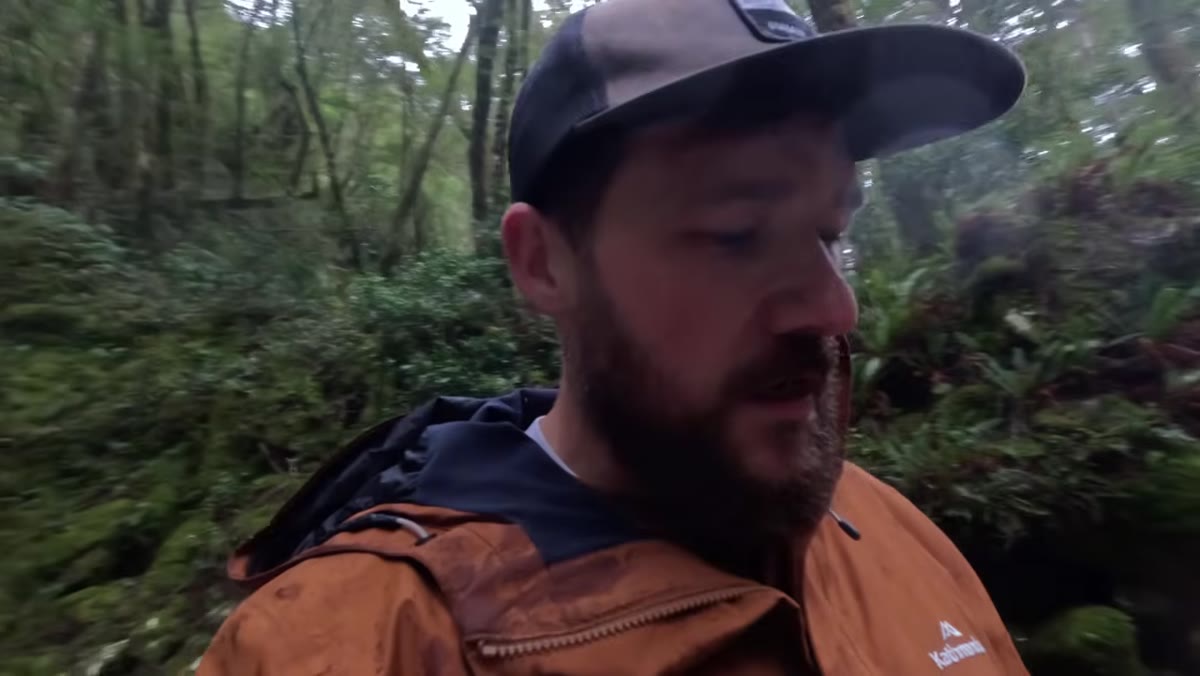 Will standing back from waterfall, evaluating angles and framing zones
Arriving at the waterfall, Will’s first move is to stand back and assess constraints. He identifies a strong tree on the right side of the frame, notes that moving too far left loses sight of the falls, and immediately sees that the upper section of the water is blown out by glare. He’s ruling out bad positions before committing to a good one.
Will standing back from waterfall, evaluating angles and framing zones
Arriving at the waterfall, Will’s first move is to stand back and assess constraints. He identifies a strong tree on the right side of the frame, notes that moving too far left loses sight of the falls, and immediately sees that the upper section of the water is blown out by glare. He’s ruling out bad positions before committing to a good one.
This is the discipline that separates working photographers from enthusiastic ones. An exciting subject will pull you straight to the most dramatic angle, which is often not the most photographically useful one. Walk a semicircle around your subject. Look at it from low, from mid-height, from back far enough to see how it sits in the landscape. Will settles on a position that includes a foreground cascade to add depth, which is a classic move, but he arrived at it through elimination rather than instinct.
Step 6: Control Shutter Speed to Preserve Water Texture
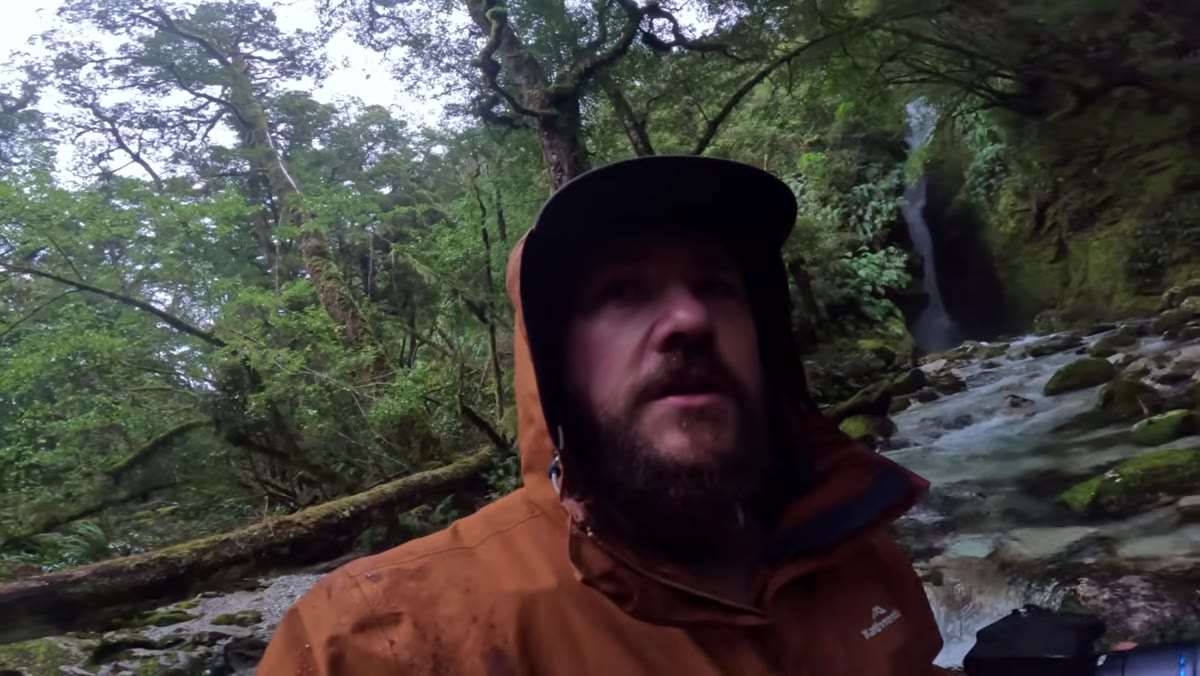 Will adjusting camera near foreground cascade
This is the most technically specific advice in the tutorial and it’s worth writing on a piece of tape and sticking to your camera bag. When you’re shooting a foreground cascade close up, a shutter speed of one or two seconds will smooth the water into something that looks like poured milk. You lose all the texture that makes moving water feel alive.
Will adjusting camera near foreground cascade
This is the most technically specific advice in the tutorial and it’s worth writing on a piece of tape and sticking to your camera bag. When you’re shooting a foreground cascade close up, a shutter speed of one or two seconds will smooth the water into something that looks like poured milk. You lose all the texture that makes moving water feel alive.
Will’s preferred range for close foreground water is around one-quarter to one-third of a second. That’s fast enough to preserve the movement and the structure of the flow, slow enough to suggest motion without destroying detail. If you’re in deep shade and struggling to get there, his solution is simple: remove your polarizer. A polarizer typically costs you one and a half to two stops of light. Taking it off in low-contrast, overcast conditions, where you’re not fighting glare anyway, gives you that light back and lets you push the shutter speed into a useful range.
What I’d Add From the Field
Will doesn’t mention this directly, but there’s a related problem I run into constantly in rainforest and canyon shooting: mixed shutter speed confusion when you have both a foreground cascade and a distant waterfall in the same frame. The foreground water needs a faster shutter. The distant falls might look better with a slower one because you’re reading it at a smaller scale in the frame. You can’t satisfy both at once. My approach is to prioritize the foreground because it occupies more visual real estate, then let the background waterfall find its own character. If the background falls look too smooth at your chosen speed, reframe to reduce how much of them you’re including, or find a foreground element that acts as a buffer between the two water sources.
The single most transferable thing from this tutorial is Will’s reminder to turn around and resist what he calls being drawn to the flame. The obvious shot from the front of a subject is almost never the best shot. Some of my strongest waterfall images came from stepping back into the forest, looking at how the falls sit within the surrounding landscape, and using the canopy or the stream bank as the actual subject with the waterfall as supporting context. Give yourself permission to move.
Watch the full tutorial on YouTube to see Will work the raw files at the end of the session, which alone is worth the time.
Comments (3)
Love how you break down complex stuff into manageable steps.
I tried this on a client project yesterday and the results were way better than expected.
Really solid breakdown. This pairs perfectly with the workflows work I've been writing about.
Leave a Comment