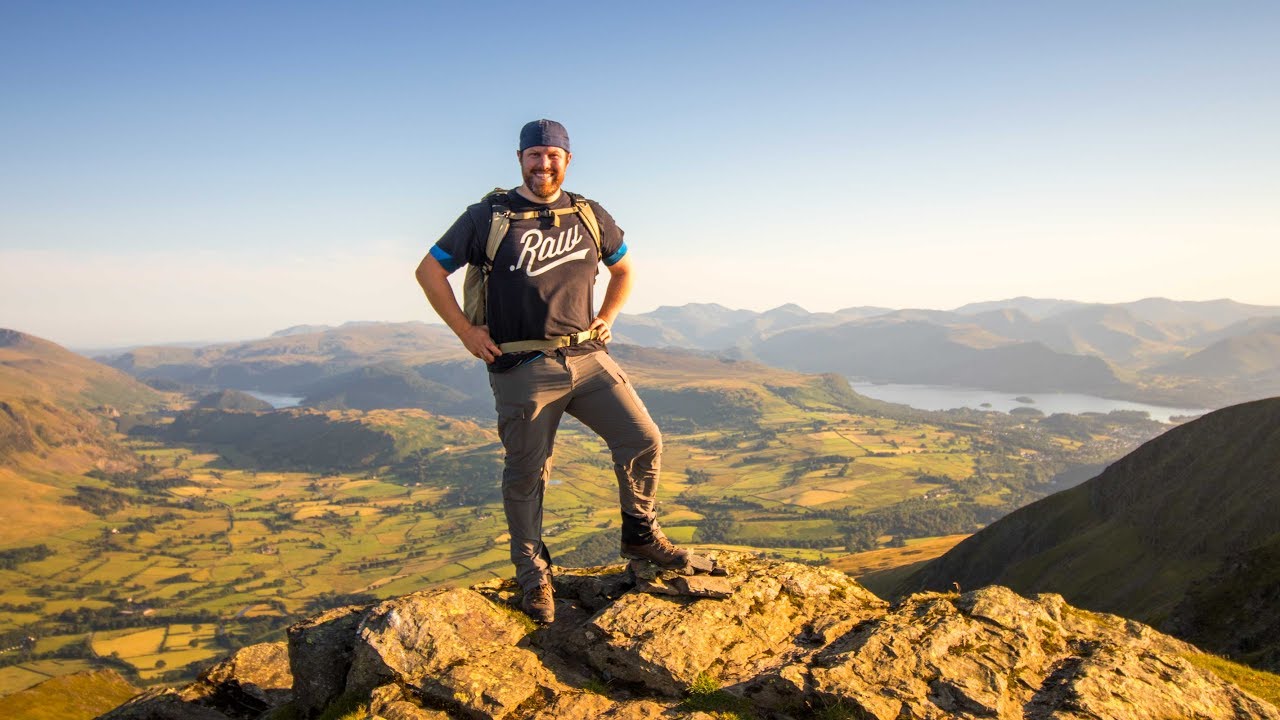
There’s a particular kind of stubbornness that separates working photographers from hobbyists. It’s the willingness to shoot anyway, even when the light is flat, the sky is cloudless, and every instinct says to pack up and wait for a better day. I’ve been making that call for two decades, and I still get it wrong sometimes. The temptation to hold out for perfect conditions is real, but perfect conditions are a fantasy you can’t cash a check on. Most of my best prints came from days that looked unpromising at the trailhead.
That tension is exactly what makes this tutorial worth studying. In this First Man Photography vlog, the creator heads into England’s Lake District to climb Blencathra, one of the more serious ascents in the region, on a blazing hot day with nothing but blue sky overhead. No clouds. No drama. Just hard light and a long way up. Watch the full tutorial on YouTube and pay attention to the decision-making throughout, not just the camera settings. What you’ll see is a photographer adapting his entire approach in real time, treating bad conditions as a creative constraint rather than a reason to quit.
The techniques he uses, from polarizer work to composing for conversion, are ones I reach for constantly when I’m shooting in Oregon’s high desert under summer sun. Here’s how the whole approach breaks down.
Step 1: Commit to the Shoot Before the Light Is Right
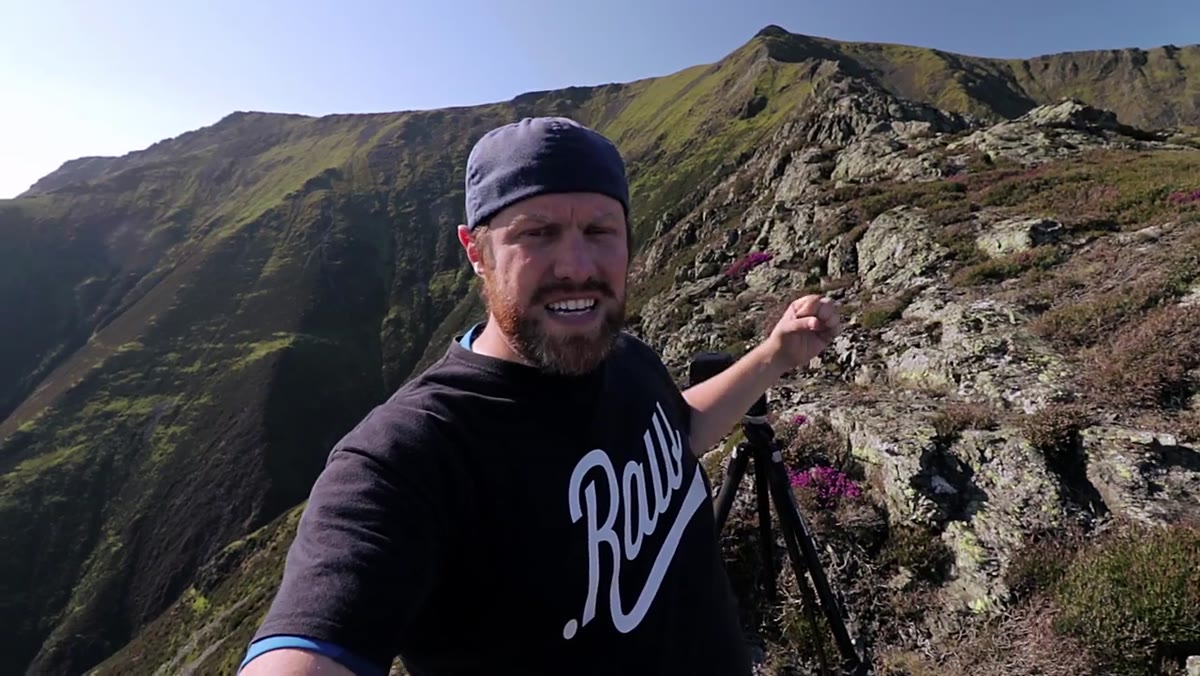
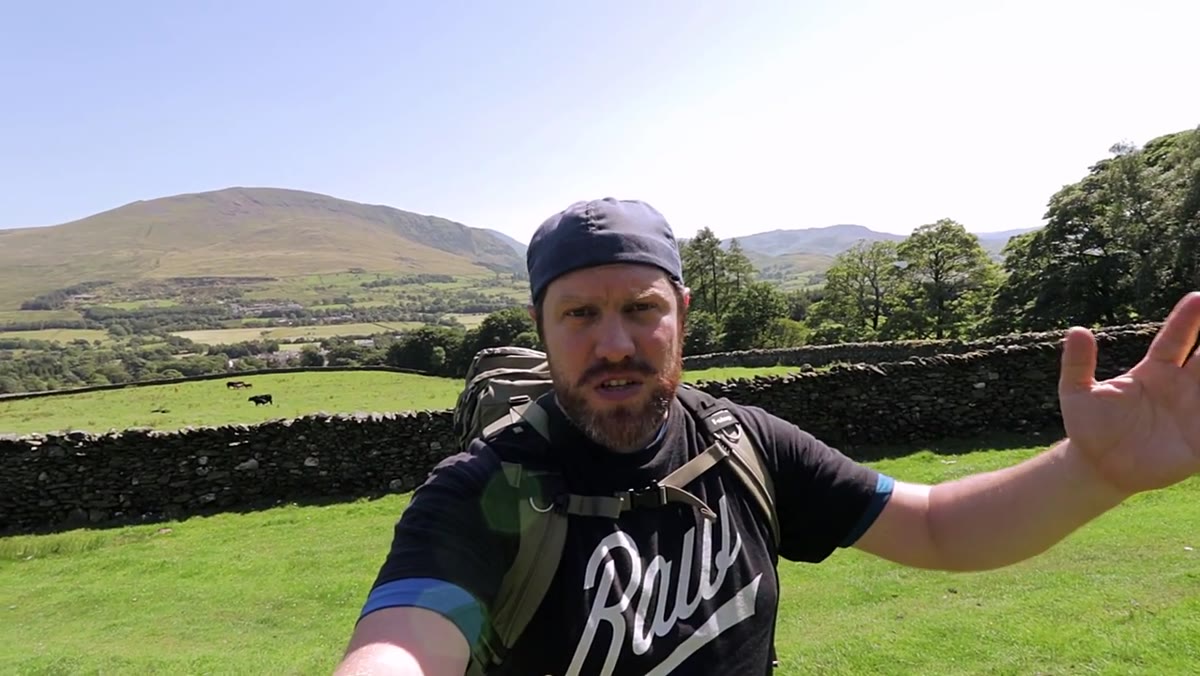 Photographer at base of Blencathra describing challenging sunny conditions
Before a single frame is captured, the mindset is set. Rather than lamenting the cloudless sky, the decision is made upfront to work around it. The practical implication here is planning for the full day, not just golden hour. If you’re only going to be at a location once, you owe it to yourself to shoot it at every opportunity the terrain gives you, midday included. Pack more water than you think you need, slow down your pace so you can actually see compositions as they appear, and accept early that some shots will be technical exercises rather than portfolio pieces.
Step 2: Use a Circular Polarizer to Rescue a Flat Sky
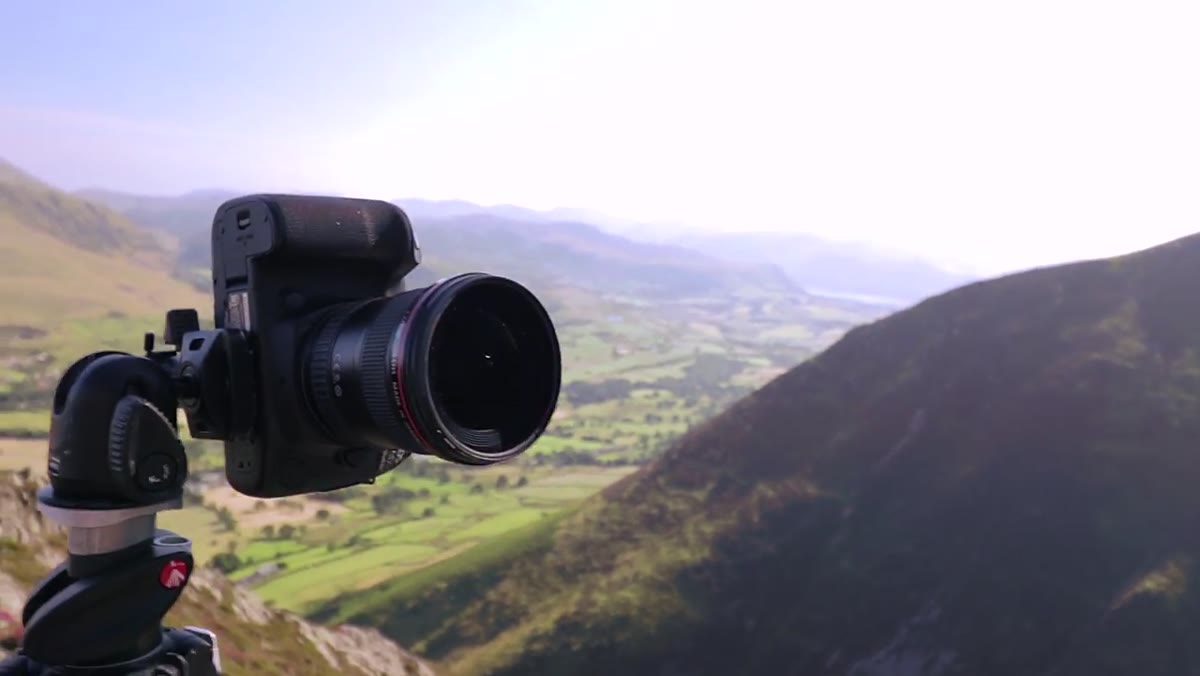 Camera setup with polarizer on lens aimed up gorge toward mountain
The first real shooting stop comes partway up the gorge, where the photographer composes a vertical shot looking up toward the summit. The light is flat, the sky is a featureless blue, and yet the circular polarizer earns its spot in the bag. By rotating the filter to maximize saturation in the blue channel, it deepens what would otherwise be a washed-out sky and adds contrast between the rocky tones of the mountain and the atmosphere above it. Settings here are f/11, 1/125s, ISO 100, all manual, all deliberate. The polarizer is doing the heavy lifting to give the image separation it couldn’t get from the light alone.
The broader lesson is that a polarizer isn’t just a filter for water and foliage. On a cloudless day over rocky terrain, it can be the difference between a flat record shot and something with real tonal depth.
Step 3: Compose Vertically to Emphasize Depth and Scale
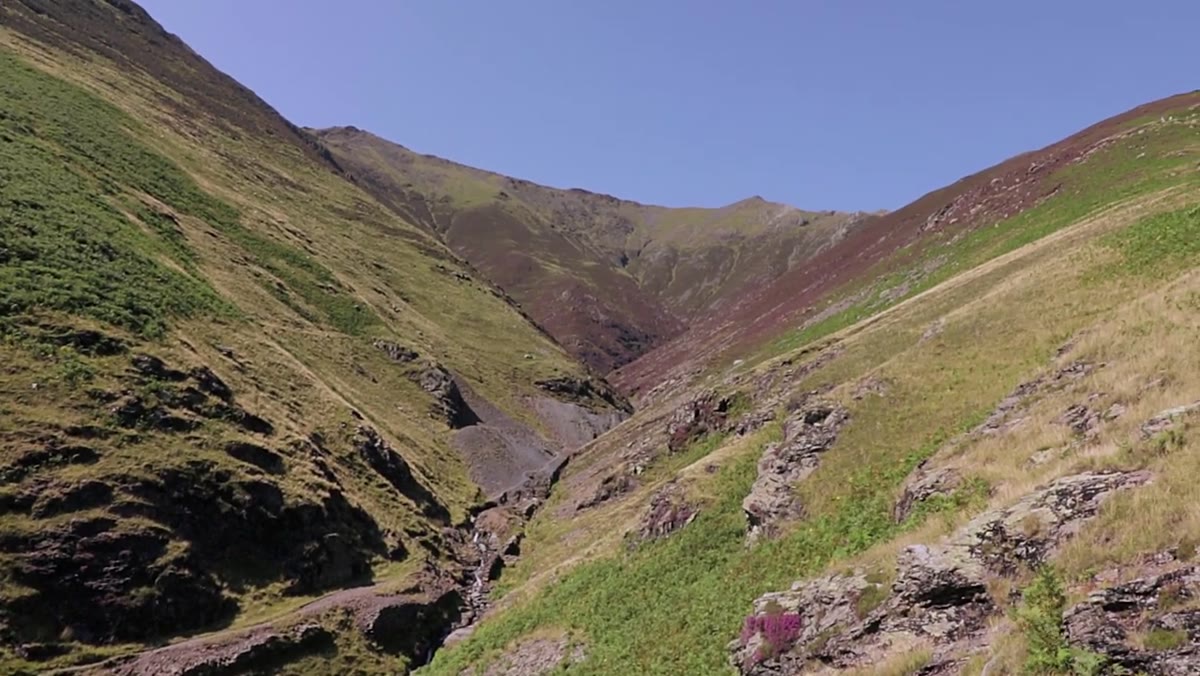 Vertical frame composition with stream on left and heather in foreground
Both shooting stops in this tutorial use vertical orientation deliberately. The gorge shot pairs a small descending stream on the left side of the frame with flowering heather anchoring the foreground on the right. That combination does several things at once: it creates a natural lead-in for the eye, it fills the lower third with color and texture, and it stretches the mountain upward in the frame so the summit feels genuinely far away. This is compositional storytelling, not just rule-of-thirds mechanics.
When you’re shooting a mountain from below, horizontal framing tends to flatten the drama. Vertical framing forces the viewer to look up. That psychological effect is worth using.
Step 4: Lock Focus with a Narrow Aperture When You Need Front-to-Back Sharpness
 Camera settings shown at f/16 with heather foreground and ridge behind
For the second stop, shooting up toward Hall’s Fell Ridge, the aperture tightens to f/16. With heather in the immediate foreground and the scramble ridge receding steeply into the distance, f/11 isn’t going to cut it for full-frame sharpness. The 40mm focal length choice here is worth noting too. It’s close enough to pull the ridge into the frame with some apparent mass, but wide enough to hold the foreground in context. Using the camera’s two-second self-timer eliminates any mirror or shutter vibration from the button press, which matters when you’re at f/16 on a tripod.
Step 5: Pre-Visualize for Black and White While You’re Still Shooting
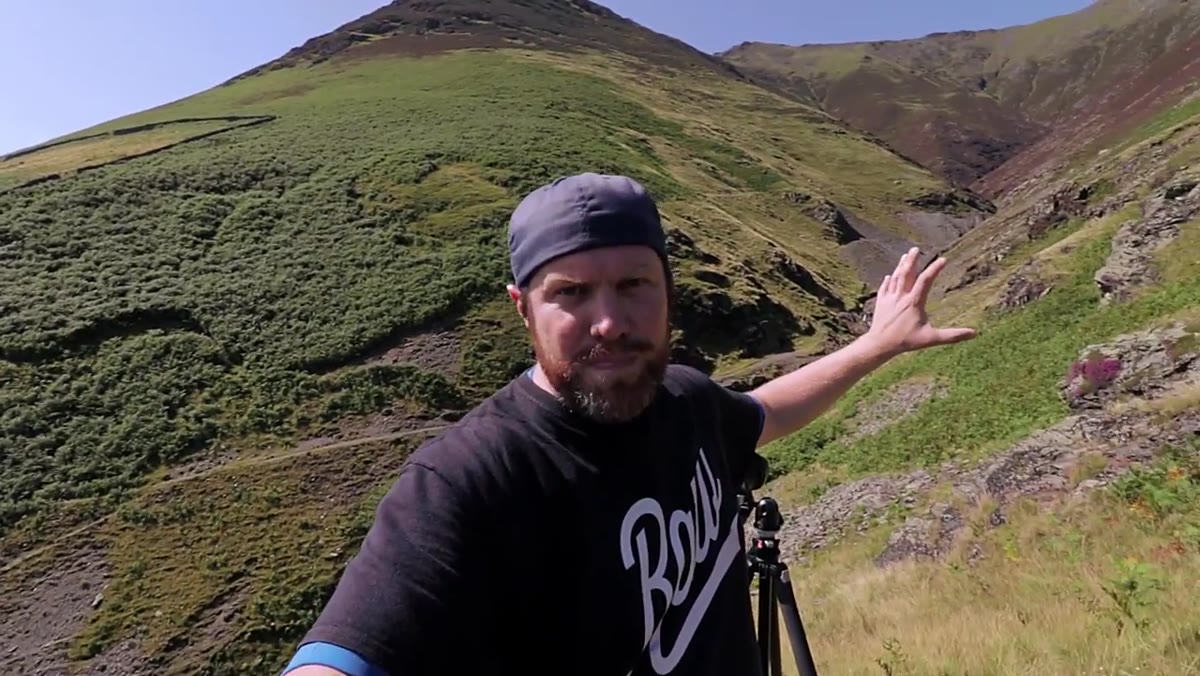 Gorge shot with varying tones in rock, heather, and sky discussed on screen
This is the step most photographers skip, and it costs them in post. When assessing the gorge composition, the conversation turns immediately to tonal variety rather than color: the purple-gray of the heather, the warm rock tones, the cool sky. That’s black and white thinking applied in the field, before any conversion happens. If you can identify at least four distinct tonal zones in a scene, you have the raw material for a strong monochrome image. The circular polarizer, used earlier for the sky, also increases overall scene contrast, which translates directly into separation between tones in a black and white edit.
Training yourself to see in tones while you’re setting up saves significant time in Lightroom and produces more intentional conversions.
Step 6: Grab Opportunistic Shots at Every Elevation Change
 Photographer on exposed ridge noting potential iPhone shot behind him
Near the top of the ridge scramble, with the main camera packed away for safety, the instinct is still to notice and frame. A quick note about a potential shot behind, on a phone if nothing else. This habit matters more than it sounds. The best compositions on a long mountain day often appear at awkward moments, when you’re catching your breath or picking a line through rocky terrain. Keeping a secondary camera or even just a phone accessible means you don’t lose those moments entirely. The goal isn’t to match your main camera’s output. It’s to not miss something worth remembering.
A Note From High Desert Country
I shoot a lot of volcanic ridgelines and open sagebrush flats under Oregon’s brutal summer sun, and the polarizer-plus-black-and-white strategy described in this tutorial is essentially a standing approach for me from June through September. Where I’d add one thing: when you’re shooting vertical with strong foreground interest at a narrow aperture, use hyperfocal distance intentionally rather than just stopping down and hoping. Know exactly where your focus plane sits. At f/16 and 40mm on a full-frame body, your hyperfocal distance is roughly 2.8 meters. Focus there, and everything from about 1.4 meters to infinity stays sharp. That precision is what keeps the heather from going soft while the ridge stays tack sharp.
My mentor used to say the mountain doesn’t care about your schedule. What he meant was: stop negotiating with conditions. Work with what’s there, or go home. That advice has carried me through more bad-light days than I can count, and it’s exactly what this tutorial demonstrates from the first step to the last.
The single most important takeaway from this tutorial is that difficult conditions force better composition. When the light won’t do the work, your framing has to. Use your polarizer, think in tones, go vertical, and find the foreground that makes the shot worth making.
Watch the full tutorial on YouTube to see all of these decisions made in real time, on a real mountain, with real midges.
Comments (5)
I've watched a dozen tutorials on this and yours is the clearest by far.
Never thought of approaching it this way. Really creative.
Tried this technique this morning. Game changer for real.
Love how you break down complex stuff into manageable steps.
Couldn't agree more. I've seen this make a huge difference in workflows work specifically.
Leave a Comment