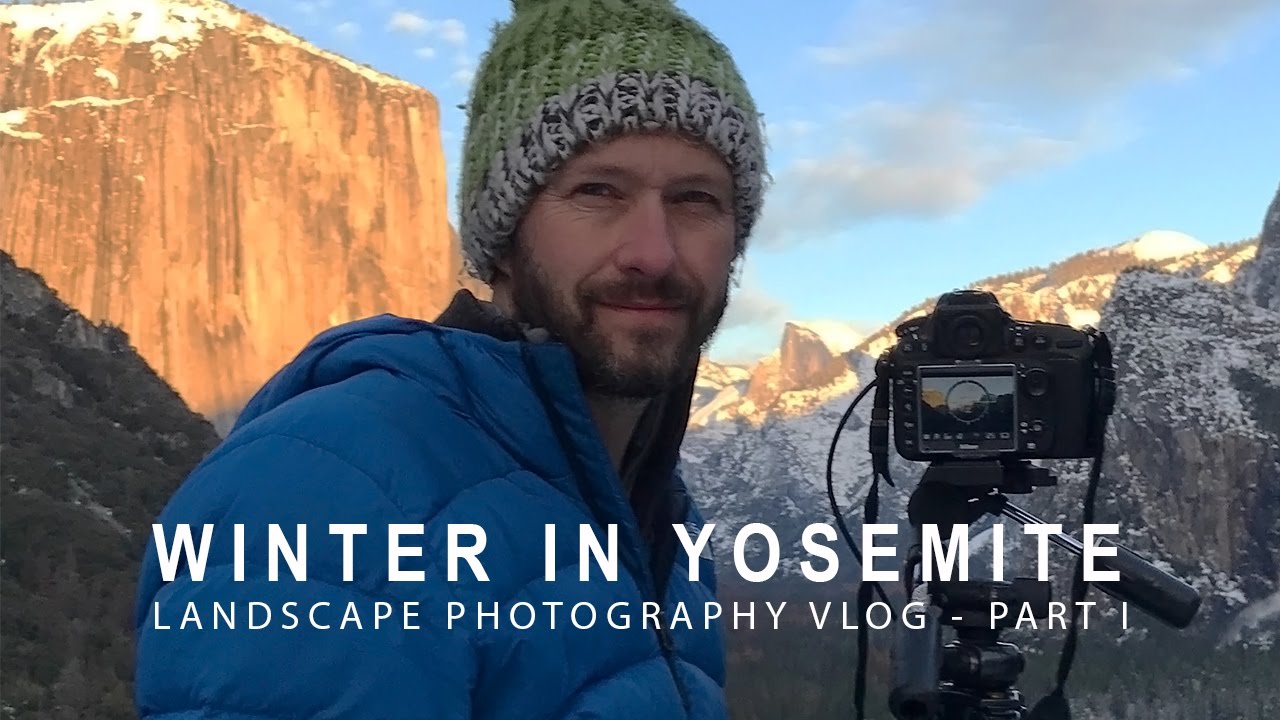
There’s a particular kind of paralysis that hits you in a place like Yosemite in winter. You step out of the car, snow on the ground, frost still clinging to the trees, and the light doing something almost unfair across the valley walls. You raise the camera and then… freeze. Not from the cold. From the overwhelming abundance of it all. Every direction is a photograph. Which means, practically speaking, you have nothing.
I’ve felt this at Crater Lake, at the Columbia River Gorge after the first snow, standing in the Alvord Desert at sunrise. Too much scene, not enough composition. It’s the problem nobody warns you about when you’re chasing the iconic locations. In this Nigel Danson tutorial on winter shooting in Yosemite, he works through exactly that challenge in real time, and watching how he thinks through each setup taught me more than most technique videos do. Watch the full tutorial on YouTube
What makes this video worth your time isn’t the gear list or the post-processing. It’s watching a working photographer move through a location, reject the obvious frames, and keep walking until something clicks. That process is rarely shown. Here’s what he actually does, step by step.
Step 1: Arrive and Resist the First Shot
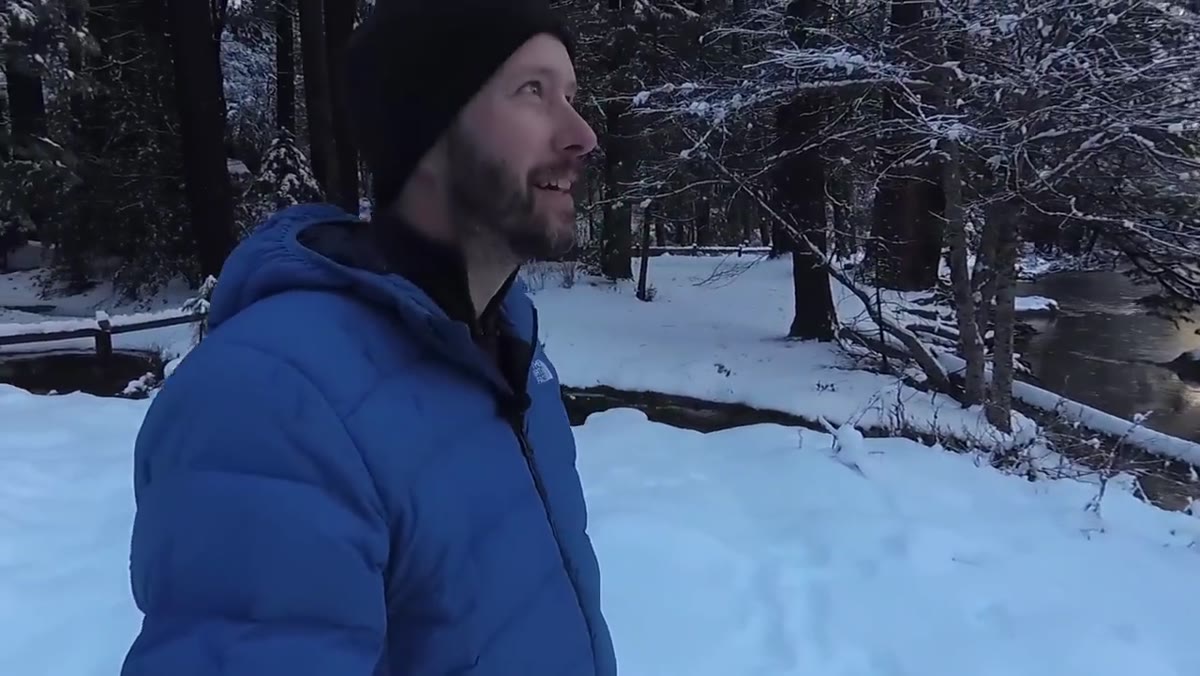 Nigel arriving at Yosemite valley with snow still on ground
When Danson first arrives and the valley opens up around him, he doesn’t immediately set up the tripod. He looks. He turns around. He talks about the contrast between light and shade like he’s cataloguing what he has to work with, not reacting to it. This is the discipline that separates a strong location shoot from a memory card full of snapshots.
Nigel arriving at Yosemite valley with snow still on ground
When Danson first arrives and the valley opens up around him, he doesn’t immediately set up the tripod. He looks. He turns around. He talks about the contrast between light and shade like he’s cataloguing what he has to work with, not reacting to it. This is the discipline that separates a strong location shoot from a memory card full of snapshots.
When I arrive somewhere big and beautiful, I give myself a hard rule: no tripod for the first ten minutes. Walk the scene. Let the initial rush of “everything is perfect” settle down. Your eye starts to quiet, and the specific details begin to surface. The frost on a single tree. The way a stream bends. A reflection you would have walked past.
Step 2: Find the Anchor Element Before You Compose
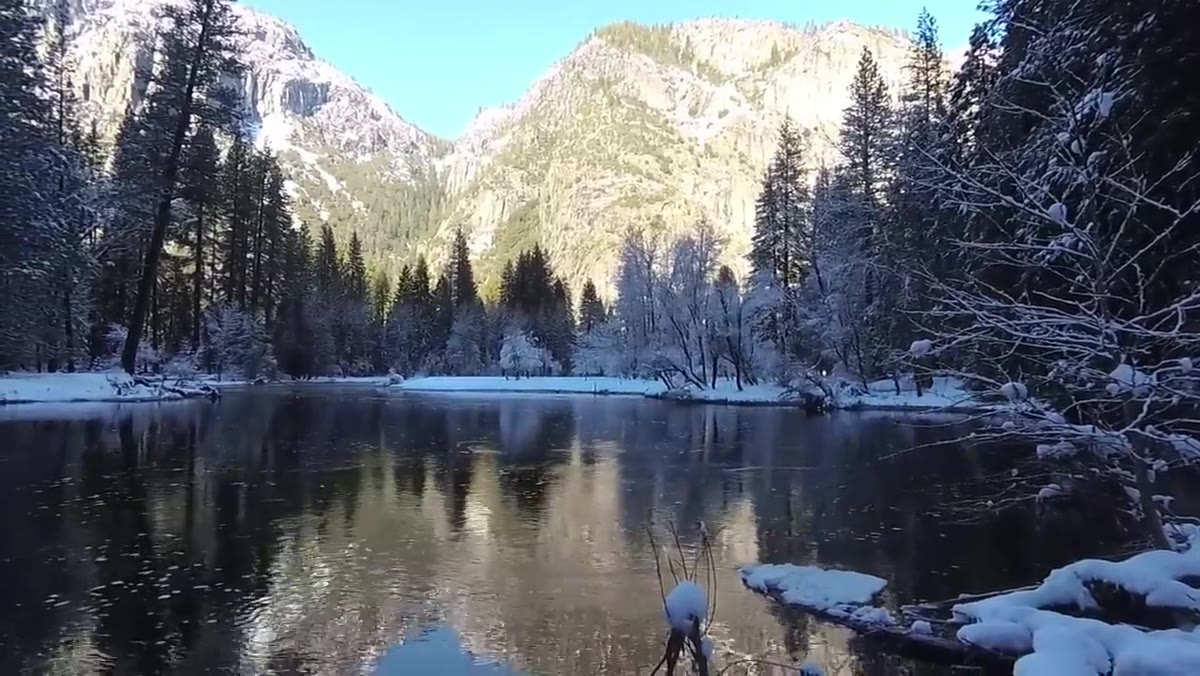 Nigel spotting the frost-covered tree and its reflection in stream
Danson identifies his anchor early: a single frost-covered tree with a reflection in the water. This is the key move. Before he touches the tripod, he has a subject. Everything else in the frame will serve that subject. The reflection grounds it, the surrounding snow gives context, but the tree is the reason for the photograph.
Nigel spotting the frost-covered tree and its reflection in stream
Danson identifies his anchor early: a single frost-covered tree with a reflection in the water. This is the key move. Before he touches the tripod, he has a subject. Everything else in the frame will serve that subject. The reflection grounds it, the surrounding snow gives context, but the tree is the reason for the photograph.
A lot of photographers compose first and find a subject second. It tends to produce images that are technically fine and emotionally empty. Work the other way around. Ask what single thing you’d point to if someone asked what the photo is about. If you can’t answer in one sentence, keep walking.
Step 3: Set Up Low and Keep Your Settings Simple
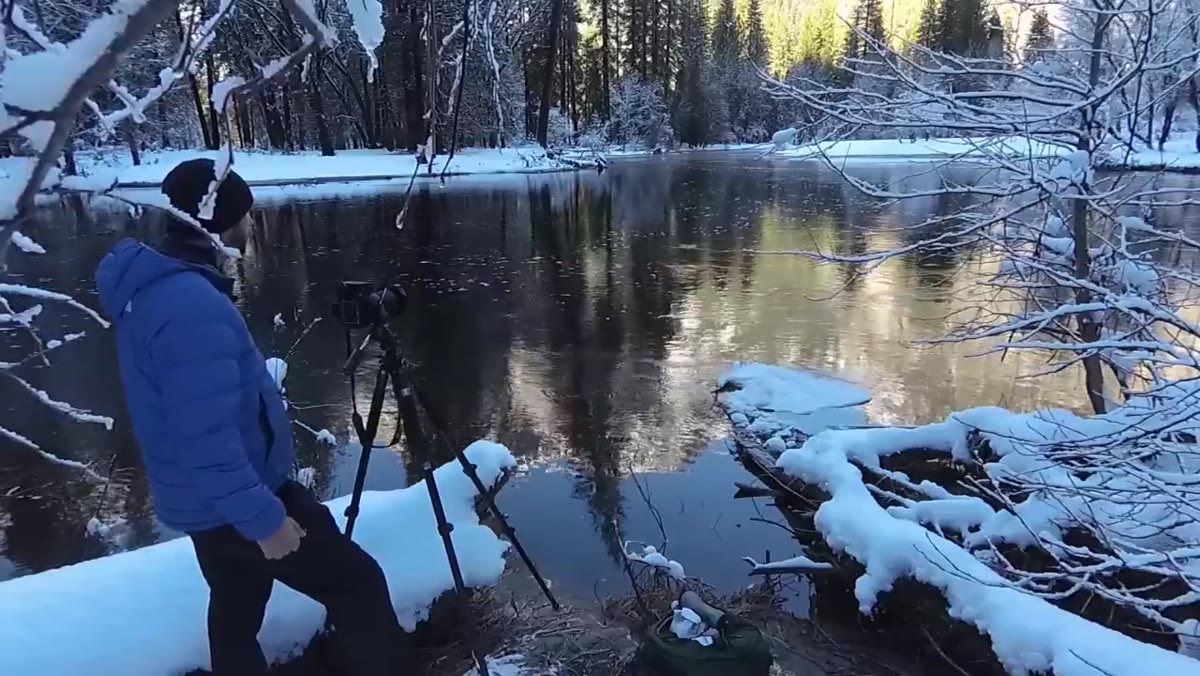 Camera on tripod with circular polarizer attached, stream in foreground
Once Danson is set up, his camera settings are almost boring in their simplicity. Lowest native ISO available, around ISO 64-100 depending on your body, aperture around f/8 for clean edge-to-edge sharpness, and a circular polarizer on the front. No graduated ND filters, no bracketing. He notes the polarizer cuts some of the water’s surface reflection and deepens the color saturation in the surrounding snow and trees.
Camera on tripod with circular polarizer attached, stream in foreground
Once Danson is set up, his camera settings are almost boring in their simplicity. Lowest native ISO available, around ISO 64-100 depending on your body, aperture around f/8 for clean edge-to-edge sharpness, and a circular polarizer on the front. No graduated ND filters, no bracketing. He notes the polarizer cuts some of the water’s surface reflection and deepens the color saturation in the surrounding snow and trees.
The polarizer is doing real work here. In bright winter light, water surfaces and snow both throw back a lot of harsh, flat-looking glare. Rotating the polarizer until you see the colors deepen and the water clarify takes about thirty seconds and produces a meaningfully better file. Keep it simple: low ISO, mid aperture, polarizer, and a two-second timer or cable release so you’re not touching the camera during exposure.
Step 4: Keep Walking – The First Spot Is Rarely the Best Spot
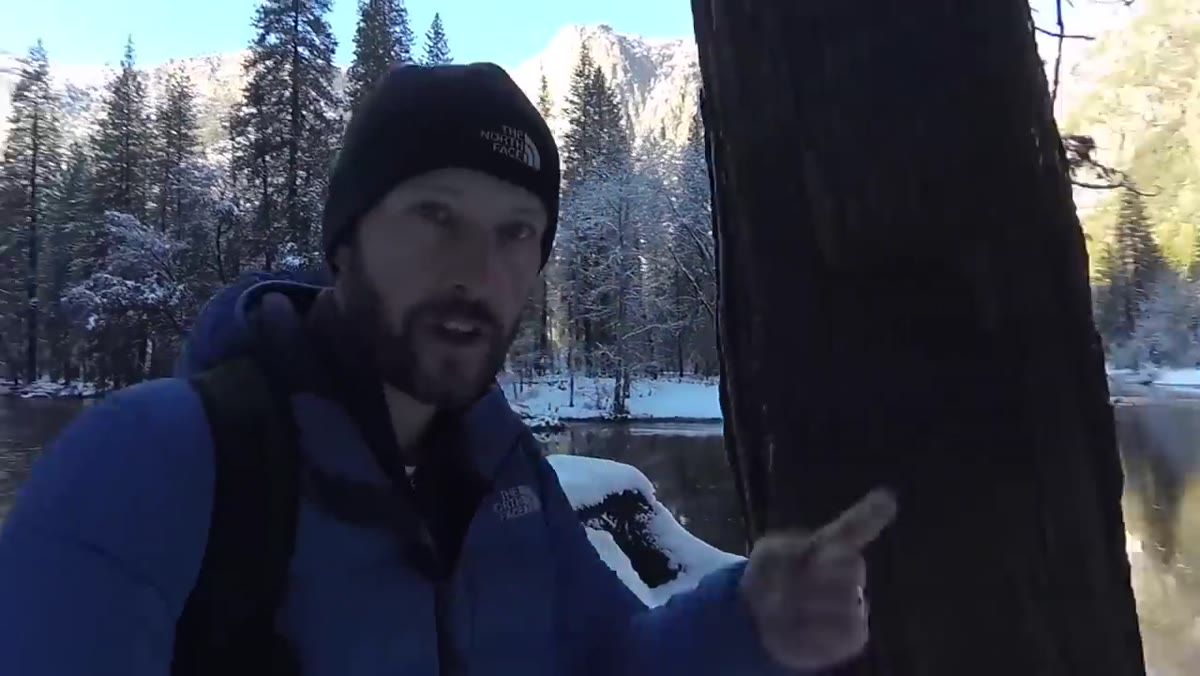 Nigel moving further downstream to discover a better composition
After getting his first set of frames, Danson walks further downstream and finds a composition he likes more. This is something I want to underline because it runs against the instinct to lock in when something looks good. He found rocks, a vertical tree line, and a stream bend that together create a natural path through the frame.
Nigel moving further downstream to discover a better composition
After getting his first set of frames, Danson walks further downstream and finds a composition he likes more. This is something I want to underline because it runs against the instinct to lock in when something looks good. He found rocks, a vertical tree line, and a stream bend that together create a natural path through the frame.
The willingness to leave a workable composition to look for a better one is a skill. It requires trusting that you already have something usable in the camera, which frees you to search rather than cling. A mentor of mine used to say the mountain doesn’t care about your schedule. Neither does the light. You move, you look, you move again.
Step 5: Use Moving Water as a Compositional Lead-In
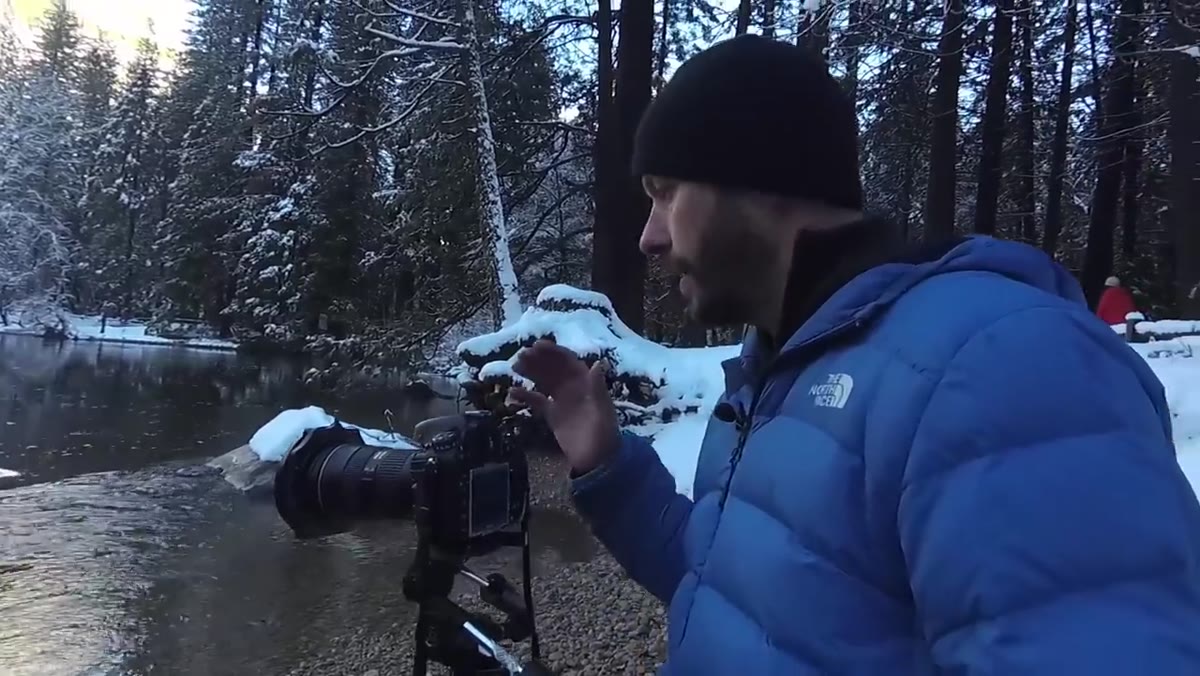 Wide shot showing stream leading eye toward frost-covered background trees
At his second location, Danson specifically notes how the flowing water creates a blurring motion that pulls the eye into the frame and toward the background trees. He’s using a slow shutter speed, made possible by the low ISO and polarizer already in place, to turn the stream into a smooth visual runway.
Wide shot showing stream leading eye toward frost-covered background trees
At his second location, Danson specifically notes how the flowing water creates a blurring motion that pulls the eye into the frame and toward the background trees. He’s using a slow shutter speed, made possible by the low ISO and polarizer already in place, to turn the stream into a smooth visual runway.
The mechanics here are worth noting. A shutter speed somewhere between half a second and two seconds usually gives you that silky water effect without completely losing all texture. Too fast and the water looks frozen and chaotic. Too slow and it becomes a featureless white stripe. Experiment in the half-second to two-second range and review the result on the back of the screen, zoomed in on the water itself.
Step 6: Watch the Highlights, Not the Shadows
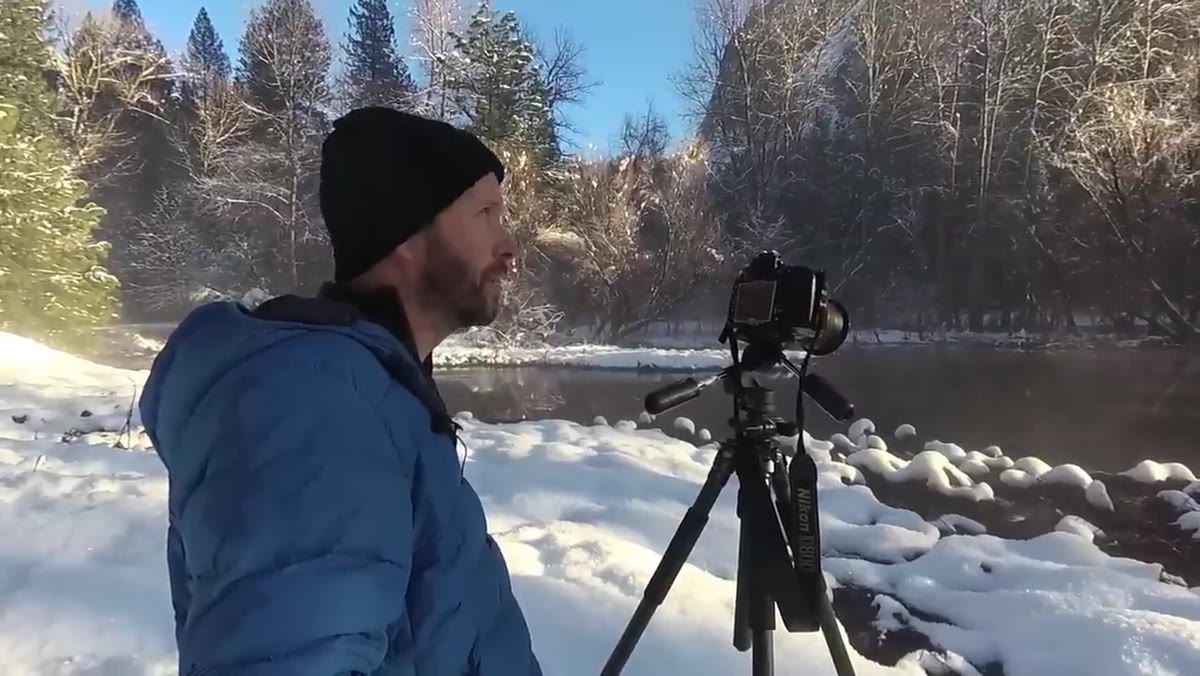 Nigel framing a snow-and-mist scene, discussing exposure without filters
Late in the video, Danson finds a scene with sun rays coming through trees, mist, dripping frost, and snow in the foreground. Beautiful, yes. Technically demanding, also yes. His specific note is to watch the highlights. In high-contrast winter scenes, blown highlights in snow read as dead white holes in the image. Expose to protect them, even if it means opening the shadows in post.
Nigel framing a snow-and-mist scene, discussing exposure without filters
Late in the video, Danson finds a scene with sun rays coming through trees, mist, dripping frost, and snow in the foreground. Beautiful, yes. Technically demanding, also yes. His specific note is to watch the highlights. In high-contrast winter scenes, blown highlights in snow read as dead white holes in the image. Expose to protect them, even if it means opening the shadows in post.
Shoot to the right of your histogram until the highlights just begin to move away from the right wall. Don’t let them clip. In snowy scenes especially, the detail in bright areas is what makes the image feel three-dimensional rather than flat.
What I’d Add From My Own Winter Shoots
The one thing this video doesn’t cover, because Danson is working quickly and the light is constantly shifting, is the patience tax of winter location photography. Cold hands slow you down. Fogged eyepieces make focusing harder. Battery performance drops noticeably below freezing.
My practical additions: carry your batteries in an inside pocket close to your body until you need them, bring a microfiber cloth for eyepiece fog, and wear liner gloves you can actually operate the camera in before putting the heavy gloves back on. None of that is glamorous, but losing a composition because your fingers are too numb to adjust the polarizer is a real and preventable problem.
The single most important thing Danson demonstrates here is that finding a great composition in a stunning location requires discipline, not luck. You have to slow down, identify your anchor, and keep moving until the elements align. The camera settings are secondary to that process. Get the thinking right first, and the technical part takes care of itself.
Watch the full tutorial on YouTube and pay particular attention to how often he walks past what most photographers would have stopped at. That’s the real lesson.
Comments
Leave a Comment