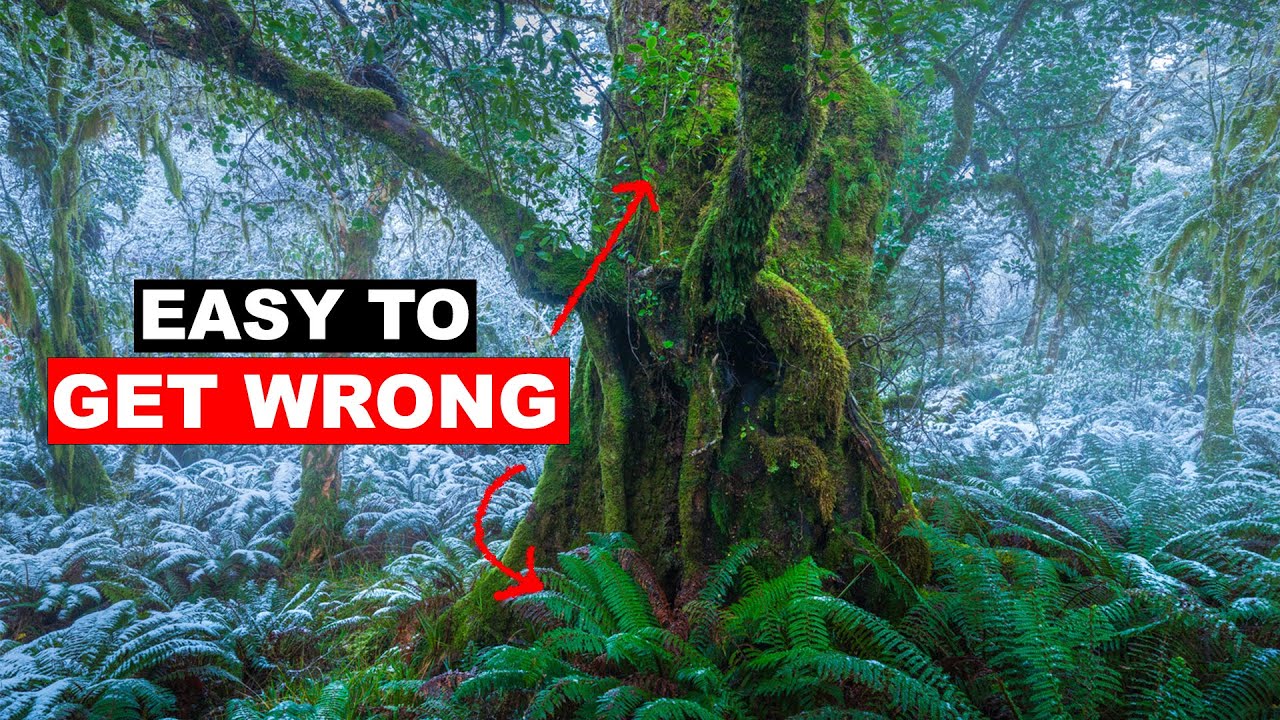
Forest photography has humbled me more times than I care to admit. I’ve stood in old-growth stands in the Pacific Northwest, light filtering through fir canopies like something out of a painting, and still come home with a card full of images that felt cluttered, directionless, and flat. The trees are beautiful. The camera doesn’t always agree. Add a dusting of snow to that equation and the compositional challenges multiply fast. Snow draws the eye everywhere at once. It fragments the frame. It competes with everything.
That’s exactly why I kept coming back to this particular tutorial from New Zealand-based landscape photographer William Patino. In this Watch the full tutorial on YouTube walkthrough, Patino takes us into a snow-dusted forest and works through the compositional and processing problems in real time, including the failures. Watching a skilled photographer troubleshoot out loud is worth more than most polished how-to videos, because the messy middle is where the actual learning lives.
What follows is my breakdown of the core techniques he demonstrates, with the practical details expanded for anyone who wants to take this approach into their own forest work.
Step 1: Resist the Wide Angle Until You Have a Subject
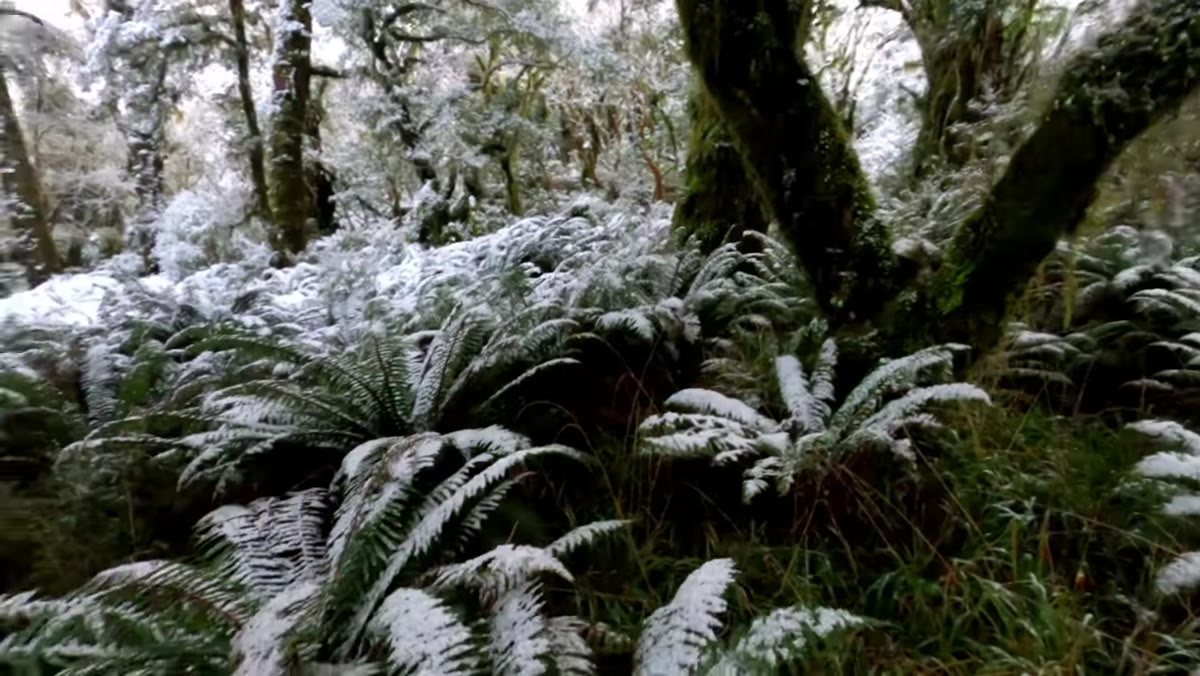 Photographer scanning the forest, reconsidering a wide shot
The first instinct in a visually rich environment is to reach for the widest lens you own and try to capture everything. Patino pushes back on that impulse directly. Before he locks in any composition, he identifies a primary subject first, specifically one large, strongly colored tree that stands out from the surrounding noise. In a snow-dusted forest, where white patches compete for attention across every plane of the image, that anchor point is not optional. It is the only thing that keeps the viewer’s eye from wandering off the frame entirely.
Photographer scanning the forest, reconsidering a wide shot
The first instinct in a visually rich environment is to reach for the widest lens you own and try to capture everything. Patino pushes back on that impulse directly. Before he locks in any composition, he identifies a primary subject first, specifically one large, strongly colored tree that stands out from the surrounding noise. In a snow-dusted forest, where white patches compete for attention across every plane of the image, that anchor point is not optional. It is the only thing that keeps the viewer’s eye from wandering off the frame entirely.
The practical takeaway here: walk the scene before you shoot it. Look for the one element that earns the frame. In Patino’s case it was a deeply green, moss-covered tree. In your forest it might be a shaft of light, a single red leaf against white bark, or a trunk with an unusual curve. Find it first. Build around it second.
Step 2: Use the Snow as a Compositional Tool, Not a Subject
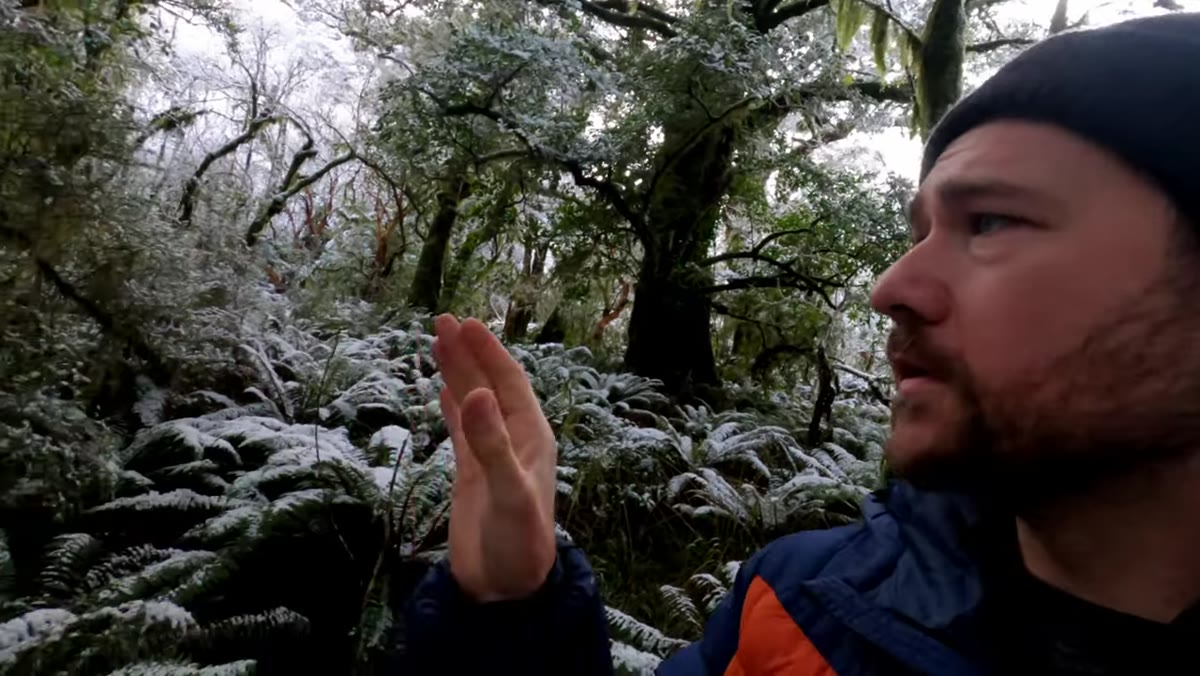 Wide view of forest floor showing patchy snow and green ferns
Patino makes a point that reframed how I think about partial snow coverage. When there is only a light dusting, as there was in this New Zealand forest because heavy canopy blocked most of the snowfall, the white patches can feel random and distracting if you treat them as something to work around. The shift is to treat them as leading lines or tonal contrast. The white guides the eye toward the green subject. It creates separation between the forest floor and the mid-ground without needing hard edges or dramatic light.
Wide view of forest floor showing patchy snow and green ferns
Patino makes a point that reframed how I think about partial snow coverage. When there is only a light dusting, as there was in this New Zealand forest because heavy canopy blocked most of the snowfall, the white patches can feel random and distracting if you treat them as something to work around. The shift is to treat them as leading lines or tonal contrast. The white guides the eye toward the green subject. It creates separation between the forest floor and the mid-ground without needing hard edges or dramatic light.
This only works if you are deliberate about where those white patches fall in your frame. Move your feet. A slightly different angle can shift a distracting snow clump out of your foreground, or bring it in line with your main subject. Patino does this quietly throughout the video, adjusting his position incrementally rather than making large moves.
Step 3: Get Closer Than Feels Comfortable with a Wide Lens
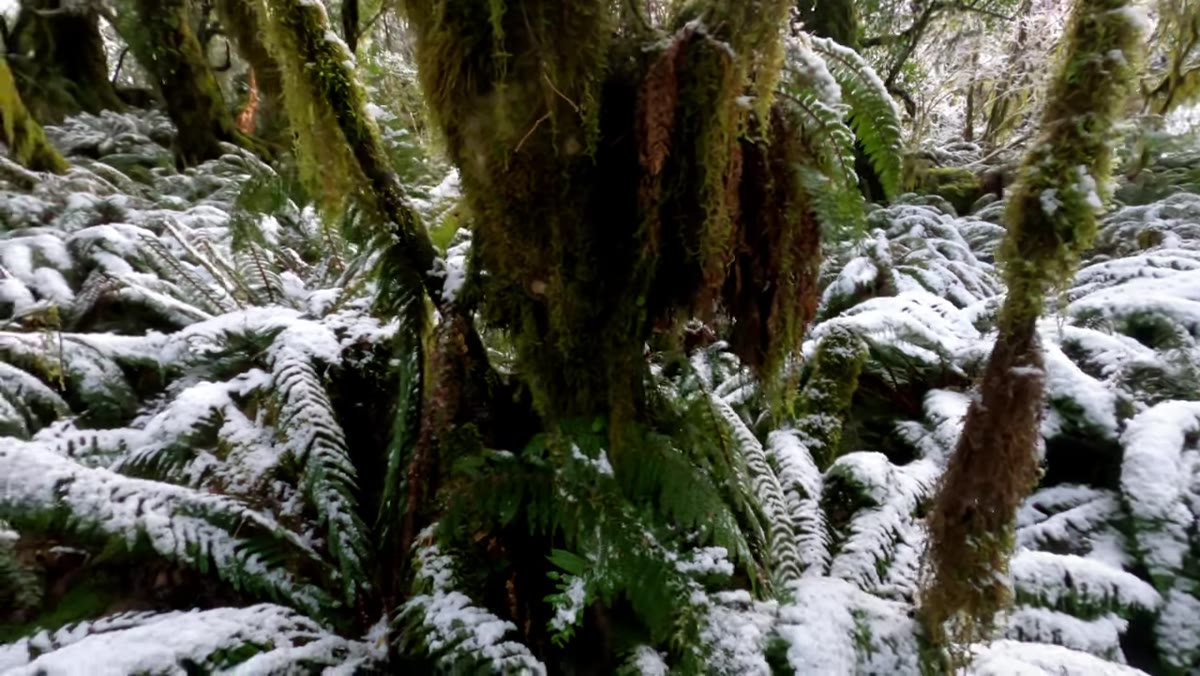 Camera positioned very close to mossy tree trunk at 14mm
Here is the technique that surprised me most, and the one I’ve since used on my own forest shoots. Patino moves in extremely close to his main tree and shoots at 14mm. The conventional instinct says wide angle plus close subject equals distortion and chaos. What it actually produces here is a simplified frame where the tree dominates, the ferns around the base provide immediate foreground interest, and the background trees recede naturally into depth without competing.
Camera positioned very close to mossy tree trunk at 14mm
Here is the technique that surprised me most, and the one I’ve since used on my own forest shoots. Patino moves in extremely close to his main tree and shoots at 14mm. The conventional instinct says wide angle plus close subject equals distortion and chaos. What it actually produces here is a simplified frame where the tree dominates, the ferns around the base provide immediate foreground interest, and the background trees recede naturally into depth without competing.
His settings at this point are f/11, ISO 200, and 1/25th of a second. The stopped-down aperture keeps both the foreground ferns and the mid-ground tree sharp, and the slower shutter is manageable because there is no wind movement to worry about in dense forest. If you are shooting handheld in these conditions, brace against a trunk or drop to a low position with your elbows on the ground. The close-in wide angle approach rewards stillness.
Step 4: Build Depth Through Layering, Not Breadth
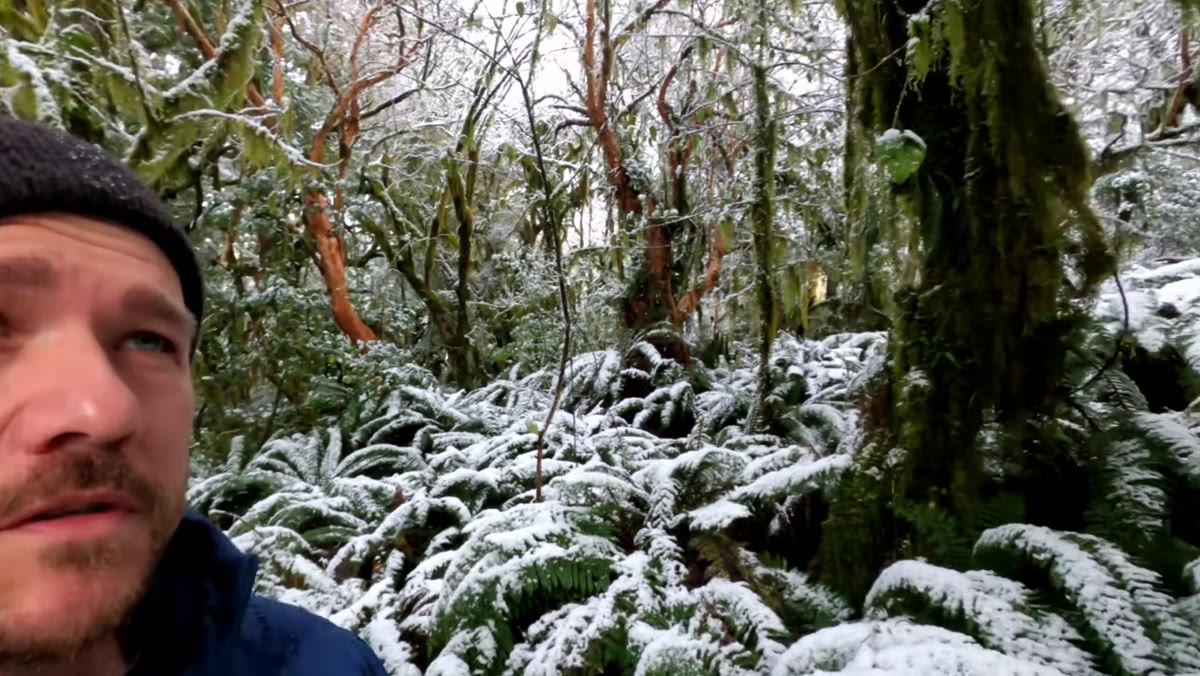 Three distinct tree layers visible in the frame, left to right
At one point Patino counts out loud: one, two, three. He is identifying distinct layers of trees receding into the frame. This is a simple exercise but it is worth doing consciously on every forest shot. If you can identify at least two or three planes of depth before you press the shutter, the image will read as three-dimensional in print or on screen. If everything is at roughly the same distance from the lens, the image collapses into a flat pattern.
Three distinct tree layers visible in the frame, left to right
At one point Patino counts out loud: one, two, three. He is identifying distinct layers of trees receding into the frame. This is a simple exercise but it is worth doing consciously on every forest shot. If you can identify at least two or three planes of depth before you press the shutter, the image will read as three-dimensional in print or on screen. If everything is at roughly the same distance from the lens, the image collapses into a flat pattern.
The mistake I used to make was trying to capture too much horizontal width in pursuit of that layered feeling. Patino’s approach is narrower. He crops tighter on the left side to cut distracting elements, keeps the strong layering in the center and left, and lets the frame breathe on its own terms. Less breadth, more intentional depth.
Step 5: Approach a High-Contrast Backlit Scene in Post with LTCC
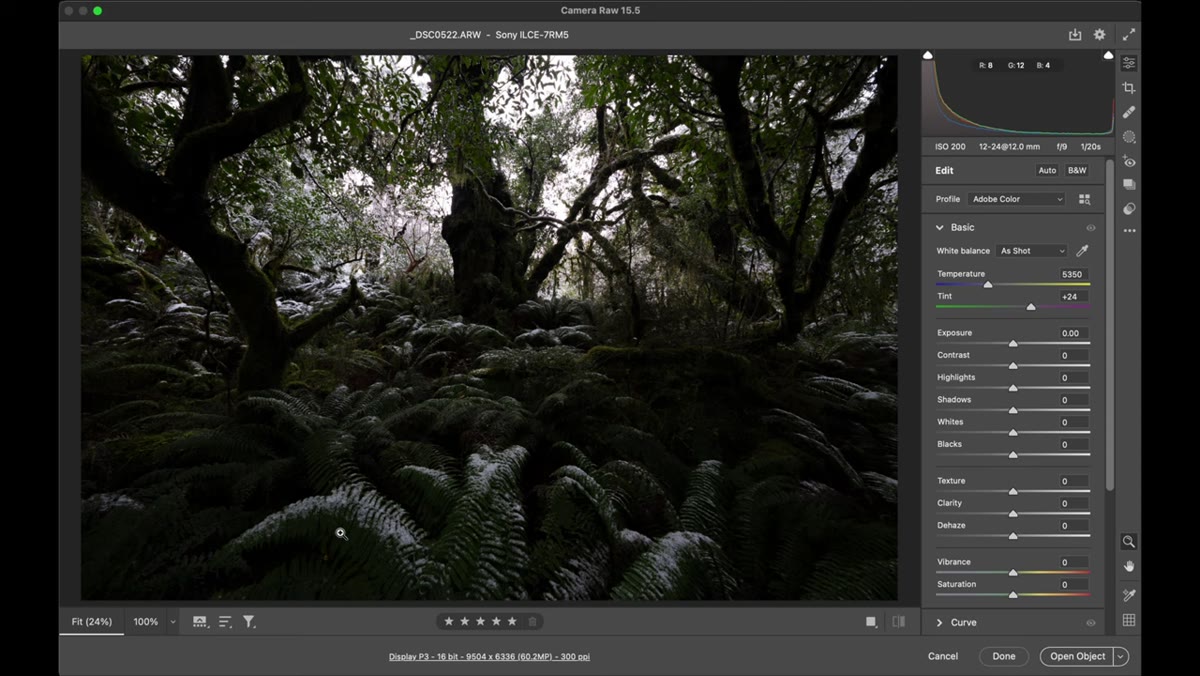 Raw file open in editing software showing blown highlights and dark shadows
The post-processing section is brief but the framework Patino shares is one I have used for years under different names. He organizes his approach around four priorities: light, texture, color, and contrast, which he abbreviates as LTCC. In a backlit forest scene with snow, you will almost always open a raw file that shows a bimodal histogram, heavy in the darks, spiking again in the bright sky or snow patches, with almost nothing in the midtones. That gap is the problem to solve.
Raw file open in editing software showing blown highlights and dark shadows
The post-processing section is brief but the framework Patino shares is one I have used for years under different names. He organizes his approach around four priorities: light, texture, color, and contrast, which he abbreviates as LTCC. In a backlit forest scene with snow, you will almost always open a raw file that shows a bimodal histogram, heavy in the darks, spiking again in the bright sky or snow patches, with almost nothing in the midtones. That gap is the problem to solve.
The goal in processing is not to flatten that dynamic range into something muddy. It is to introduce enough tonal information in the midrange that the eye has somewhere to travel between the shadows and the highlights. Practically, that means lifting shadows with care, pulling highlights down without washing out the snow, and then using local adjustments to bring texture and color forward in the key areas, the moss, the ferns, the bark. Work the histogram until it stretches across the full range rather than sitting in two isolated camps.
What I’d Add from My Own Experience
I shoot a lot of forested terrain around central Oregon, and one thing Patino does not mention explicitly but demonstrates throughout is the value of slowing down when frustration hits. There is a moment in the video where he acknowledges that the scene looks better in person than it is translating to camera, and he actively chooses to stay patient. I learned a version of that lesson from a mentor who told me the mountain doesn’t care about your schedule. The forest doesn’t either. Some of my strongest images from dense woodland have come in the twenty minutes after I almost packed up and left. The light shifted. A branch moved. I found an angle I had walked past twice.
Keep the lens cloth accessible. In wet forest environments, especially near snow melt, moisture collects on front elements constantly. Patino mentions this as his biggest practical headache with wider lenses, and I agree. A microfiber cloth in your jacket pocket, not your bag, is a small habit that saves a surprising number of frames.
The single most important idea in this entire tutorial is the one Patino returns to repeatedly: simplify the frame before you reach for a wider view. In forest photography, and especially in snowy forest photography, the temptation to include more almost always produces less. Find your subject. Build your layers. Move your feet before you move your focal length.
Watch the full tutorial on YouTube to see Patino work through these decisions in real time. Watching the hesitations and the adjustments is as instructive as anything written here.
Comments (2)
Clear and practical. No fluff. Appreciate that.
This is fantastic. I've been recommending this approach to my readers too.
Leave a Comment