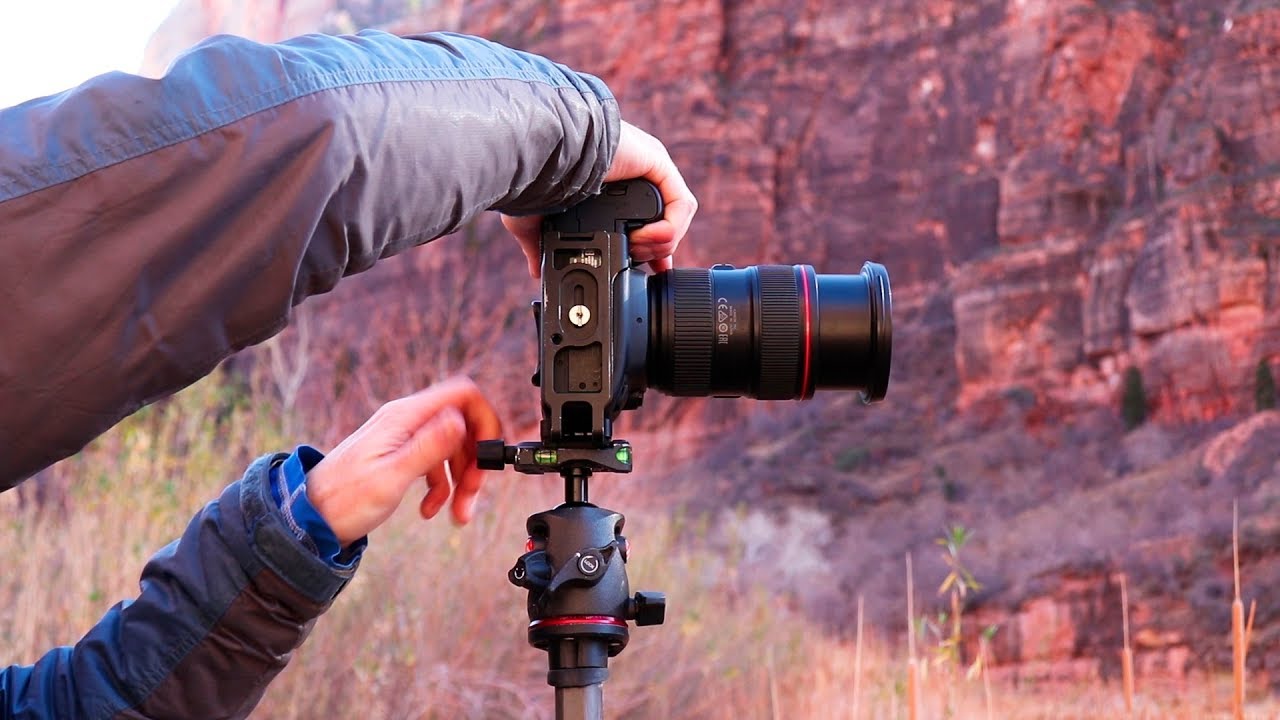
There’s a particular kind of frustration that comes from being somewhere breathtaking and walking away with nothing. I’ve felt it more times than I’d like to admit. You drive hours, haul your gear in before first light, and the place just doesn’t give you an image. Not because the light failed or the weather turned, but because you went in looking for a photograph instead of looking for a subject. That distinction sounds small. It isn’t.
In this Thomas Heaton tutorial filmed during a solo explore through Zion National Park, Heaton works through exactly that problem in real time. Watch the full tutorial on YouTube – it’s worth seeing the landscape itself, not just reading about it. What makes the video valuable isn’t that he finds perfect shots around every bend. It’s that he doesn’t, and he shows you how he keeps working anyway. That honesty is rare, and the method underneath it is something I’ve come back to on my own hard days in the field.
For anyone who shoots in dramatic, grand environments – canyons, alpine terrain, dense forest – the instinct is always to go wide and go big. Heaton argues against that instinct with what he actually photographs, and his reasoning about Zion’s unusual light conditions reframes something I thought I already understood about working a location. Here’s the breakdown.
Step 1: Reframe the Location Before You Shoot
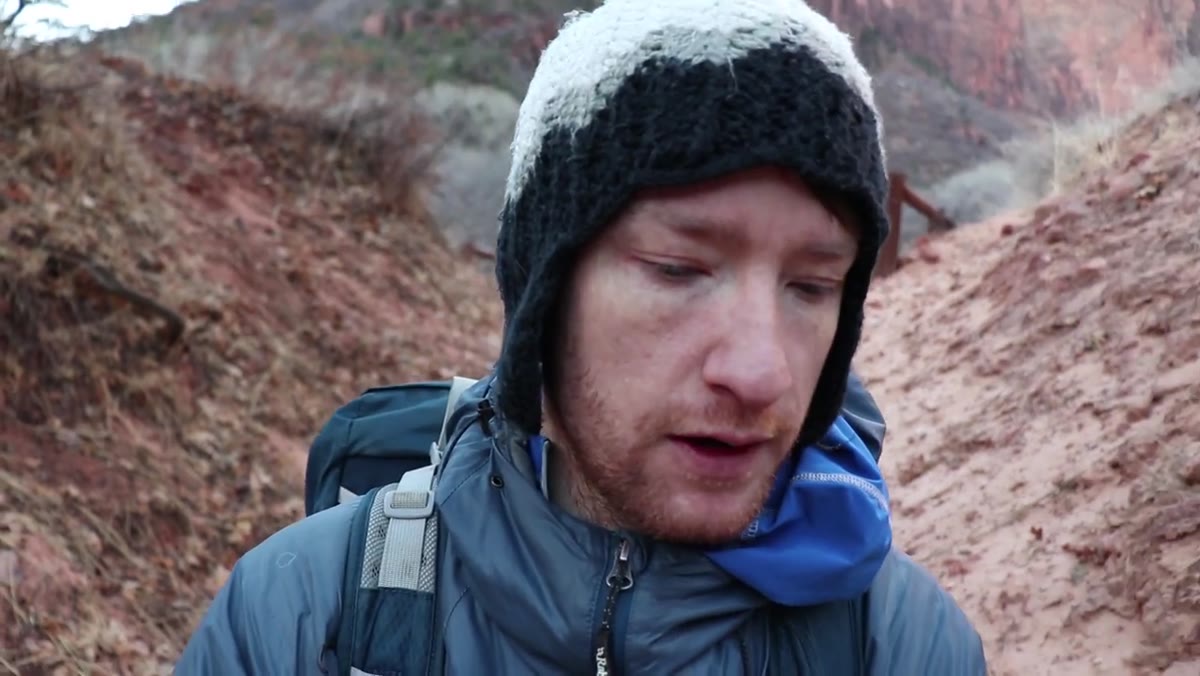 Heaton walking through Zion canyon, camera in hand
Don’t arrive at a location with a fixed idea of what it should produce. Heaton is explicit about this with Zion: the towering sandstone walls that look like the obvious subject are, paradoxically, not where the photographs live. He walked in knowing this from a previous visit, which let him skip the phase most of us waste – the phase where we keep trying to force a wide, dramatic shot out of a place that isn’t offering one.
Before your first step, ask what this location is actually doing photographically. Lighting conditions, season, time of day – these change what a place is. Zion in winter midday is a different photographic environment than Zion at autumn sunset. Understand the place you’re actually in, not the place you expected.
Step 2: Flip Your Shooting Hours if the Light Demands It
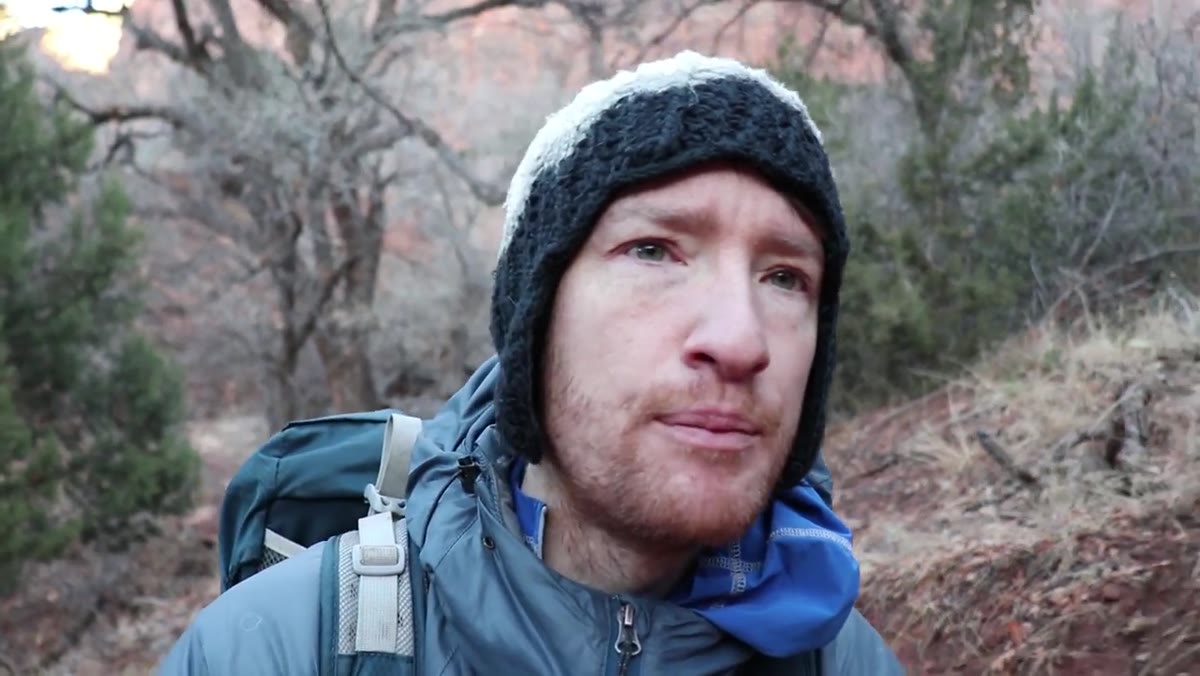 Canyon walls bathed in warm reflected midday light
Heaton makes a point that cuts against standard landscape advice: in Zion’s slot canyon terrain, midday is often the best time to shoot. The canyon walls act as enormous reflectors, bouncing warm, soft light down into the riverbed and onto the smaller scenes below. Chasing golden hour in that environment means missing the best light entirely.
This is worth internalizing as a general principle. Know why the rules exist before you decide when to break them. Sunrise and sunset matter because of soft, directional light. When a location creates that quality of light through reflected canyon walls at noon, the rule no longer applies. Scout your location, understand its light behavior, and build your shooting schedule around what the place actually gives you – not what the photography calendar says you should want.
Step 3: Walk Without Hunting for a Shot
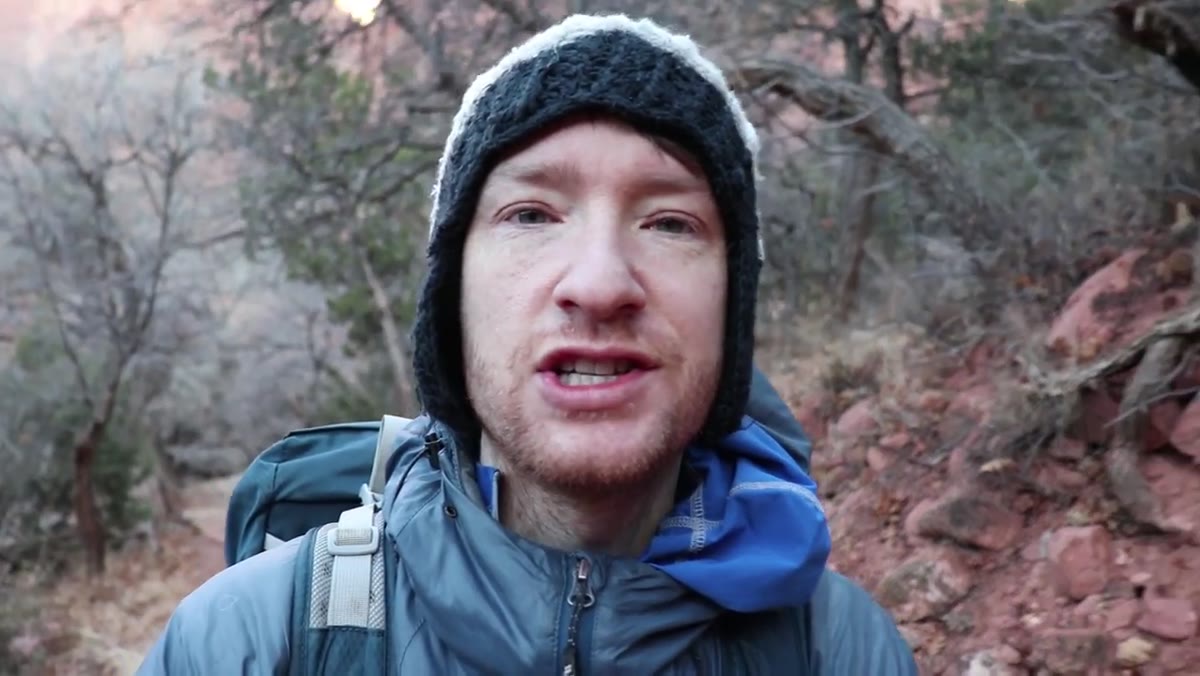
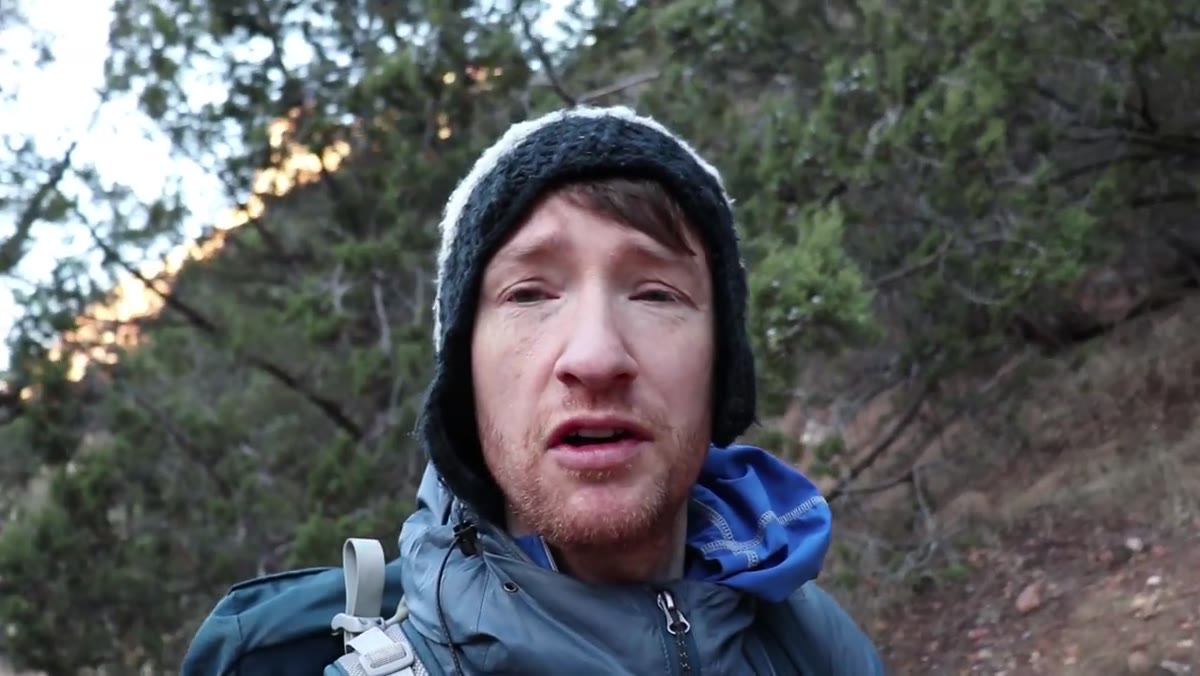 Heaton moving through riverbed, scanning the ground and surroundings
This is the step that most photographers skip. Heaton describes his walking mode clearly: he’s not looking for a composition. He’s not pre-visualizing a finished image. He’s looking for anything that earns his attention – a texture, a shape, a quality of light on a particular surface, a fallen tree with an interesting form. The photograph comes later. The subject comes first.
In practice, this means slowing your pace and dropping your eye level. Look at what’s near you before you look at what’s far away. Train yourself to notice small things: the grain in a water-smoothed rock, the way light wraps around a curved piece of driftwood, the contrast between dry sand and wet riverstone. The subject doesn’t have to be conventionally beautiful. It has to be interesting to you, specifically. That interest is what gives you something to work with compositionally.
Step 4: Approach the Subject and Test the Separation
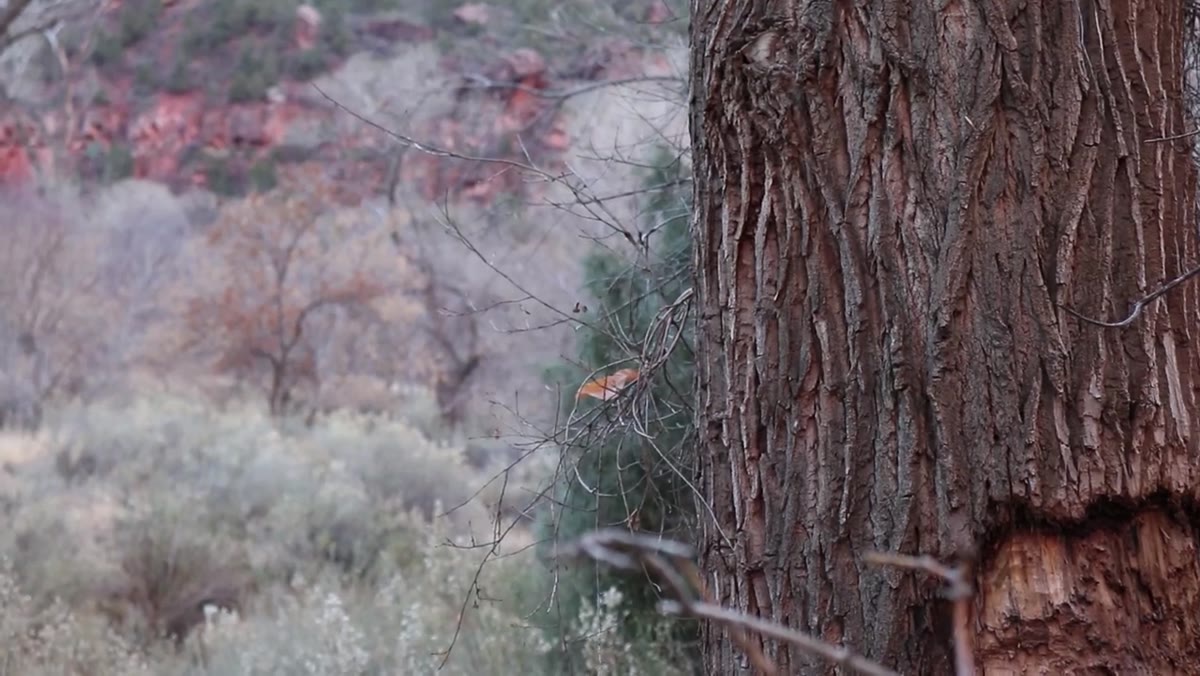 Heaton examining a golden-brown tree, background blending in behind it
Once something catches your eye from a distance, walk toward it deliberately. Heaton demonstrates this honestly by showing a tree that looked promising from across the river and lost its appeal as he got closer. The reason: the separation between the subject and the background collapsed. That’s a composition killer, and catching it early saves time.
As you approach any potential subject, watch the background constantly. Does your subject stand out, or does it blend into visual noise? Change your angle. Get lower. Move laterally. The same subject can go from muddy to clean with a ten-foot shift in position. This is the working phase – not the finding phase. You’ve found something. Now you’re asking whether the camera can see it the way your eye did.
Step 5: Use the Grand Environment as a Backdrop, Not the Subject
 Canyon walls visible above smaller intimate scene in foreground
One of Heaton’s most useful observations is that the massive canyon walls don’t have to be the subject just because they’re the most obvious thing in frame. They can serve as context – a warm, textured background that gives scale and atmosphere to something much smaller in the foreground. The canyon becomes the light source and the stage, and an intimate detail becomes the actual story.
This is a compositional tool that translates to any grand landscape. In the mountains around Bend where I spend most of my time, I’ve learned to use dramatic ridgelines and sky the same way – as supporting elements rather than the headline. The wildflower, the eroded root, the patch of lichen-covered granite in the foreground: that’s often where the photograph actually lives.
Step 6: Work the Subject Until You’ve Earned the Frame
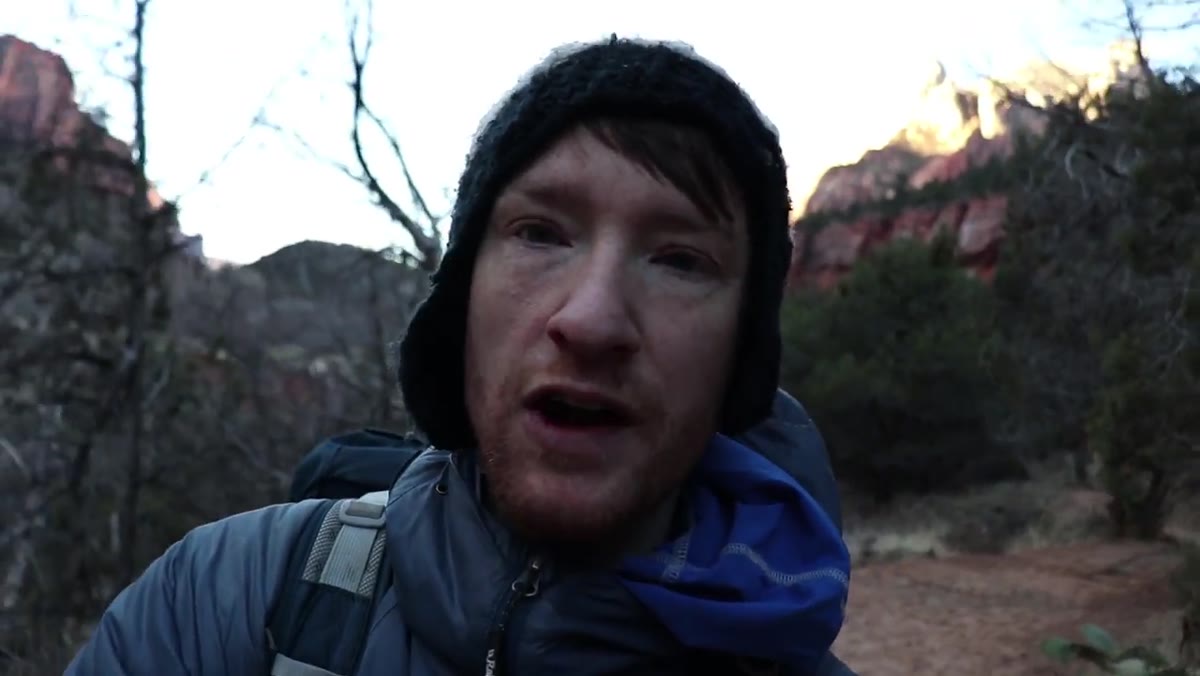 Heaton crouching, moving around a potential subject to find the angle
Finding a subject doesn’t mean you’ve found a photograph. Heaton circles his subjects, crouches, moves, looks at how the light is landing from multiple angles. This working phase is where most images either come together or get abandoned. The goal is to identify what specifically caught your eye and figure out whether the camera can capture that quality – and then place everything else in the frame in service of it.
Before you fire a single frame, ask yourself: what is this photograph about? Not what’s in it. What is it about? The answer should be a single thing. If you can’t name it, keep moving.
What I’d Add From My Own Experience
Heaton doesn’t mention this directly, but there’s a timing element to the subject-first approach that I’ve found critical. The hardest part isn’t finding a subject. It’s finding one early enough in your available light window that you have time to actually work it. I’ve made the mistake of spending an hour wandering and then reaching something genuinely interesting with twenty minutes of usable light left.
Build in time to fail before you need to succeed. If you have a four-hour window, spend the first two in exploratory mode and give yourself the back half to work whatever you’ve found. That way the searching doesn’t eat the shooting.
The single most useful thing in this tutorial is the permission it gives you to not have a plan. Wandering isn’t wasted time if you’re doing it with trained eyes and a clear question: what here is worth my attention? Start with that question, not with a composition, and the compositions will come.
Watch the full tutorial on YouTube to see Heaton work through Zion in real time – the unedited struggle of it is as instructive as any technique he describes.
Comments
Leave a Comment